WHAAAAAAAAAAAT?!
My Hebridean Wind Vane project, last seen 9 months ago has resurfaced! Contrary to popular belief (mostly by myself) I hadn’t given up on it but the installation of the electric autopilot meant that it wasn’t as important a project as it had been, and I was taking advantage of the nice summer weather to do outside projects and go sailing. Also – I was up to the woodworking part which was very intimidating as I have very little experience with it so I may have subconsciously kicked that can down the road as well.
ANYWAY, with the weather ranging from ‘really cold and windy’ to ‘arctic tundra hellscape’ there were a lot less distractions and I picked it up again last week.
Once more, sorry for the terrible picture quality, the camera on my phone is hella smashed.
So to connect the extension to the main trunk I needed to do a thing called a ‘lap joint’ (which means something very different to me). I vaguely remember doing one in secondary school but don’t remember anything about it (except the teacher had a false eye). To get the position right I drew everything out on a sheet of hardboard at 1 to 1 scale, and then transferred it over.
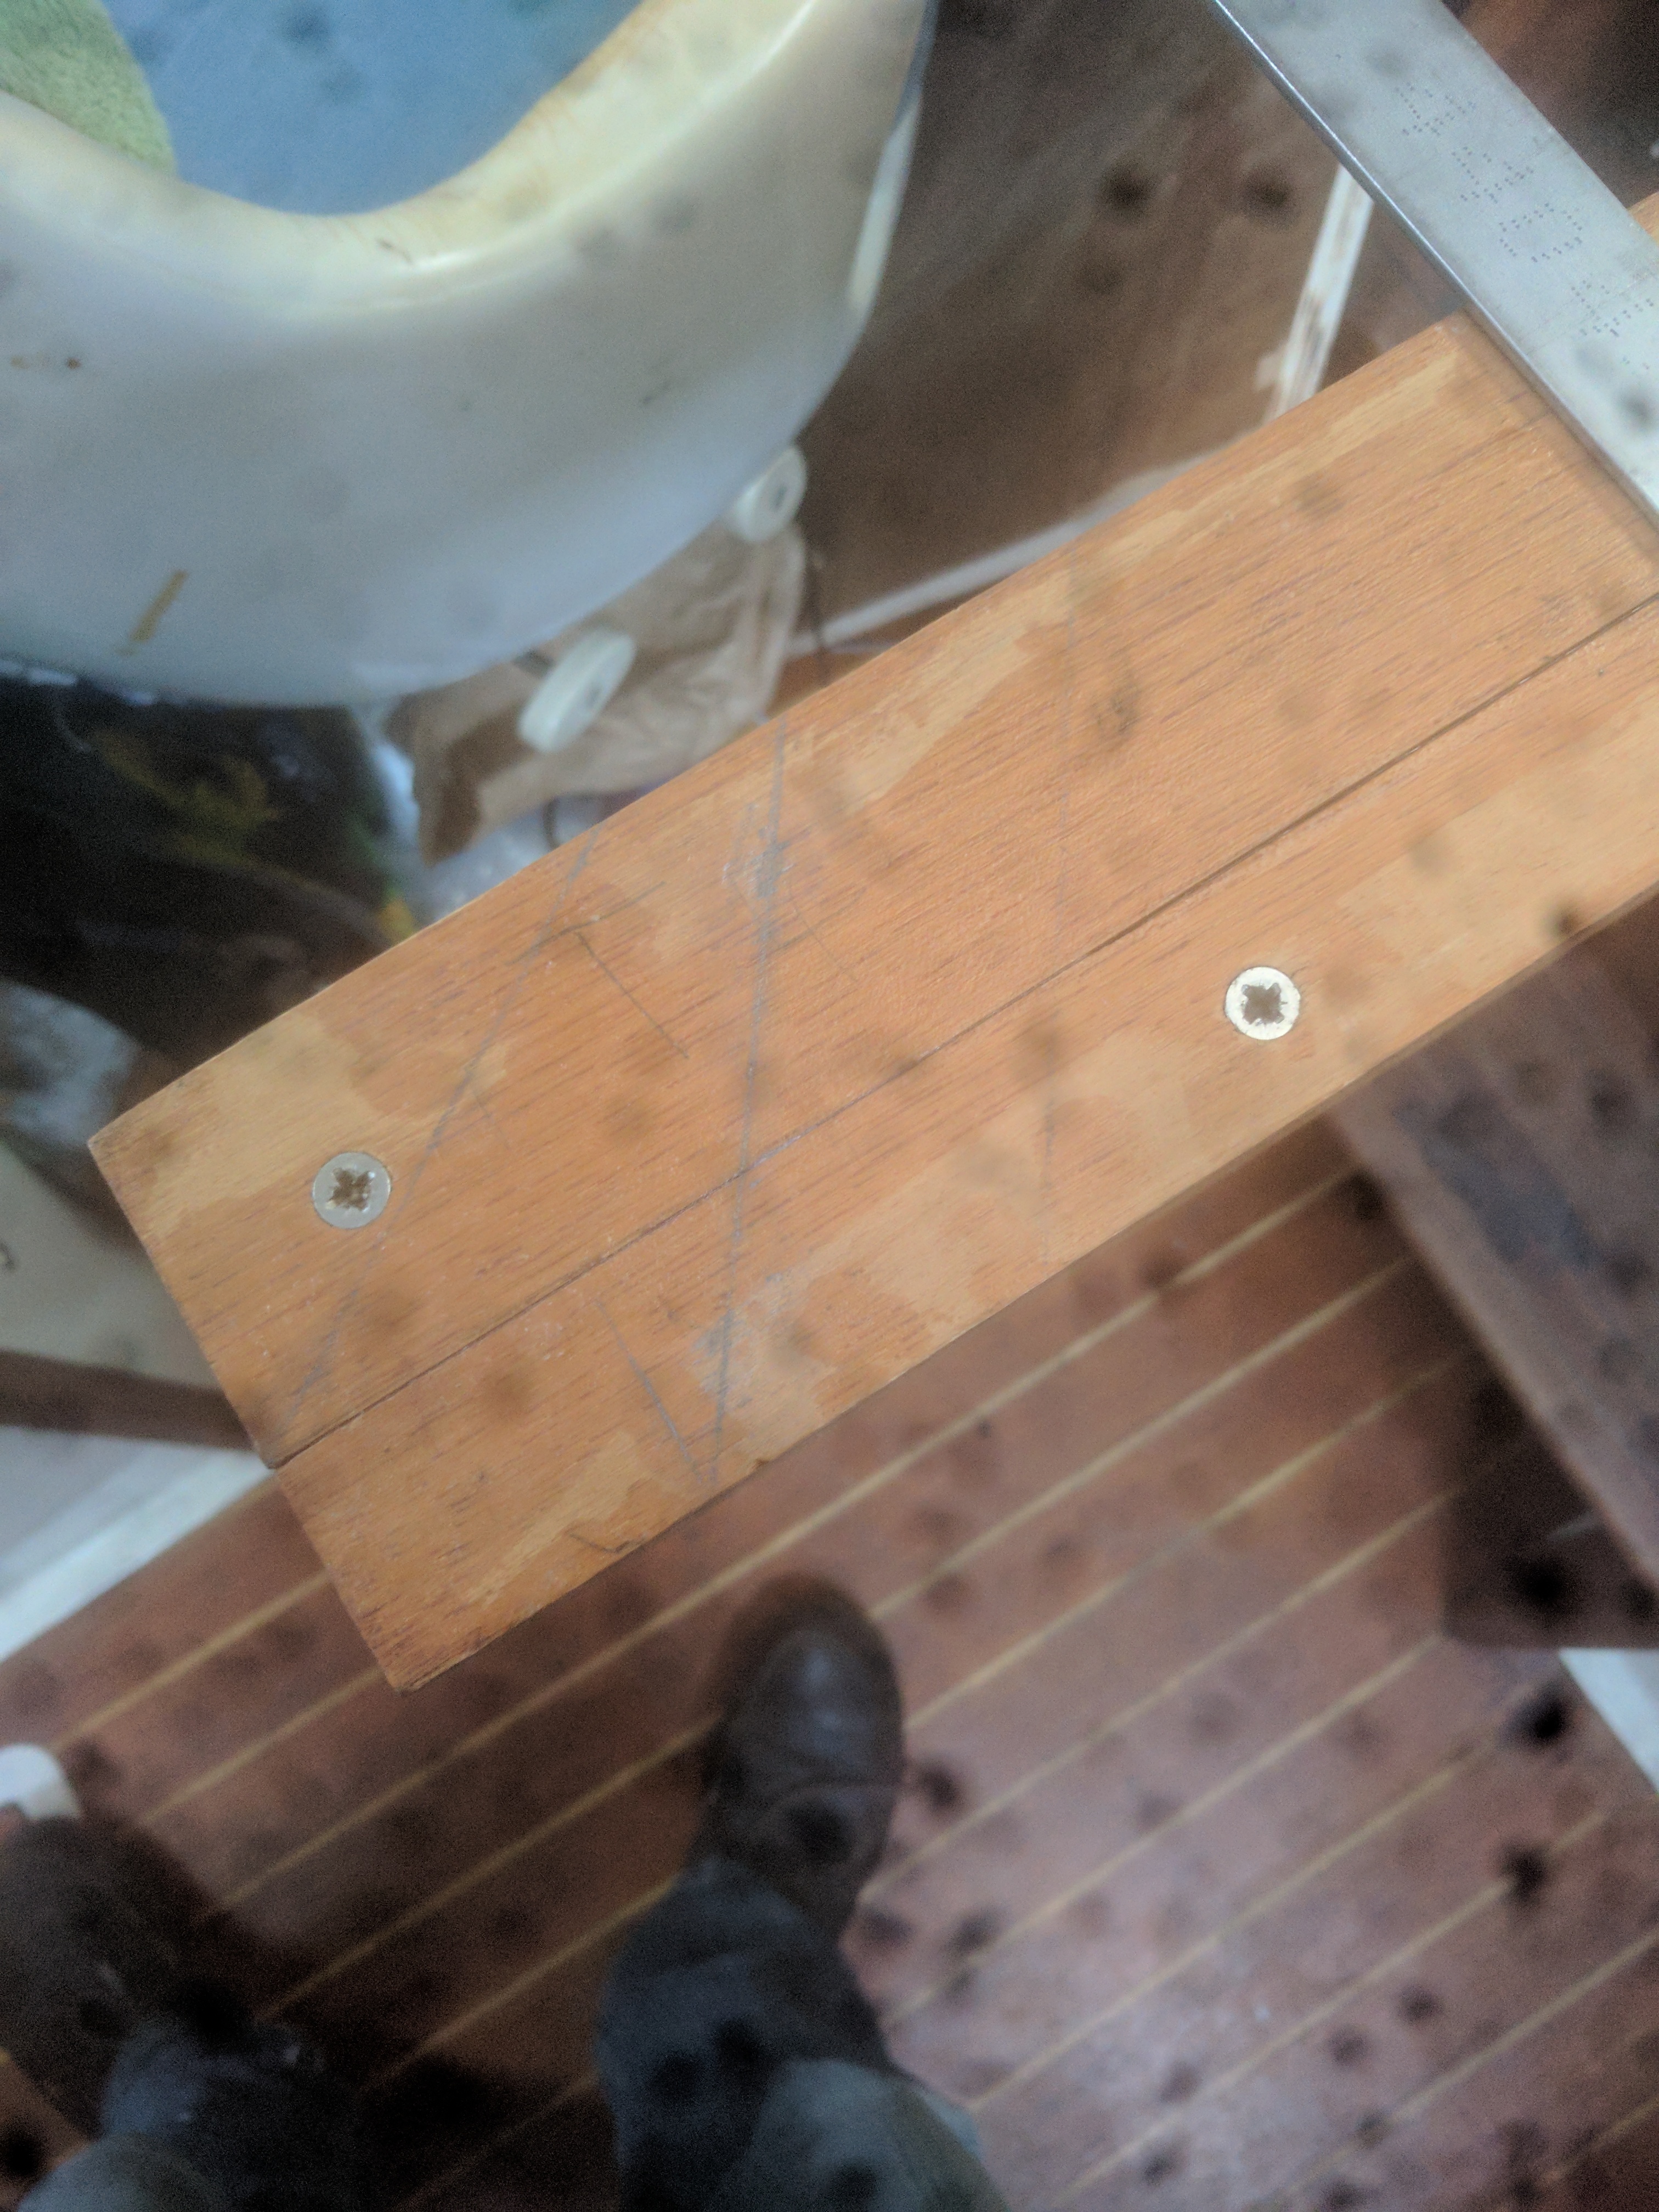
Making the actual joint involved using a chisel – again, I haven’t used one for years. It went ‘ok’
Test fitting the initial cut
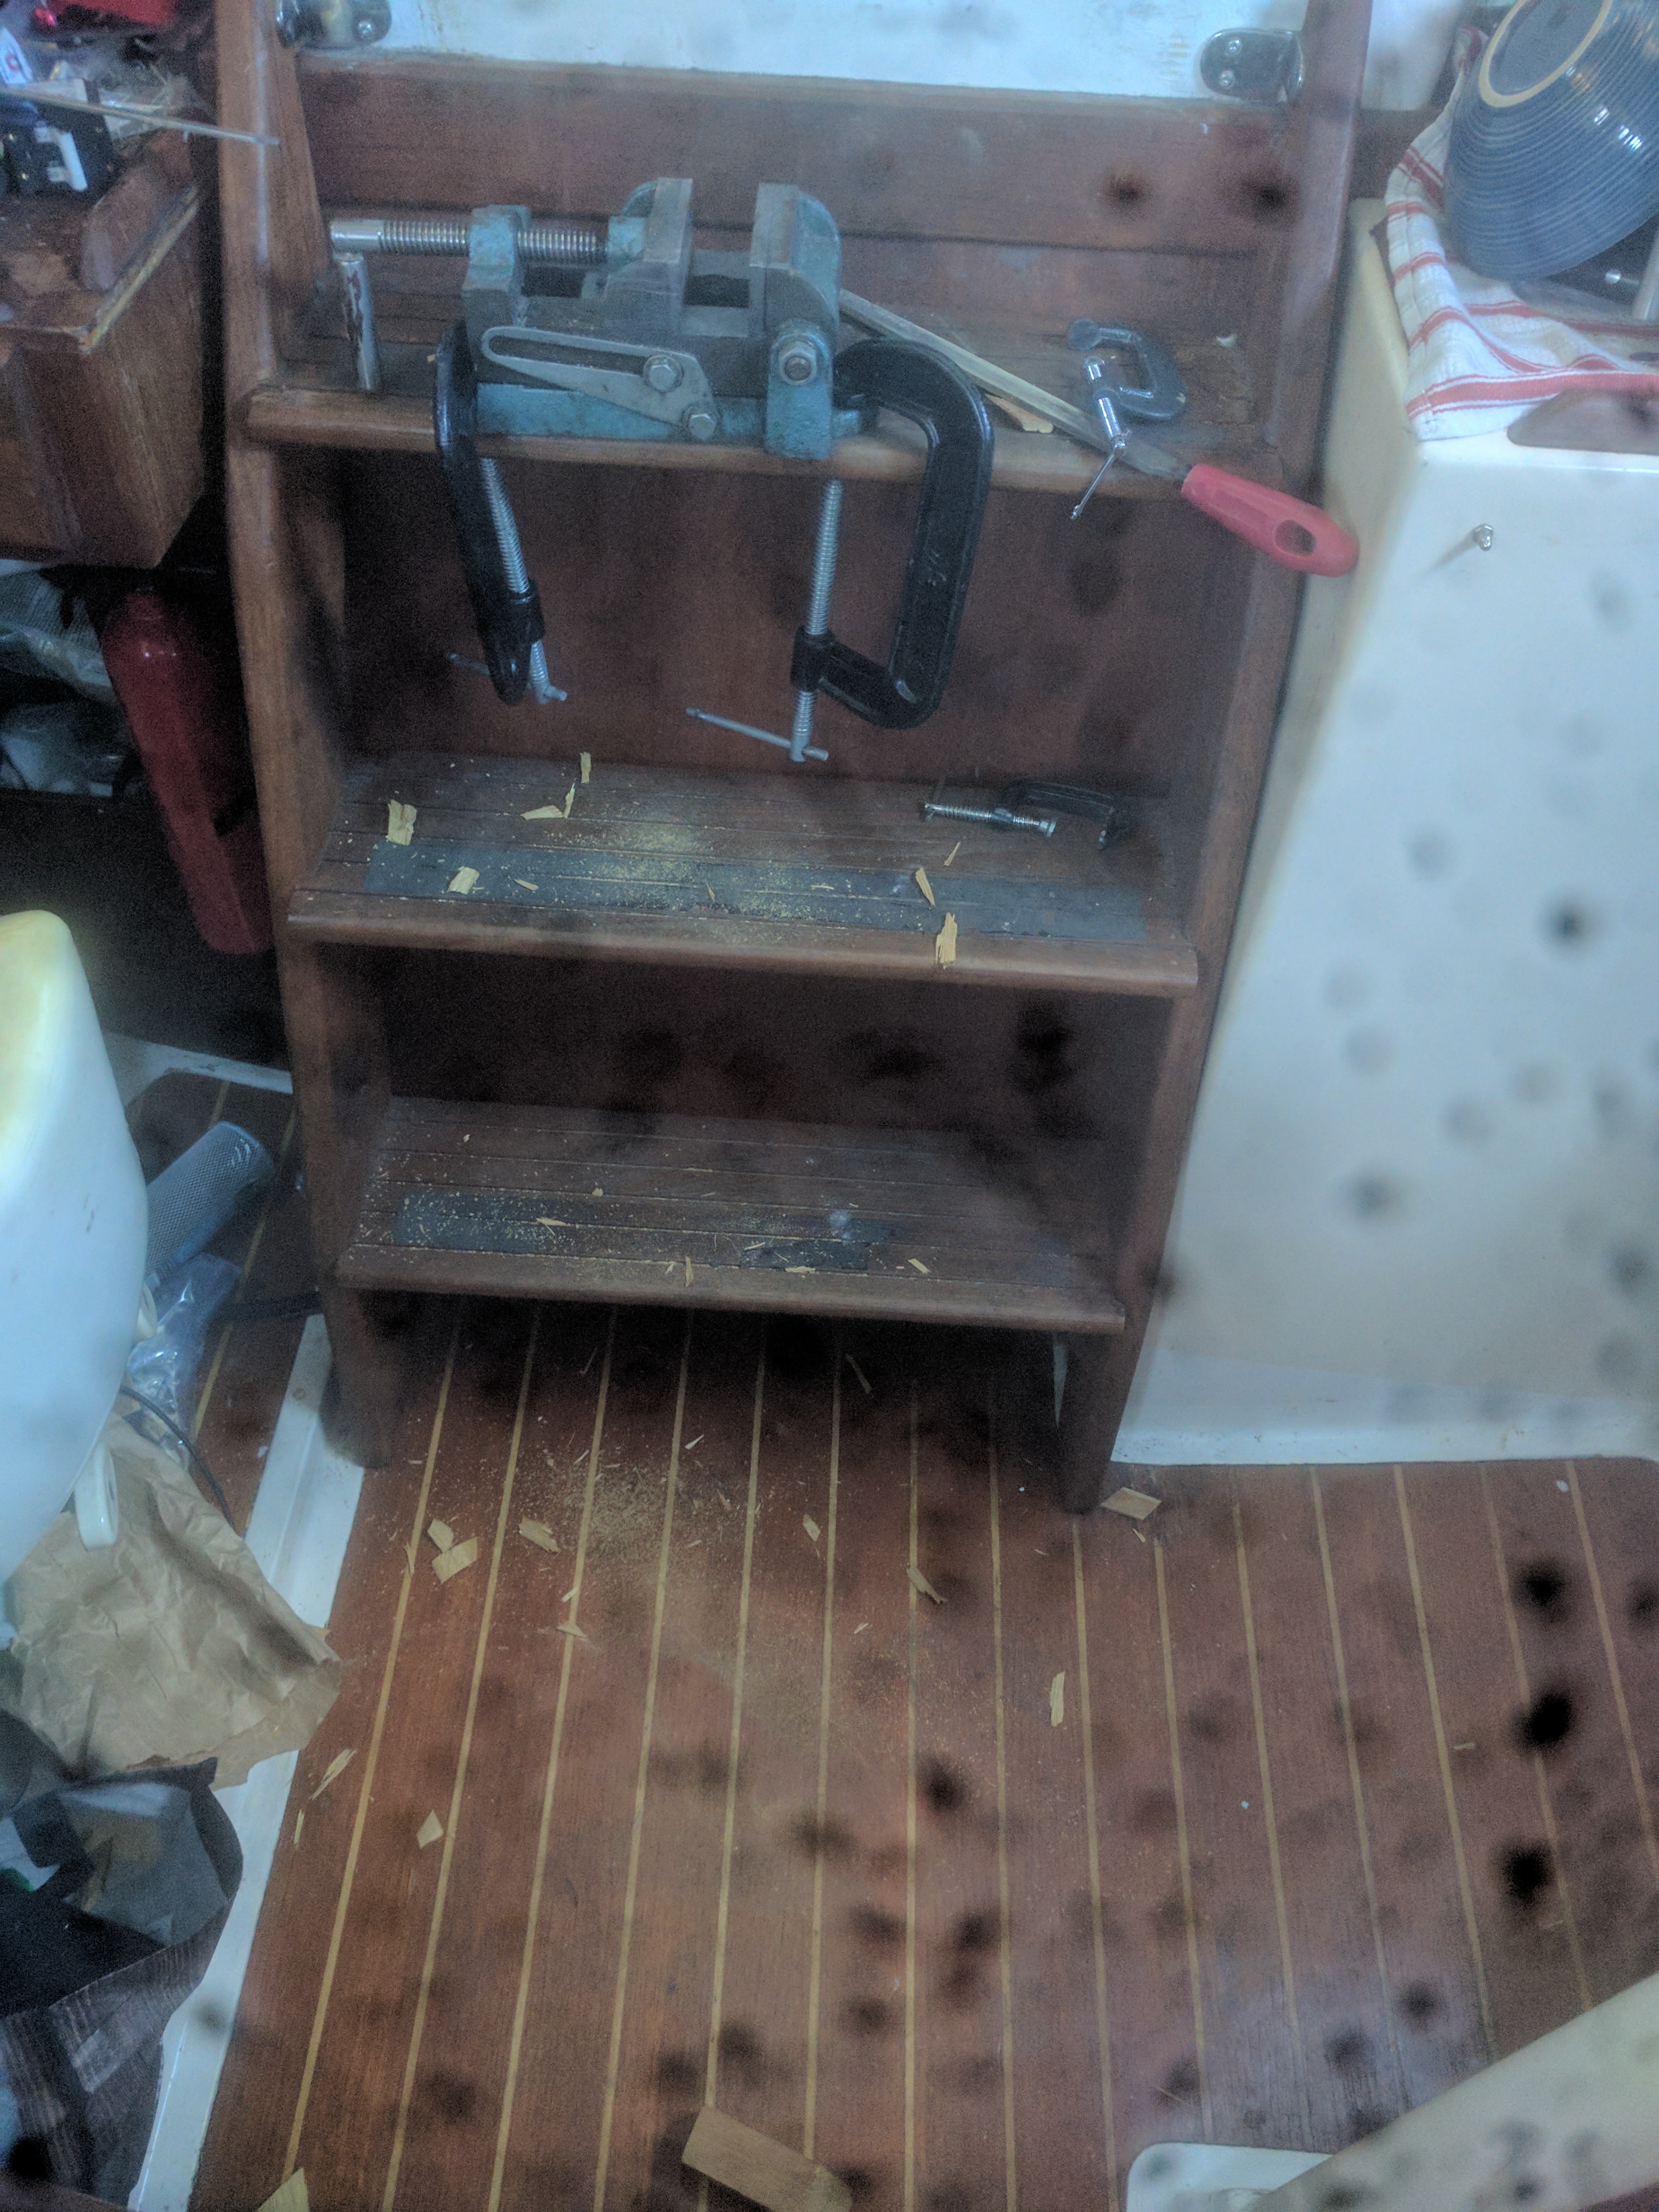
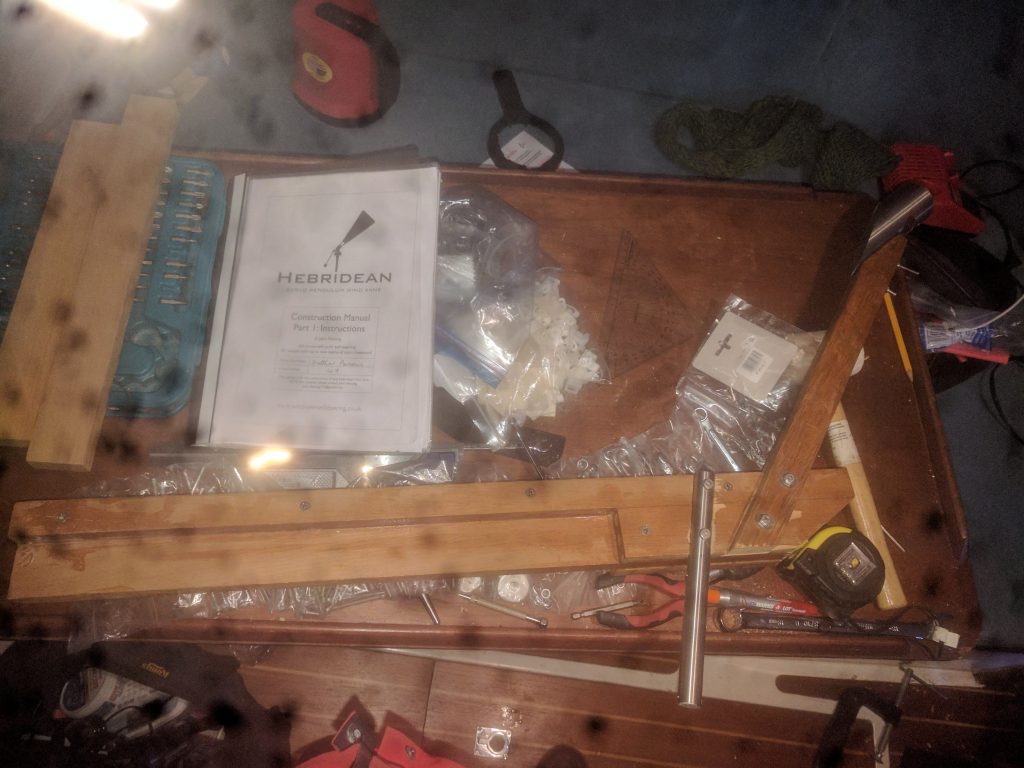
The whole thing would have been easier if I’d had a bigger work area – that’s what you get for doing a fairly major project on a boat I guess
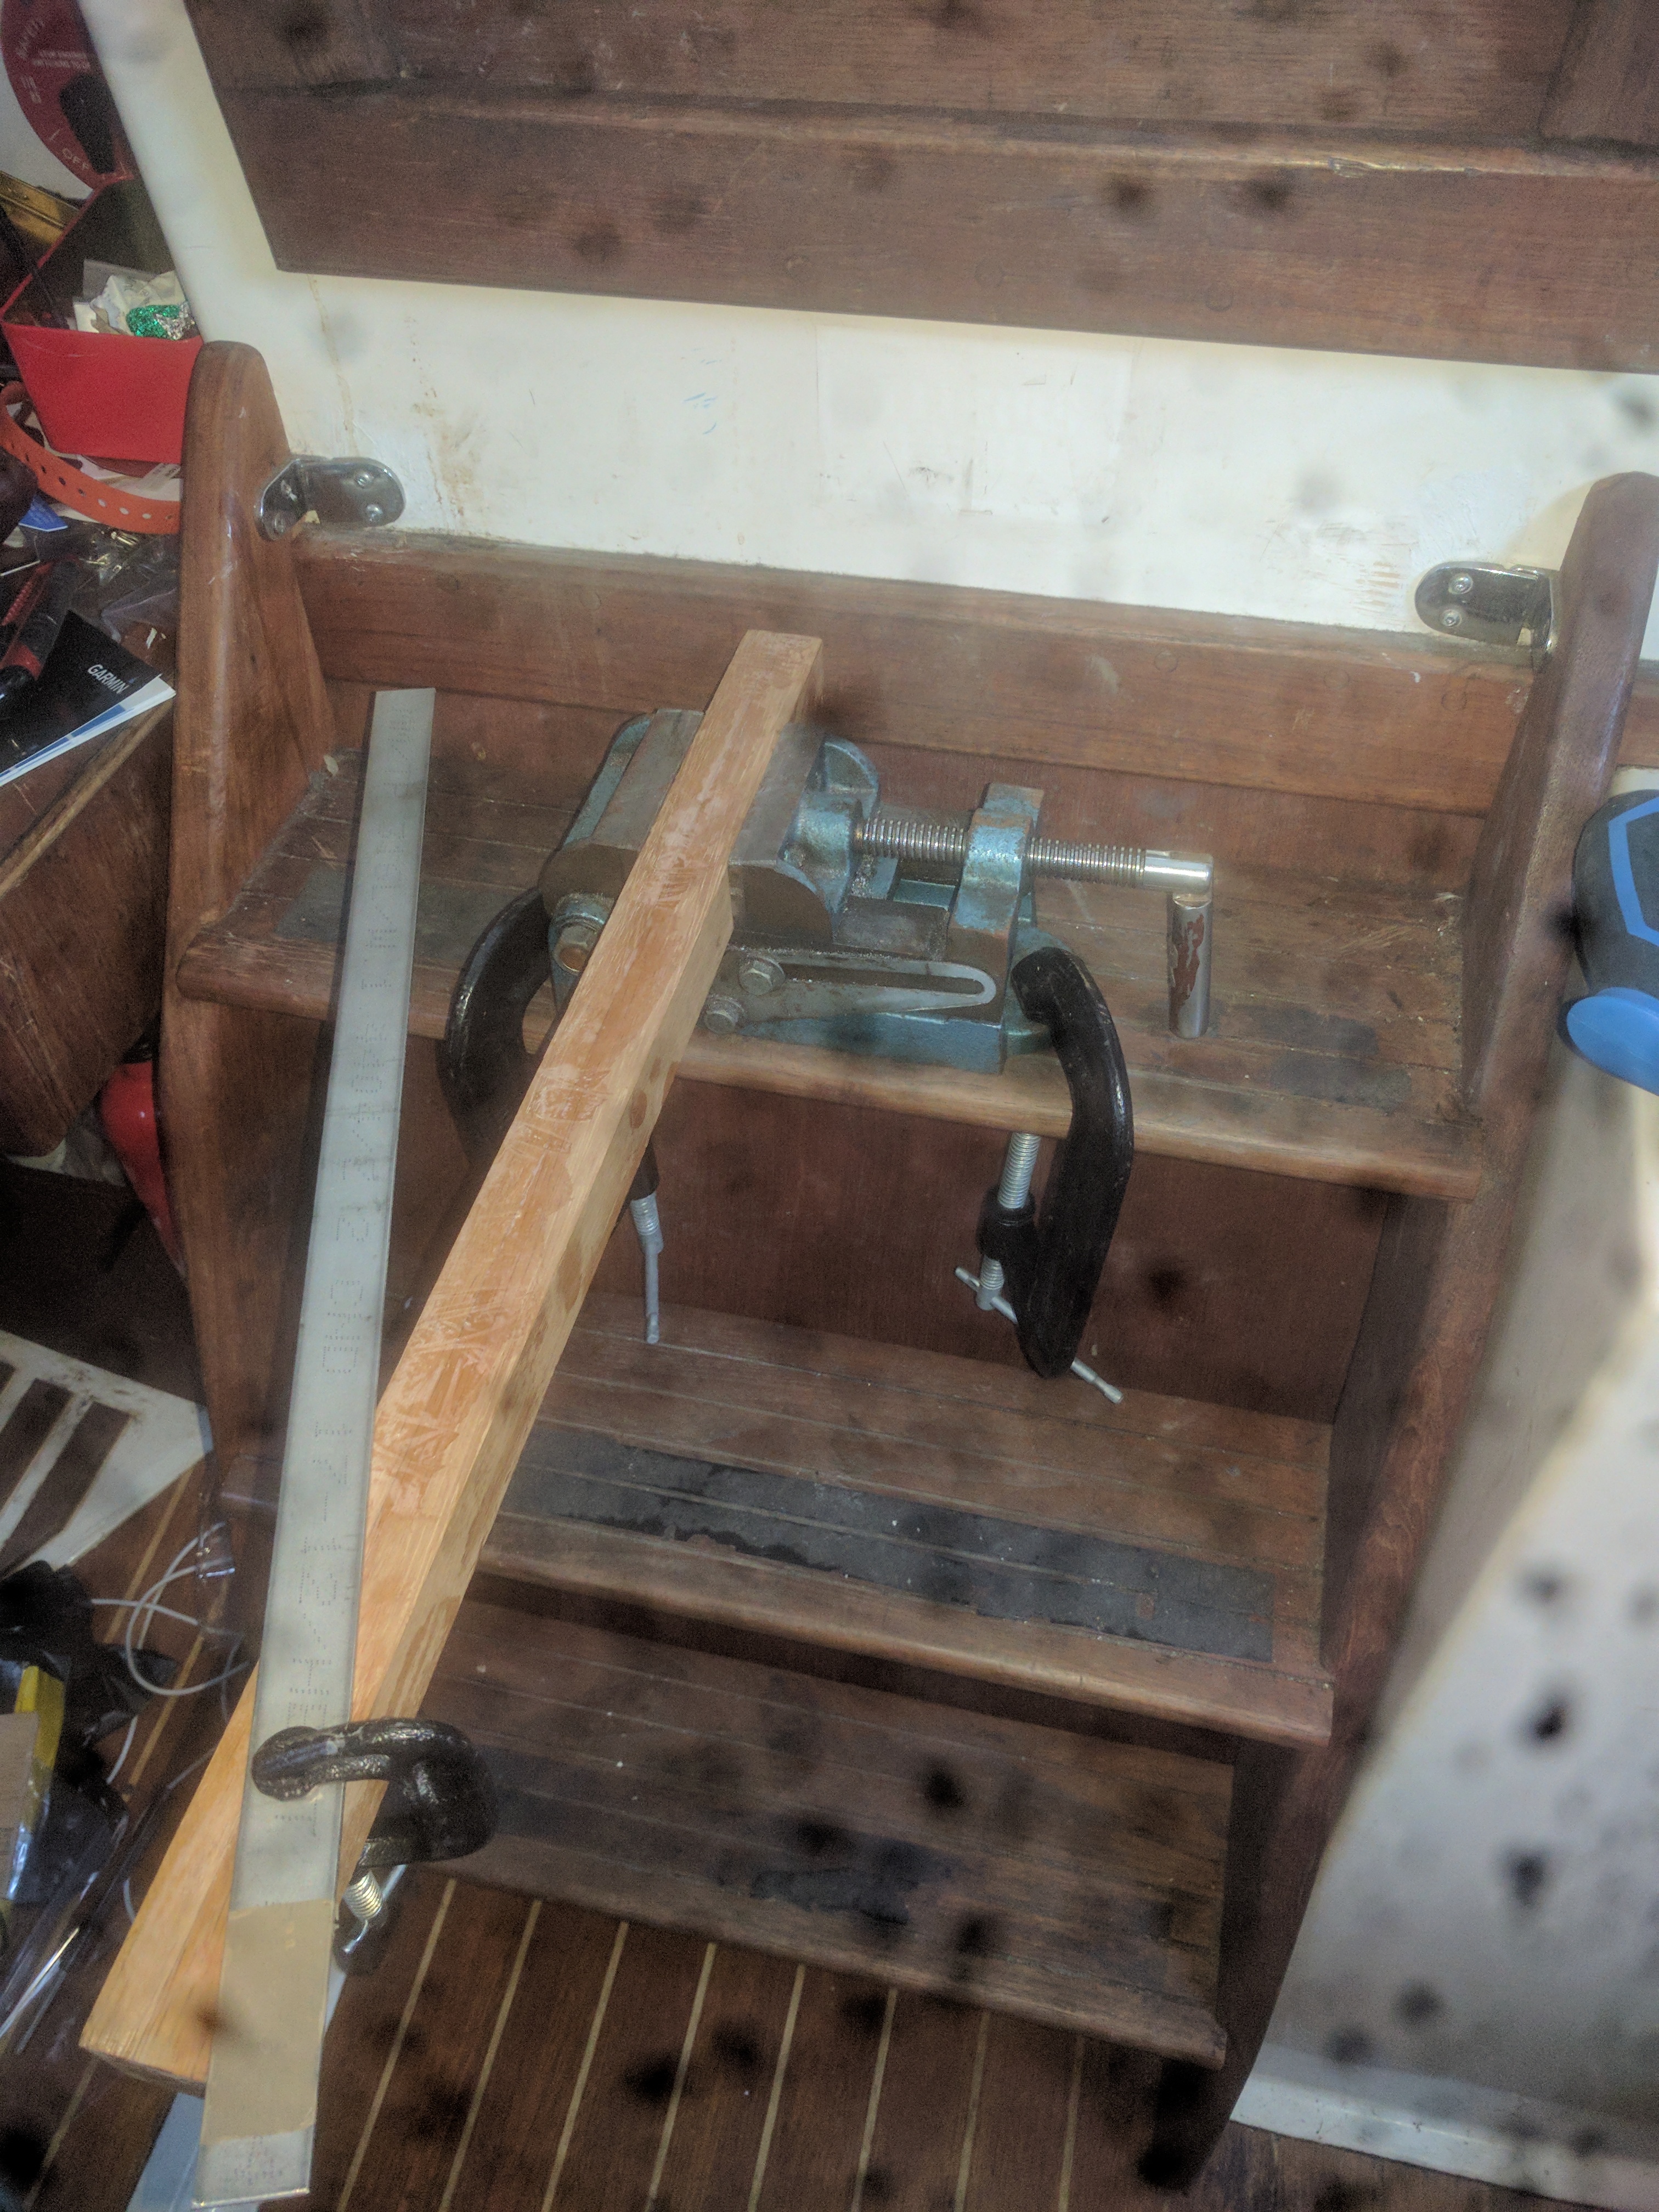
Next I had to cut a groove for a metal 20mm rod, that would support the windvane. The instructions said to use delicate chisel work but I am lazy and copied this guys method of just using a hole saw
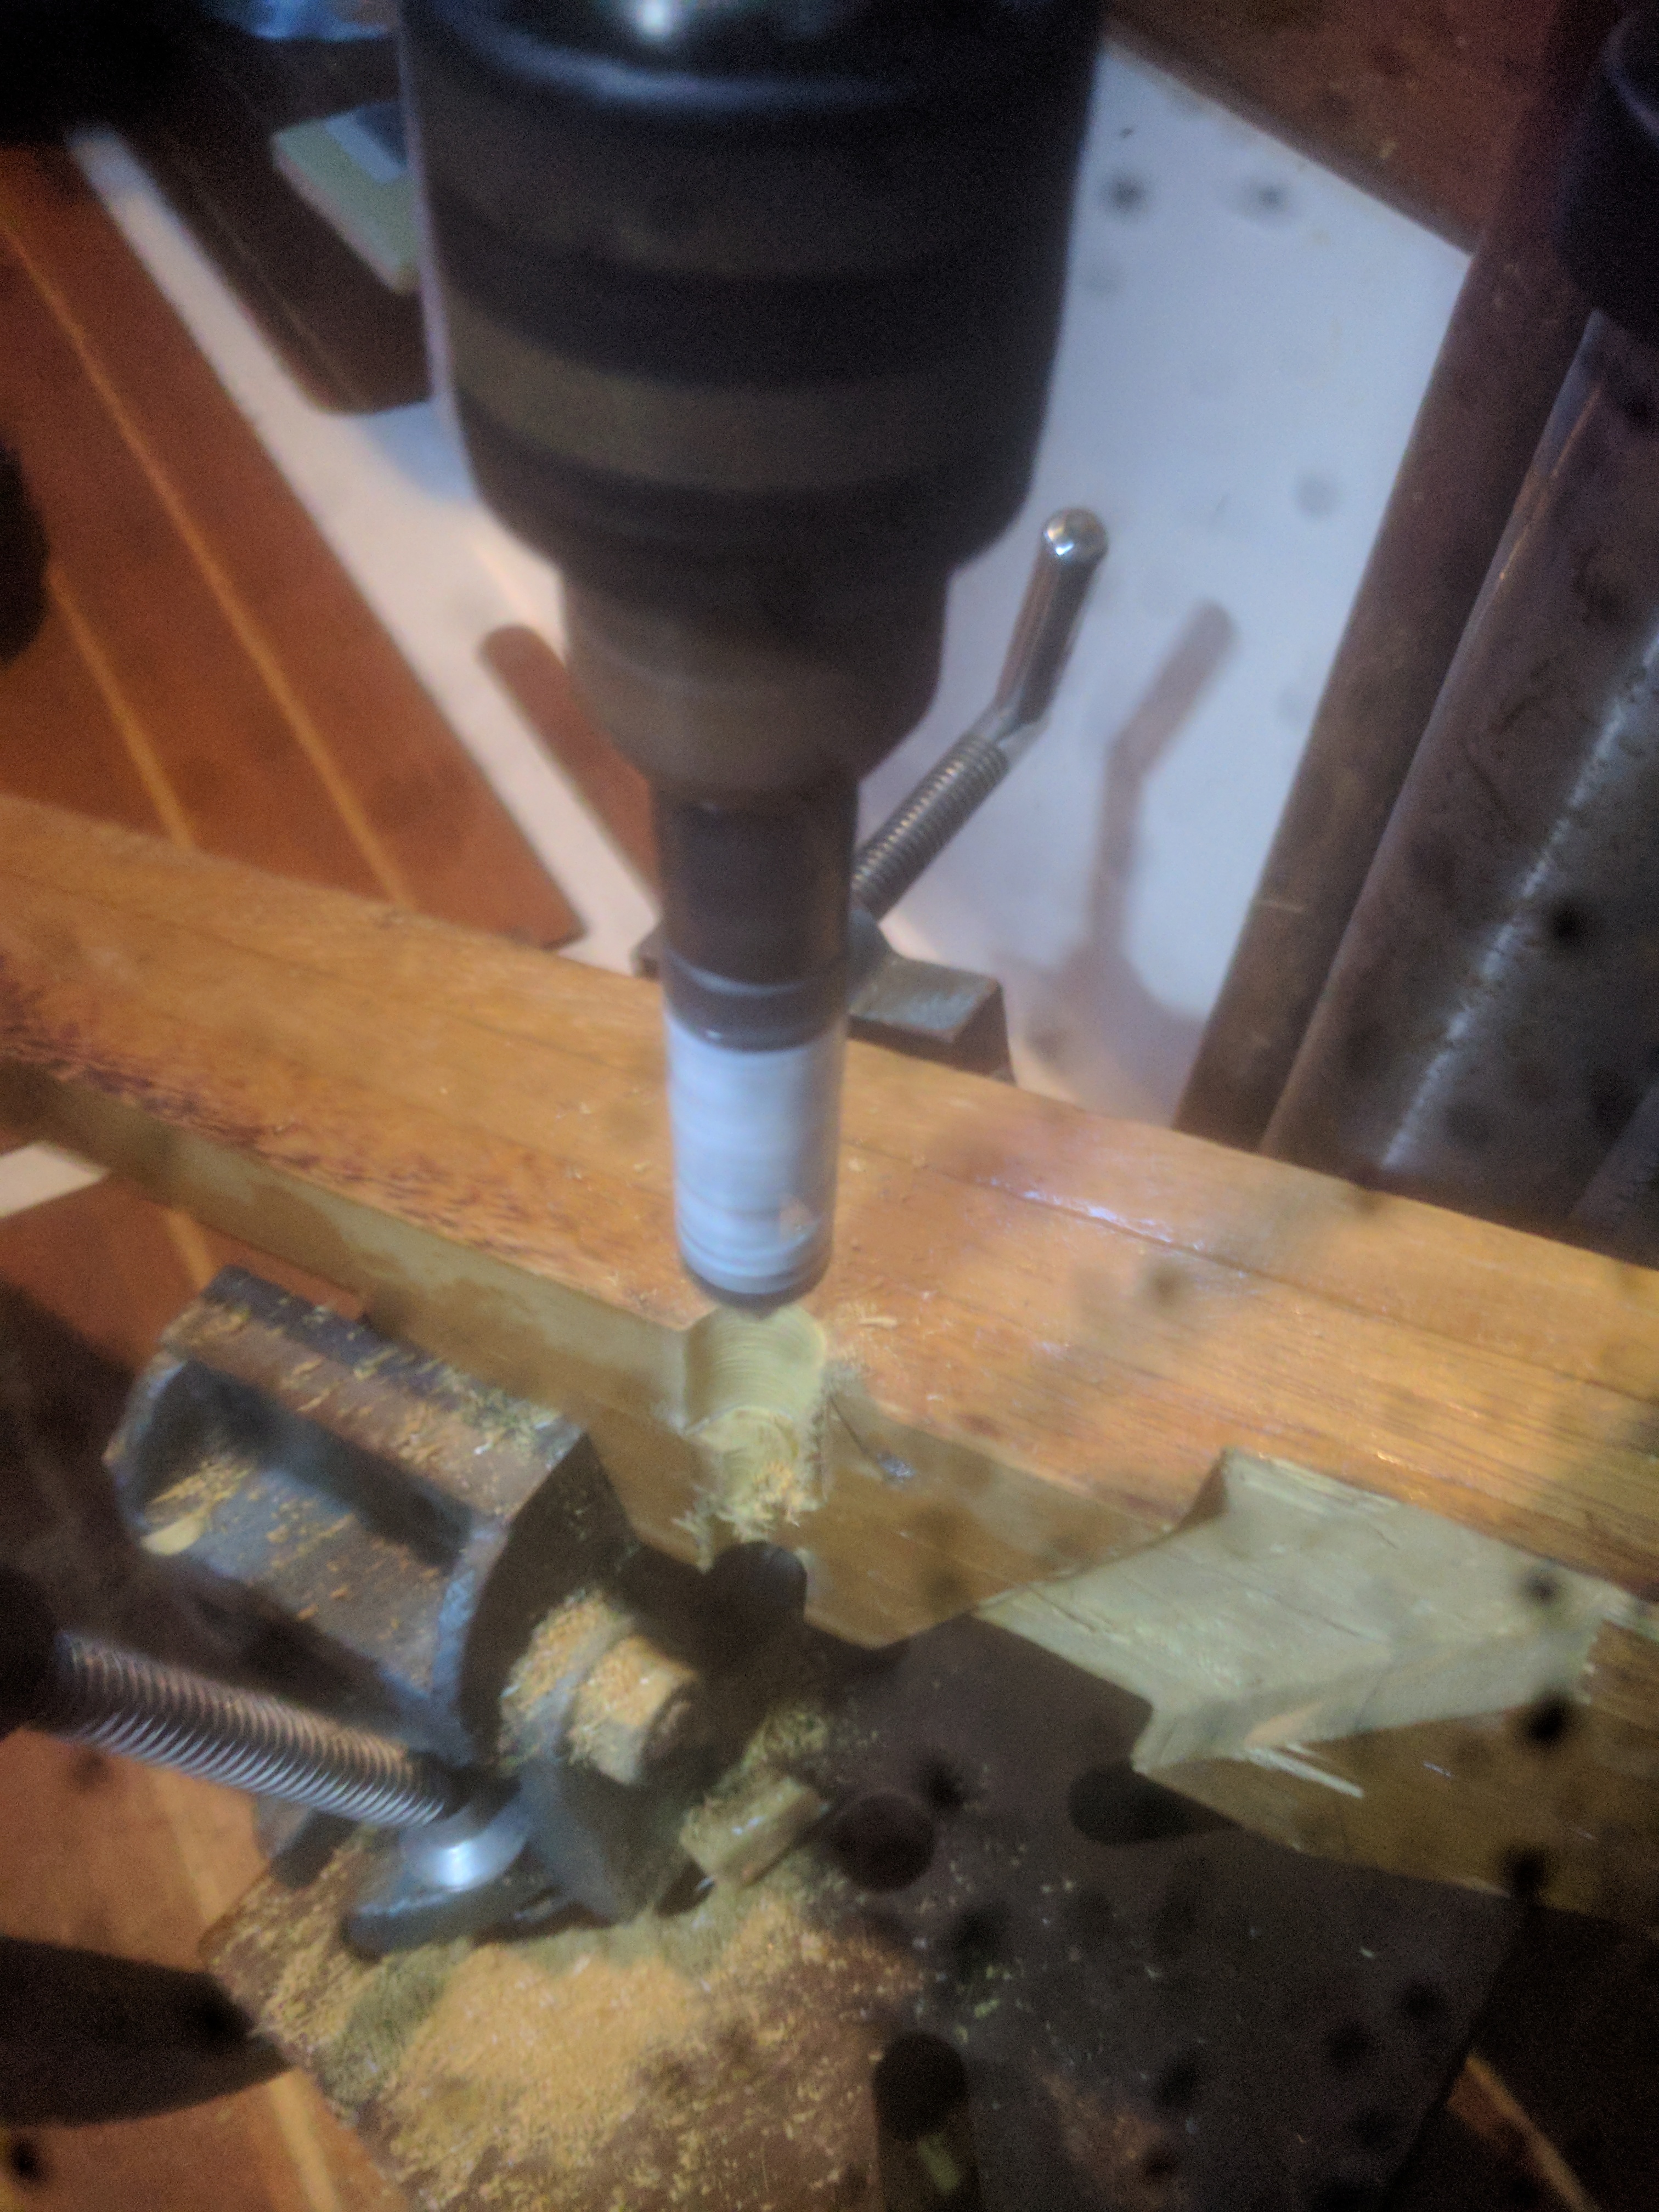
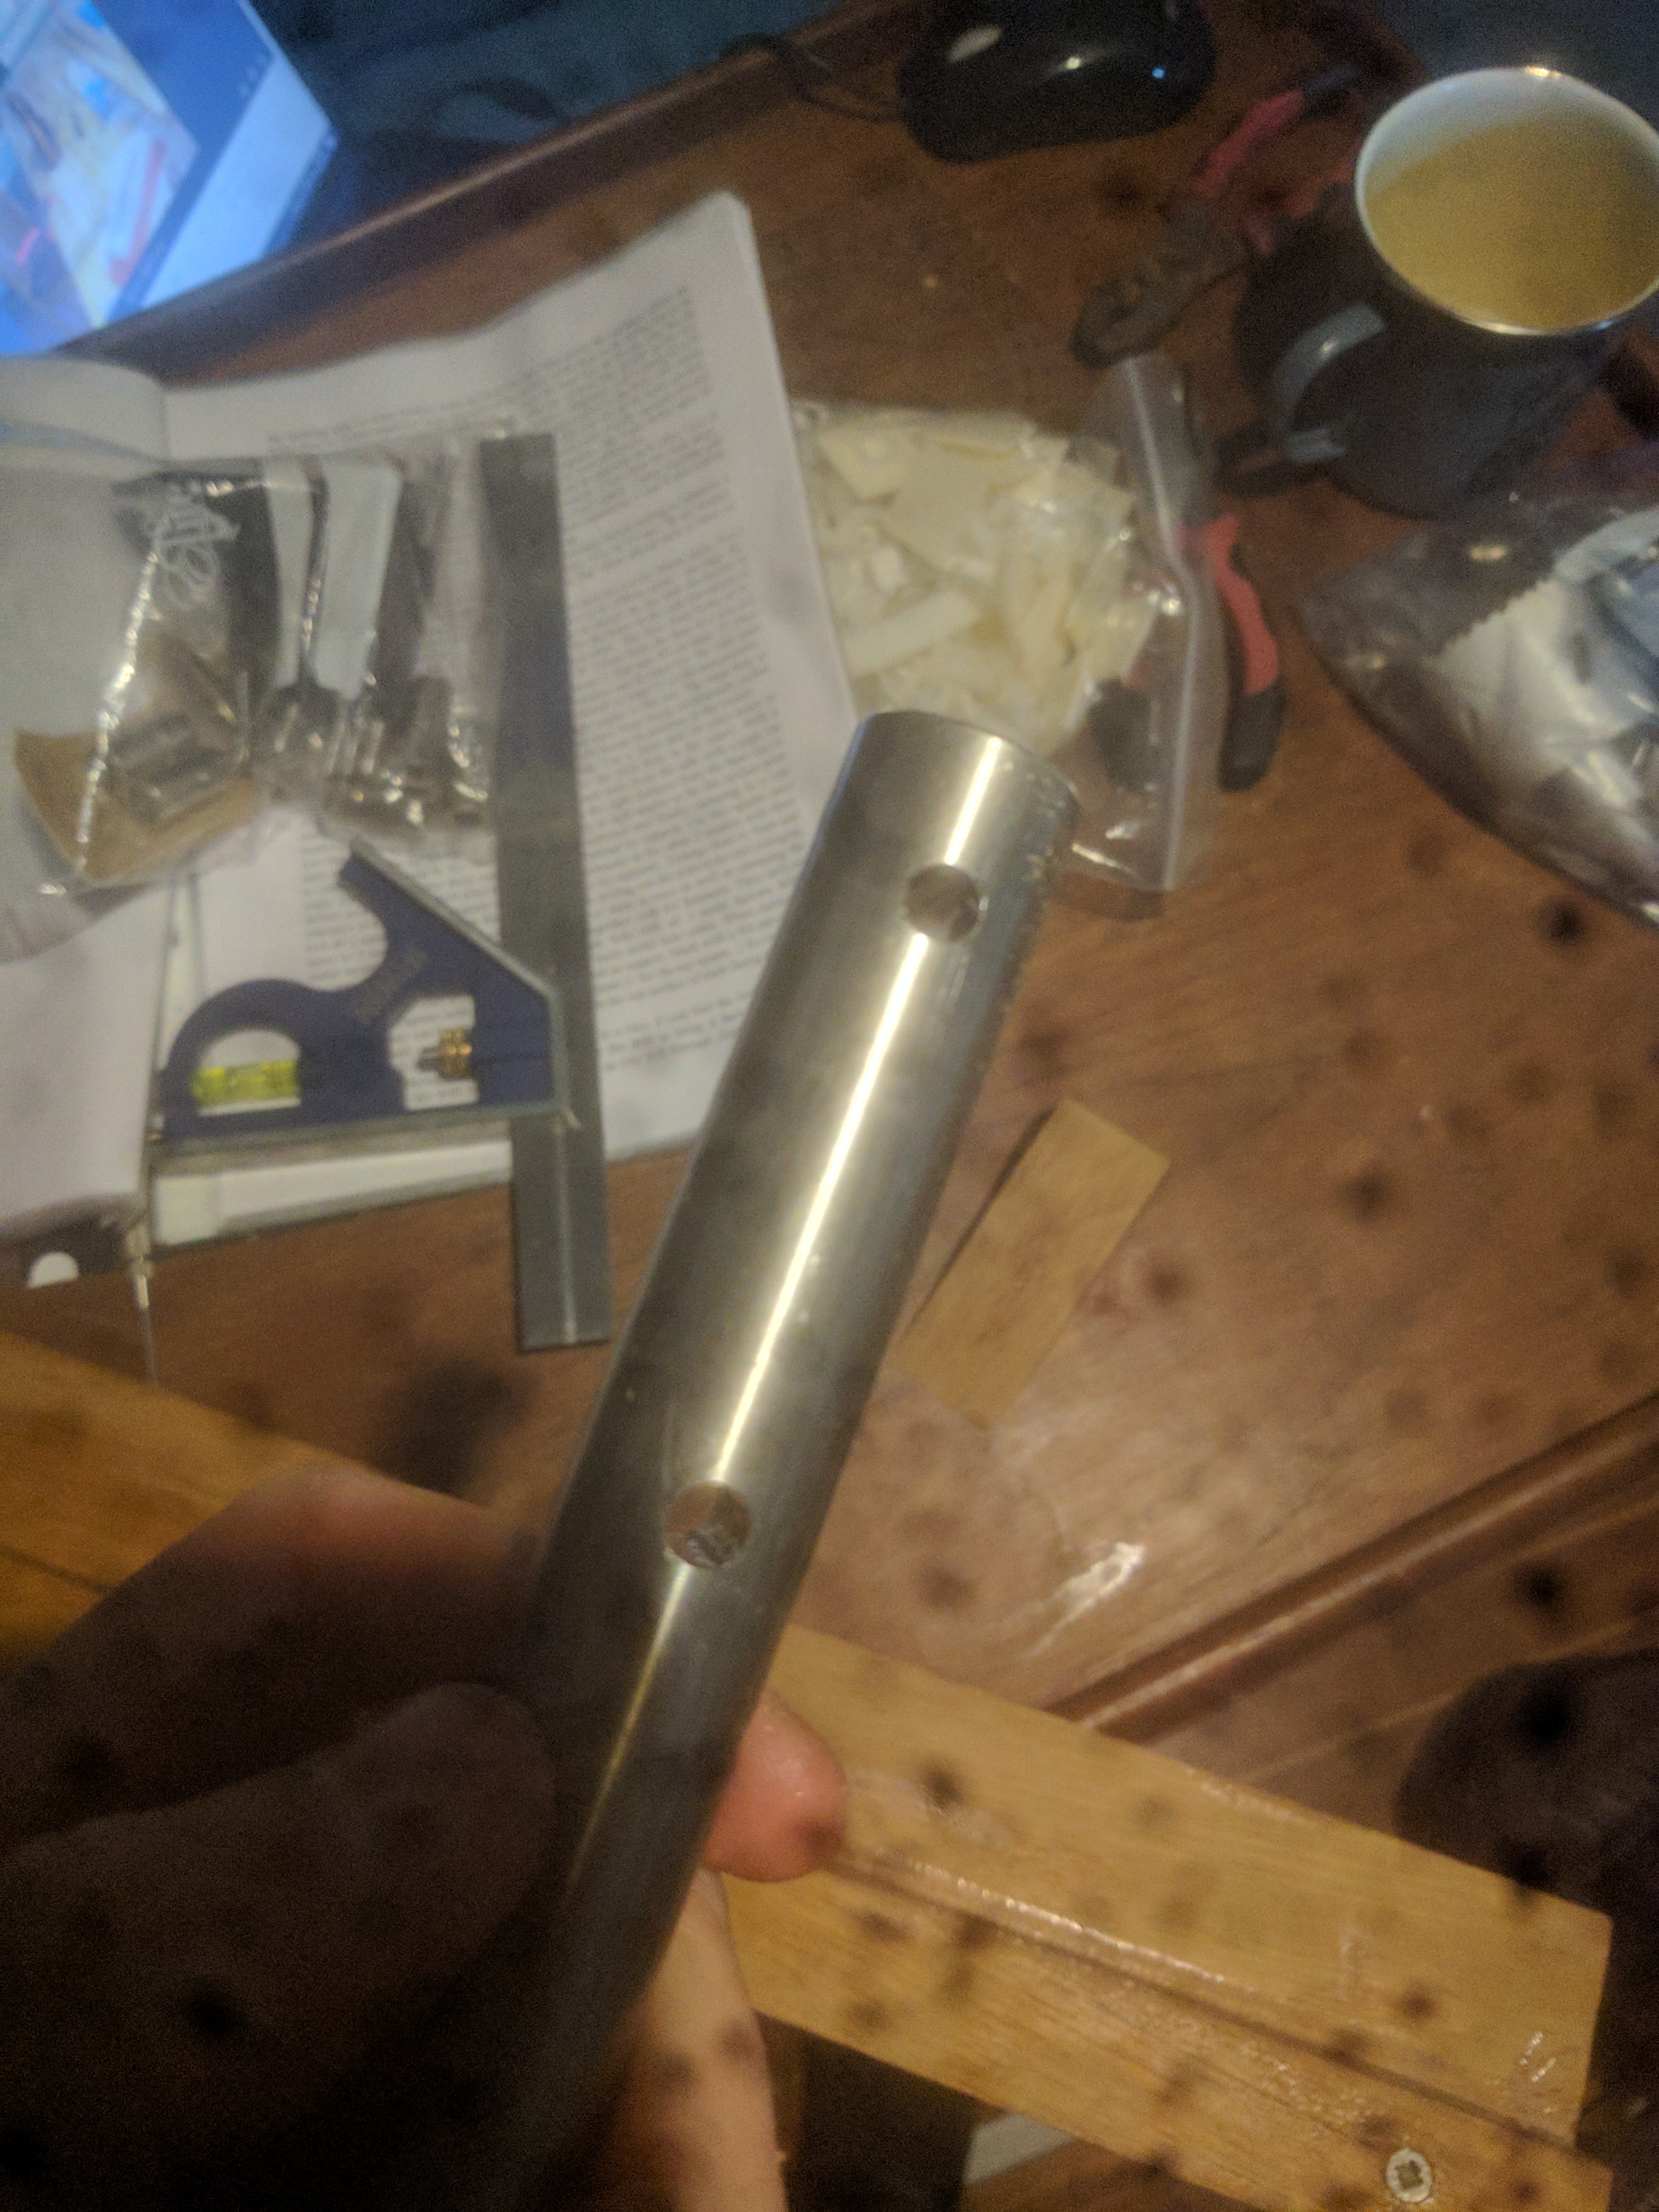
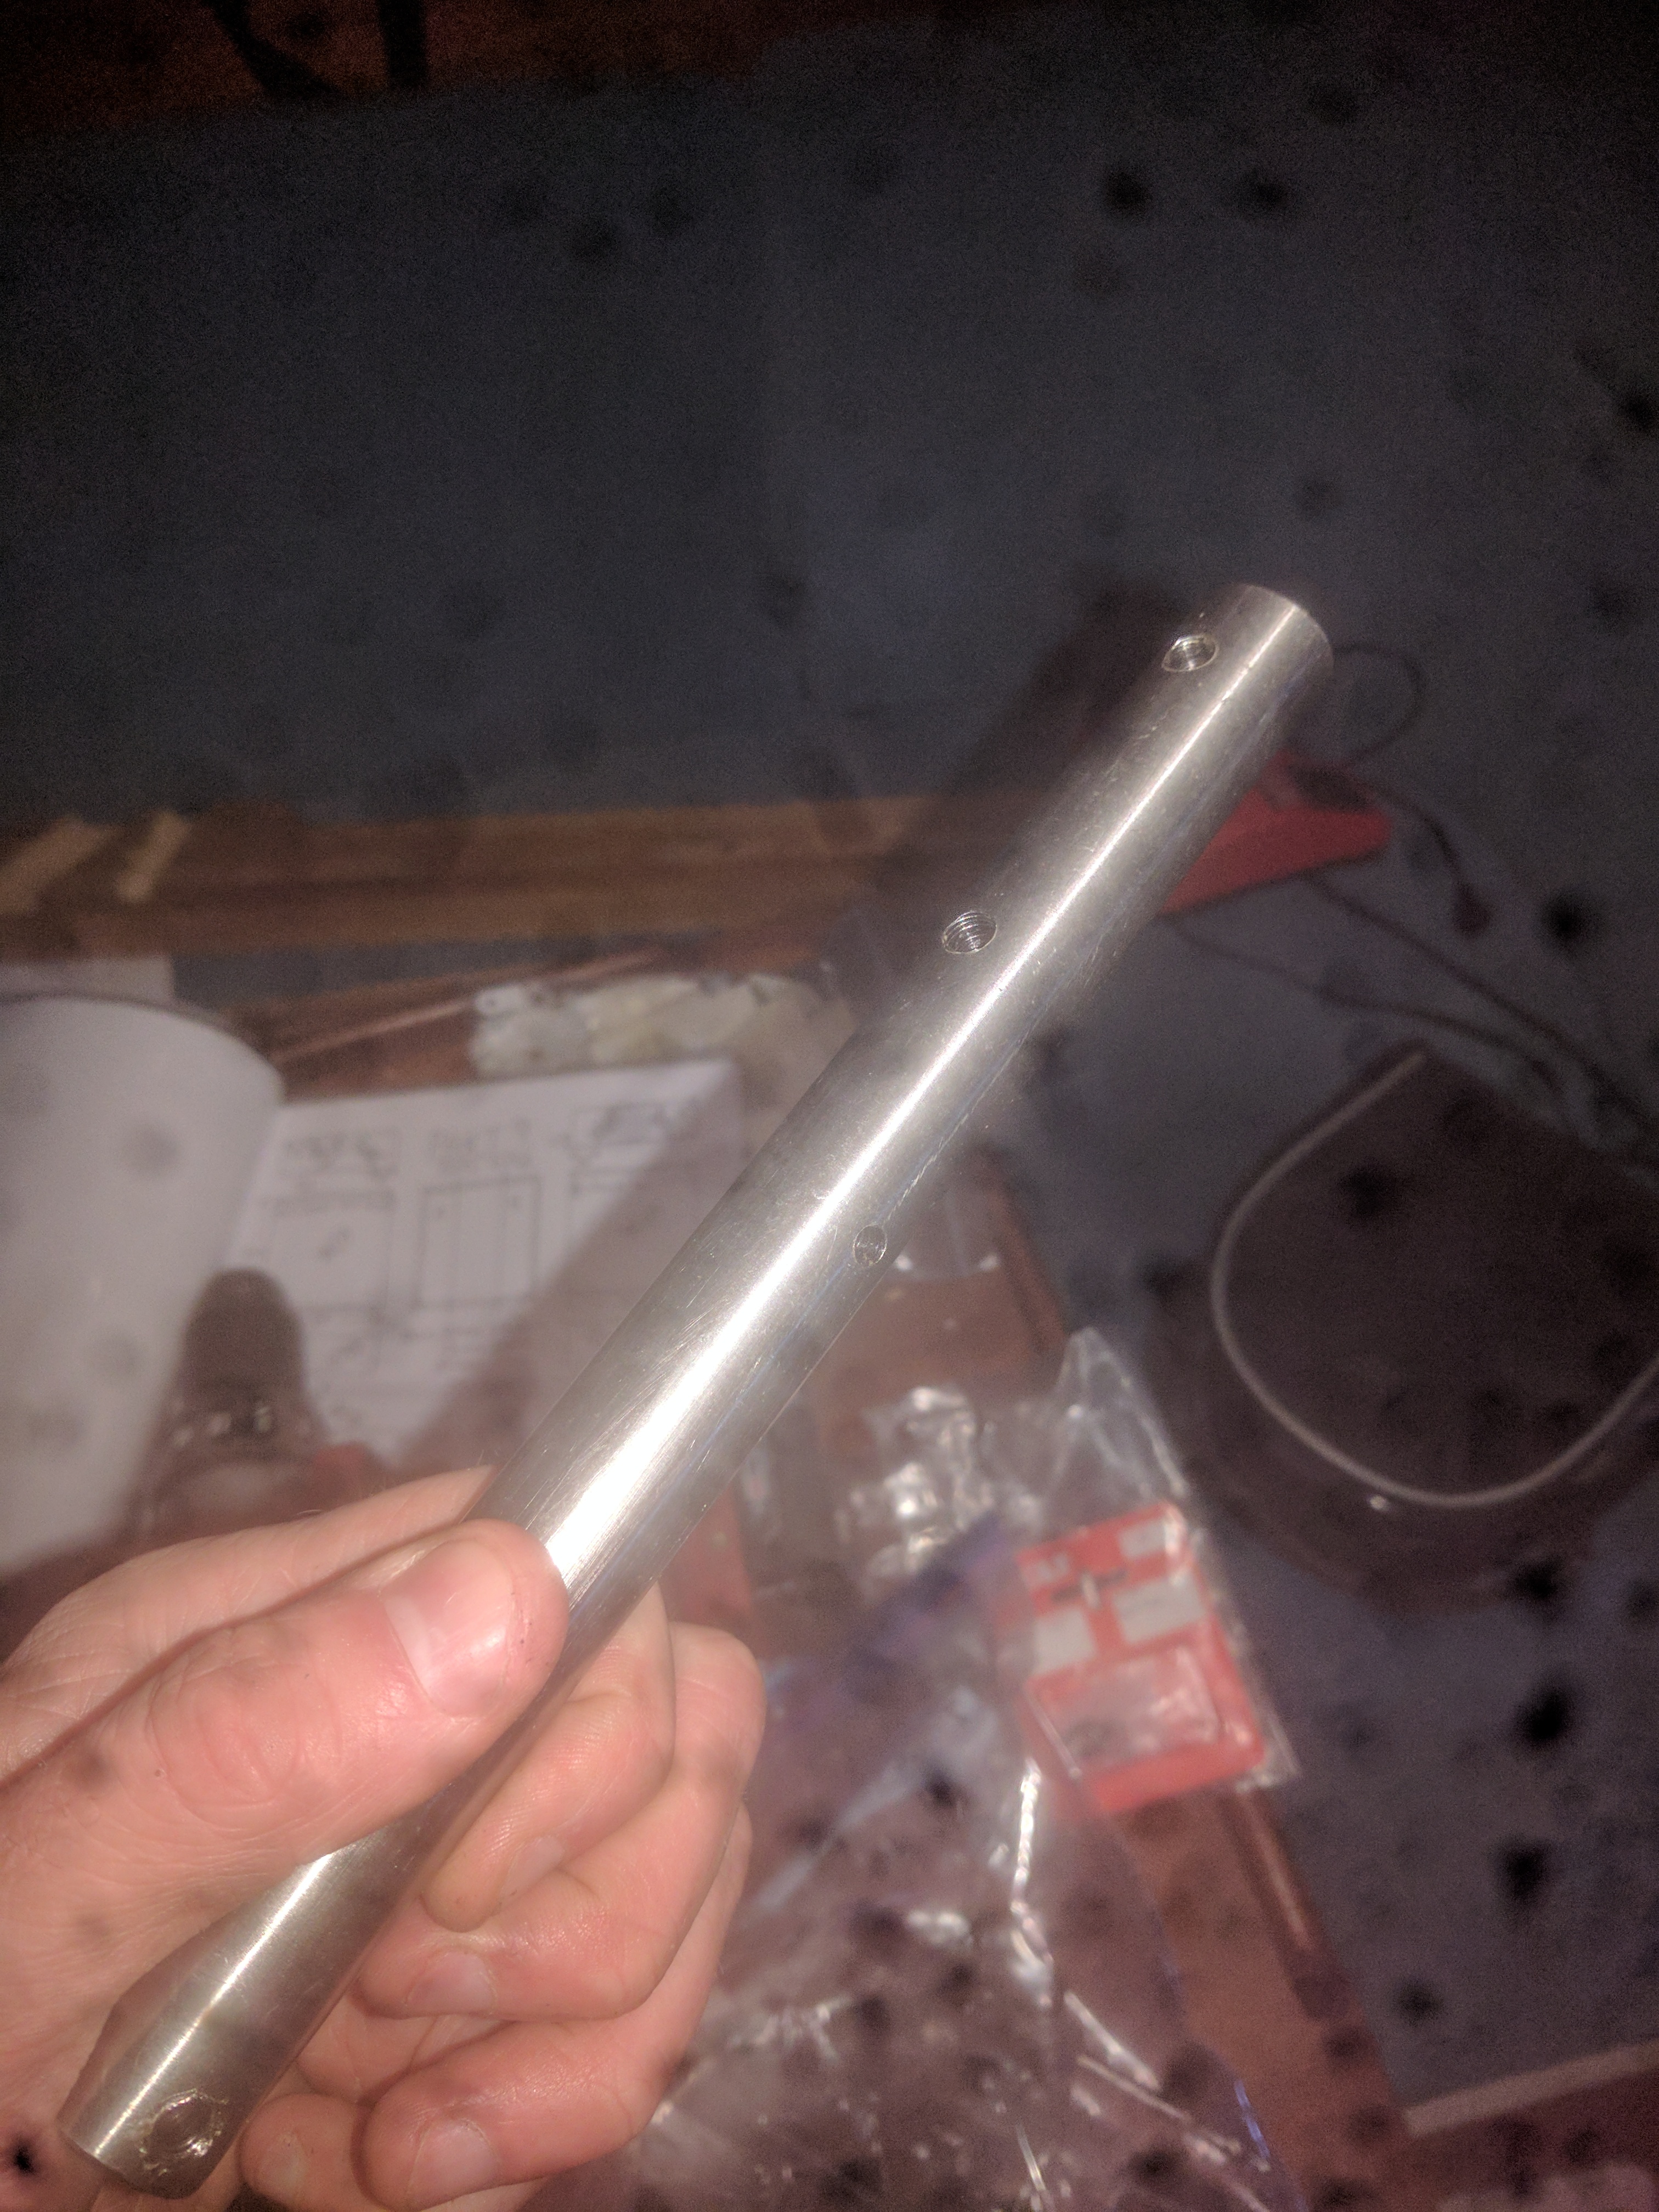
Next it was drilling a few holes through a 20mm bar – again, I have no idea how you’d do this without a drill press.
The final bit before I could bolt everything together was sort out the weird metal cylinder bit. First I needed to cut grooves in the top every 10 degrees. I did this by wrapping masking tape around the cylinder, making the length and then dividing it up by 36 on a ruler. I then put it back on the cylinder
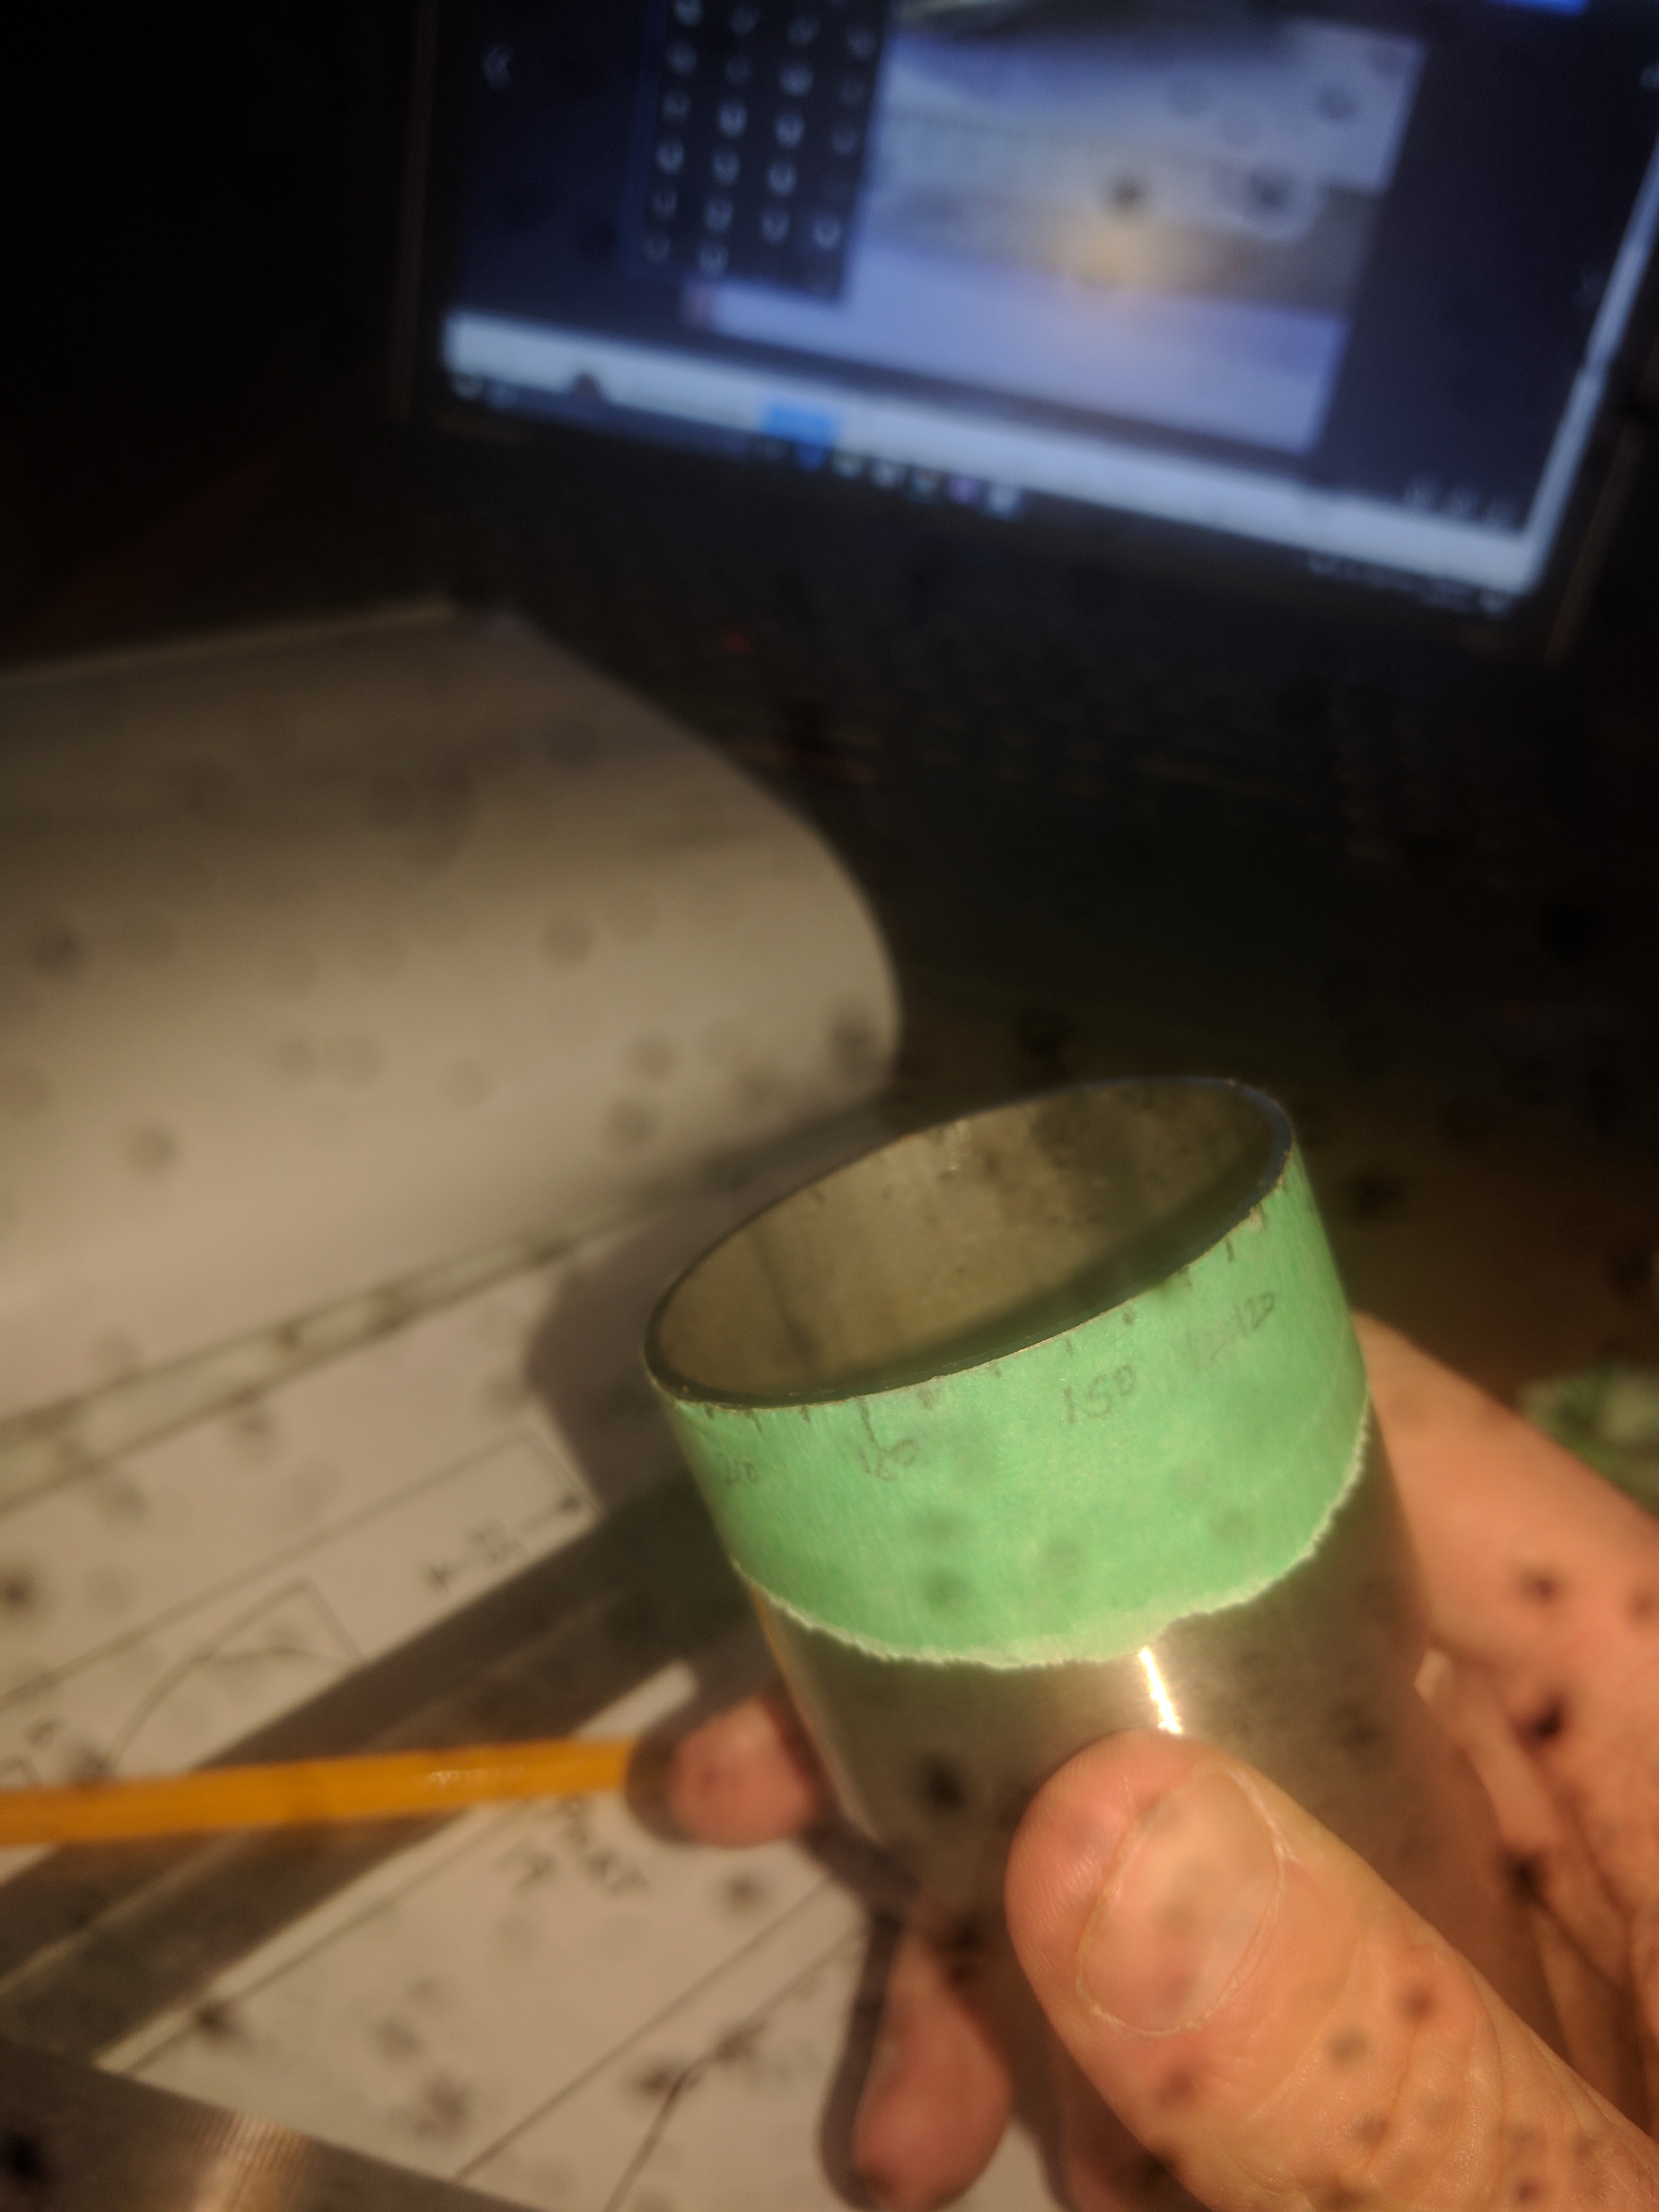
And cut the grooves
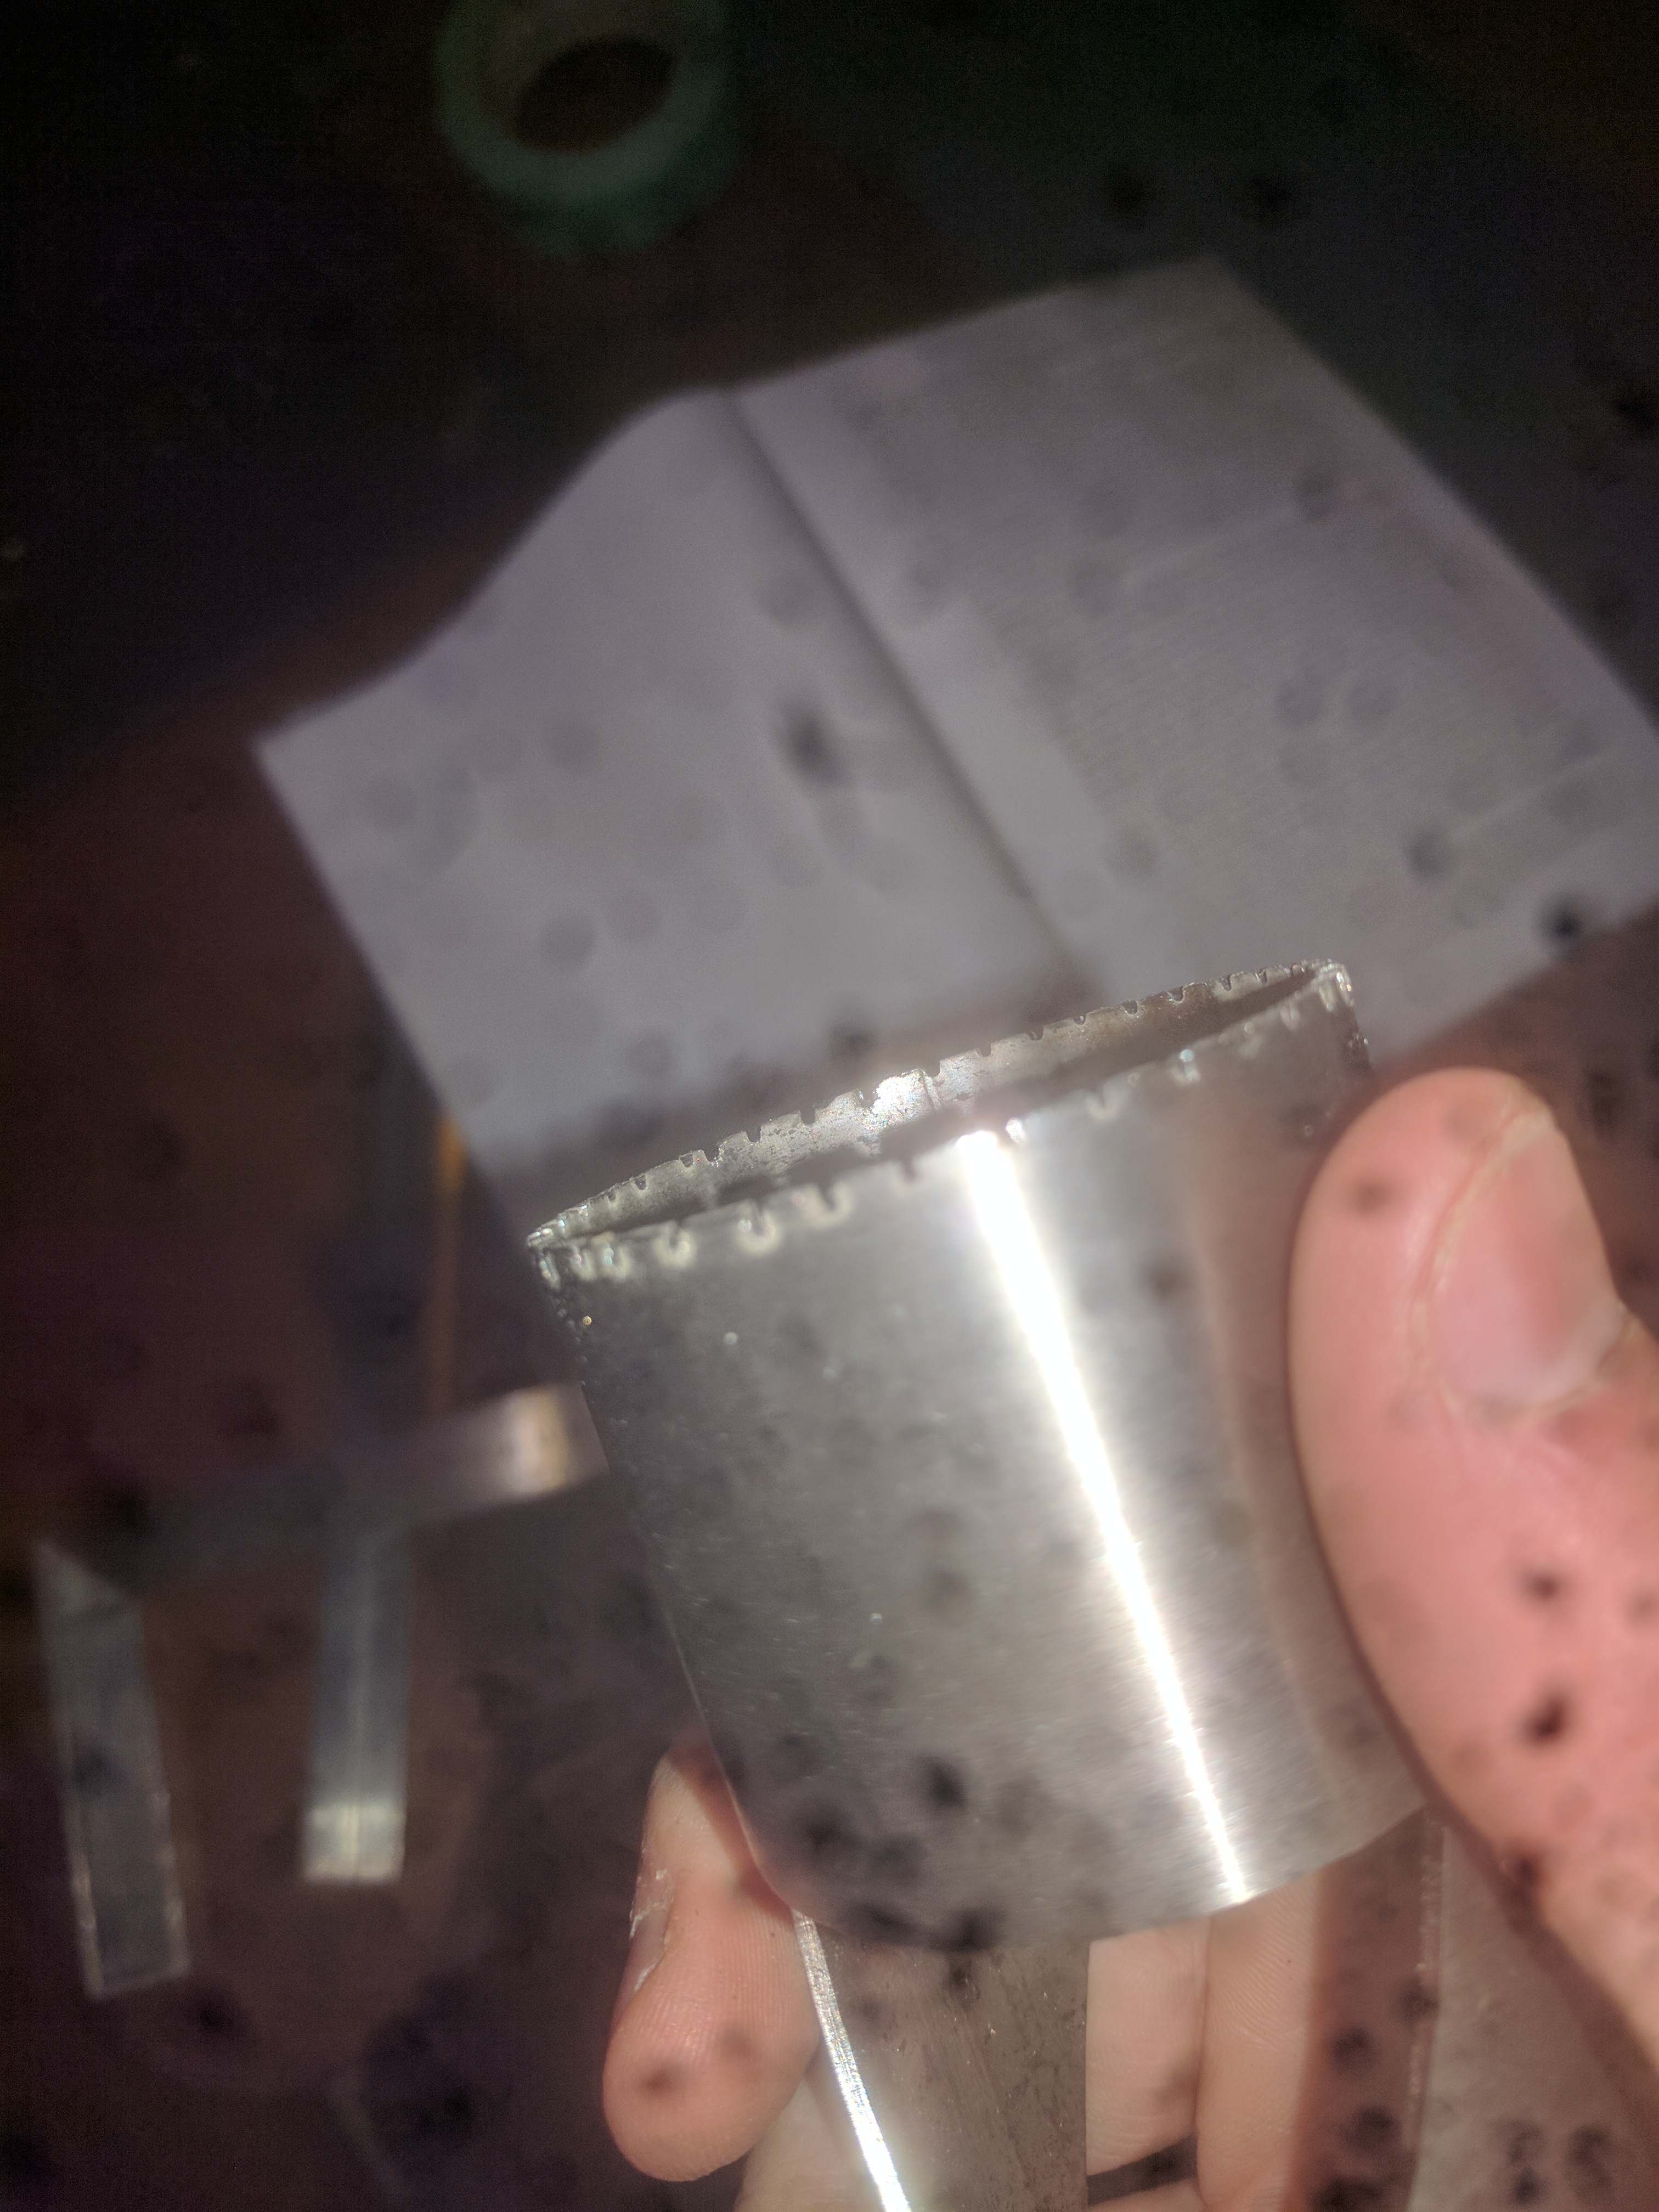
I screwed up a few but I think by and large it was pretty accurate.
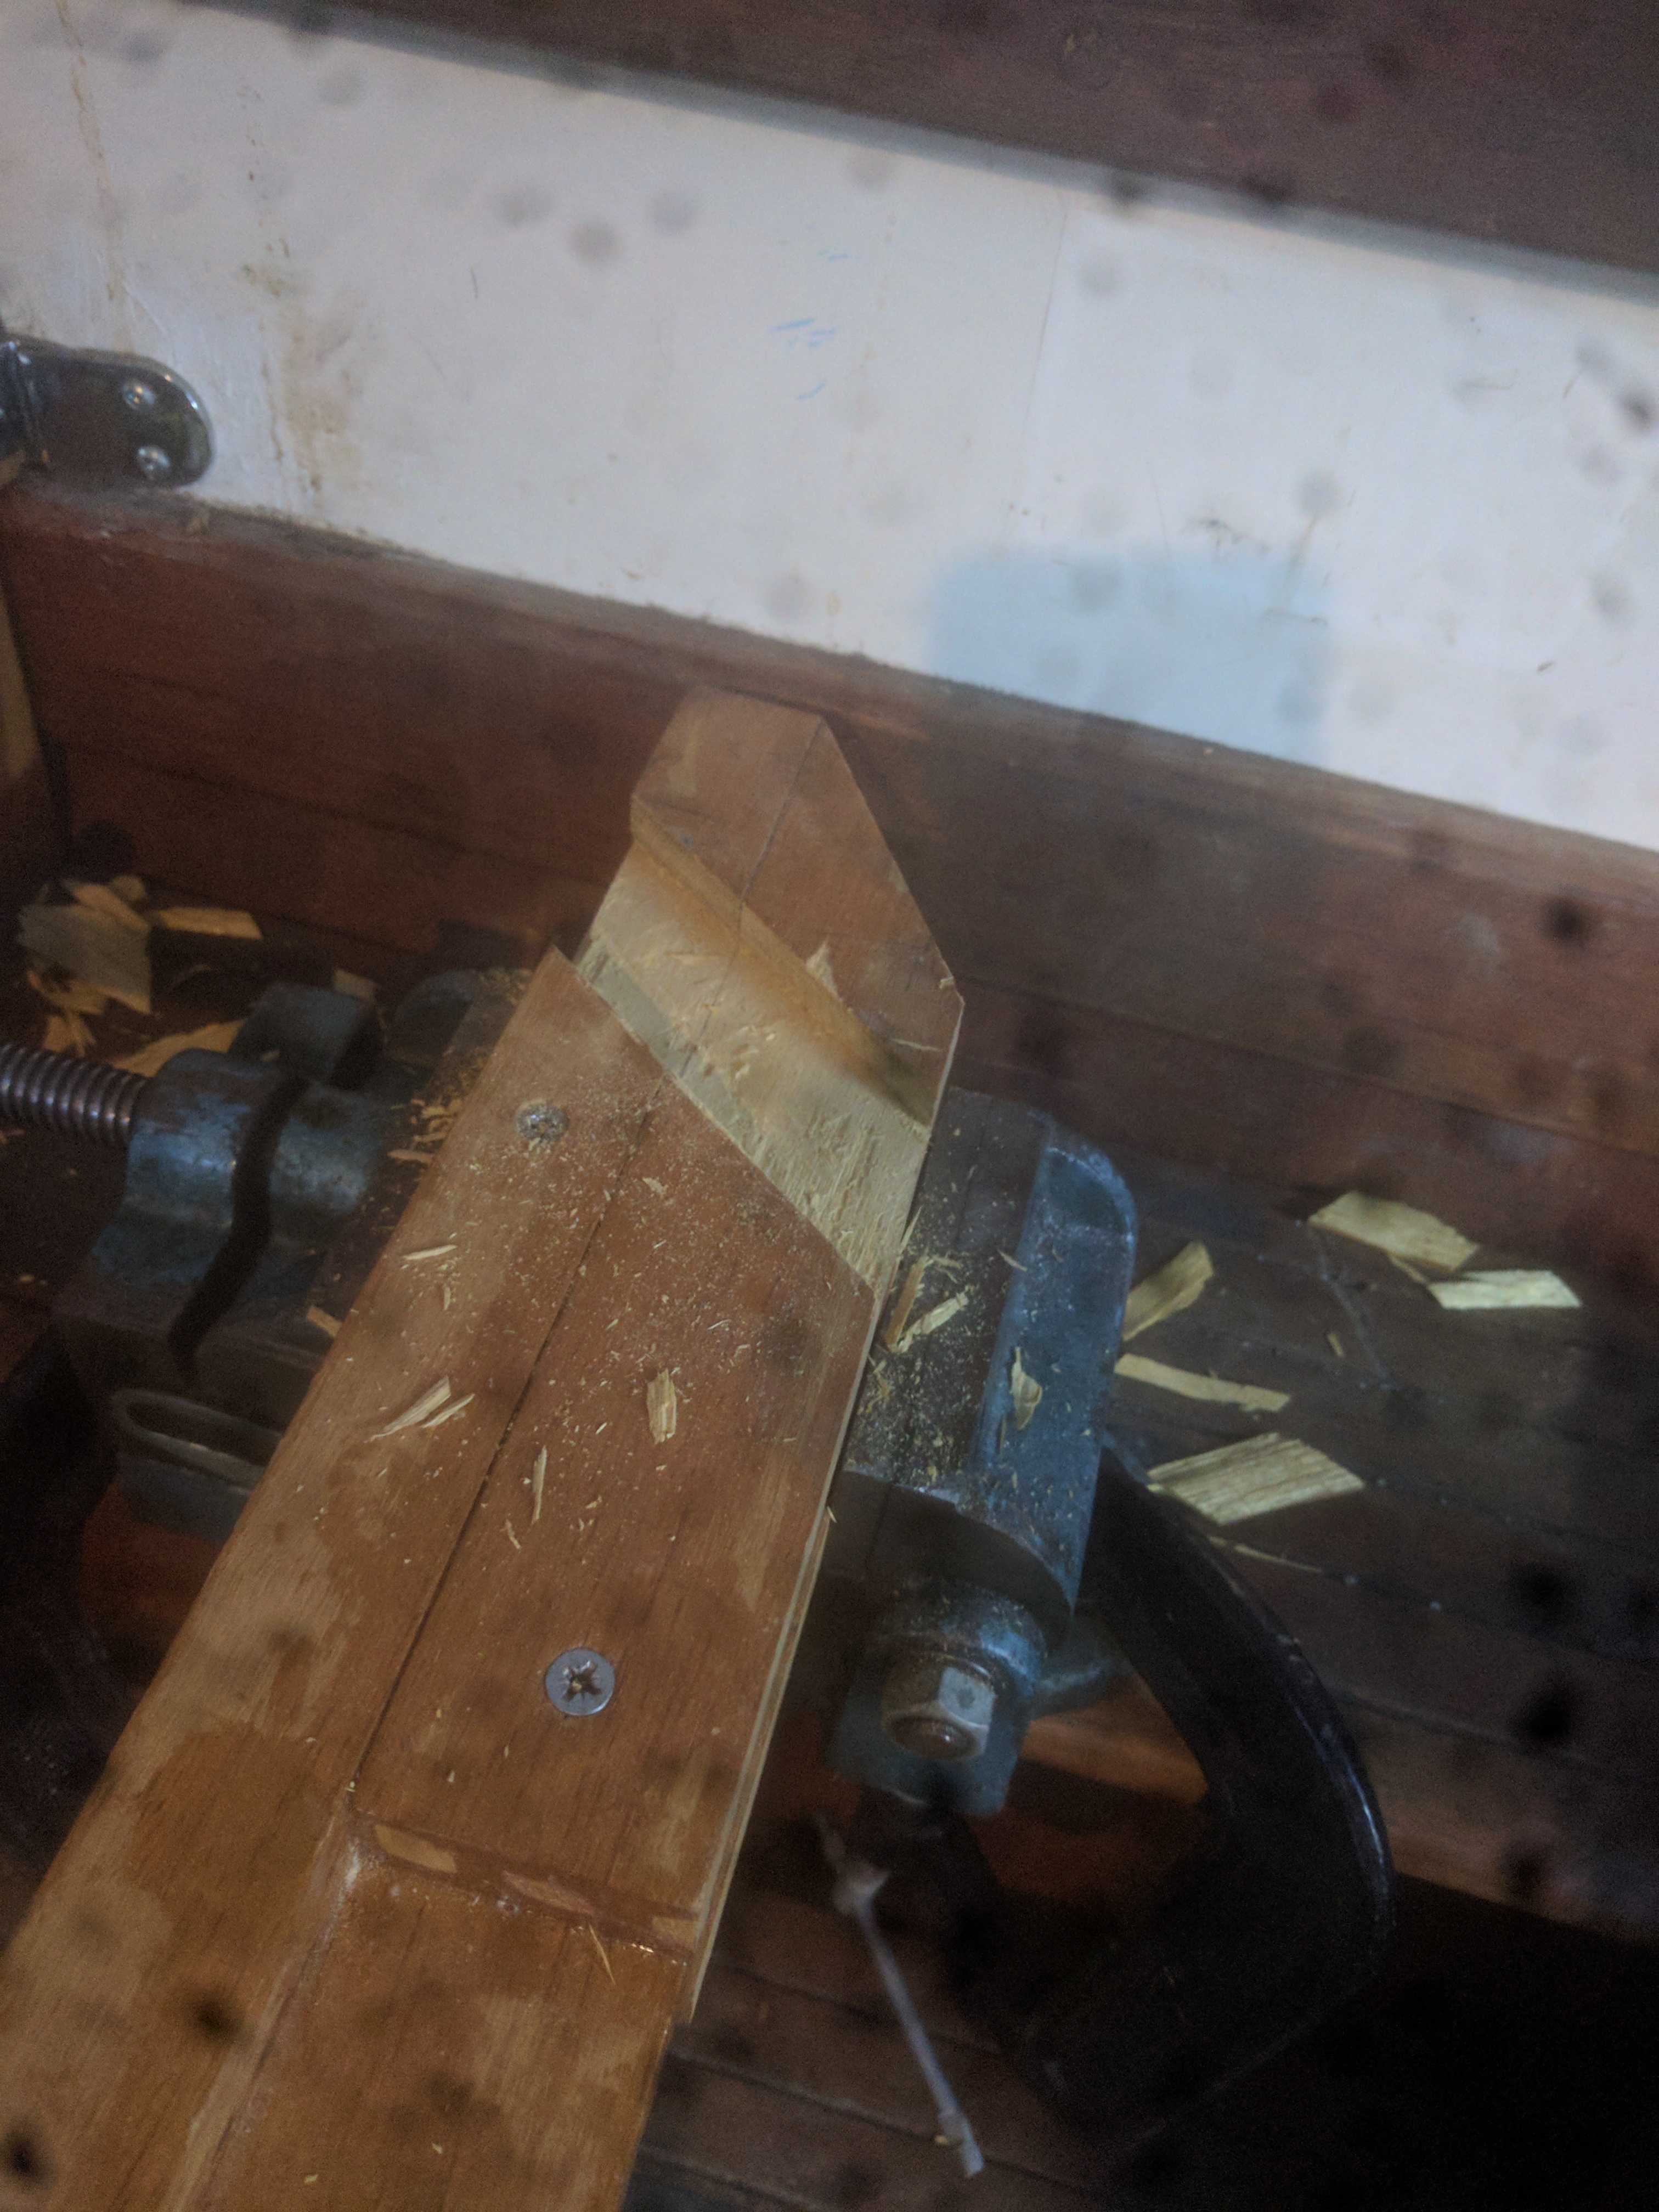
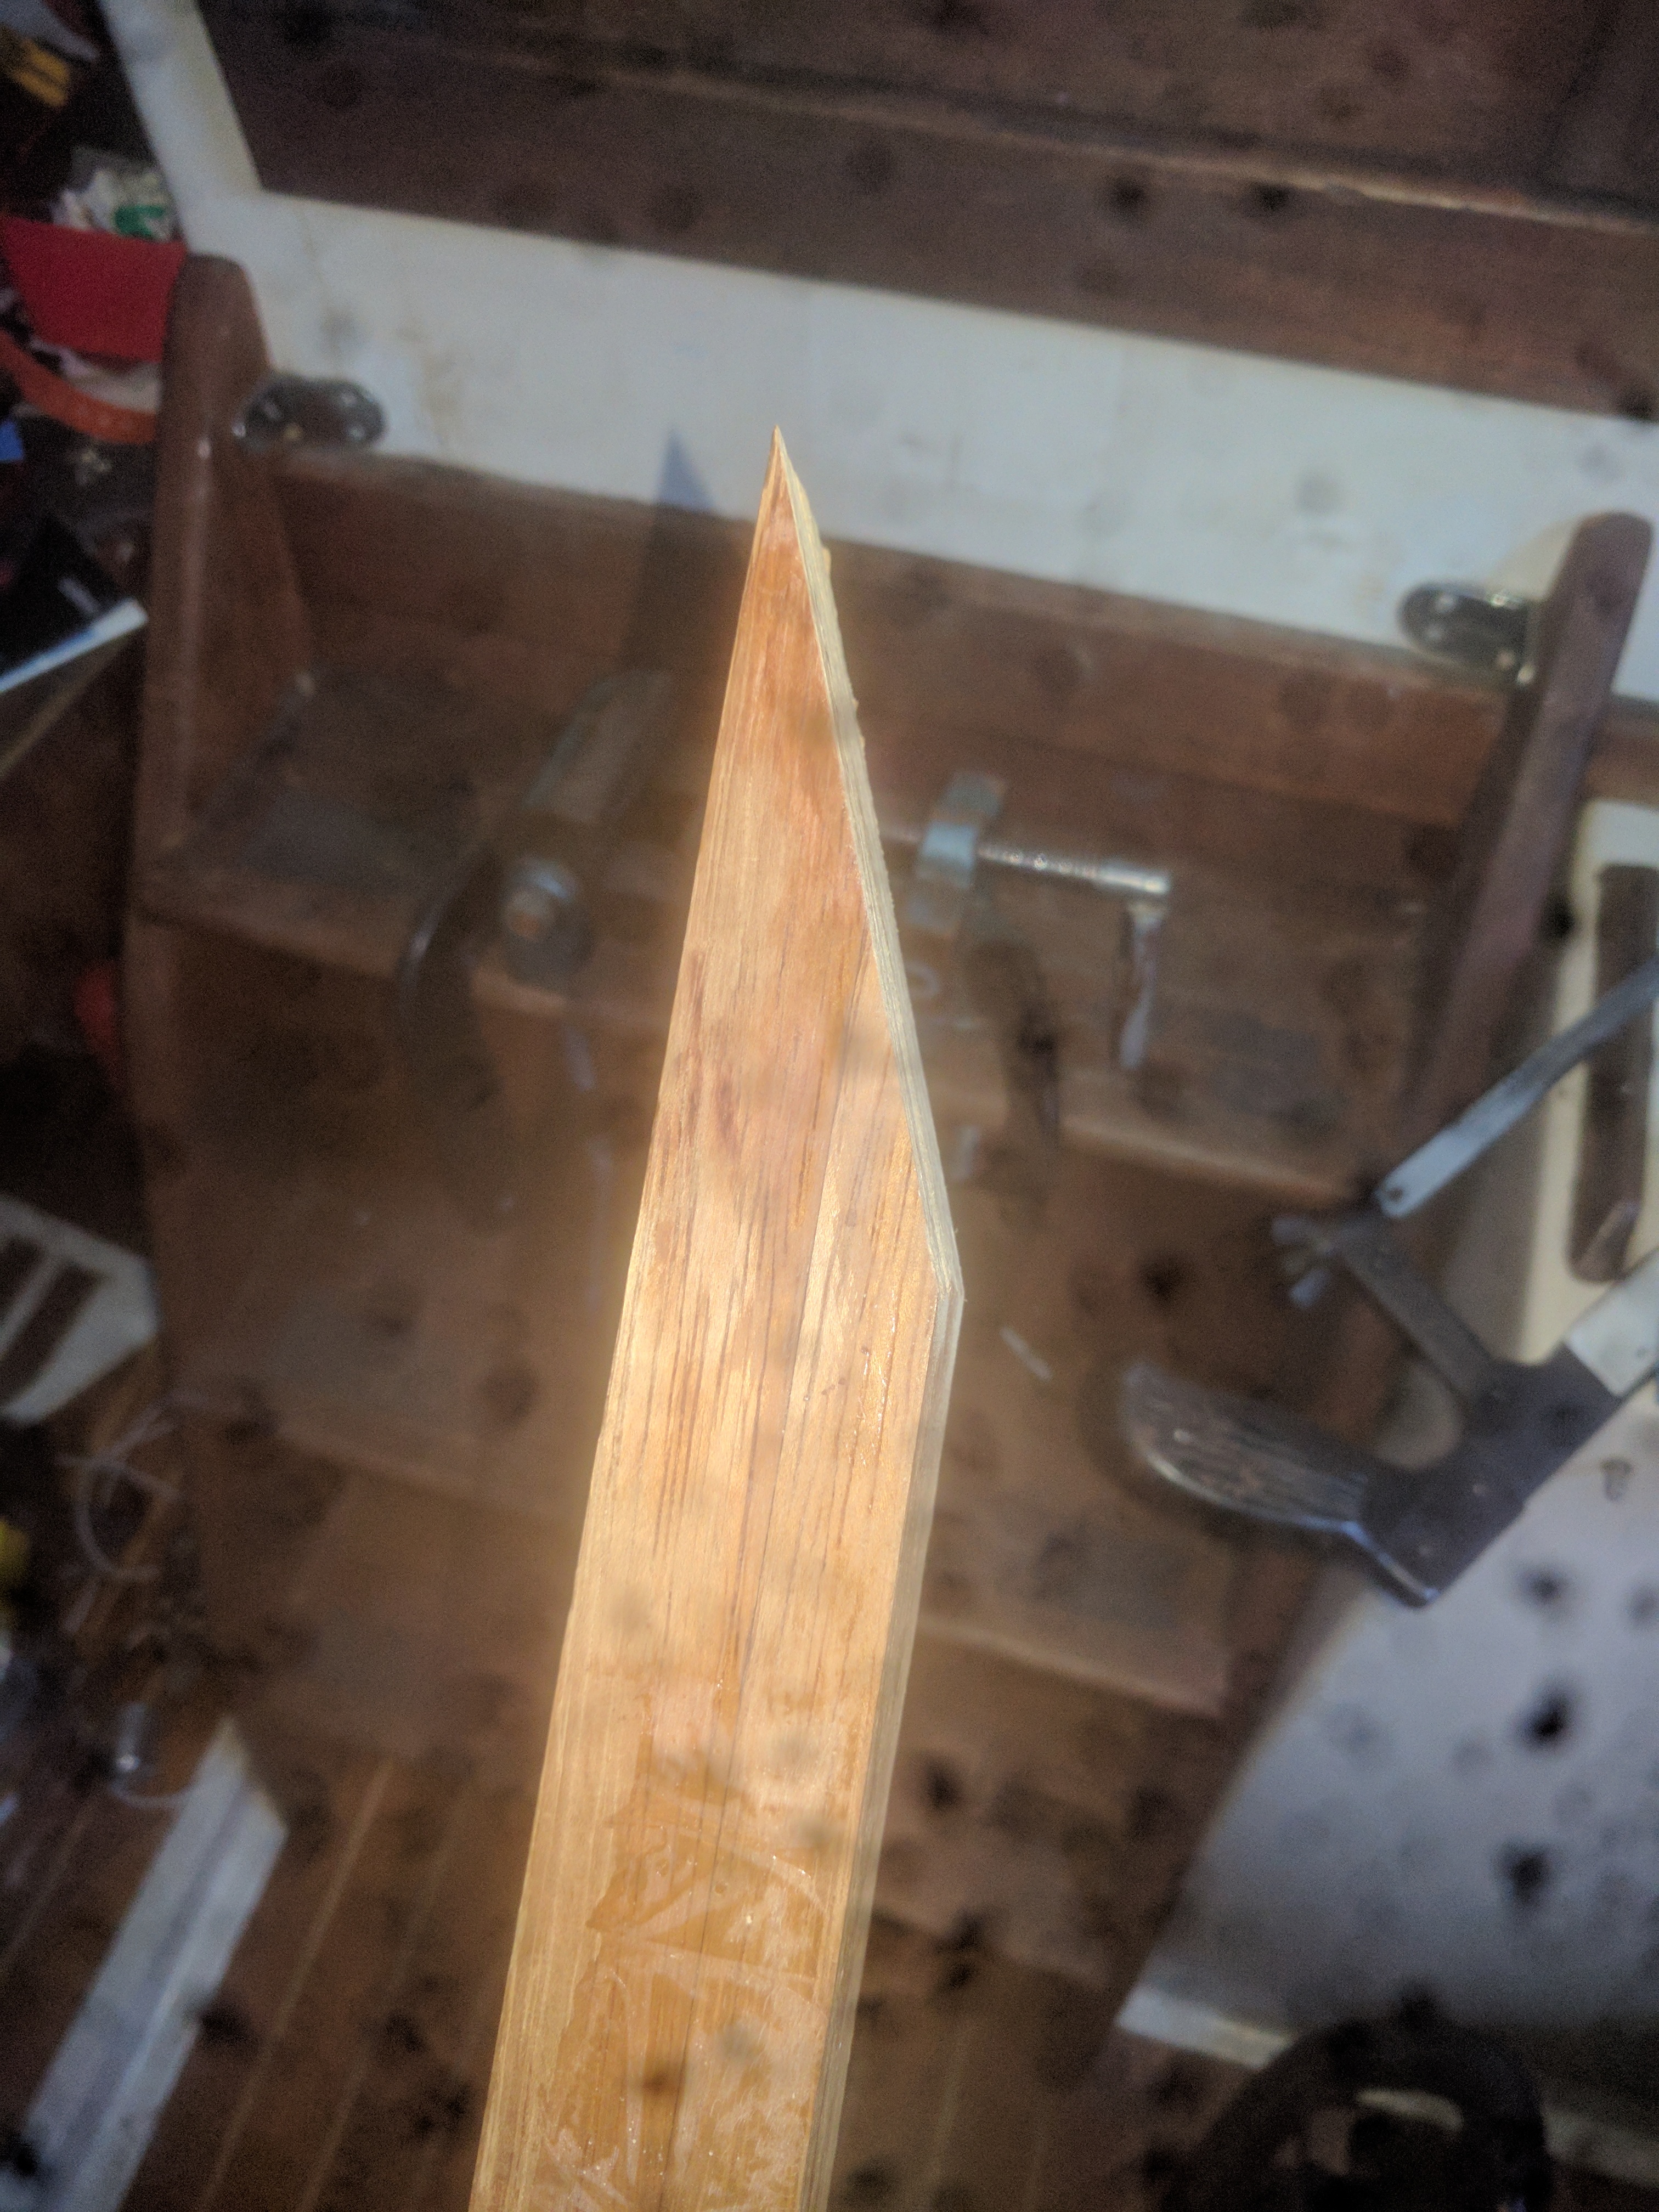
Then I had to attach it to the extension, which involved sawing the top off at an angle
Like so
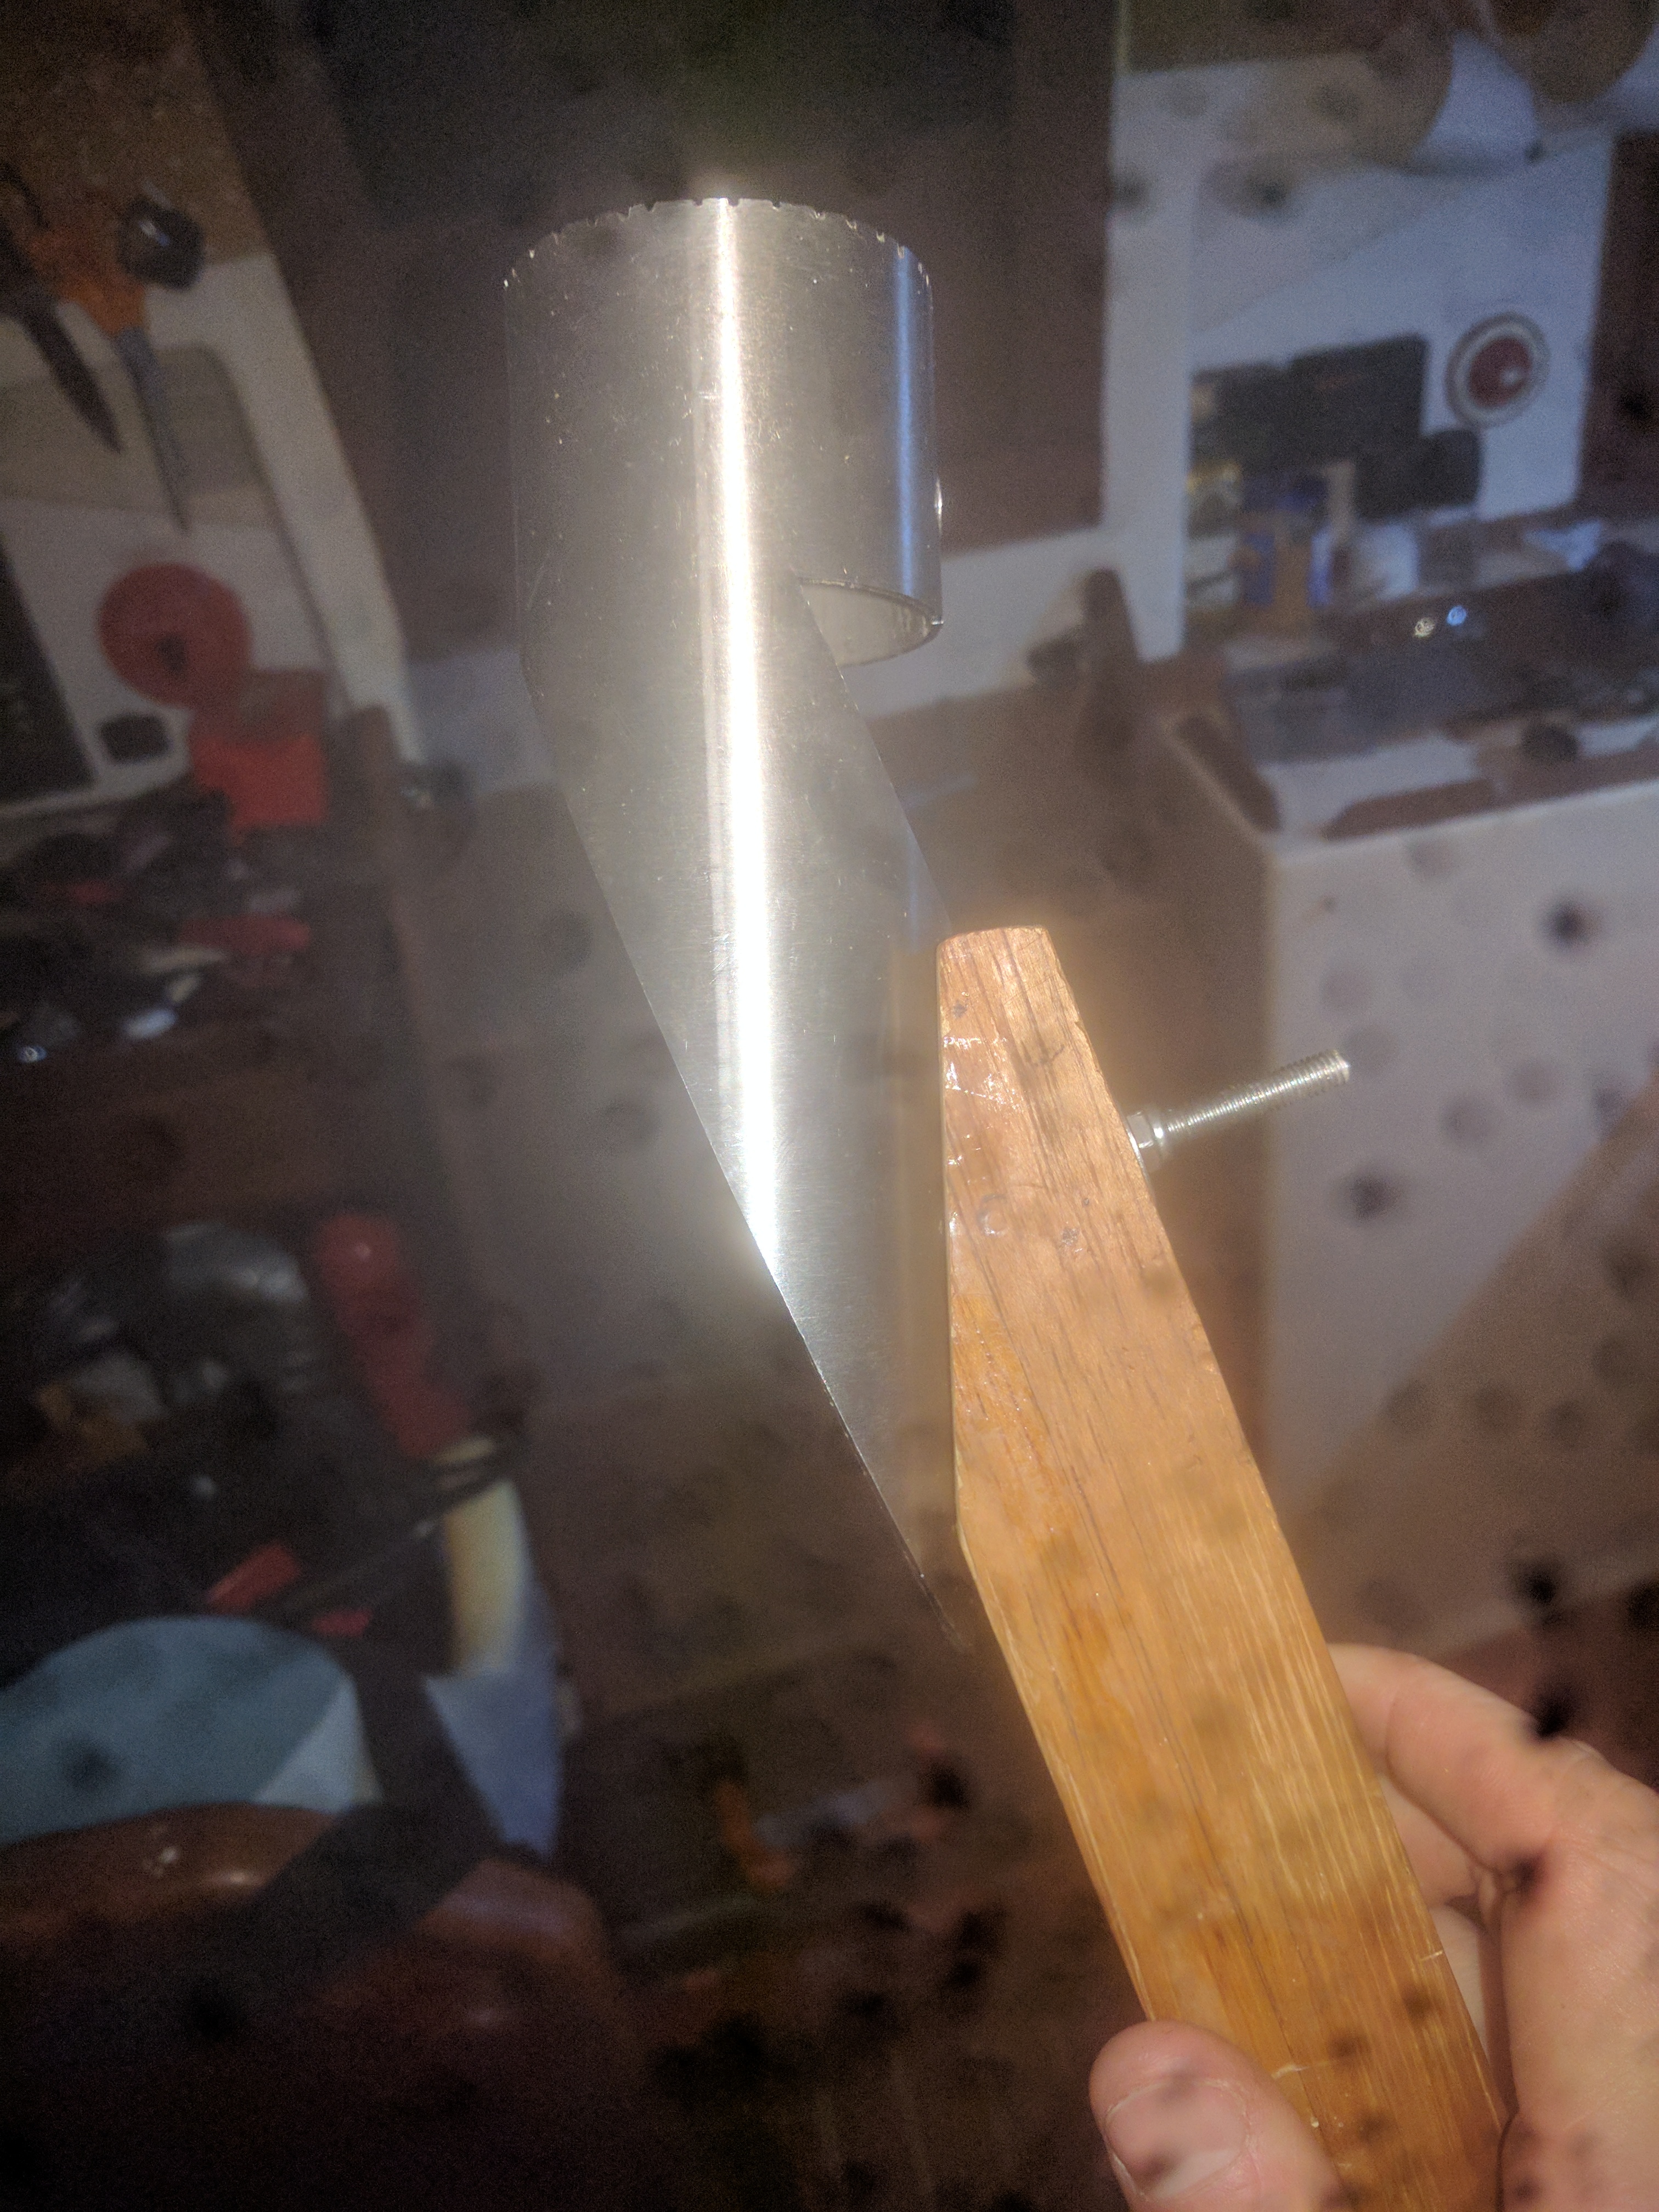
Then I had to create a groove for the cylinder, which I did by sanding it down with sandpaper over the cylinder. Next was some precision drilling again and I could bolt it on. Here is the first one done. I had to hammer the machine screw into a bit of a weird angle to get the nut to fit flush but it all worked out well.
At this point there was sawdust all over the floor, which was fine until I cut myself and bled EVERYWHERE which the sawdust then soaked up, creating a nice ‘Napoleonic War field hospital’ feel to the proceedings. Lovely.
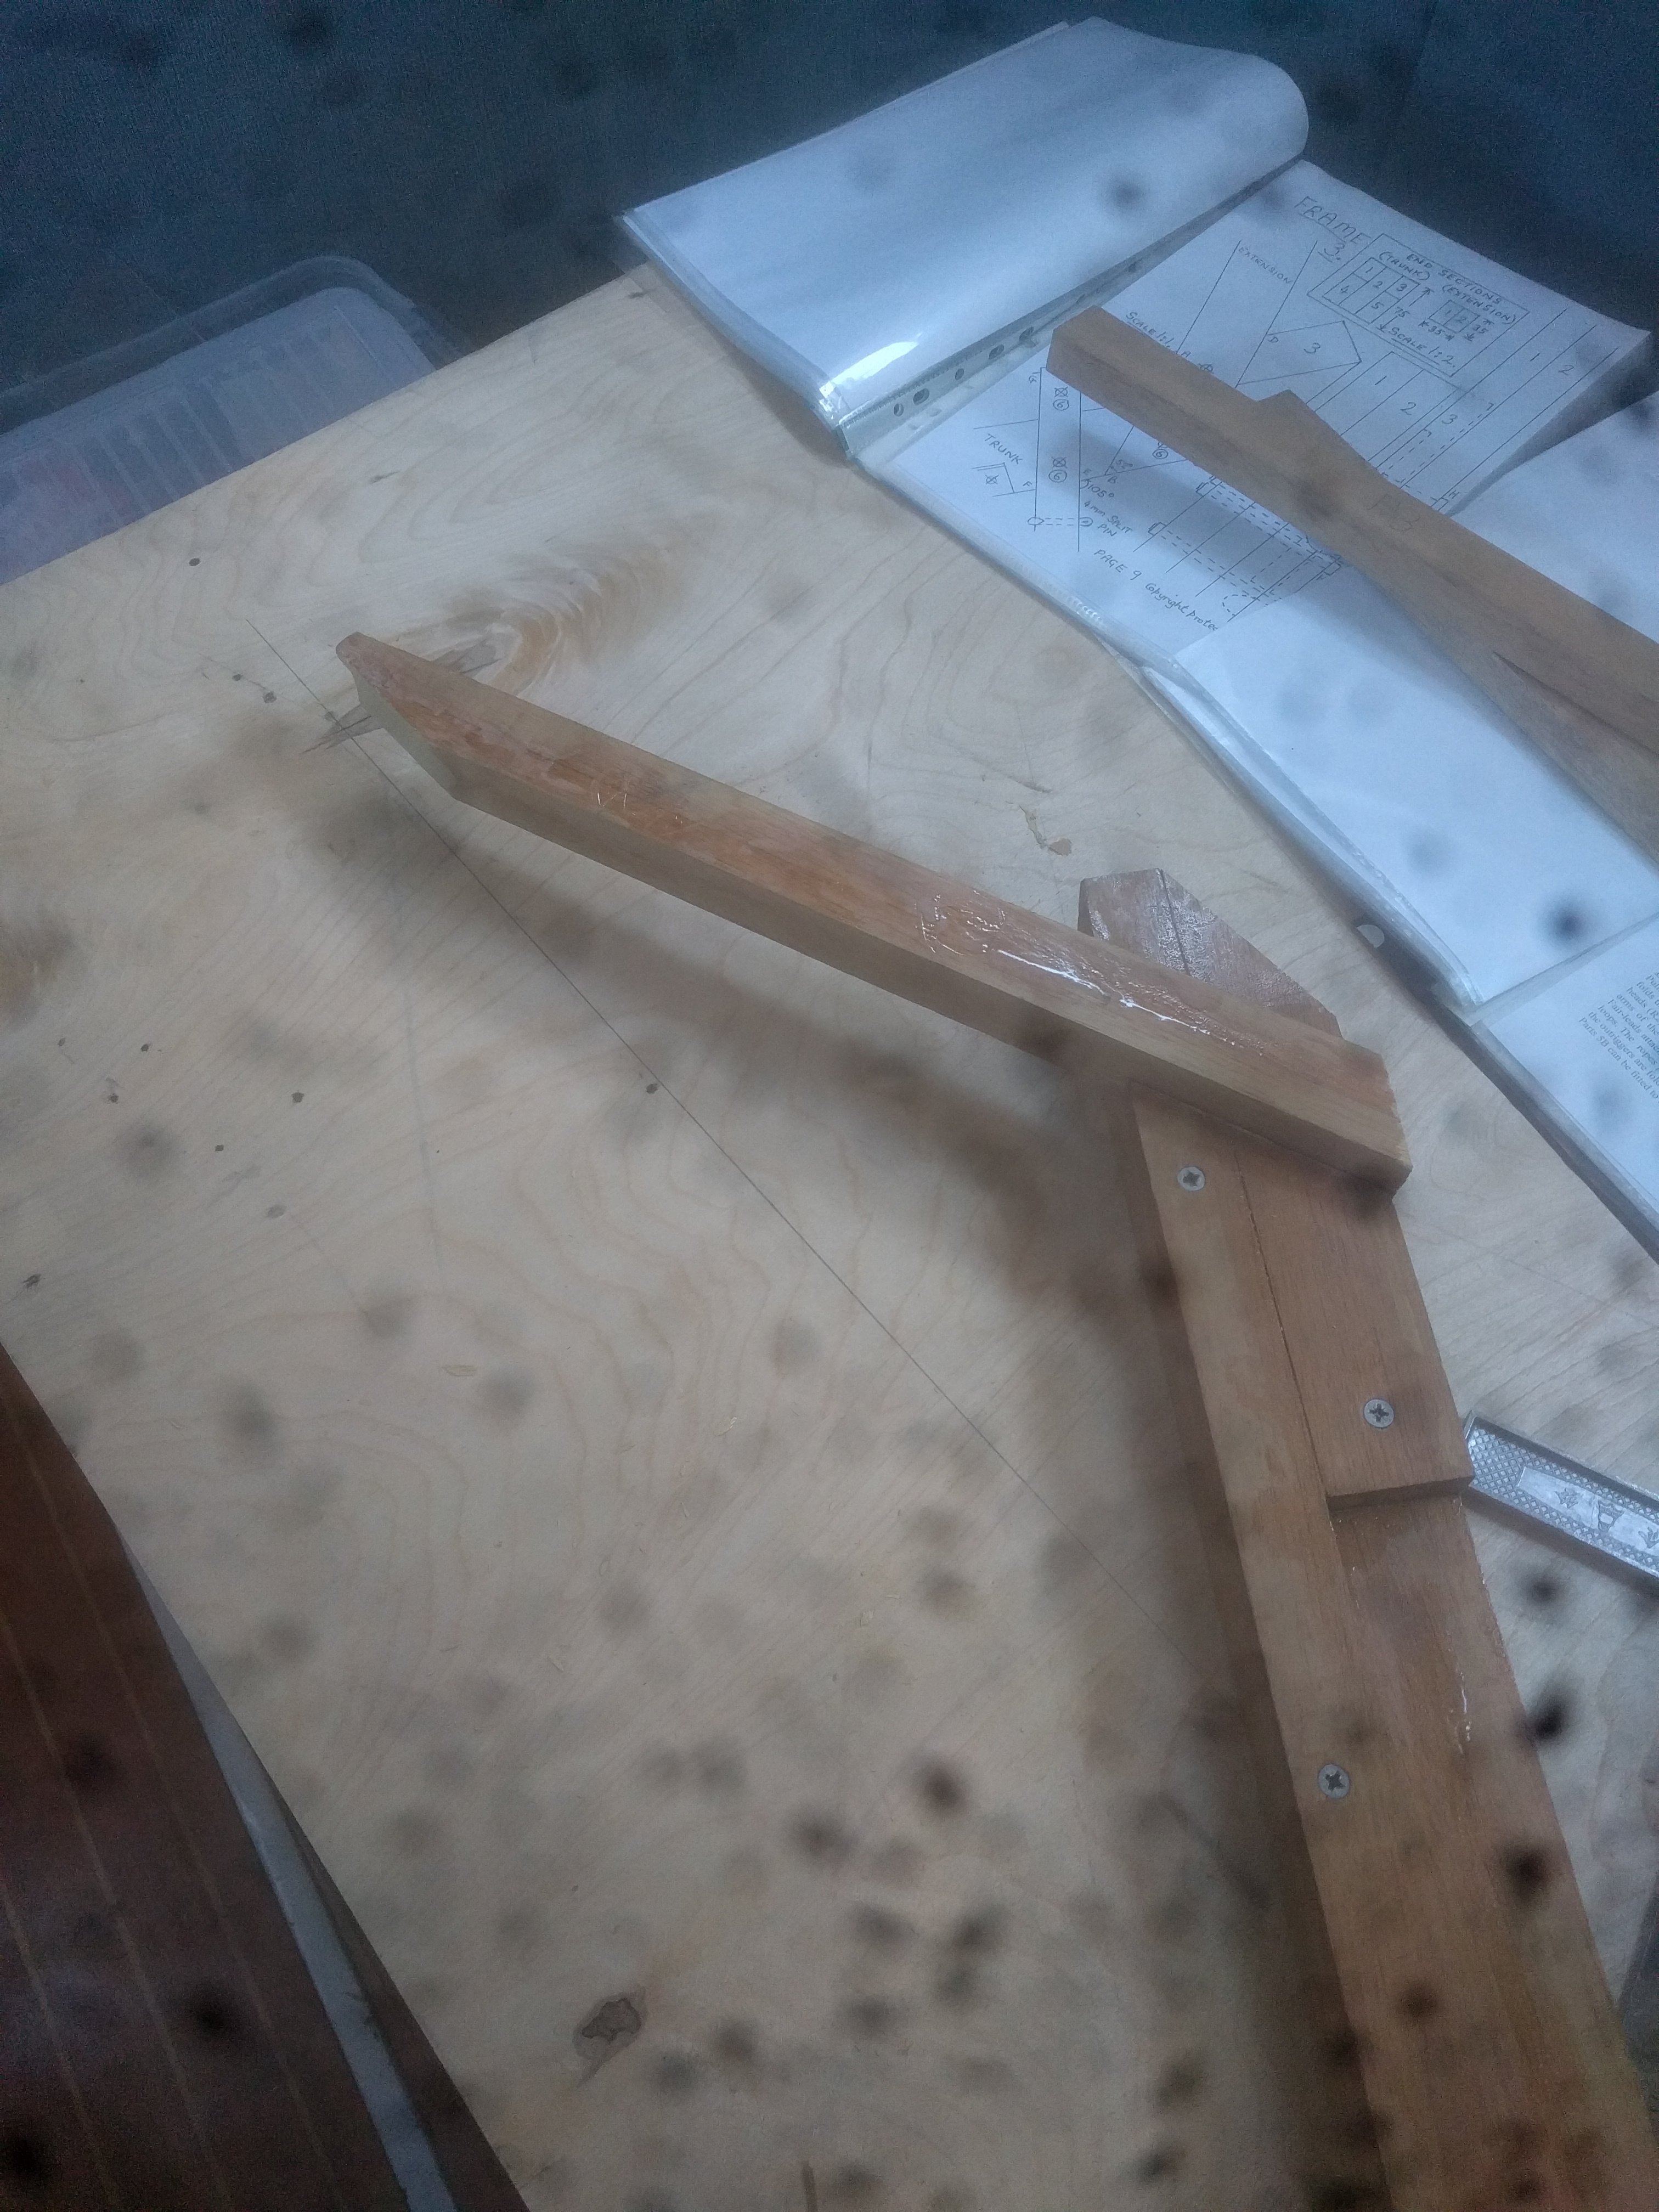
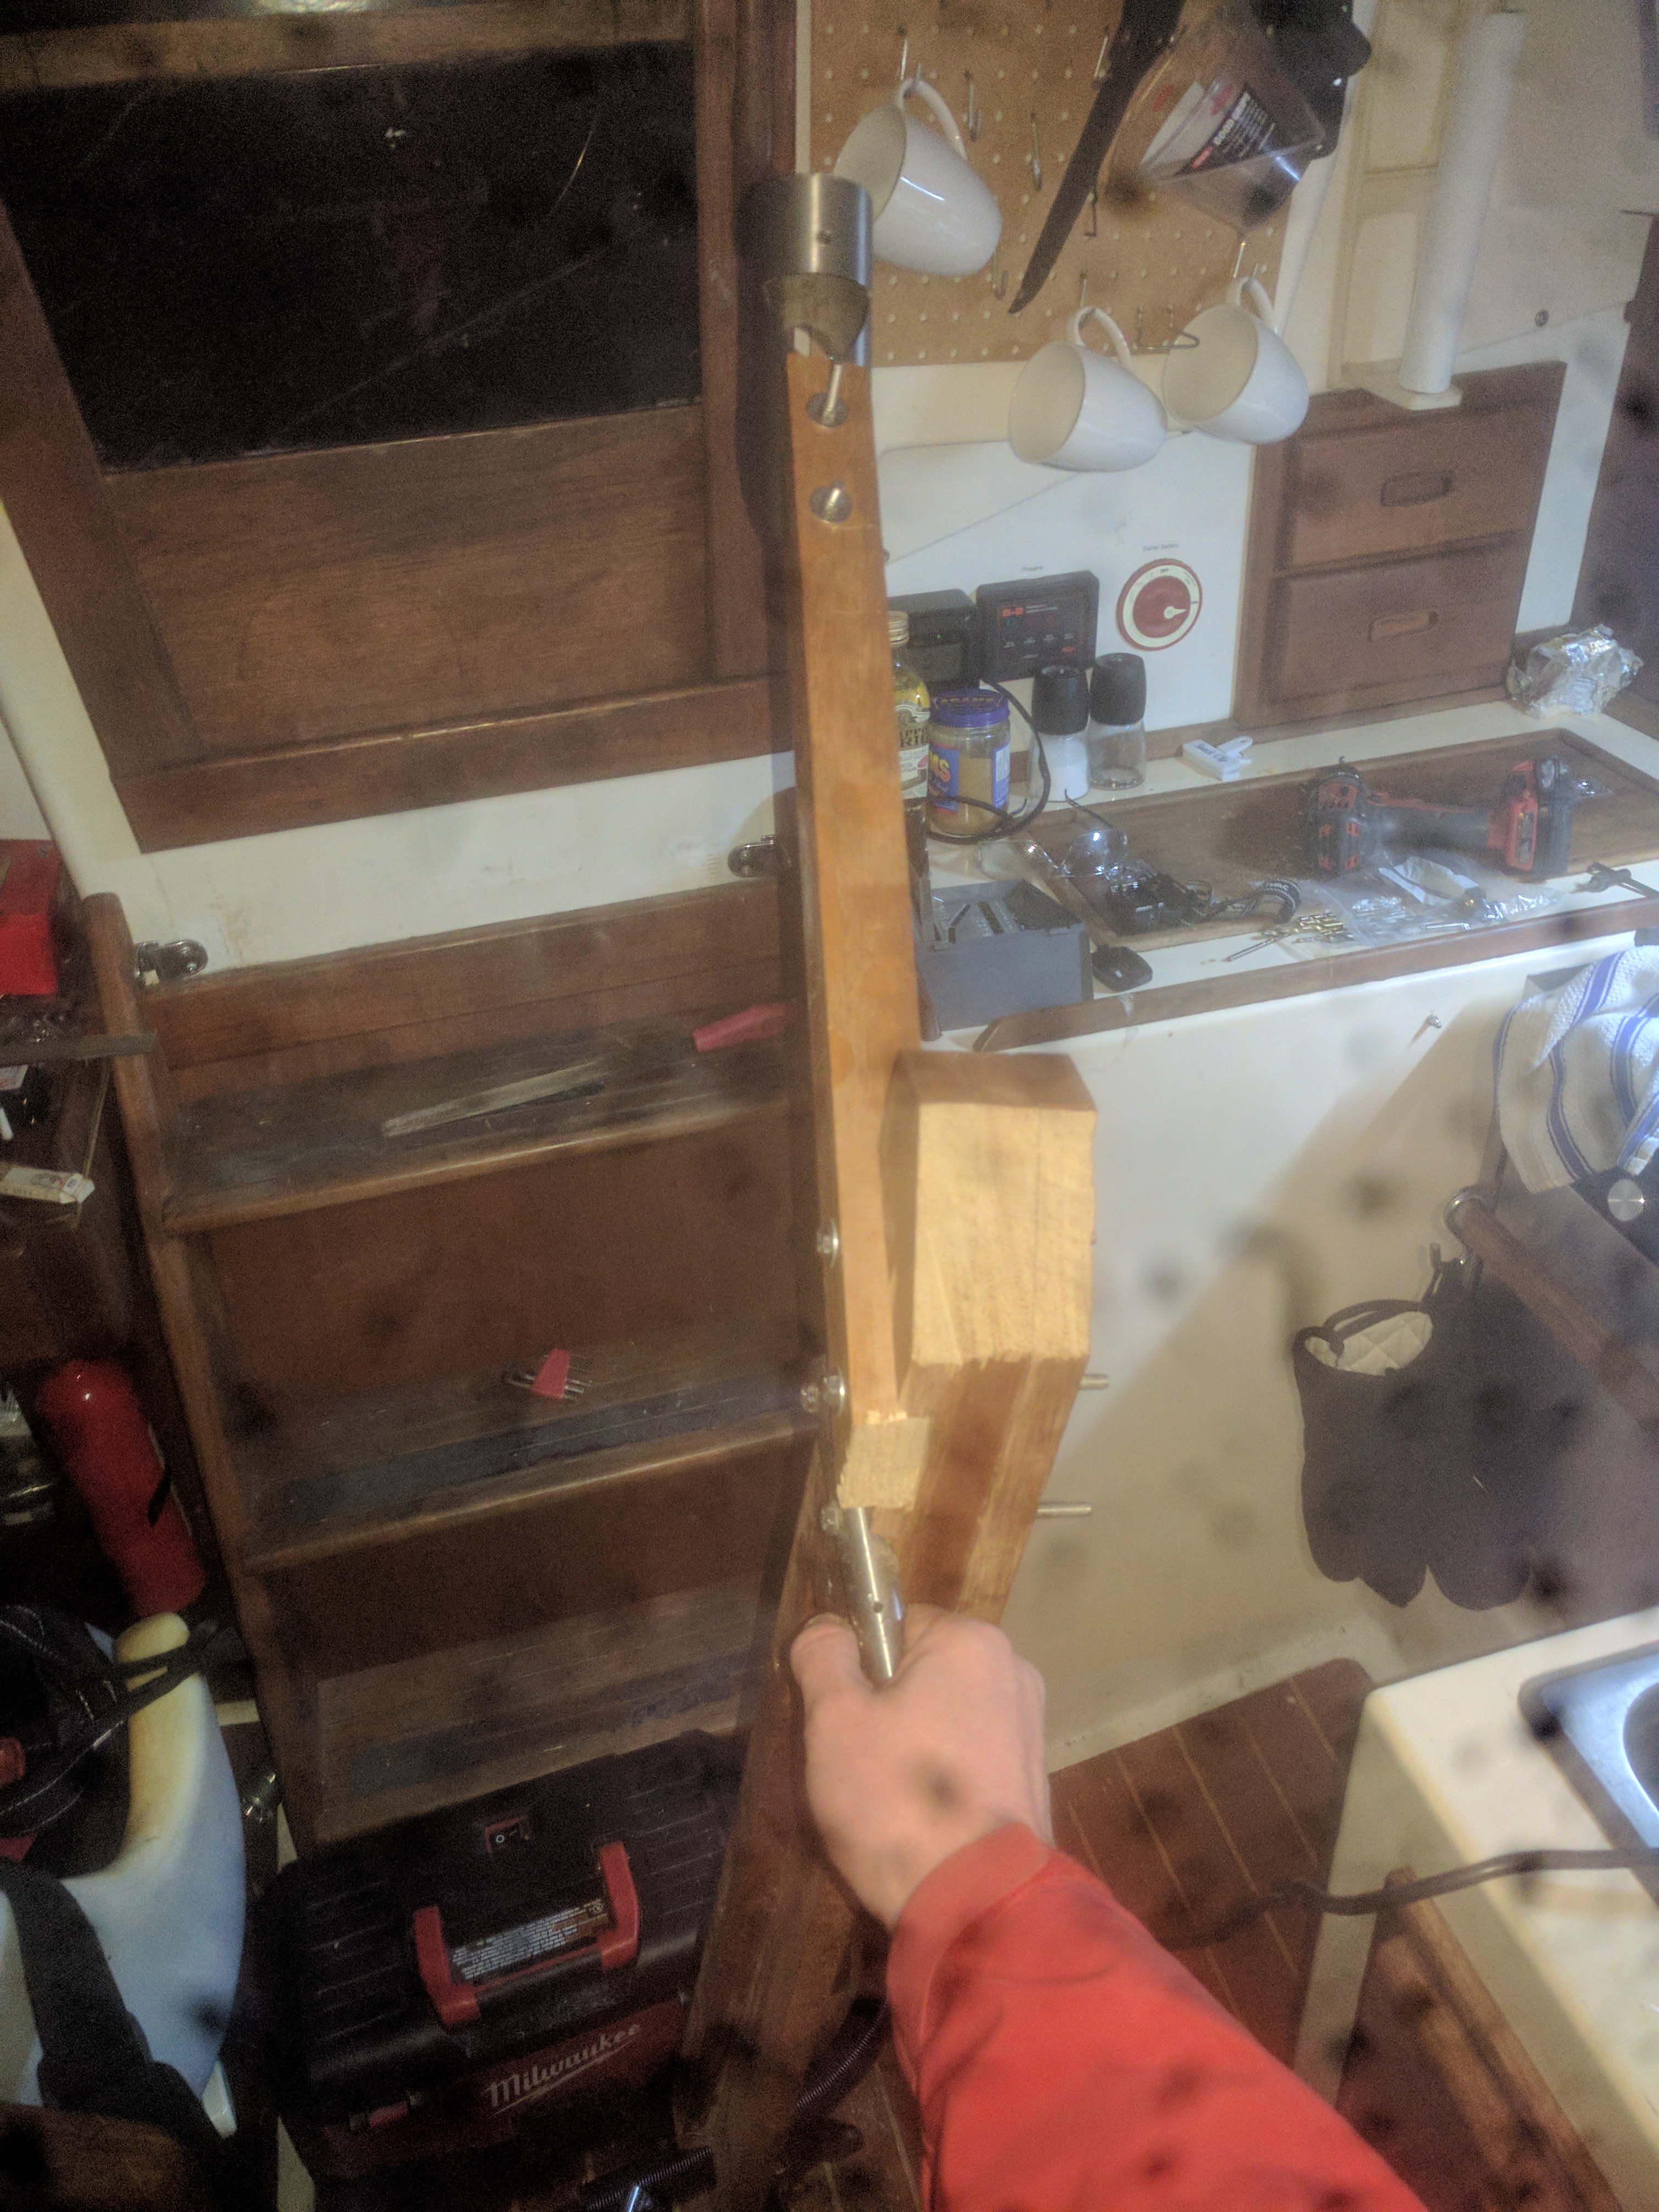
Finally I could bolt both the tube and the extension in. Much to my surprise, the angles appeared very close to what they should be!
It’s hard to capture the whole thing as it’s pretty large but here is where I am at so far.
Next up, probably the vane attachment.