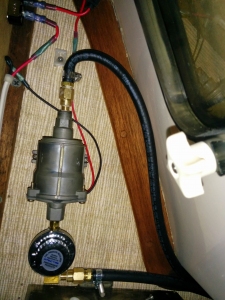
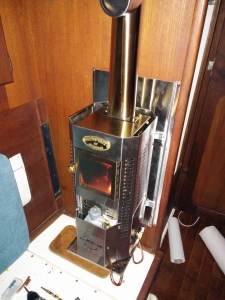
So now I had a chimney, a heater, and a fuel line.
The only thing left was to hook up the 12v electrics. Now one of the good things about the Newport is that it technically needs no power to run. However it comes with a fan to assist the draft if needed, when starting and on higher settings and cold windy days.
In addition, the transfer pump was in the same closet as the tank, since it ‘pulls’ very well but doesn’t push great. For simplicity, I decided to wire it up on the same circuit as the fan, but with a separate on/off switch. This meant that I only had to run one wire back to the breaker panel.
First, I had to wire up the switch and the pump, and pass them back into the closet. I also added a 3amp fuse to the pump.
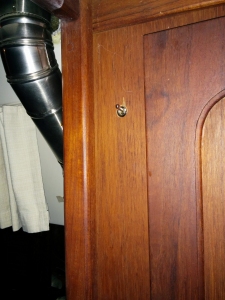
Next, I had to mount the switch. Now the switch I had was a simple on/off switch with no mount, so I had to work out how to mount it. I decided to drill a hole in the wall and mount it through there. Everyone loves a mystery switch, right? Distator struck after I drilled the hole and found the switch piece too short to fit all the way through – a bit of time with the dremel and I ground down the outer surface of the hole, so I could fit the bezel in there.
Looks good, just need a label!
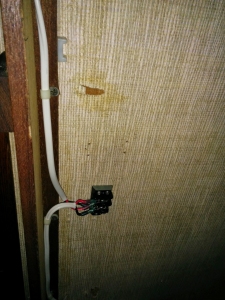
Then I connected the switch and pump to a little terminal block.
And from there wired to the main run back to the breaker panel.
Then – time to fire up that bad boy!!
I pumped fuel through and open the value – you are supposed to wait 2 mins for oil to fill the burner, but I heard a weird sound – checking in the closet, fuel was pouring out of the overflow tube. Oh dear.
Apparently since it hadn’t be used, there was an airlock and so fuel was gushing out the overflow. And I hadn’t put anything under it, because I’m a pillock.
While I remedied that situation, I set about lighting it. This is a bit of an art, and I’ve copied and pasted the instructions from the site here.
Lighting Procedure
1. Turn on the fuel pump or open the gravity feed valve to allow fuel to
flow into the oil metering valve on the heater.
2. Open the door or open the lid and twist the superheater so the bottom
makes a good contact with the bottom of the burner.
3. Lift and turn the oil metering valve knob on to setting #5 for 2
minutes to accumulate 2 tablespoons of oil in the bottom of the burner
pot.
4. Then turn the oil metering valve OFF.
5. Twist a piece of tissue, light it and throw it into the pool of oil in the
burner pot. Use a poking tool to push the lit paper into the pool of oil.
6. Once the oil has ignited, replace the lid or close the door.
7. Turn the draft assist fan on to the medium speed (6 o’clock) then turn
it back down to the slowest speed (4 o’clock).
8. After a few minutes, watch the flames grow above the top burner ring
where they should burn at all times.
9. It will take approx. 5-10 minutes for the priming fuel to burn. Once
the flames drop back down into the burner pot it’s time to turn the oil
metering valve back on.
10.Lift and turn the oil metering valve knob to setting #2.5 and turn the
fan OFF and watch the flames grow back to above the top burner ring.
11.Wait 20 minutes for the heater and chimney pipe to warm up before
you adjust the valve further.
*NOTE: The flames must ALWAYS burn above the top burner ring
regardless of the valve setting.
***DANGER: If the flames go out at any point at this stage, turn the
valve off and wait 5-10 minutes for the burner to cool. Re-lighting warm
diesel or a flooded burner can result in an explosion. *Do not use
gasoline or any other flammable materials to light the burner. Do not
operate this heater unattended.
As you can see, it’s a fiddly
However I got it burning merrily and the fuel gushing stopped once it was lit so it was game on!
This thing shits out heat which is nice.
Notice the soot on the window – you have to keep the fuel/air balance correct else it either burns too low or burns too rich and soots up. I played around with it most of the evening and thing I figured it out.
I have a couple of things left to do, attach the vent hose on the tank and put in a shut off below the tank (and MAYBE a fuel filter) but most of it is done!


So happy you aren’t going to freeze!