The last couple of days have been spent finishing off the two things I started – mainly filling the below-waterline holes, and removing the holding tank.
First, the holes – I’d filled them with marine-tex, and left it to dry. After a few days, I got my new toy (a dremel), attached a grinding stone to it and ground away at where I had filled the holes on the inside, ending up with this
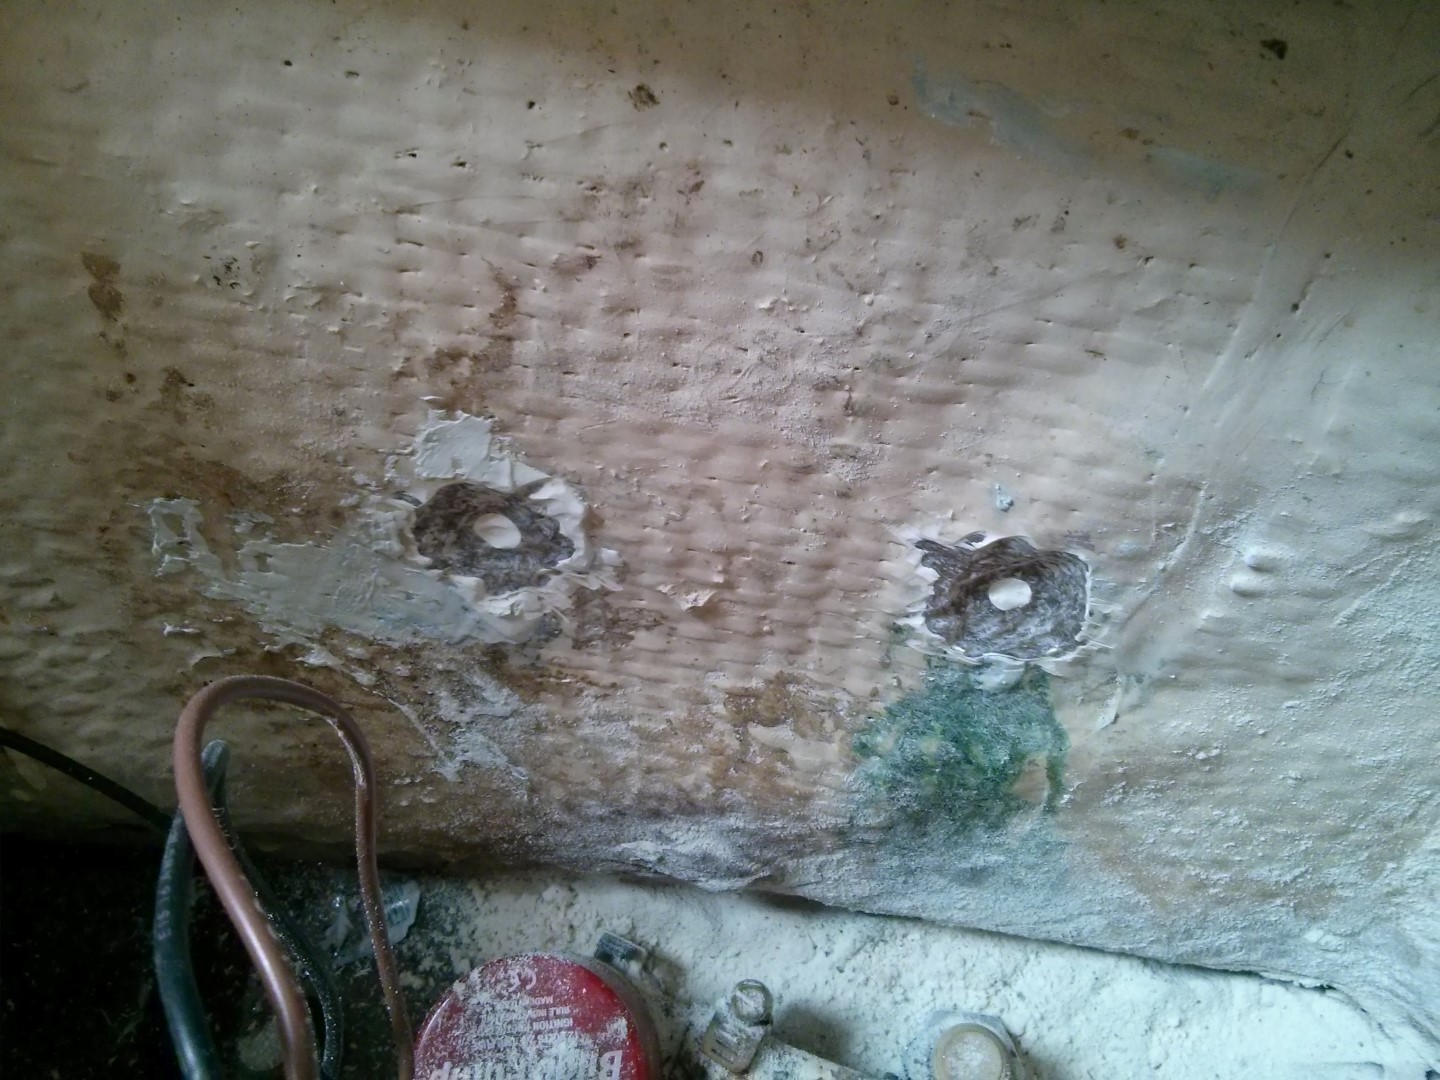
As you can see, I created an indent over the hole, slowing inwards. I wiped down the holes to clean them. Of note, fibreglass dust is NOT GOOD to get into your lungs so I had to wear a respirator. Which made me look like this.
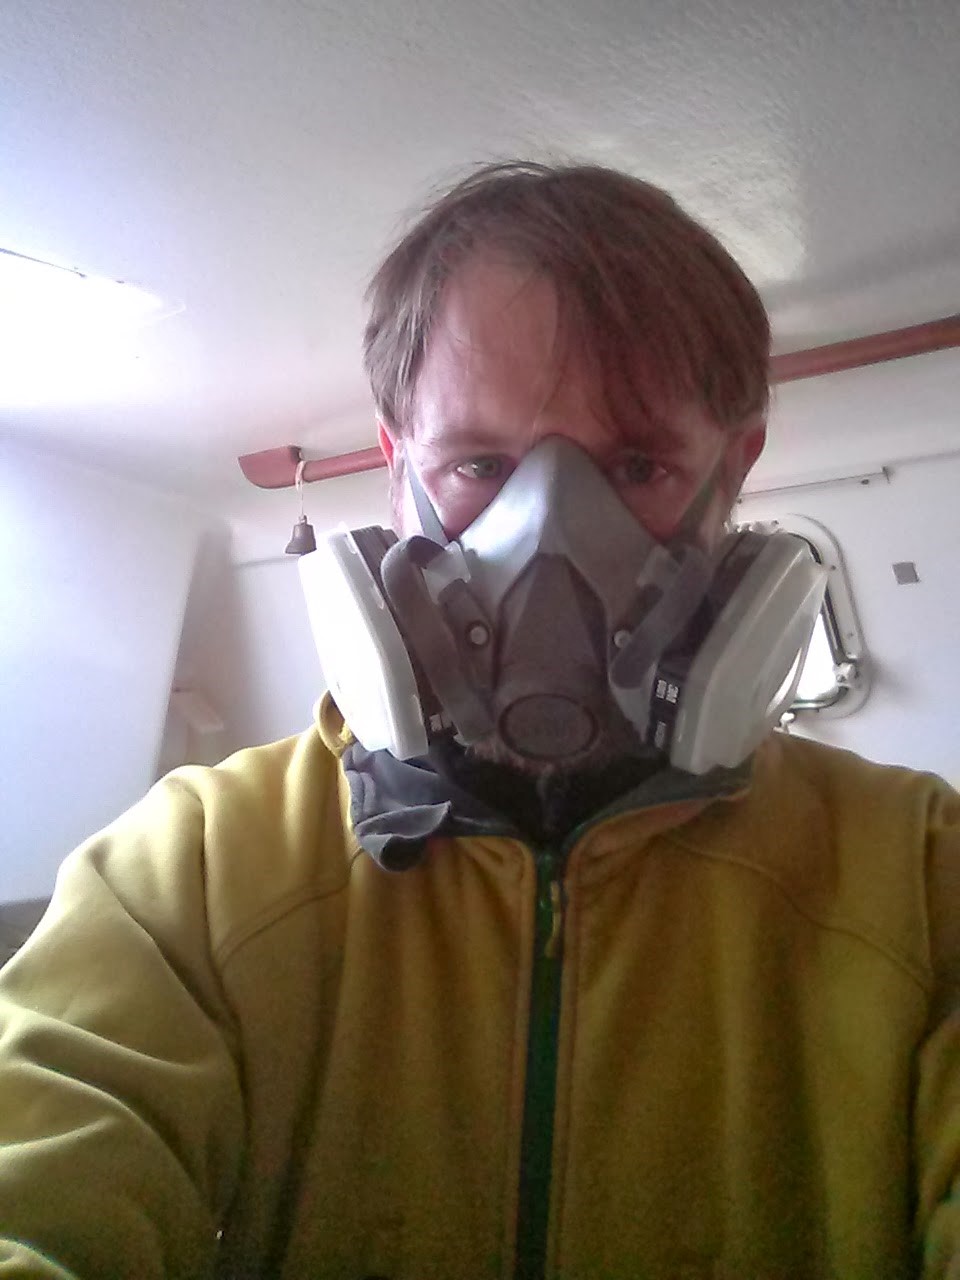
Kind of like an xman villain. Once that was done, I got a Marine Systems epoxy repair kit. It came with epoxy, hardener, a spreader, a brush and some fibreglass tape. I mixed the epoxy and hardner, and that gave me about 9 mins before it toughed up.
I’d cut the fibreglass tape into 2 groups of 3 pieces, getting smaller. I soaked each piece of fibreglass in the epoxy, and then layered the largest piece first over each hole. I then followed up with the smaller pieces. This was the final result
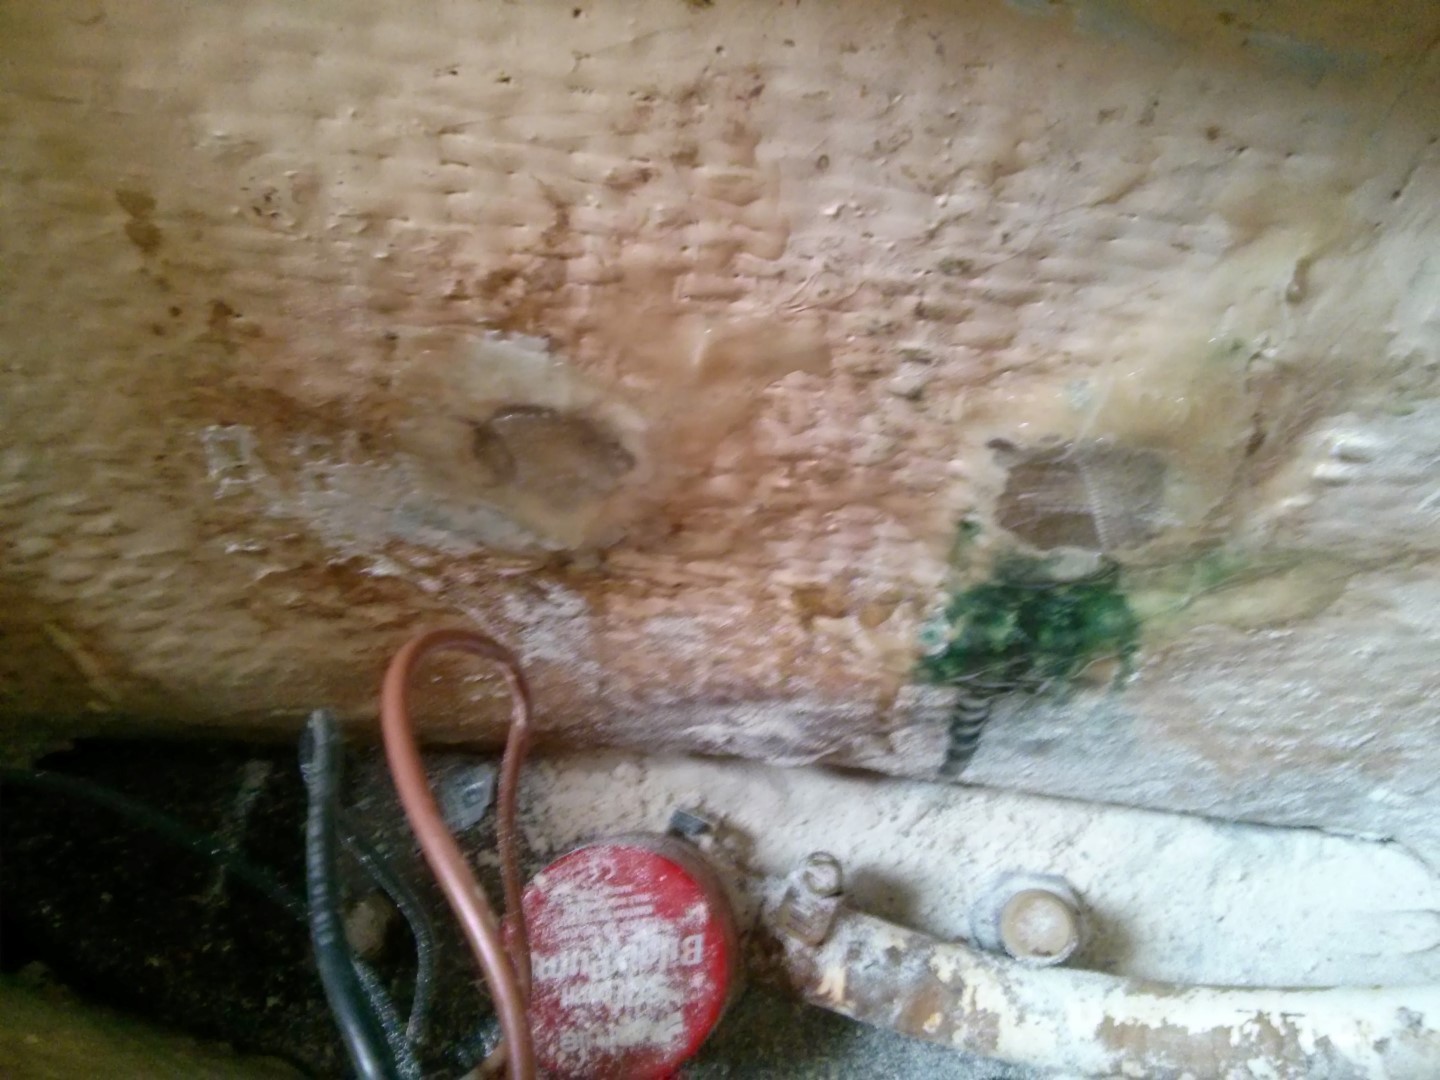
I pretty confident that will hold through anything. Onto the next thing!
The ‘next thing’ turned out to be the holding tank removal. I removed the pipe off the main waste seacock with no incidenct, but when I went to remove the other end I hit a problem – it went through a U bend that was screwed onto the bulkhead! I managed to remove one screw ok, but the otherone was stripped. I was stuck until I remembered by dremel had a cutting blade, as shown here
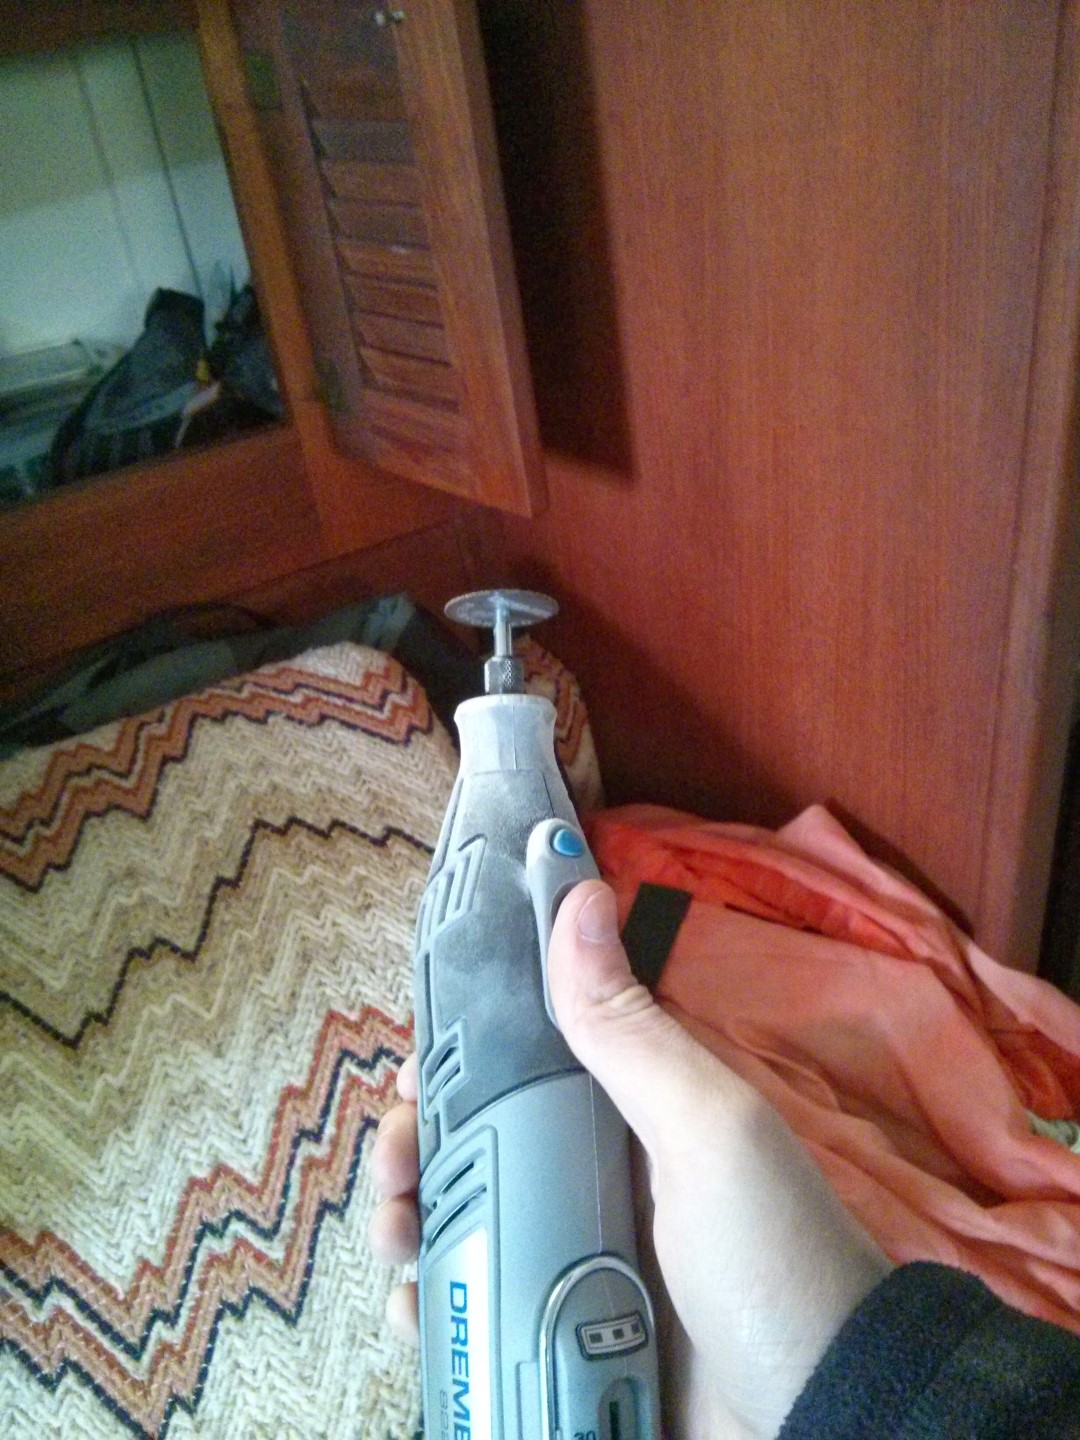
In no time at all I cut off the head off the screw, and pulled the U bend off. One more pipe down, and with that I left for the day.
Returning the next day, I had just one mission – finish the blasted holding tank removal. The good news is there was only one pipe left, the bad news is it was huge and connected to the holding tank as the main connection. I didn’t want to remove it (such horrors) so I left it on, which meant manhandling the thing around was a lot harder. I removed the last pipe (which lead to the suckout panel) . In the picture below you can see the small space I had to work with there, since it was behind the cabinets. You can see the vent host on the left as well – another hose I had to remove. I couldn’t get it undone so I cut it.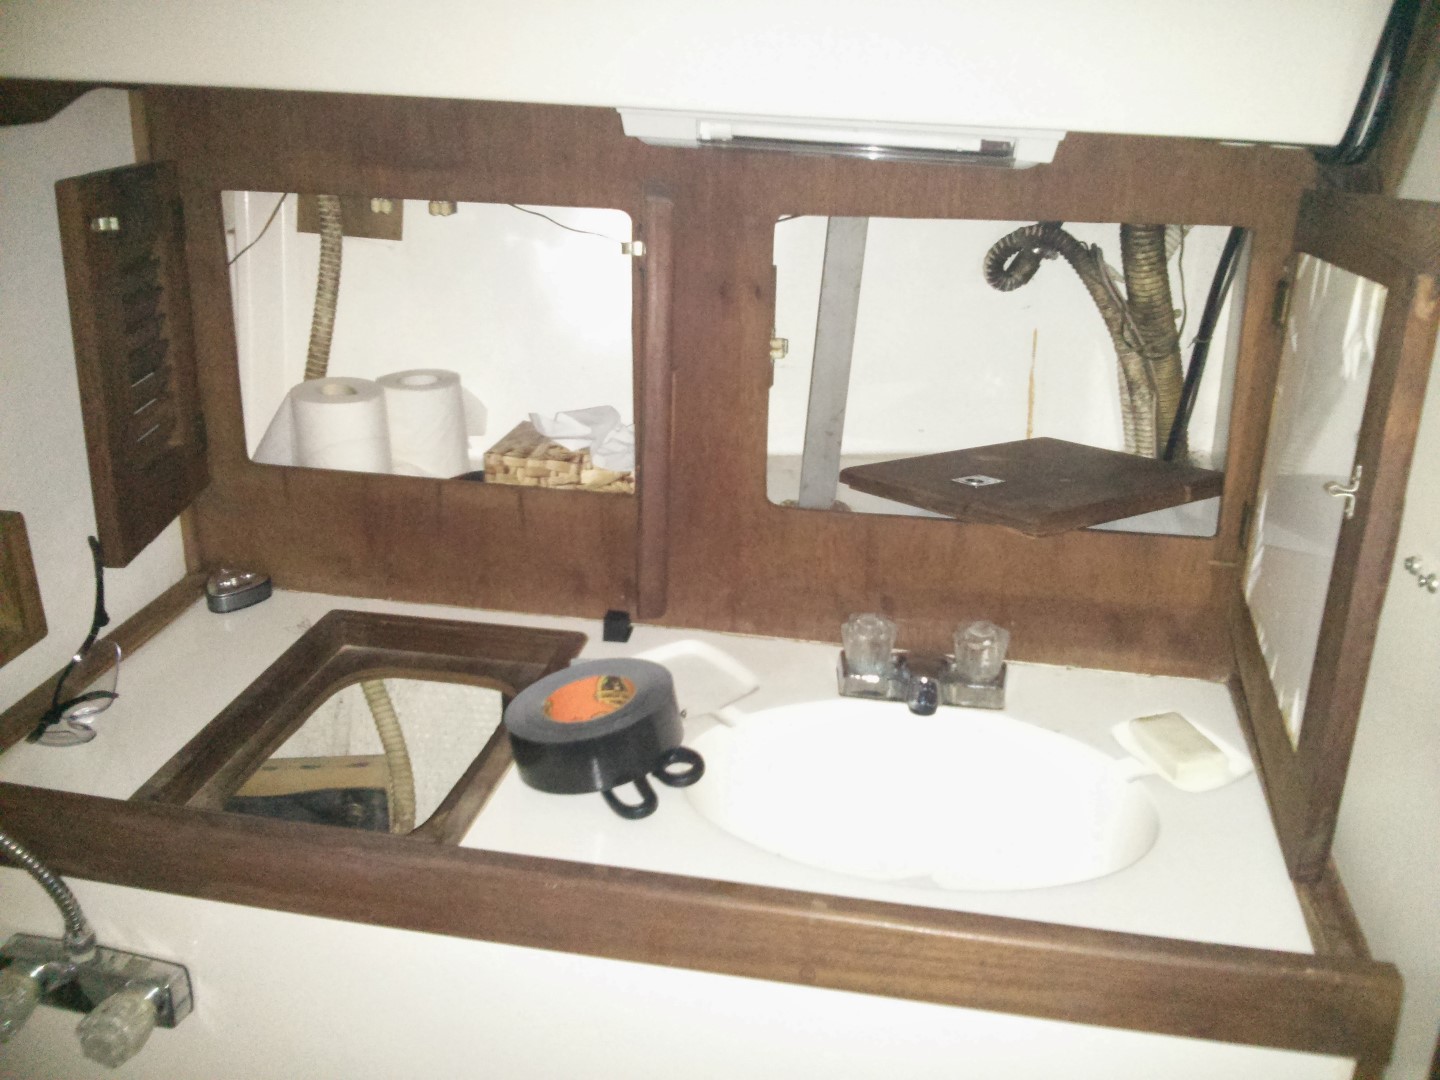
Once that pipe was off, I mopped up the small pool of what can only be described as ‘poo water’ from the bottom of the compartment, before attempt to move the tank.
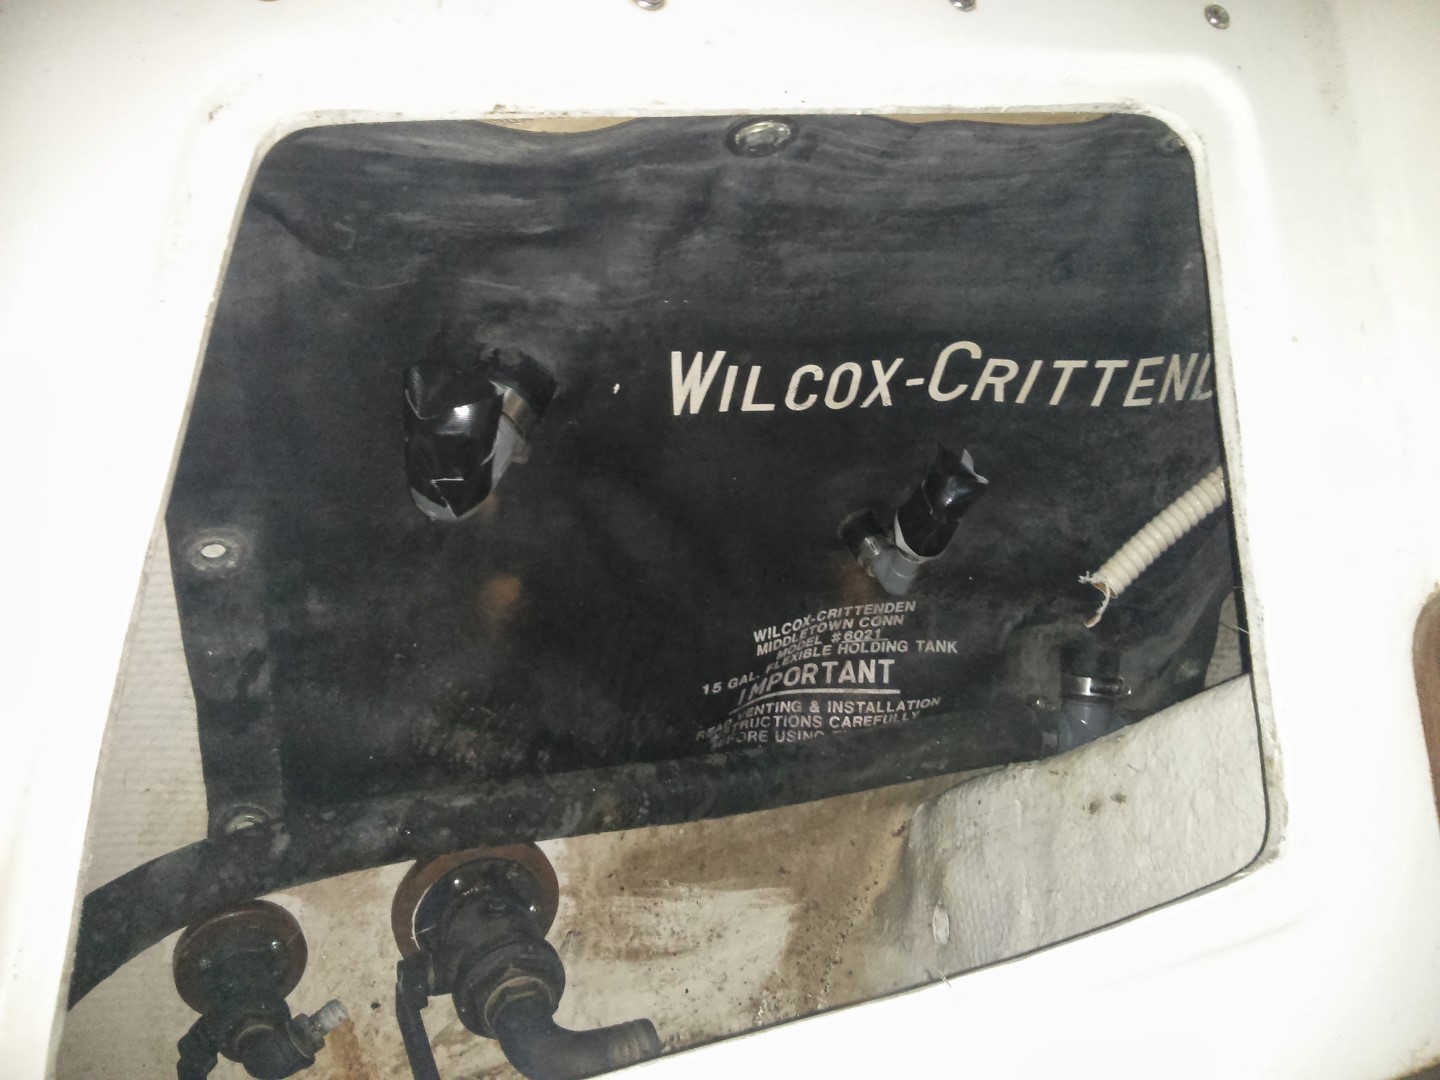
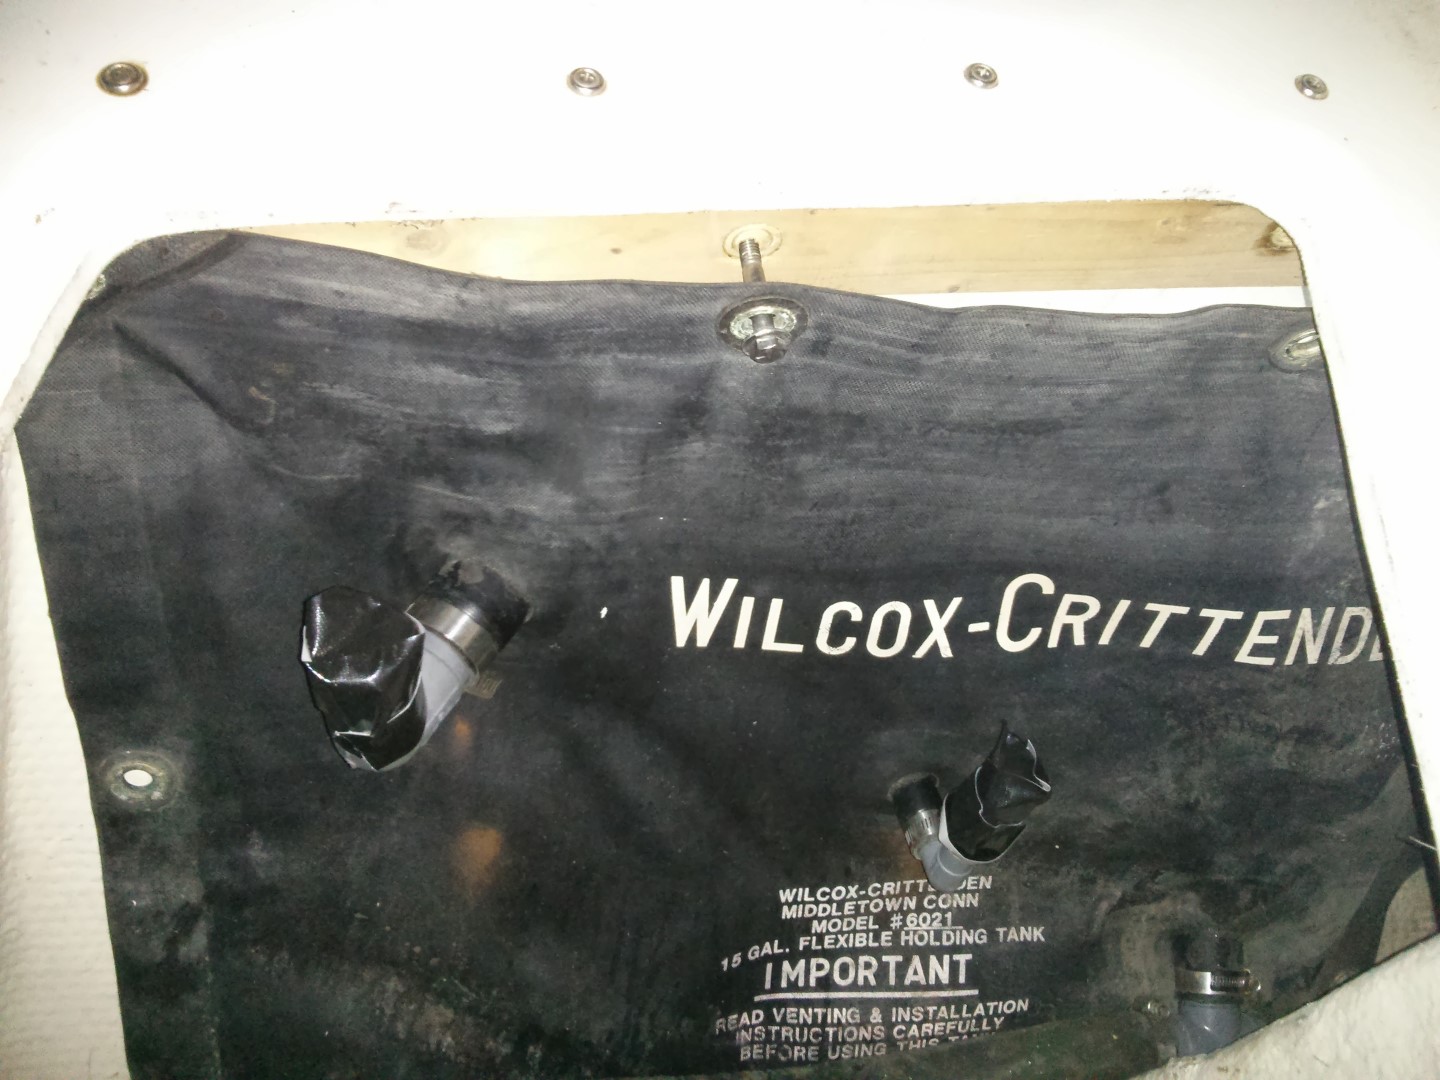
Below you can see the tank ready for removal
See those bolts on the top? Easy peasy to unscrew. Except, however much I turned, they wouldn’t loosen. Meaning there was probably a nut on the back. They were fastened to a piece of wood that had been glued into place along the back wall, meaning I couldn’t get access to the nuts. Argh! Eventually, I found that if I started on the right hand side of the tank, accessing it through the small hatch in the bath room (you can see it on the left of the above picture of the bathroom) I could undo the rightmost bolt, which then gave me access to the next one along, and so on. However it took forever since I had to jam my arm right round to get a wrench on the nut, and I was touching the tank a lot D: Here you can see a bolt mostly removed.
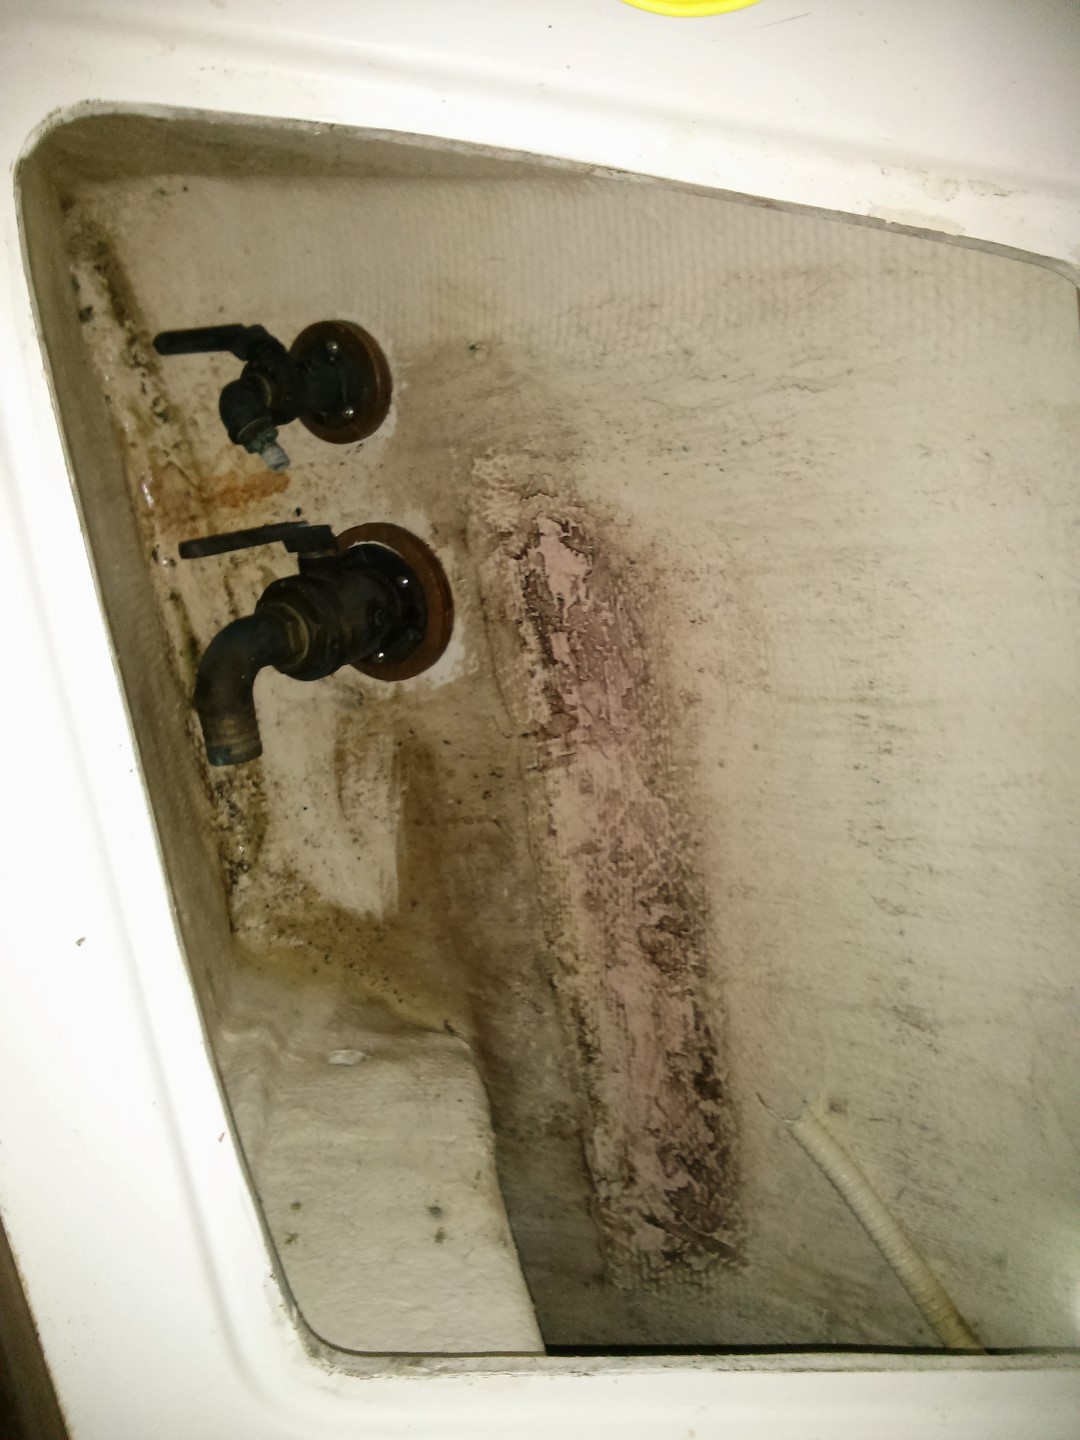
Suddenly, it was all done, and all that was less was to wrestle the tank out of the compartment, through the boat and down the ladder. Luckily the tank didn’t leak, so it wasn’t that bad. So glad to finish though! Below you can see the tank, and the compartment (now empty). I’m debating whether or not to remove the seacocks, since would give me a lot more space. I’ll have to think about it!

Then, all was left was to head home, where I immediately washed all my clothes and had a shower. Feels good!
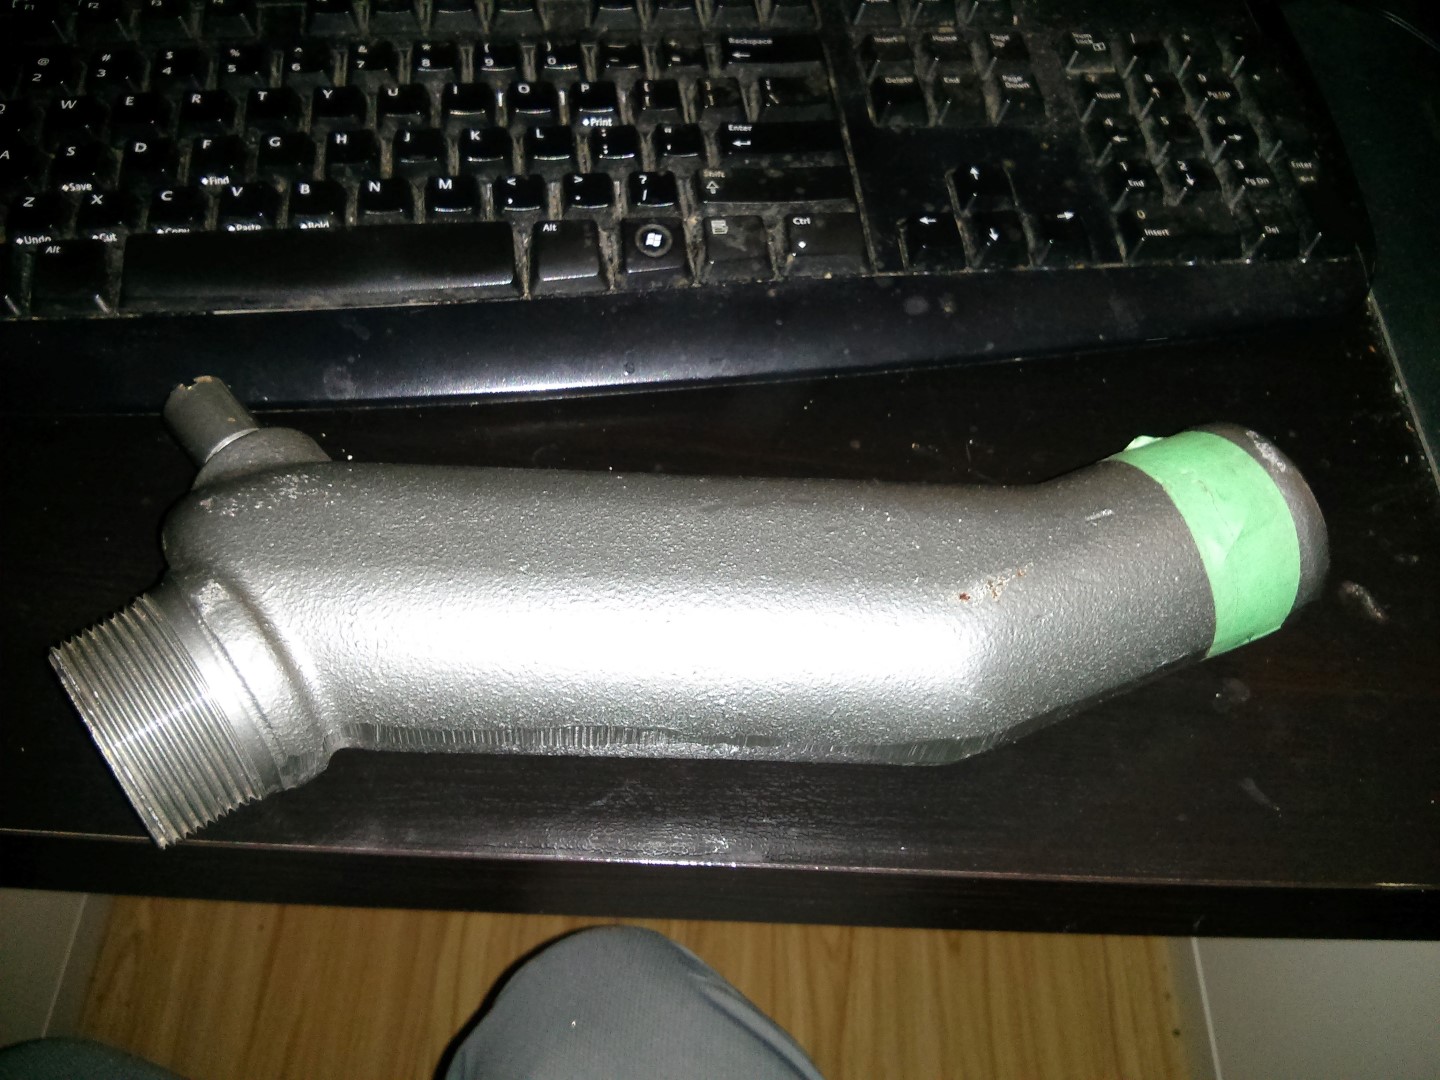
When I got home, I found a nice surprise – the new exhaust elbow had arrived! I’ll be putting that on at the weekend probably, maybe in conjunction with a checkover of the entire engine.
Cant stop giggling at “seacock”
Seeing the state of your keyboard I can now understand how other things of yours look.