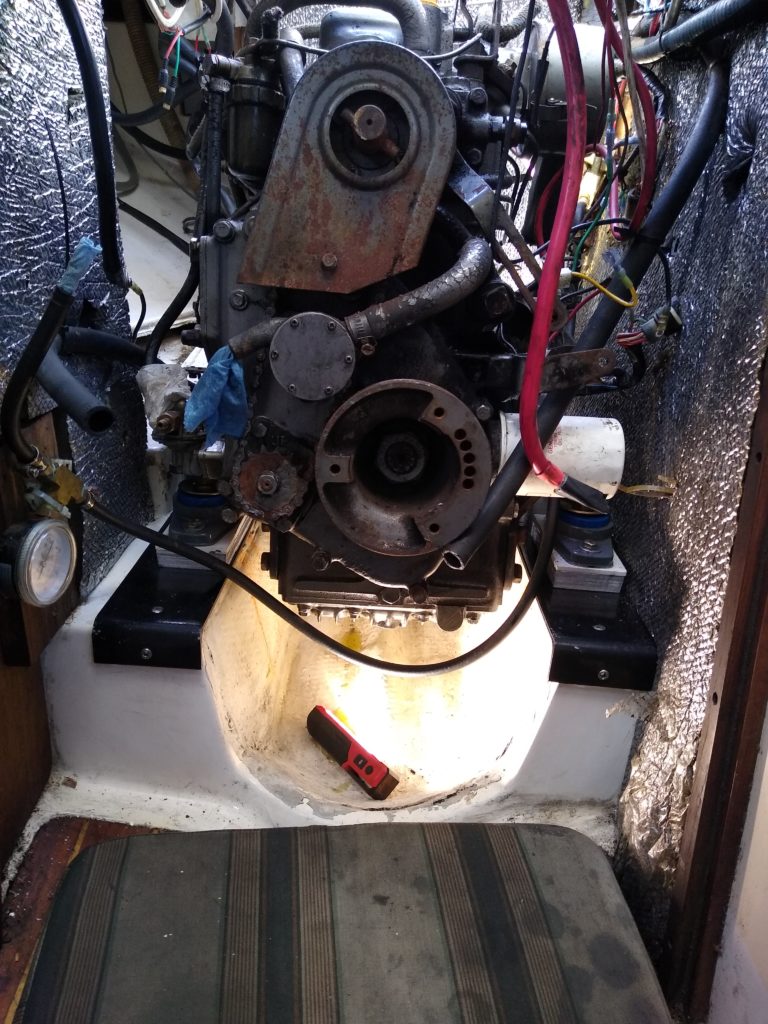
My engine (which is literally older than I am and is a huge chunk of solid iron) sits on four things called motor mounts. These are made of metal and rubber or similar polymer materials and provide shock absorption for the engine. Which is great because it is EXTREMELY rattly, being a 2 cylinder. The internet is full of people getting a boat with a 2QM20 in it and posting all worried ‘is it supposed to be so shakey and loud?’
Yes it is, welcome to the dizzy heights of late 70s tractor engine technology.
Anyway, my motor mounts had been looking pretty grotty and even worse, the part of the boat they screw to (called the stringers) had gotten rotten meaning it was impossible to tighten the motor mounts to the boat. The problem was the stringers were just a 2×4 ish block of wood that had been heavily fiberglassed to the boat and then the mounts were connected using lag bolts. This was fine back then but is now recognised as a pretty awful way to do it – all you need is some water to get in, and it rots out the wood and the lag bolts can’t grip. Which is exactly what had happened.
I’d know about this for a year and a half and had been dealing with the problem by stuffing strips of yellow cedar down the holes before retightening the lag bolts, as suggested by Emma’s dad. This worked pretty well but was very much a temporary fix and necessitated replacing the cedar every few engine run hours, a huge pain.
I decided it was time to fix it once and for all before I crossed to French Polynesia (the middle of the pacific is a bad time for your engine to fall out the back) so I talked to a local mechanic, Rafa, and we came up with a plan.
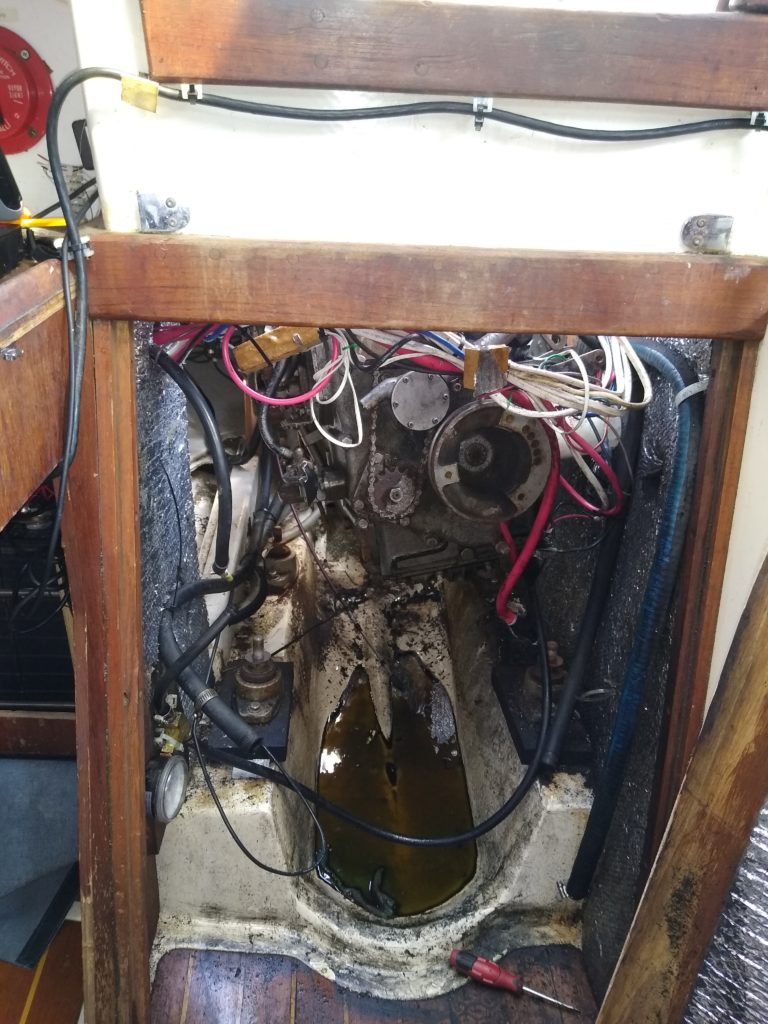
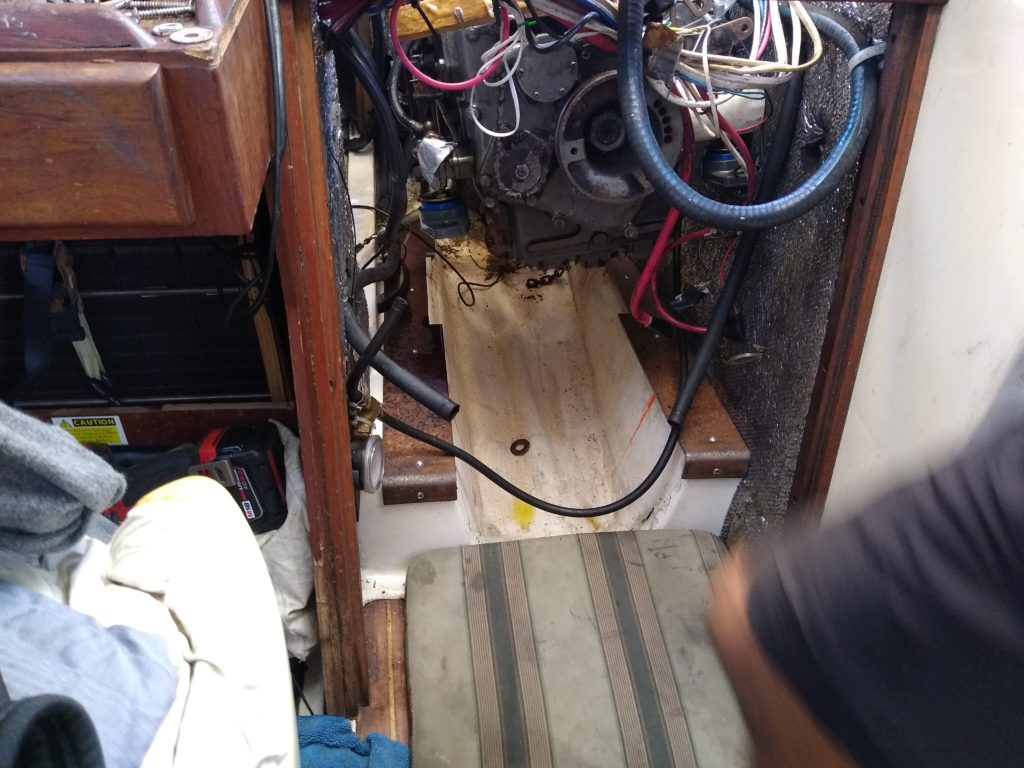
First, I disconnected the engine, so we could lift it and I could clean under it and remove the old mounts. Look at that lovely swamp below
It was lifted by putting a strong metal bar across the cockpit, attaching a mini crane to it and just winching it up.
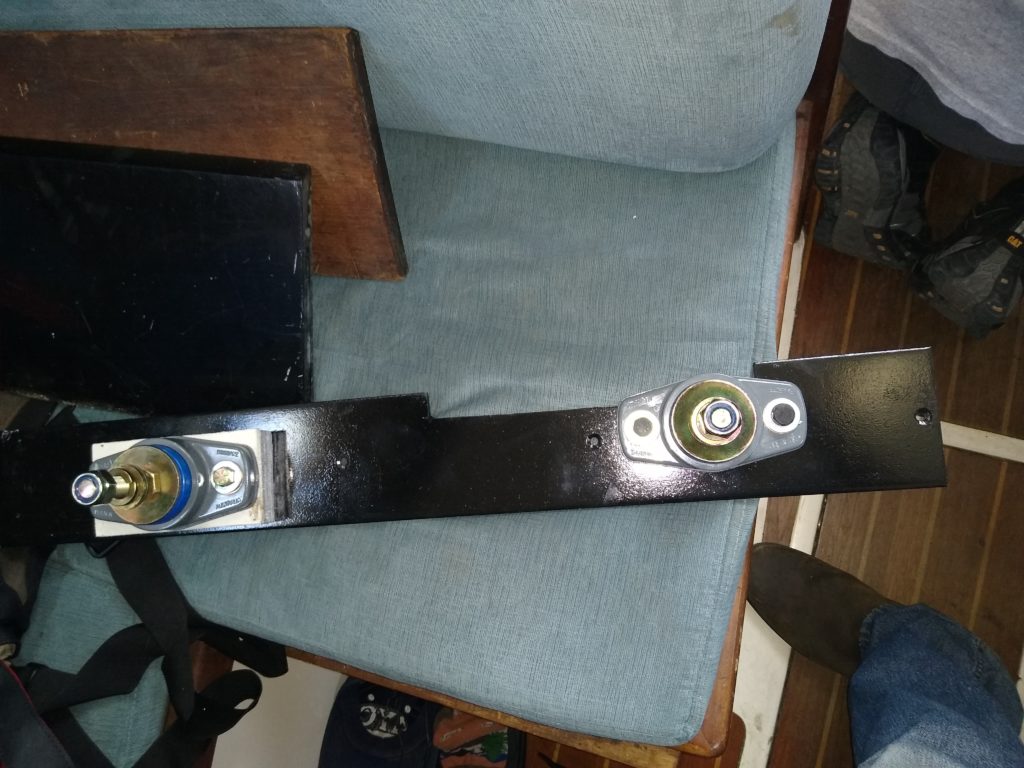
Once I’d cleaned up and removed the old mounts, he got some plates manufactured that fit along on top of the stringer
We attached the new mounts I’d brought back from Canada with me to the engine, lower it down onto the plate, and moved the engine around until it was in roughly the right place. We marked the holes, and then Rafa took the plates off to be drilled, tapped, coated in primer and painted.
While I was waiting for them, I took the opportunity to fill all the old holes with epoxy. The rotten ones took a fair bit, as the rot had spread under the fibreglass a fair bit but eventually it was full. This was probably not needed as the fibreglass over the wood is incredibly thick but I figured I may as well. A few days later the plates came back looking spiffy
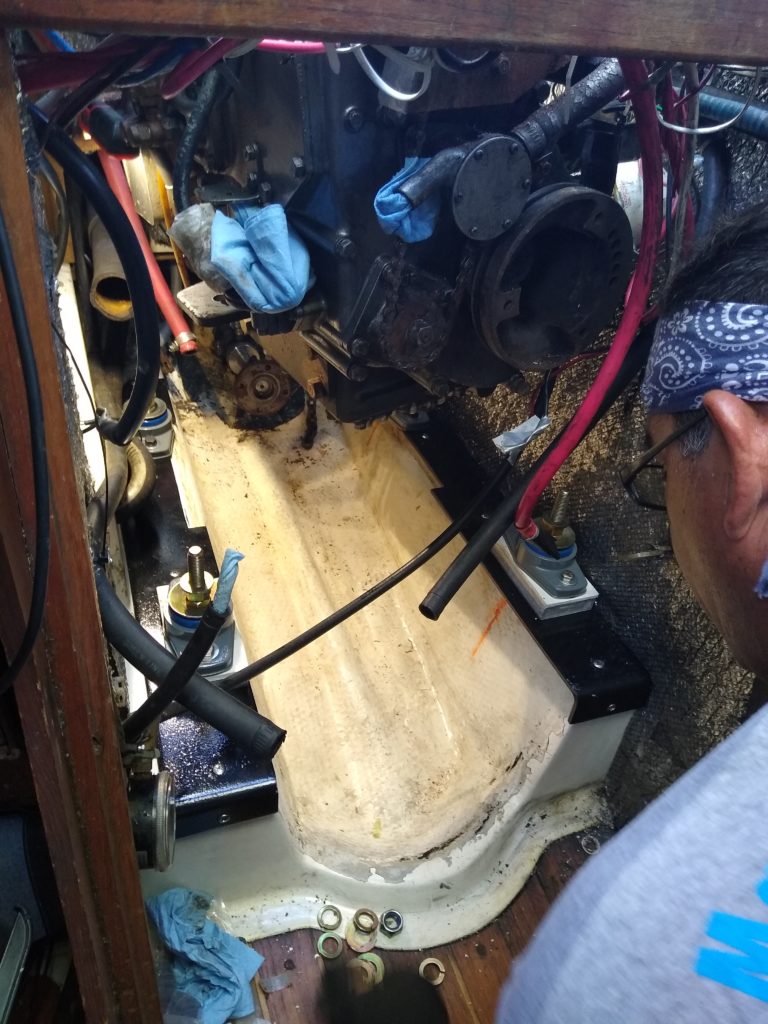
We attached the plates on top of the stringers with 5200 (also known as the devils glue, it’s almost impossible to get off once attached properly and so it only use it for stuff that you absolutely never, ever want to separate again) and several large screws into the plentiful good wood on each stringer. This ain’t ever coming off and are rock solid.
The mounts were all attached to the plate by tapped machine screws.
The engine was lowered onto the mounts, secured, and then it was a matter of aligning the engine with a pry bar.
Once it was all finally aligned, then I just had to hook everything else up again.
There were a couple of other engine bits and pieces I did too.
- Replaced some fuel lines that had disintegrated (so that’s where the diesel smell was coming from)
- The water pump bracket had a crack in it and so was bending slightly, mean the pump wasn’t aligned with the pulley belt, so got a new bracket made
- the misalignment of the pully had belt the belt had sharpened one side of the pulley into a razor-sharp death trap, which I had sliced myself on more than one occasion. So I got a new pulley made at the machine shop. No more bleeding!
- I also got the injectors pulled and cleaned
After all that was all finished, I ran it for an hour a few times to test, fully loaded, and it seemed to work pretty well. I’m beyond stoked to finally have a permanent solution to the mounting issue, and the engine vibrations are a ton less which means less fatigue! Hooray!
I’d recommend the engineer highly – he’s the only Yanmar certified mechanic on the entire pacific coast of Mexico. His name is Rafa and his website is at https://rafasboatservices.com/. Whatsapp is probably the best way to get hold of him (numbers on the website)
Very reasonable rates, great work and took the time to explain everything, as well as picking up several issues I hadn’t noticed (like the belt misalignment)
