So in addition to the list I posted last time I can add
- redo vang strop
- seal cockpit floor
- heat exchanger zinc
- plug downrigger holes
Hoooooraay
Anyway I’ve been working pretty much all the time although with the heat and the smoke currently blanketing BC, it’s pretty brutal. Here is what I’ve got done so far
Sort through Lines
I basically pulled out all my lines from various hidey holes and crevices and it turns out I had a LOT of line. Like, a LOT. So I gave away most of it (almost 20 bits of line, from 15foot to 100 foot), cut up one of my old halyards into docklines and kept around 6 spare pieces of line + dock lines. That should keep me going.
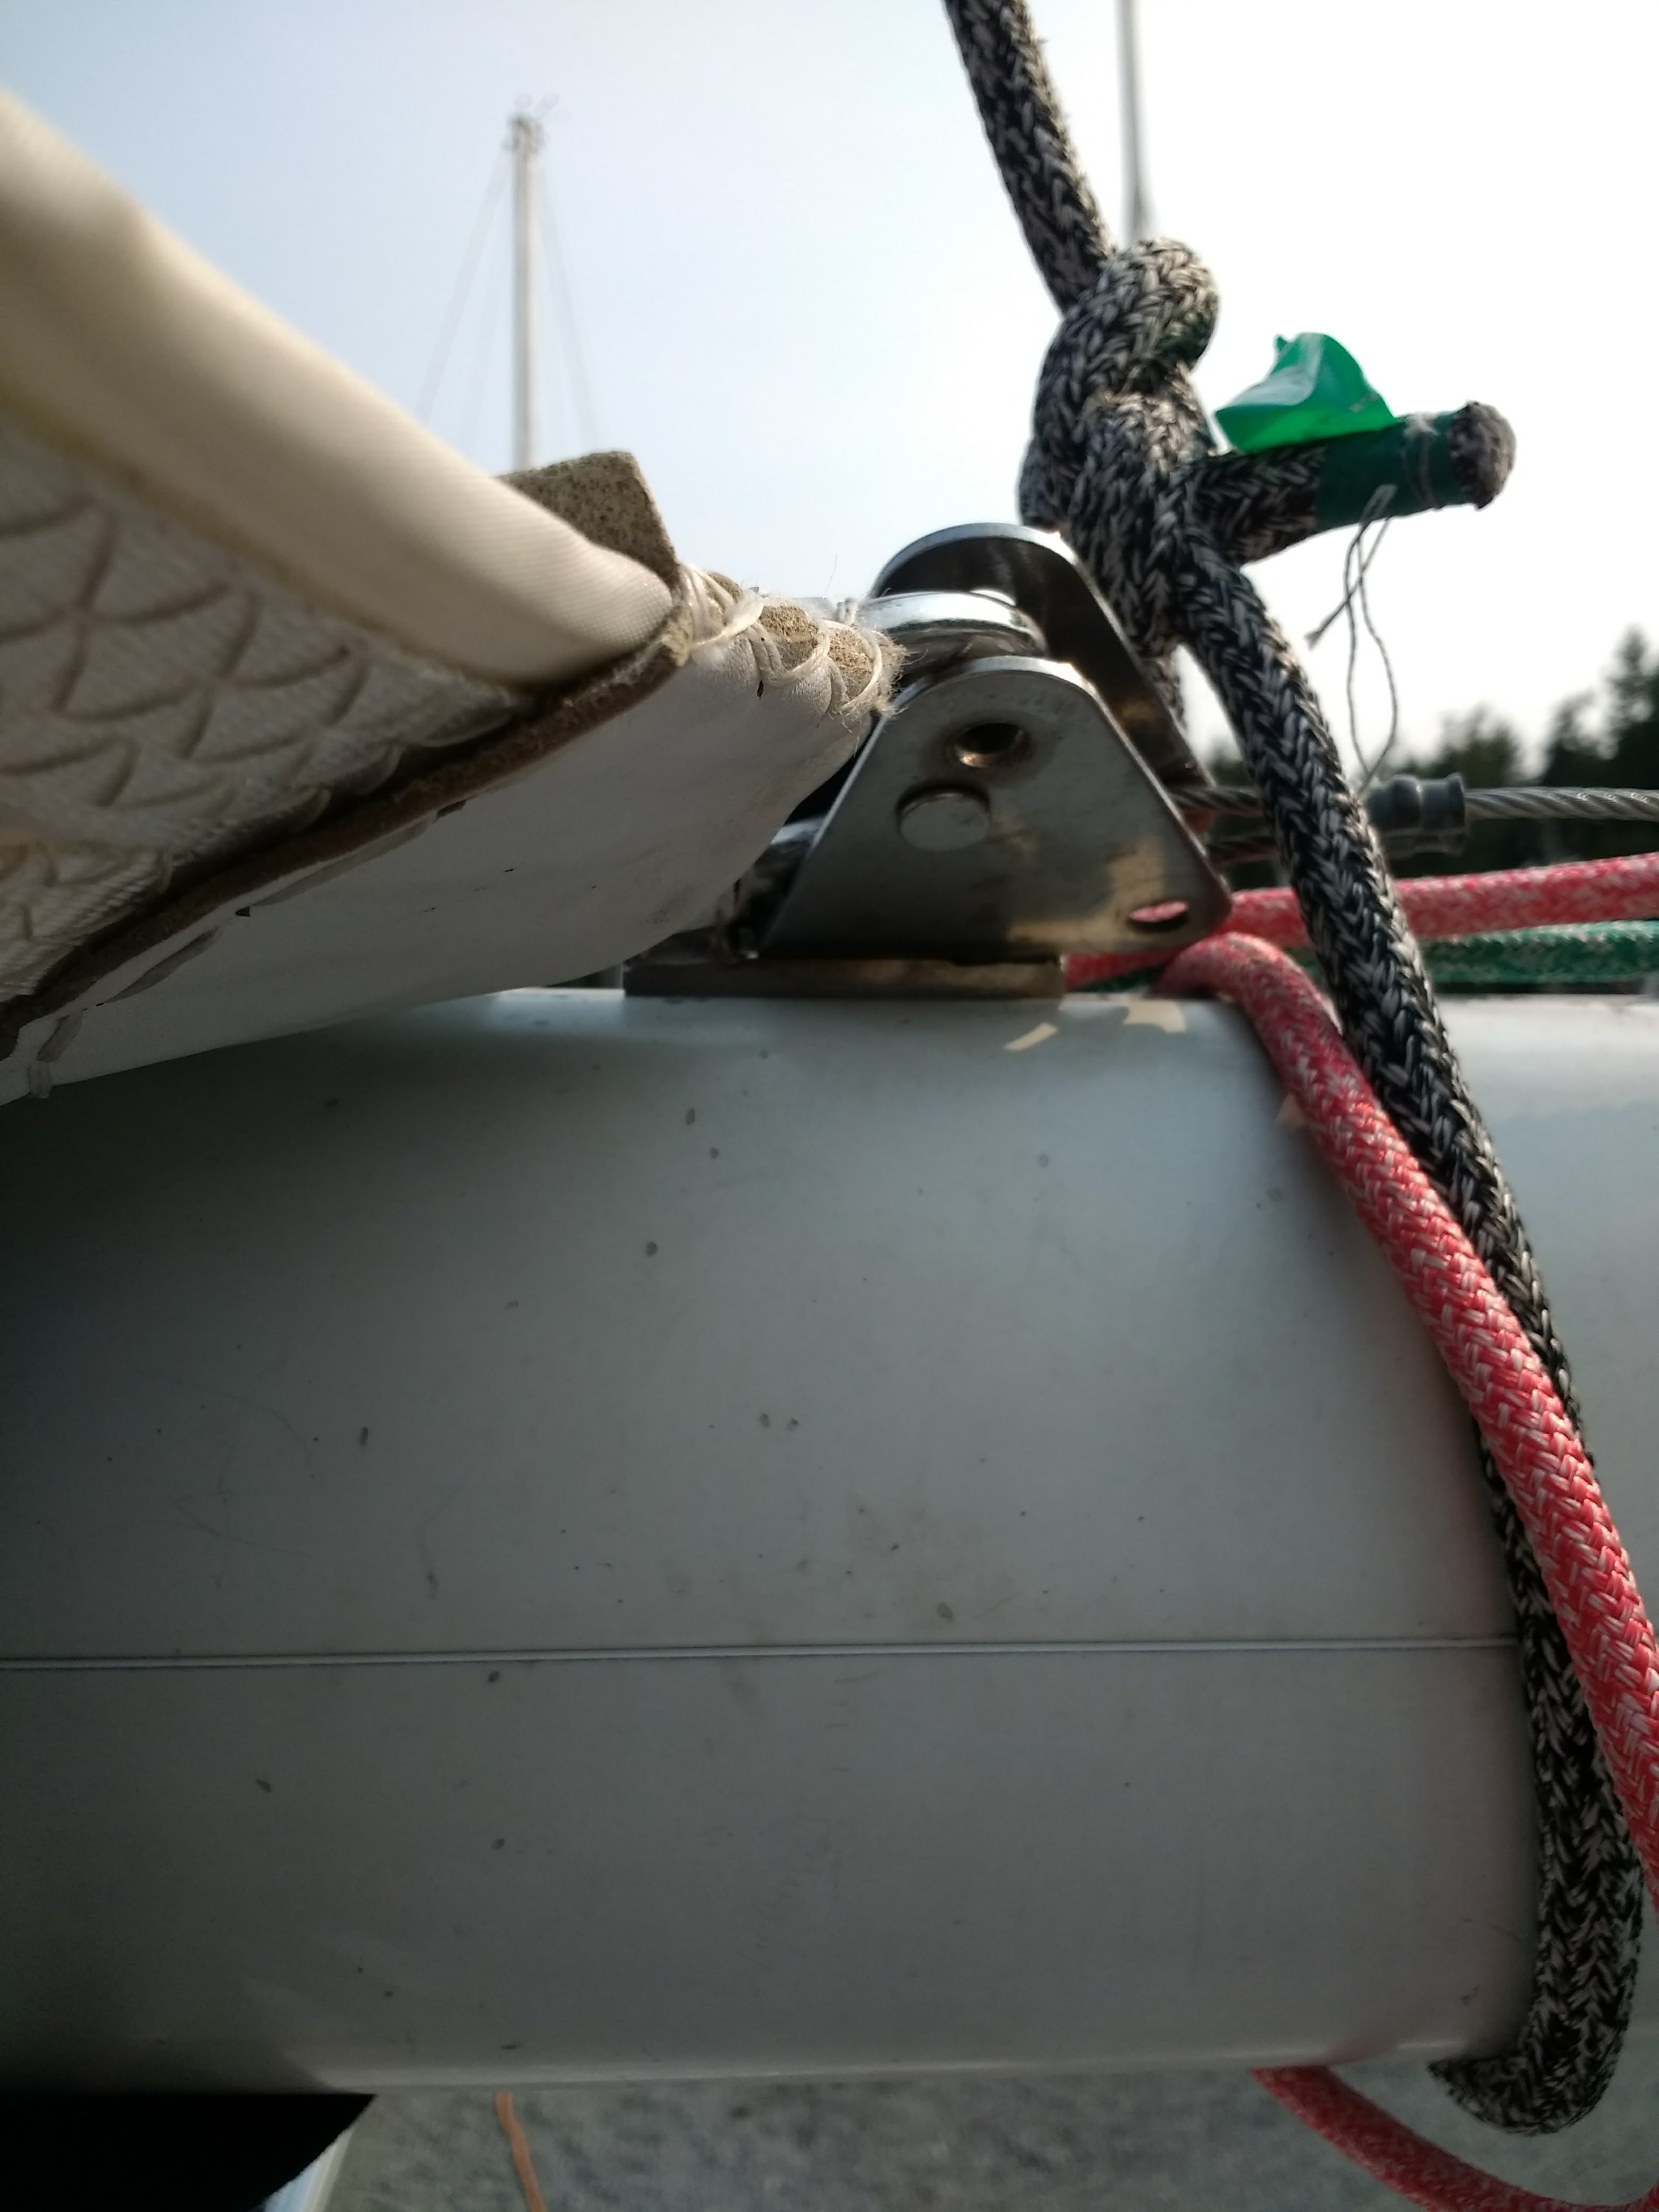
Series Drogue Fittings
To go with my new jordan series drogue from Oceanbrake I had to find some way to attach it. This is used when stuff really goes wrong, like in a survival storm with huge breaking waves etc etc, so the attachment points have to be SOLIDDDDD. Most people make custom ones, and I did the same. Seeing as though if I was using this I would have enough to worry about, I got Blackline Marine to do it for me, as they would be able to do all the calculations and size the plates/bolts properly. And pretty nice they look too.
It has a beefy backing plate on the other side as well.
Hopefully if I do get into a bad situation this allows me to just deploy the series drogue and then lock myself in the cabin while having a good ol’ cry.
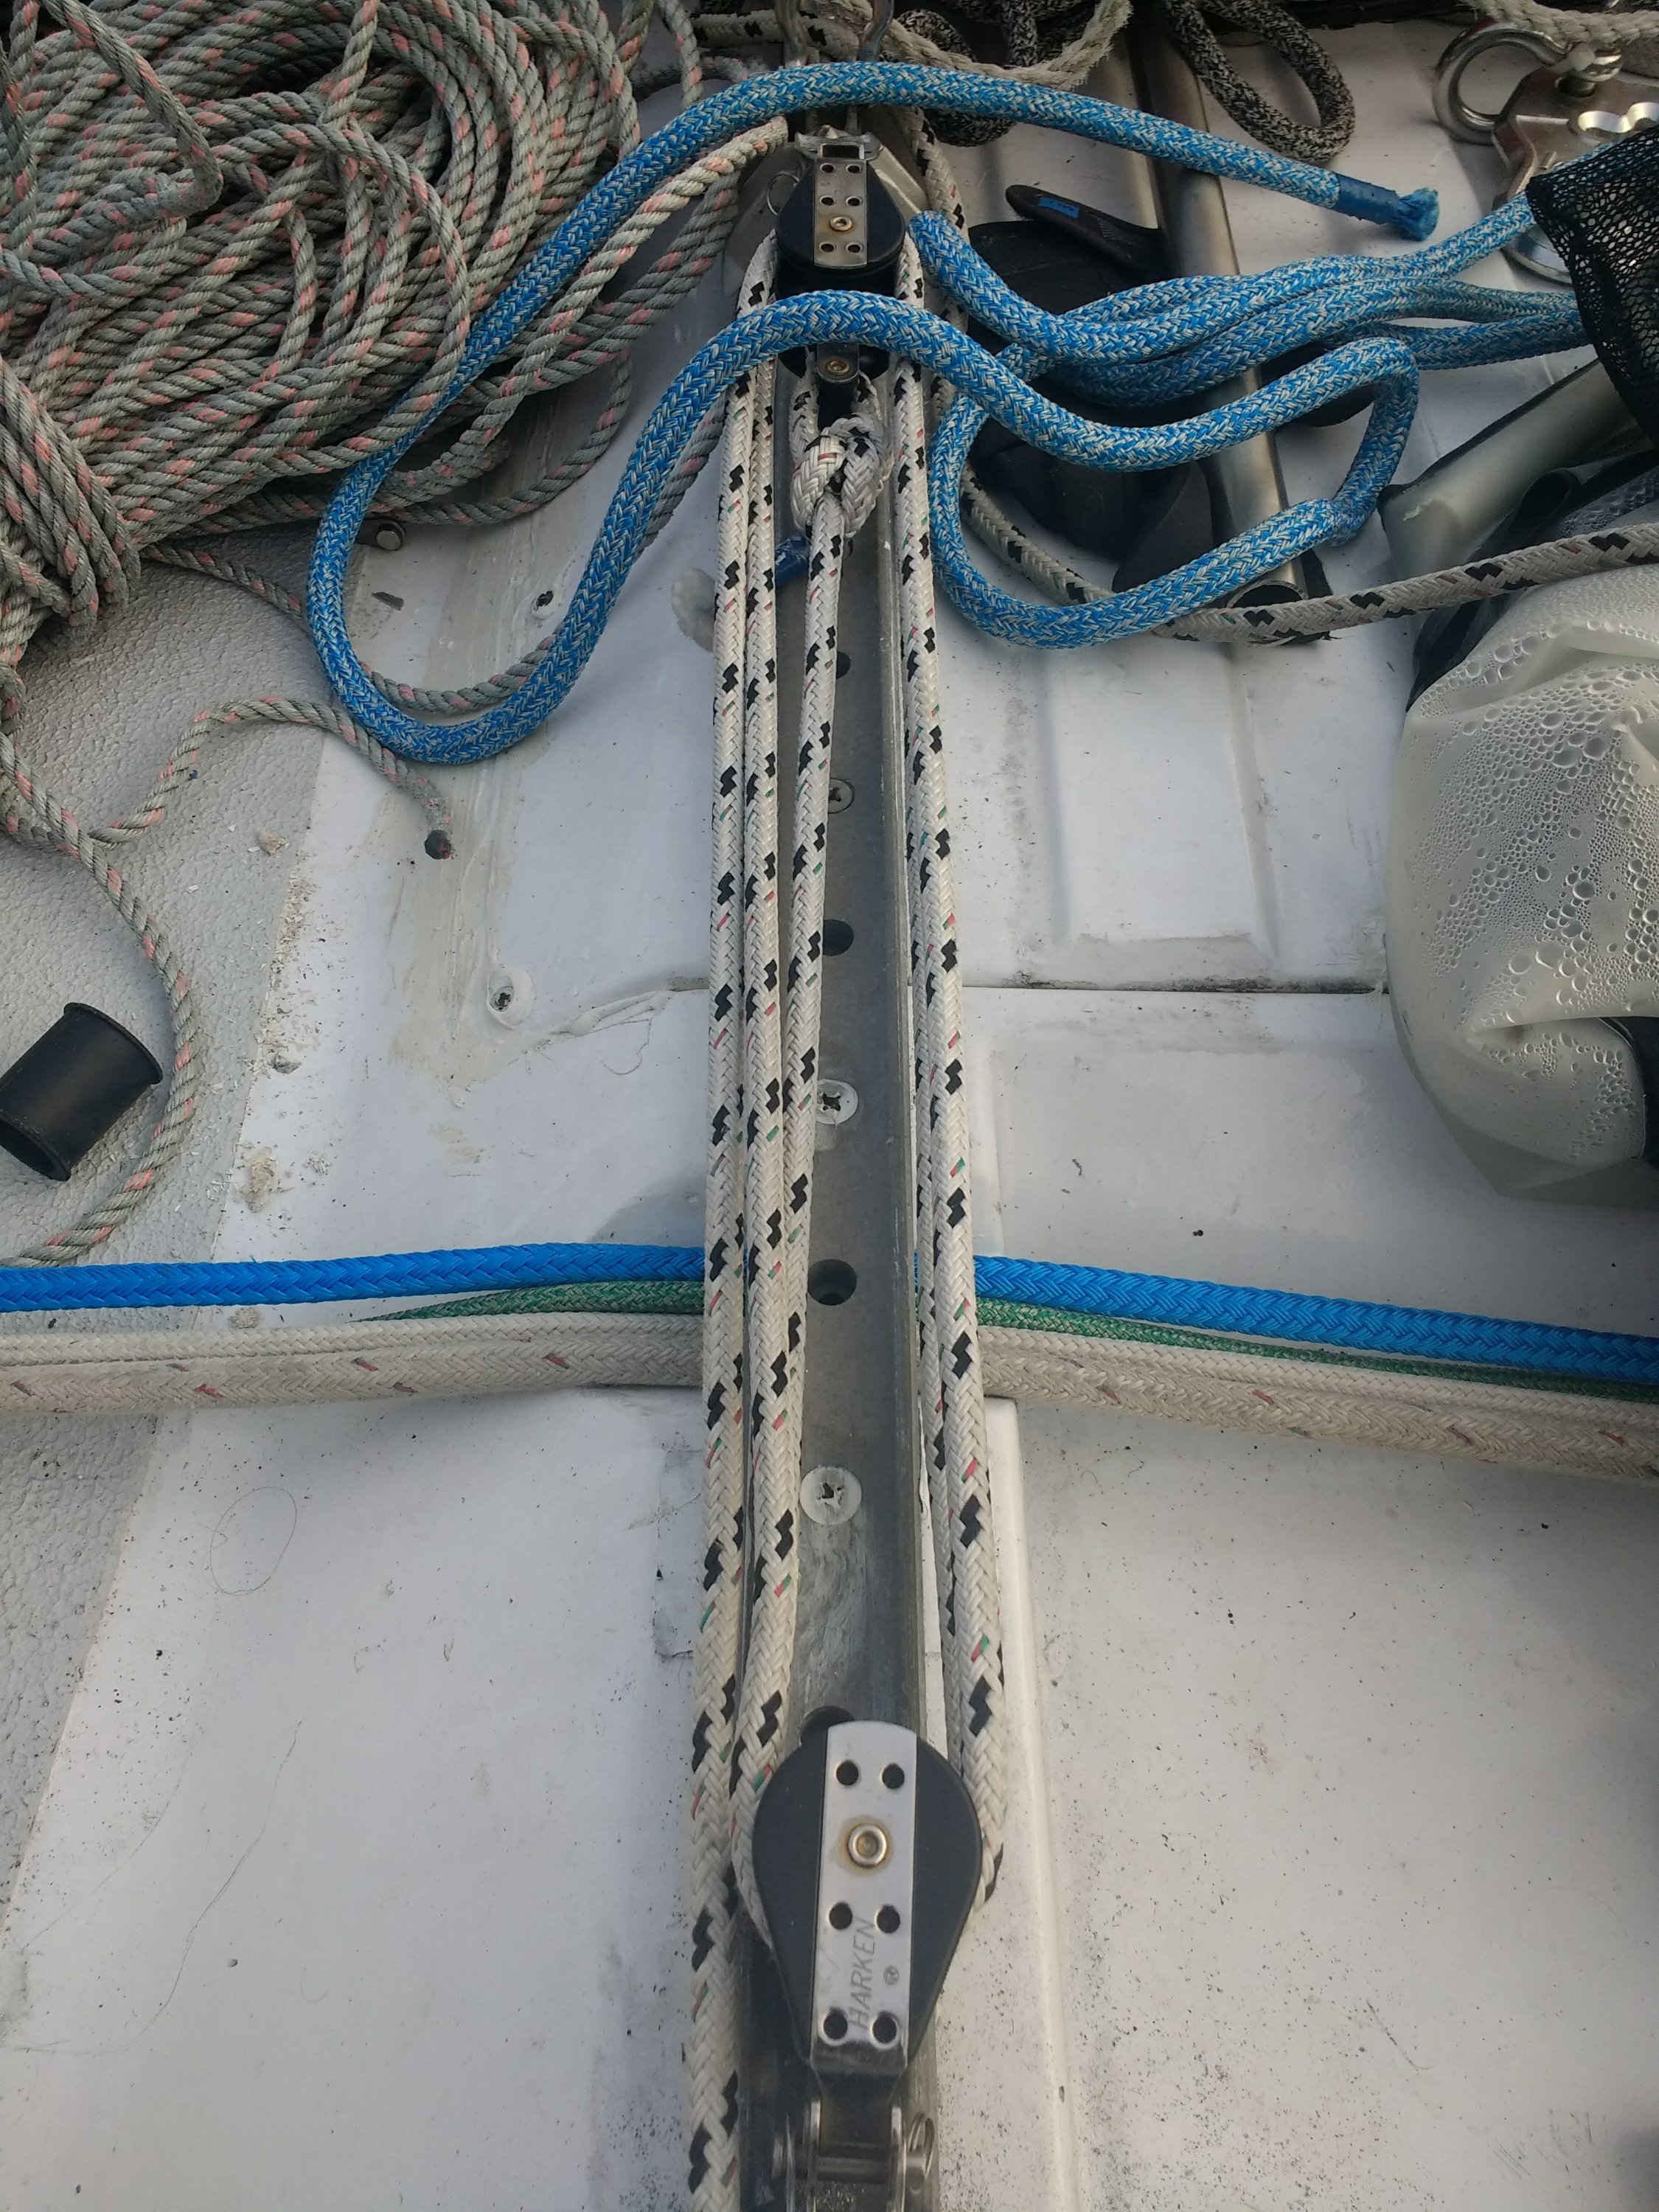
Traveller Refasten
One of the things that made swiftsure more ‘exciting’ was my traveller deciding to pull itself out of the deck in the middle of beating up the Juan De Fuca, leading to the middle bending alarmingly and making me wonder what would happen if it let go entirely (a 5 foot long metal girder swinging around head height with a few hundred pounds of force behind it wasn’t entirely great to contemplate). Luckily the end bolts held.
On investigation I found that several of the bolts were missing that fasten it down to the actual boat – all of the middle ones just connected to a thin metal plate above the hatchway – which seems a pretty terrible design, if I’m being honest. Anyway, I retapped and put in more bolts, hopefully leading to less chance of decapitation.
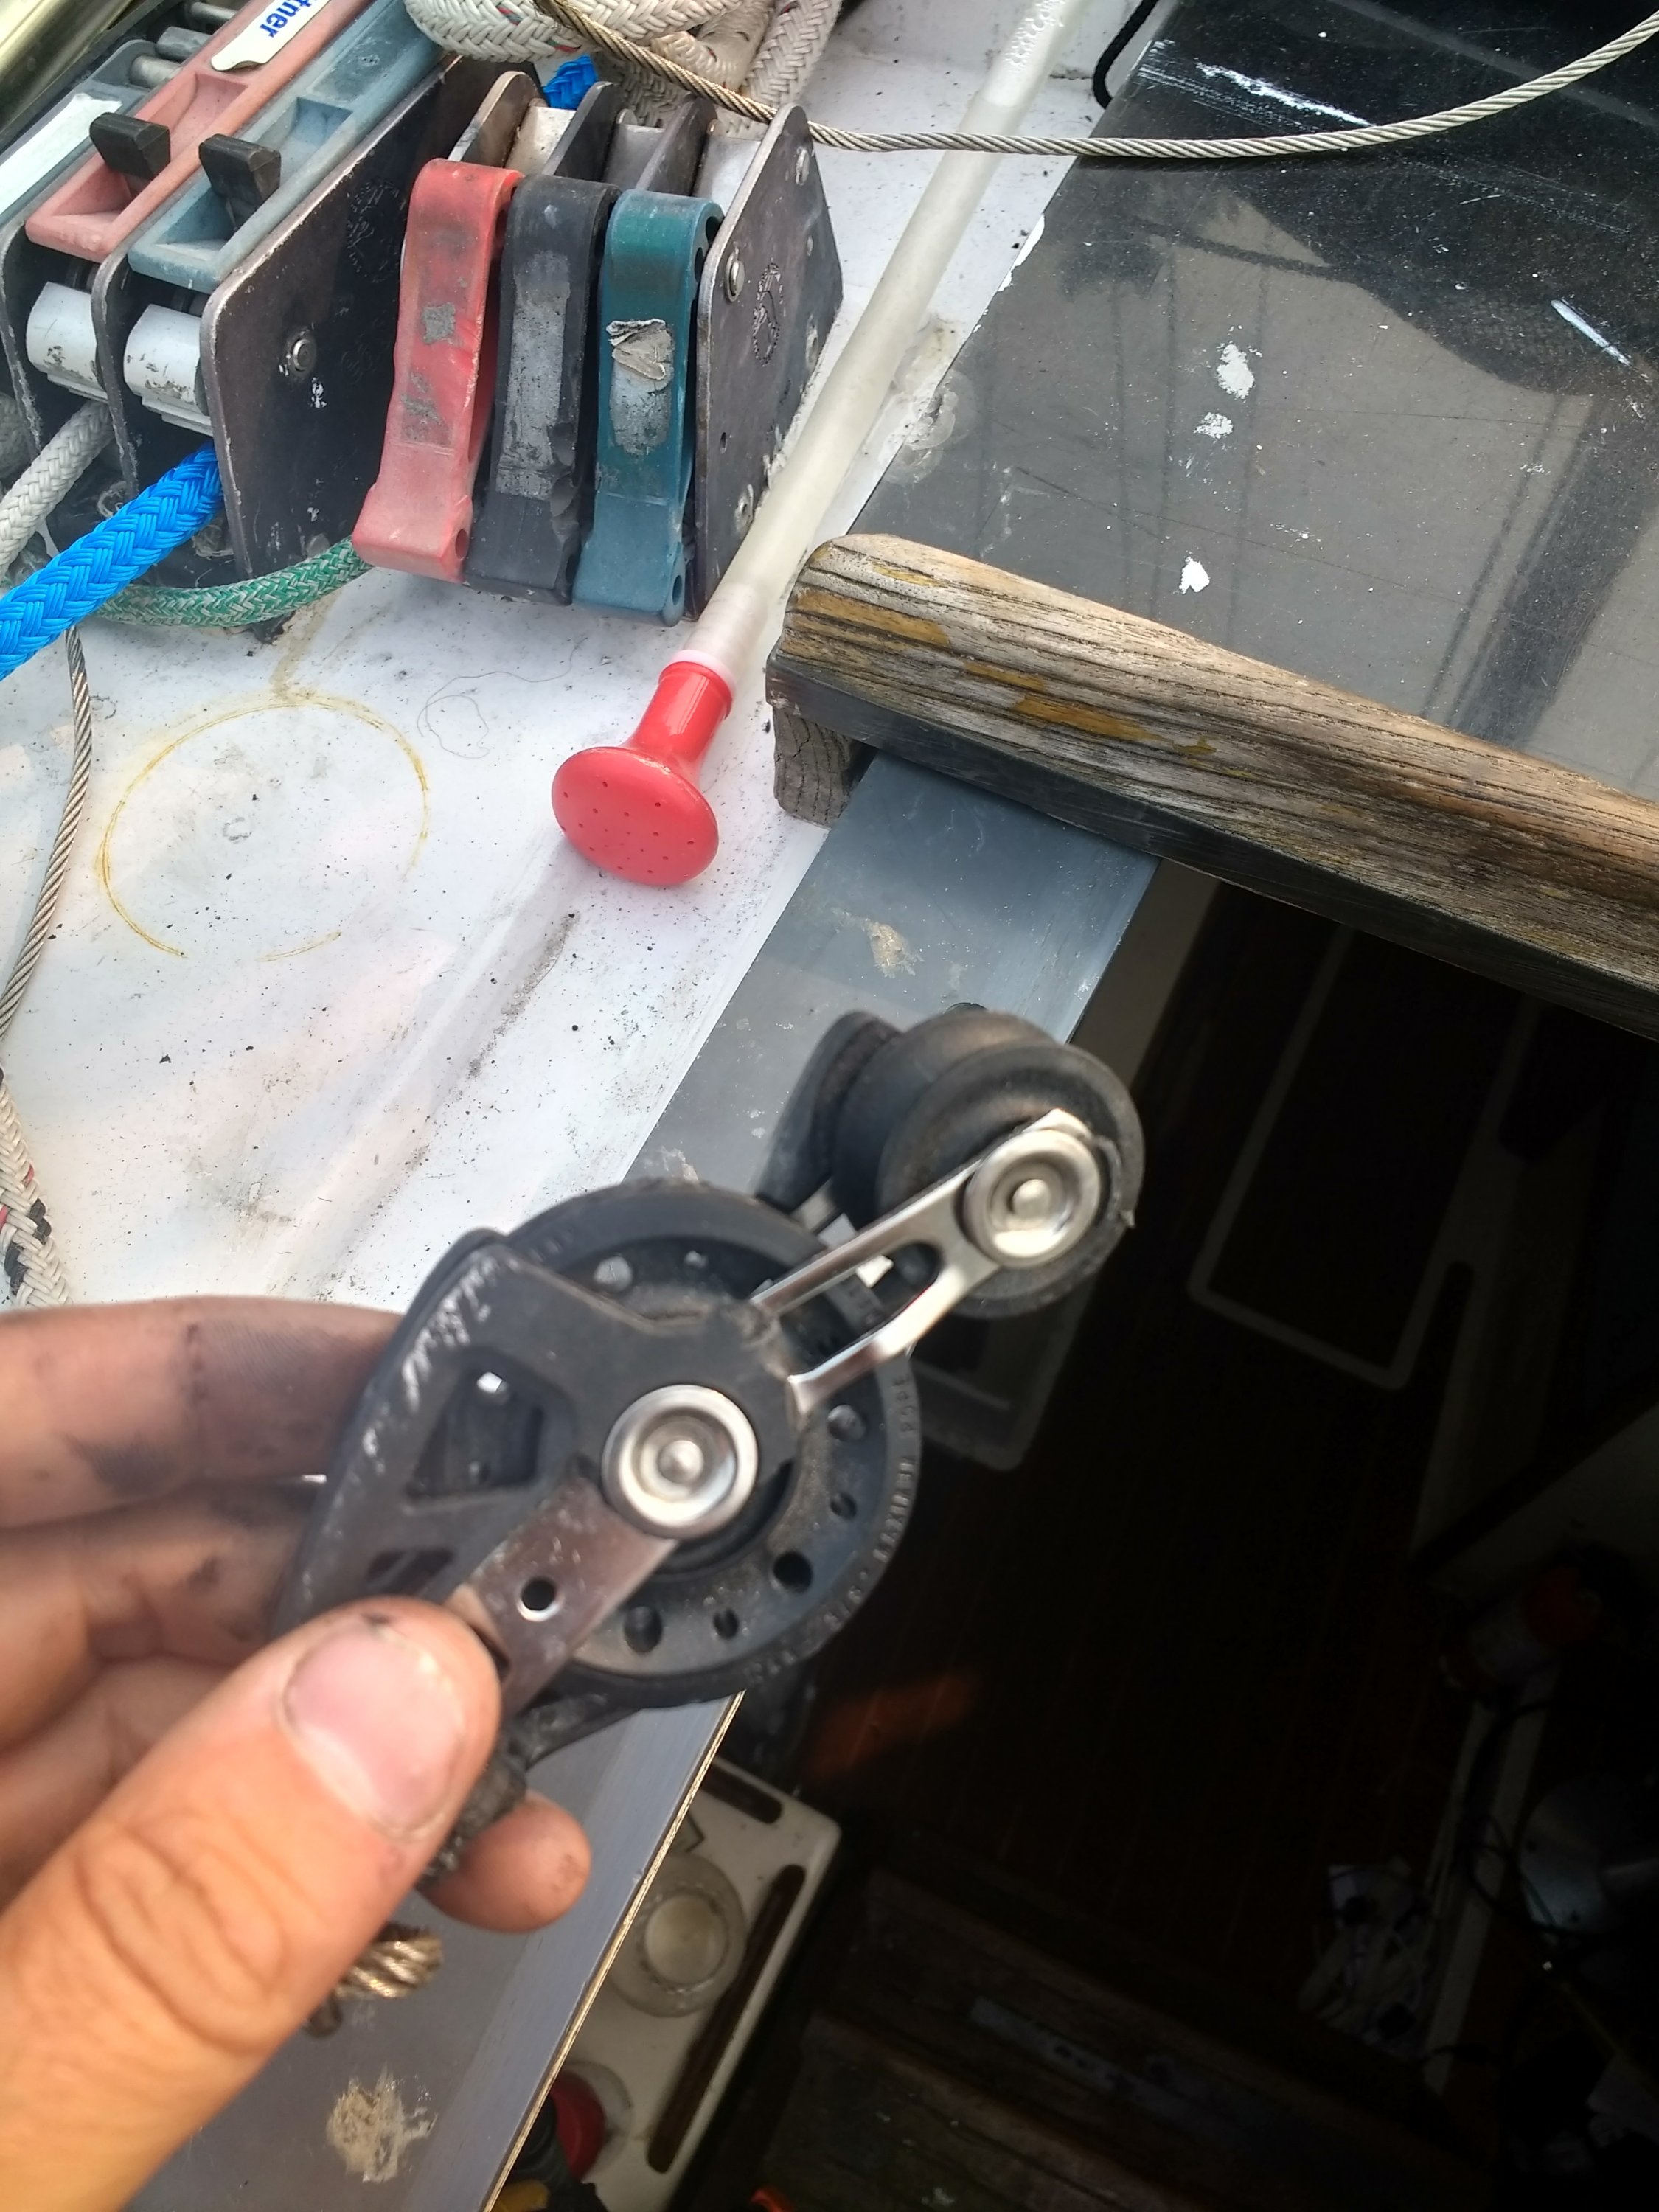
I also redid the traveller blocks – I sawed off this weird long metal tube at each end
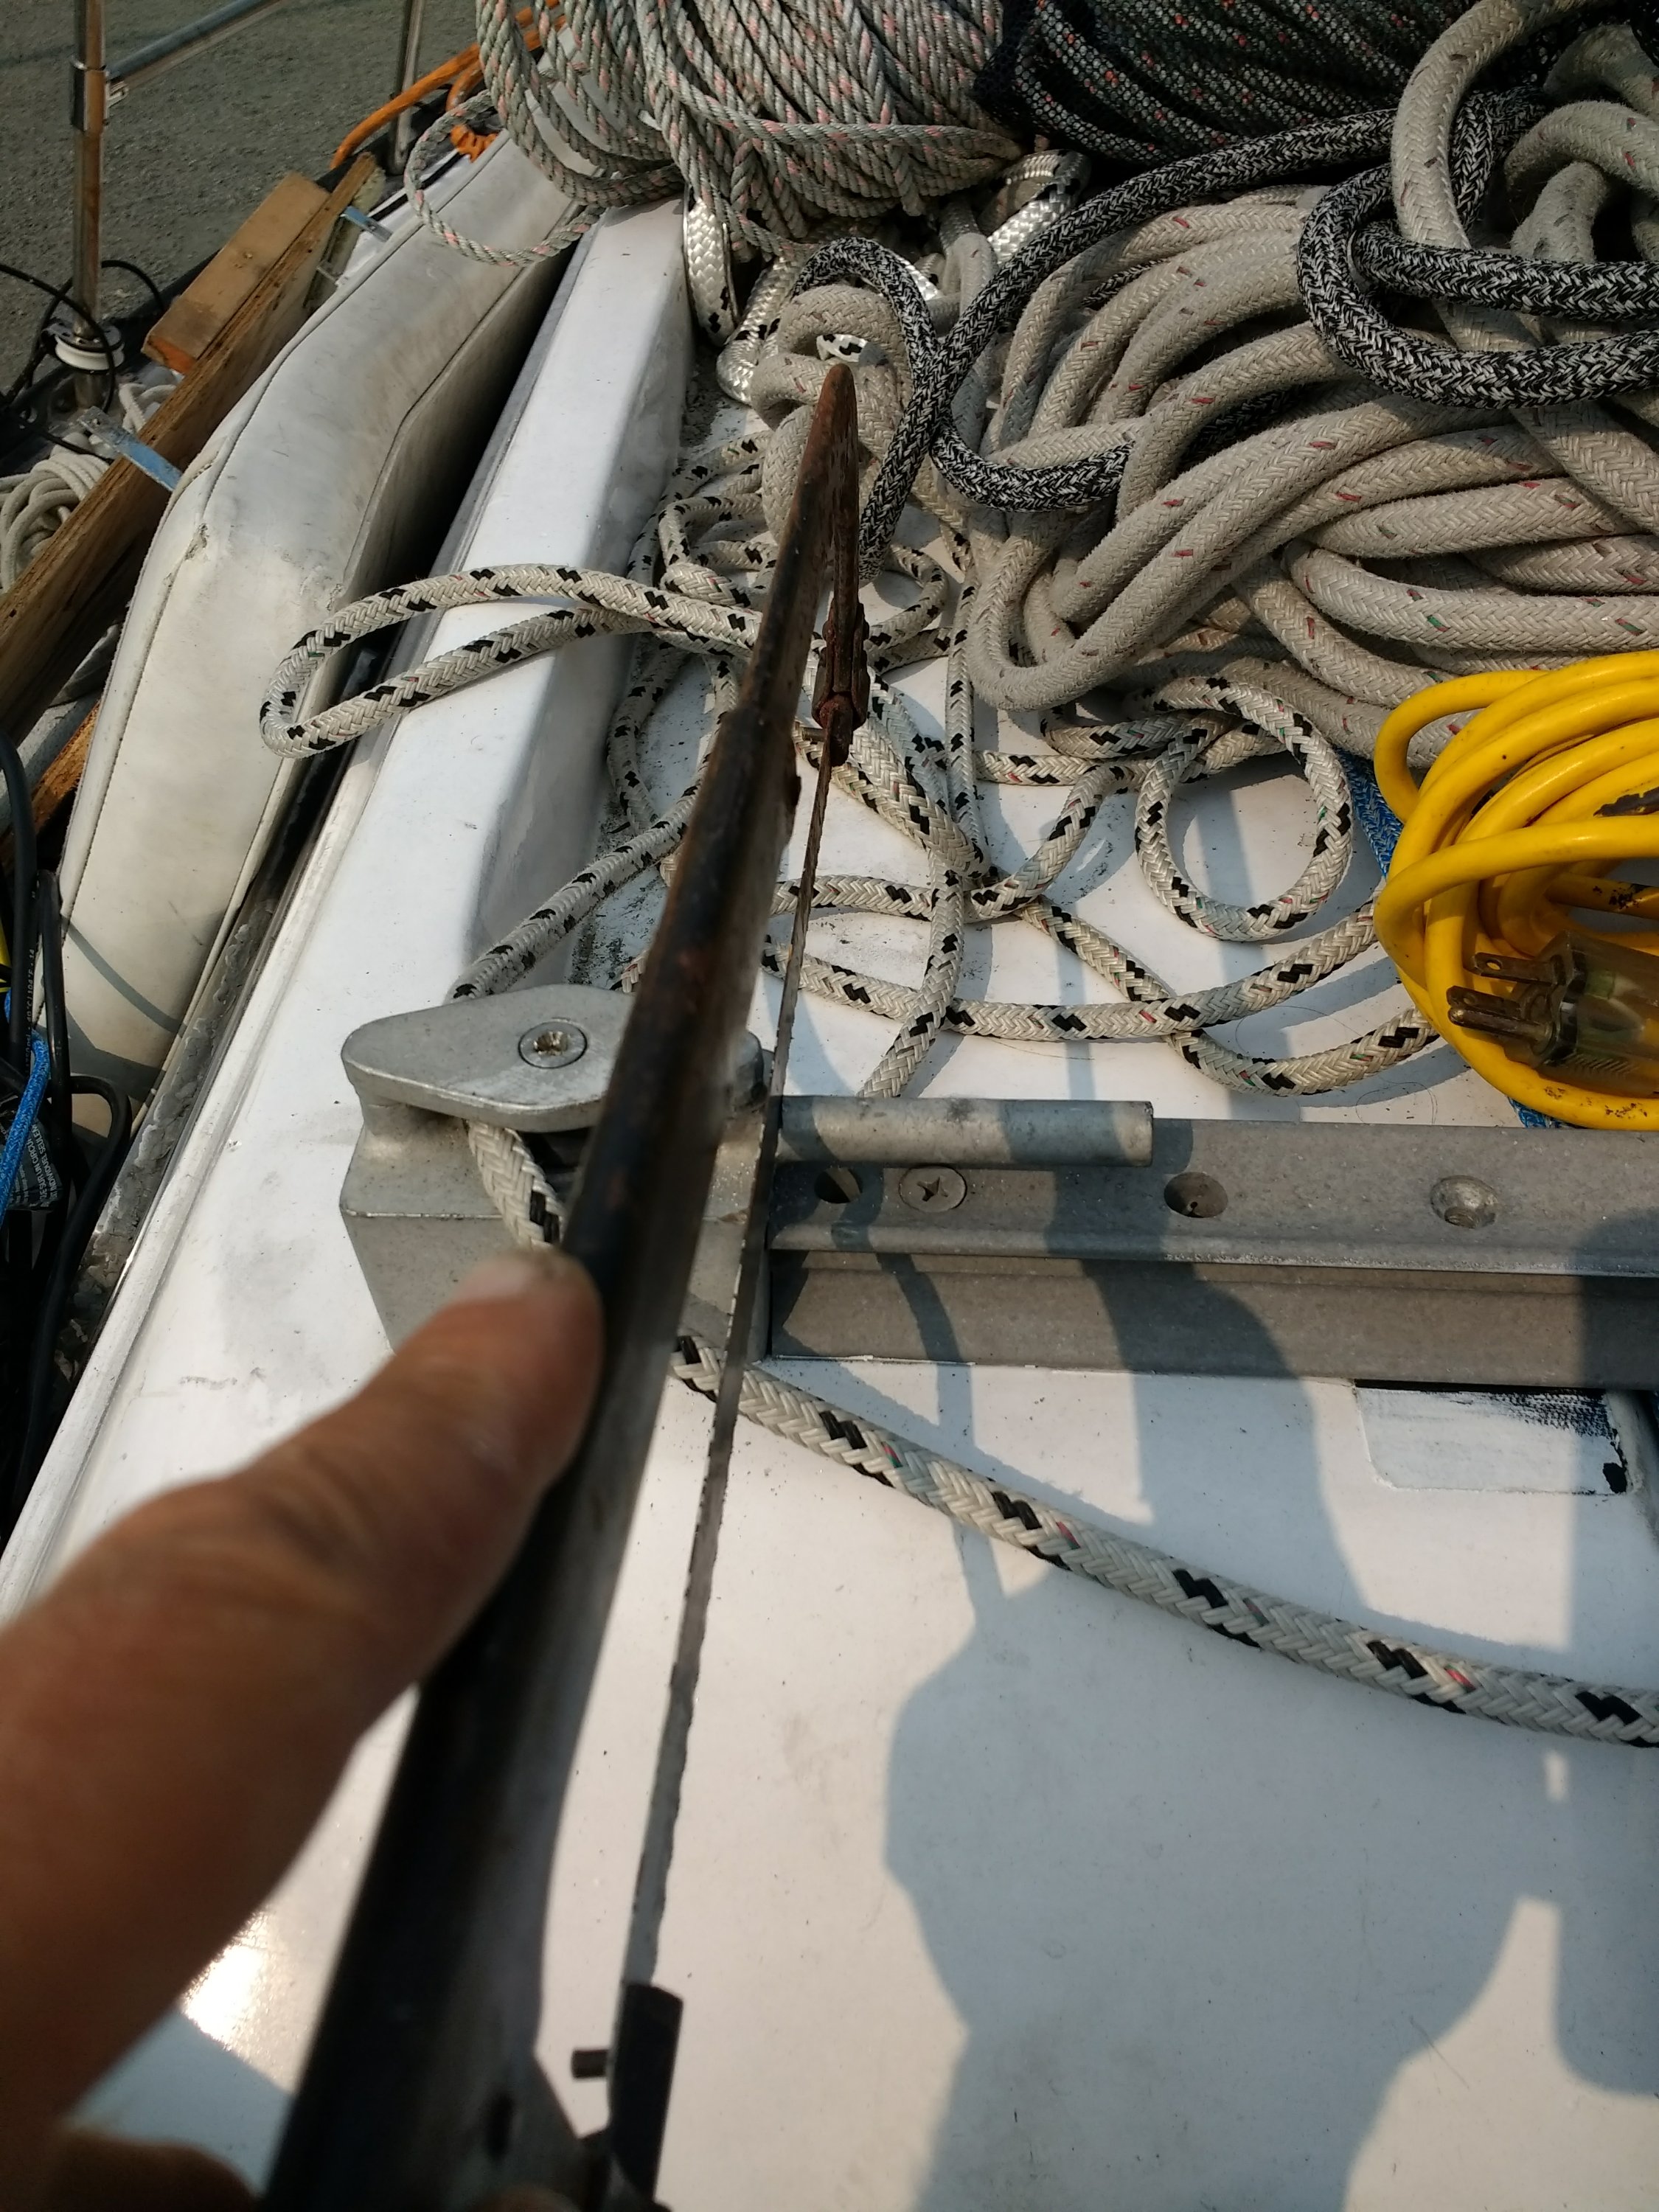
which allowed me to mount the blocks closer to the ends of the traveller, and thereby take a shackle out of each connection. Allows more play on the traveller and looks way less janky than before
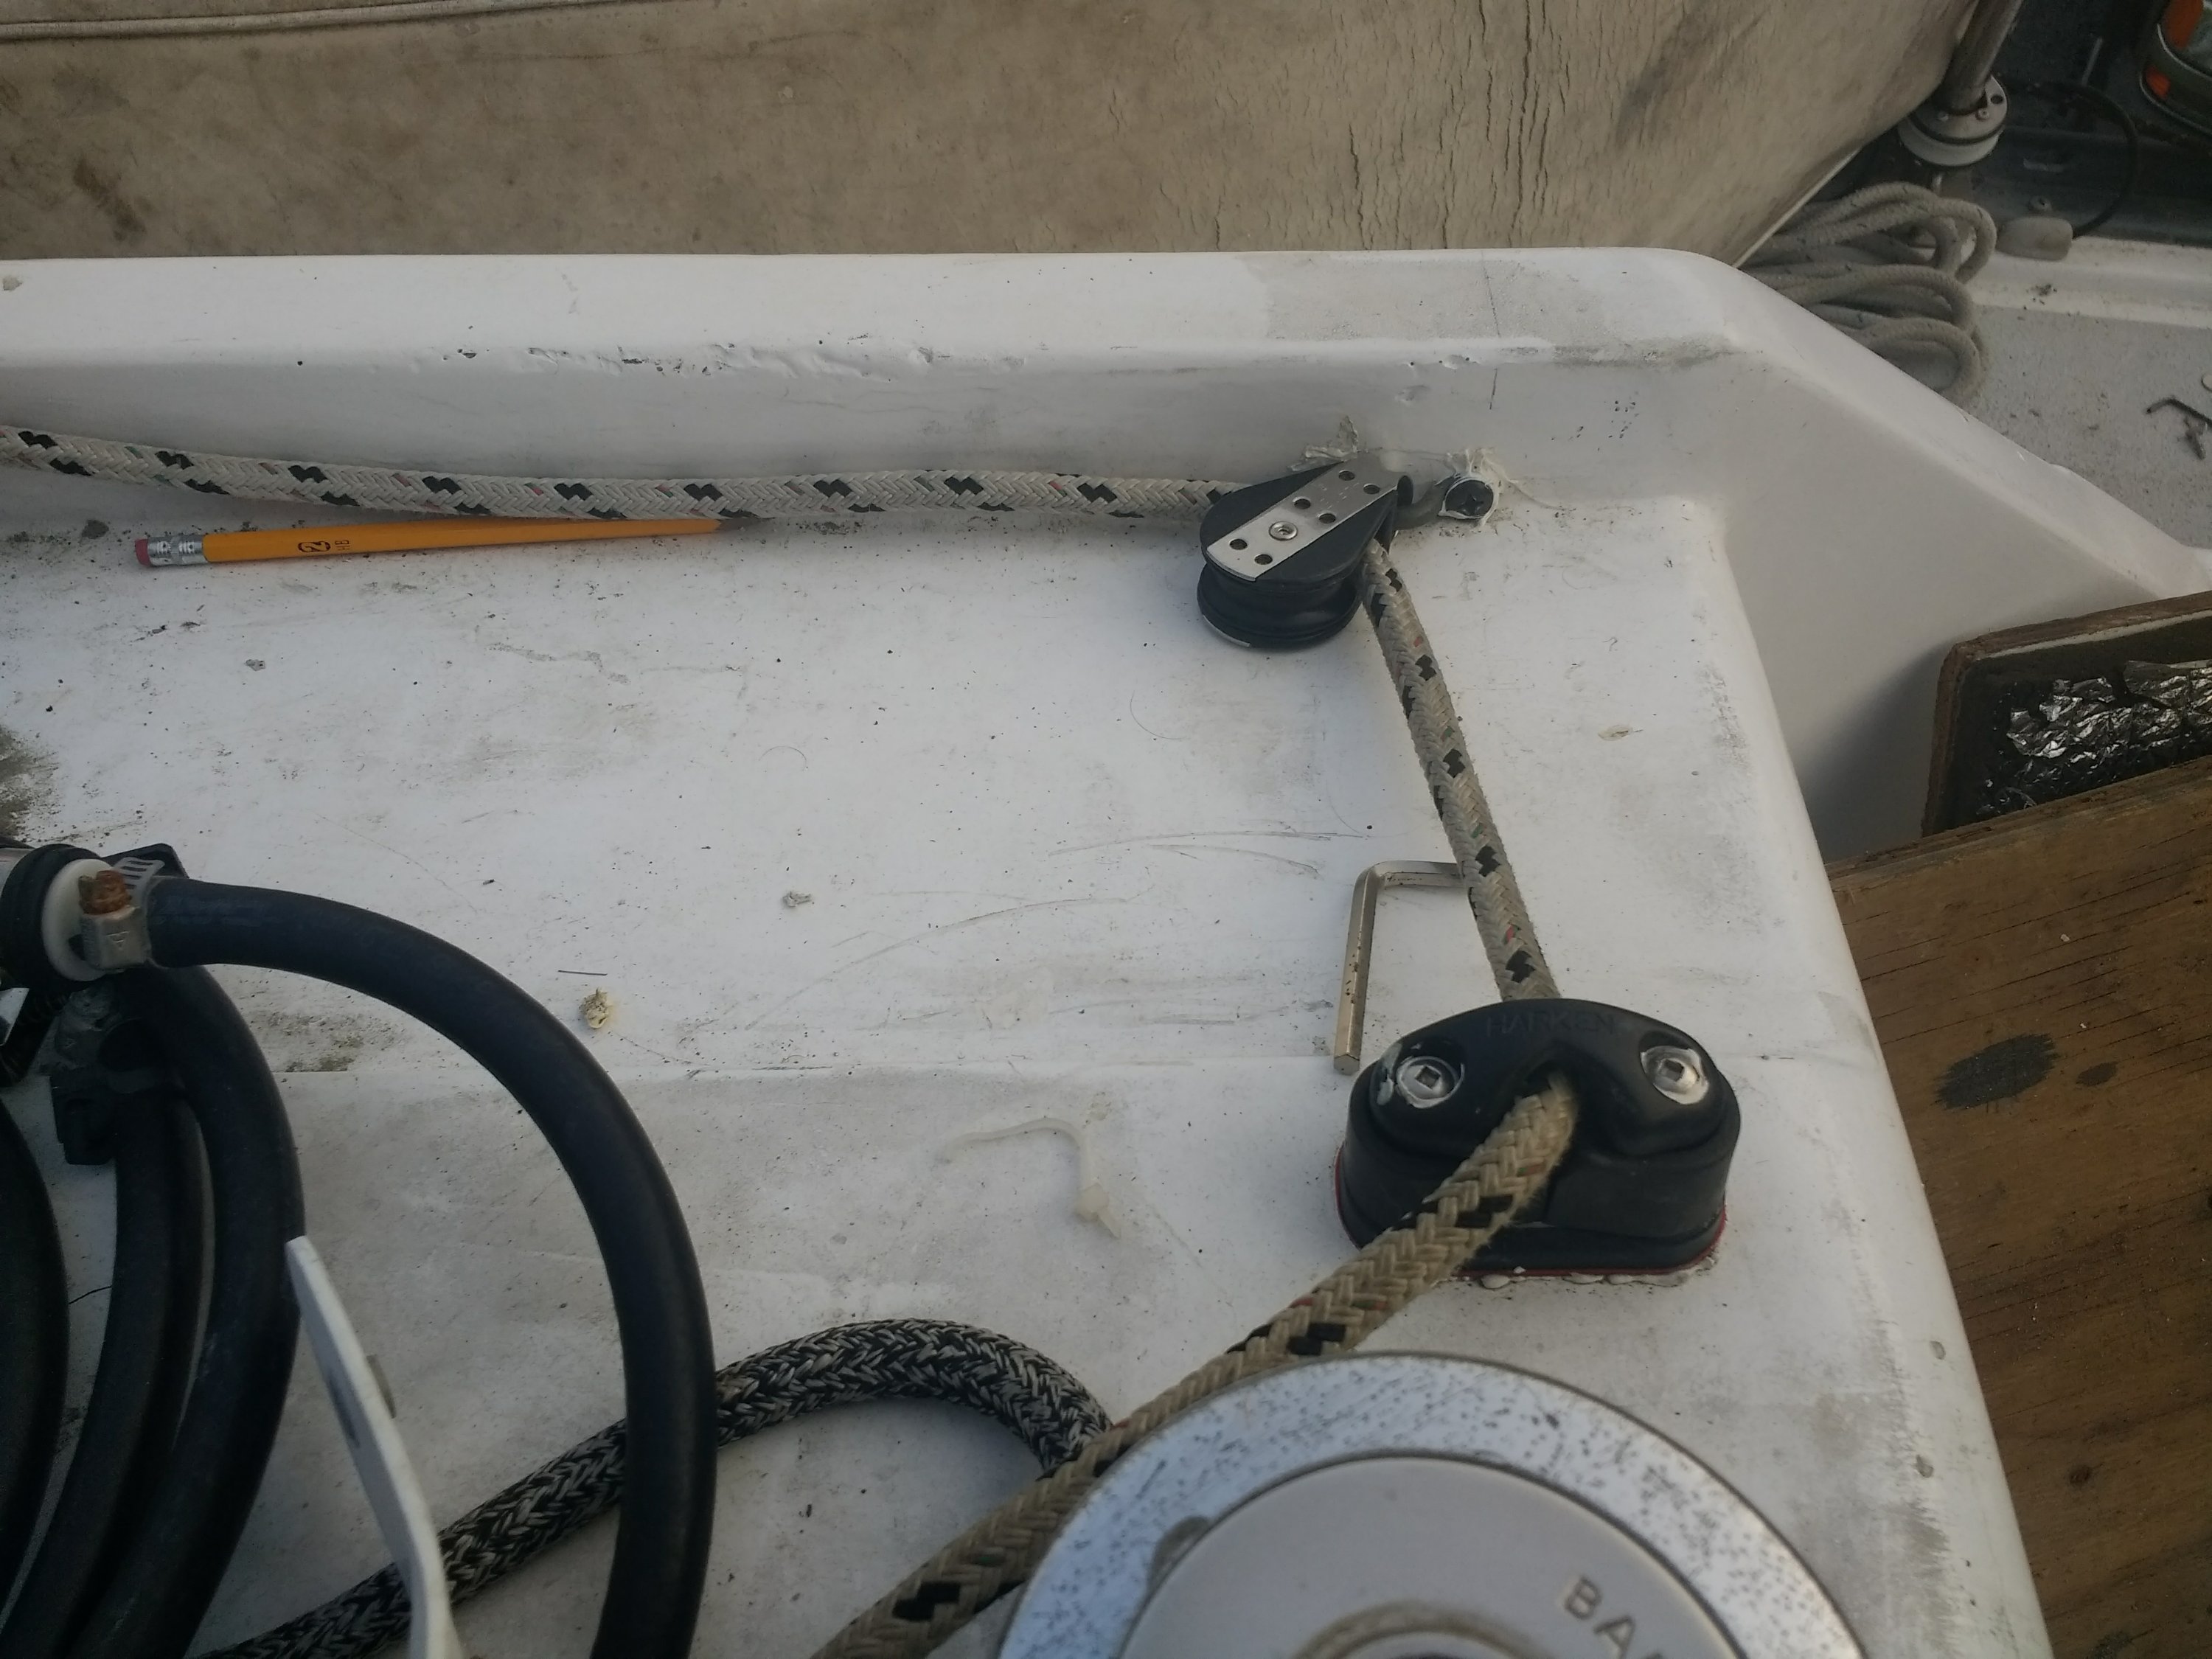
I also readded the blocks I took off 9 months(!) ago when I was painting that provide a better route to the cam cleat. I should have done this ages ago – I’m really lazy
Engine Spares
Pretty self explanatory this. Bought a bunch of engine spares, including 3 impellors each for the raw water pump and the coolant pump, plus spare belts, plus an air filter, plus 5 oil filters, 2 spare racors and 2 spare primary filters.
Easy enough, just a bunch of cash (I hate engines). WHY ARE IMPELLORS SO EXPENSIVE
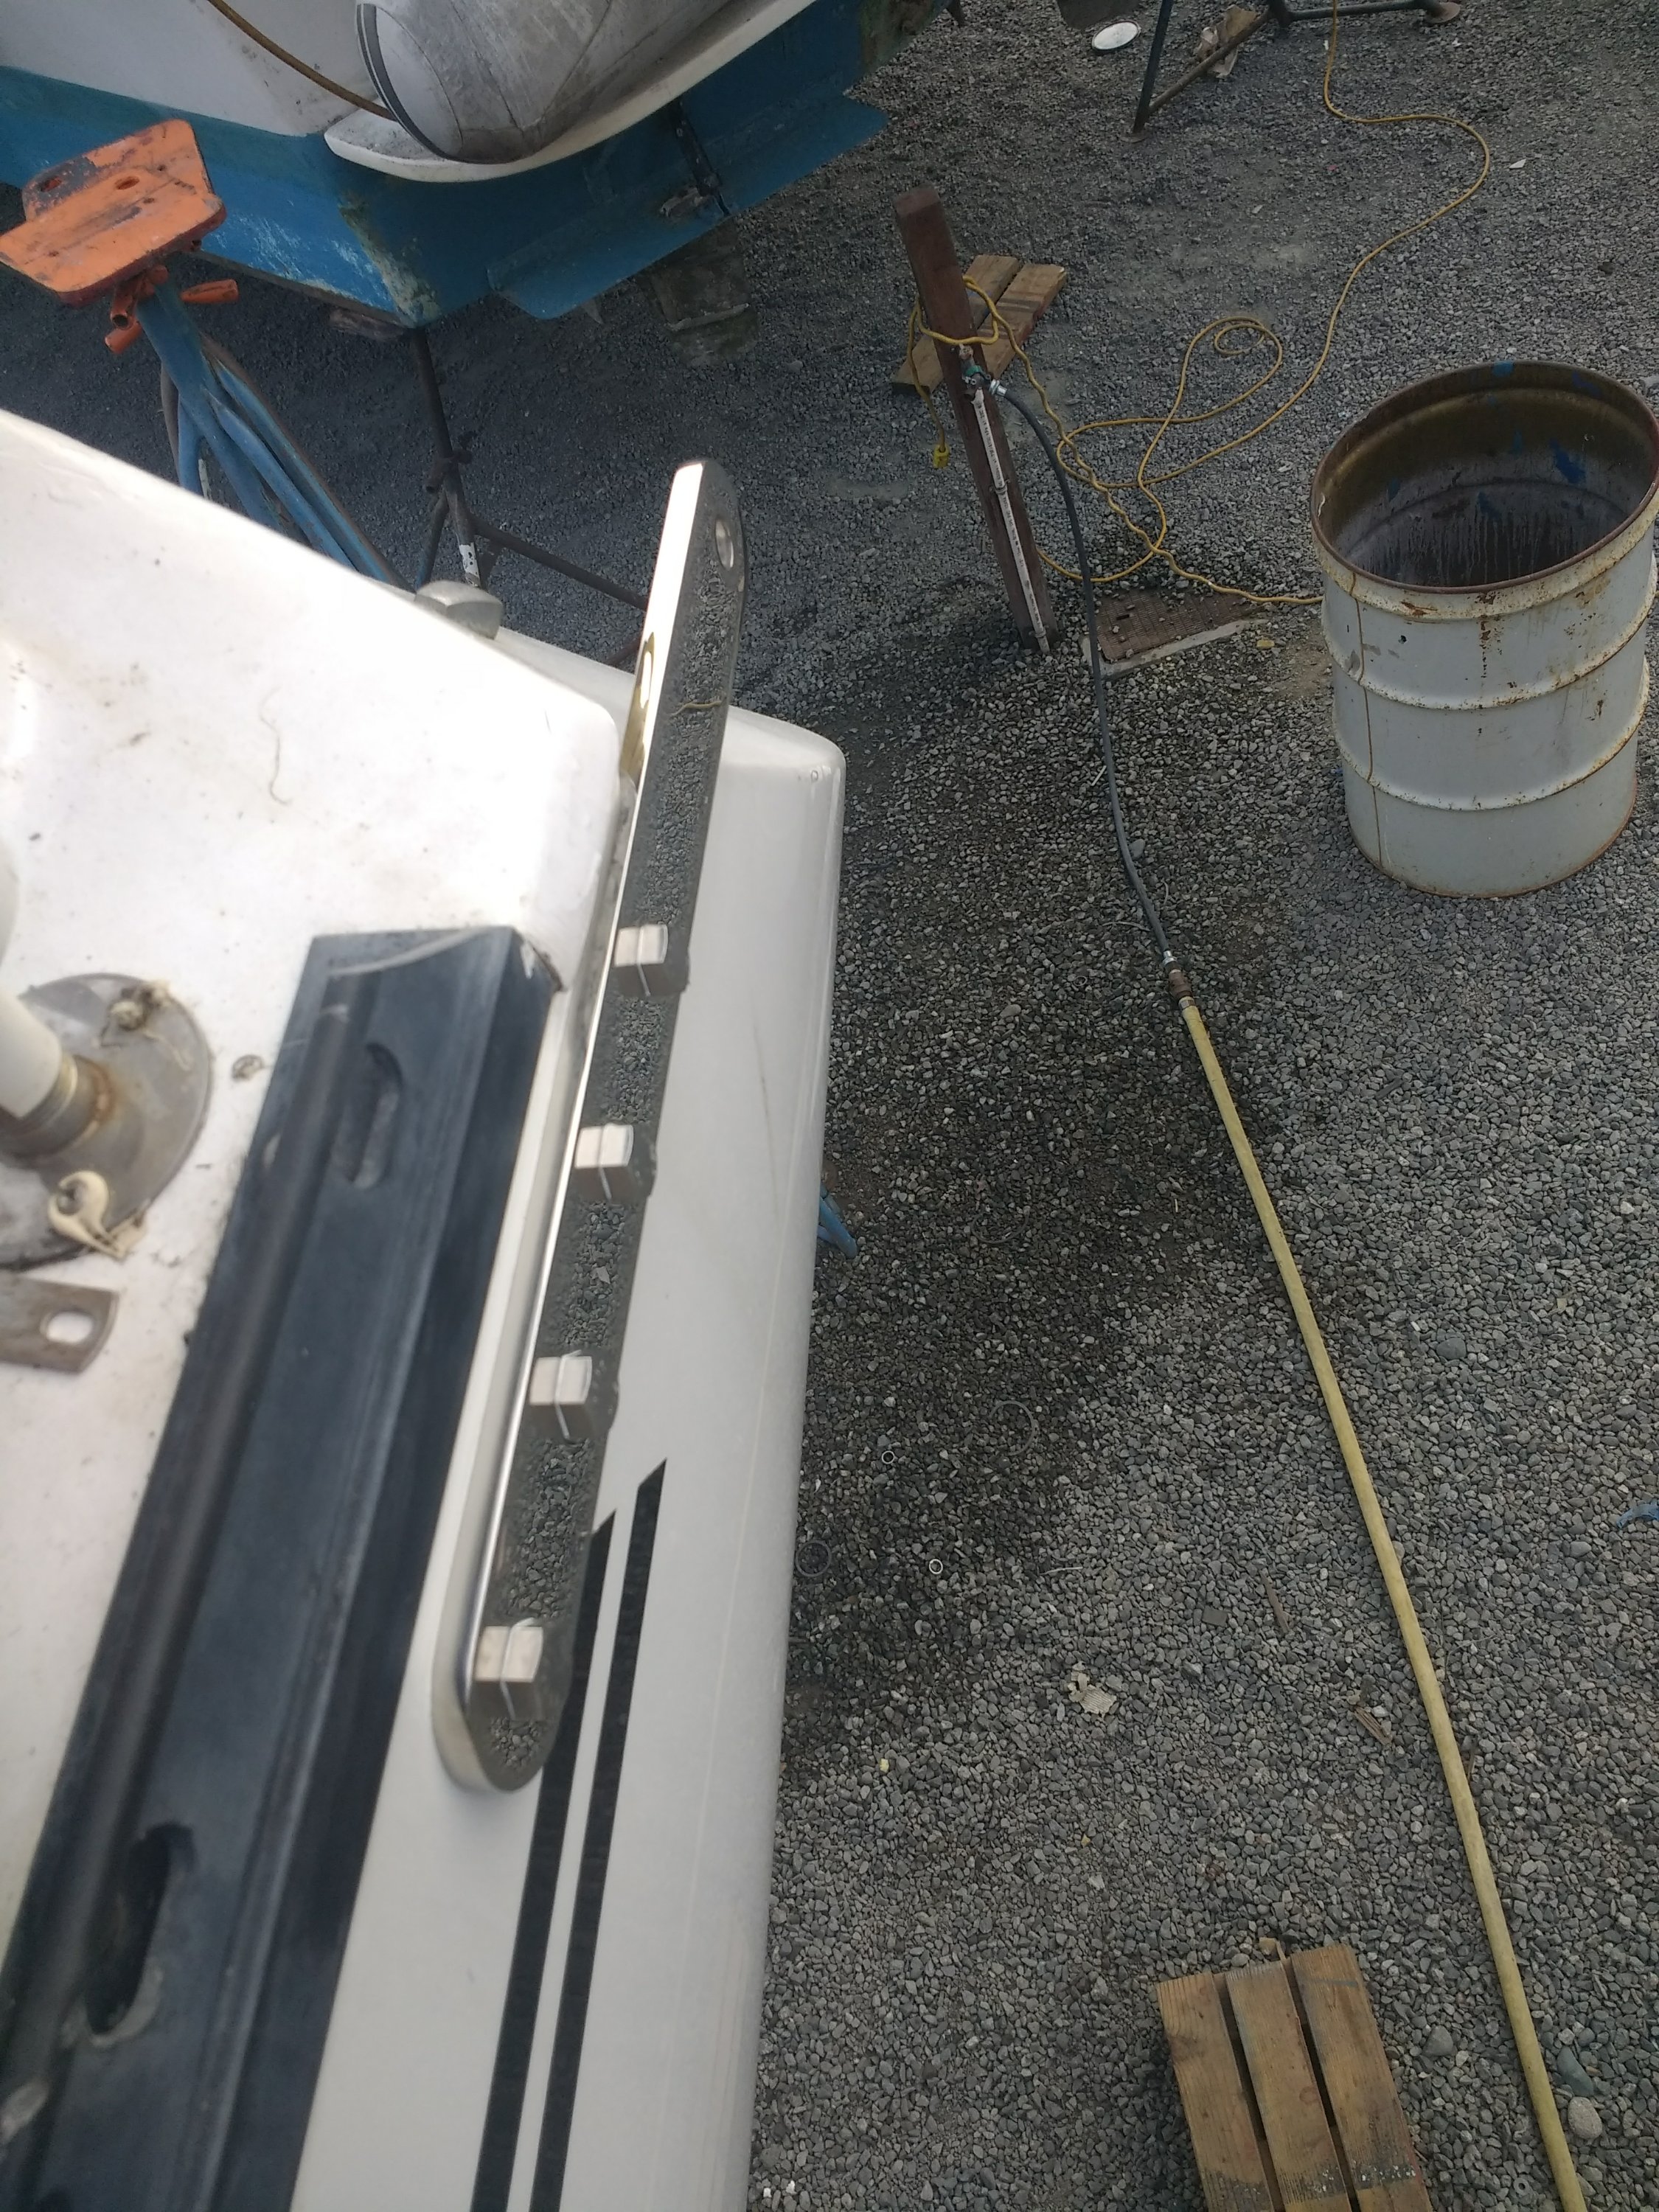
Spinnaker Track
So way back when I installed this I was lazy and instead of drilling and tapping screws I just used rivets. To avoid galvonic crosion I used aluminium rivets. You can see where this is going.
Anyway the bottom 5 holes were all tapped and screwed in with 5/16 bolts after they popped out a while ago, and then this trip a bunch more popped out. So I ended up tapping most of them anyway. It’s now a lot stronger!
Replace Outhaul
This was another project that I spent a lot of time and money doing a couple years ago that I am redoing now I have a bit more knowledge.
The original replacement worked ok but sometimes got hung up, was getting hard to move and also used what the rigger call ‘old technology’ – i.e it had a clunky slide attached by wire to attach to the clew of the sail (a hangover from my old mainsail that had slugs on the bottom)
I took the end of the boom off and managed to get out the outhaul tackle and found it really mangled
time to replace that then
To cut down on the amount of tackle inside the boom I decided to do something similar to this (image from https://www.harken.com/content.aspx?id=3910)
Except I added a block to the clew of the sail and extended the line back to the cockpit and B block is just the sheave at the end of the boom and not a seperate block.
I also used a length of amsteel to attach the sail clew to the internal block and MLX for the rest.
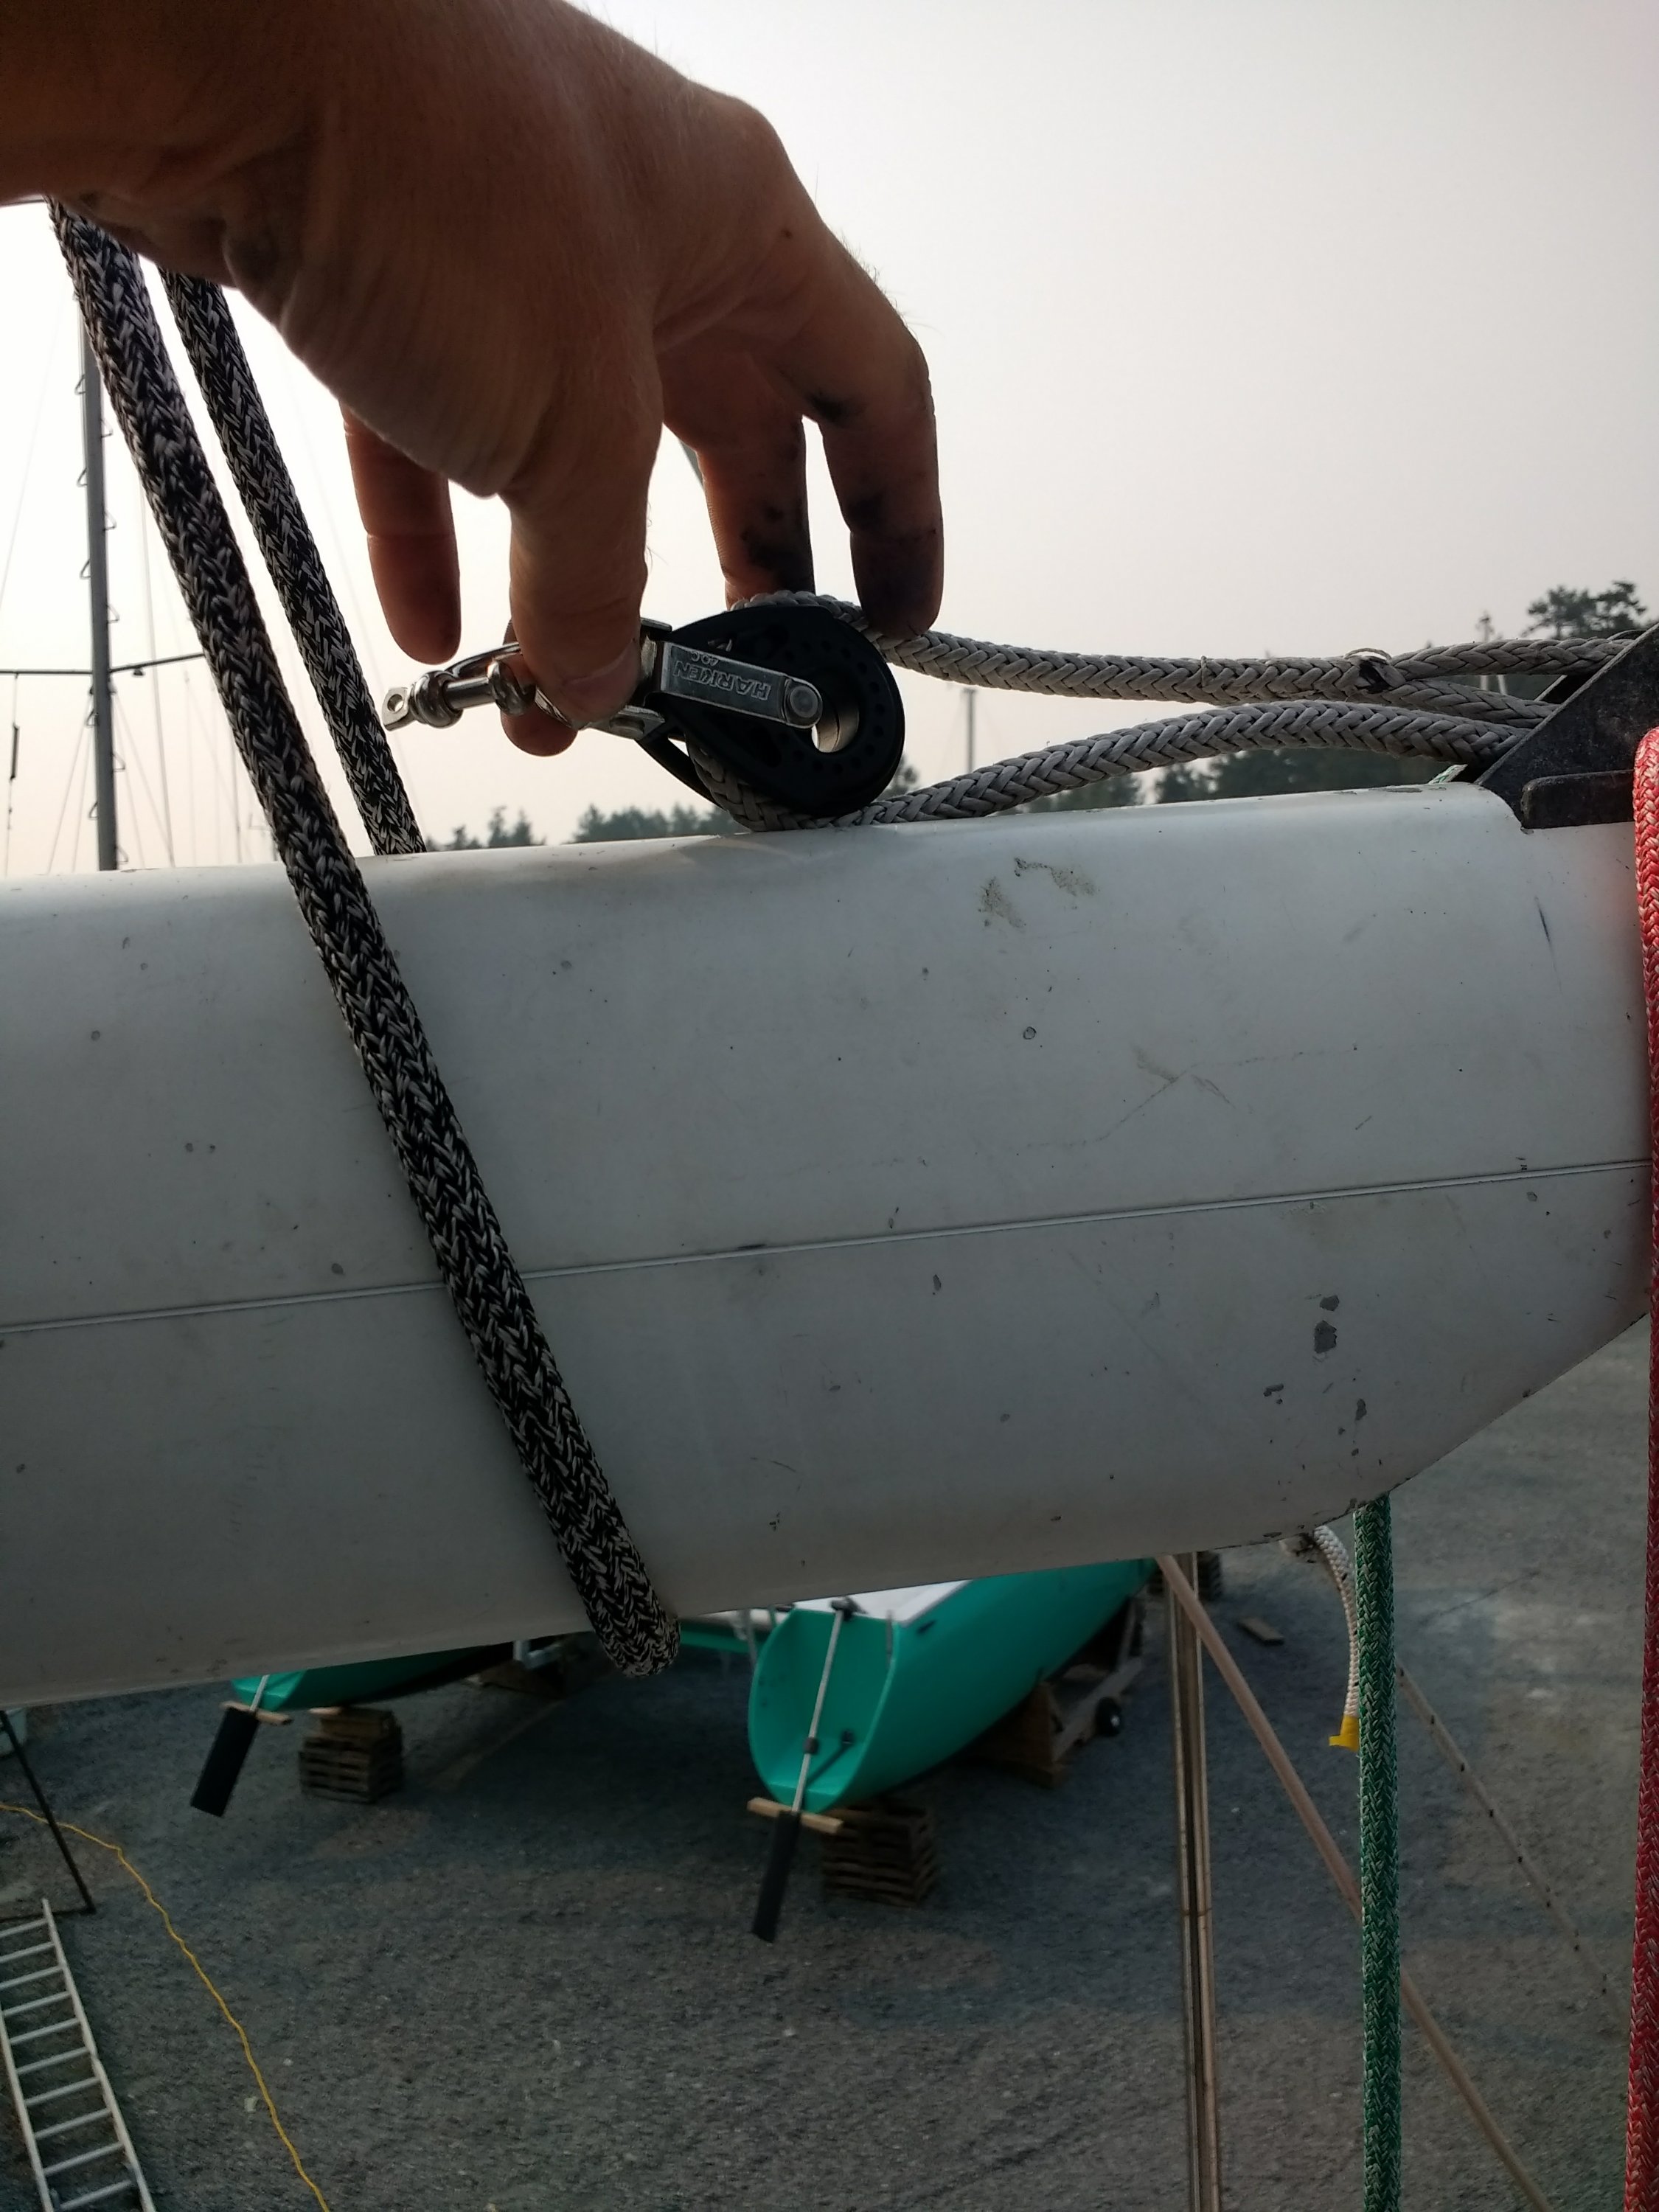
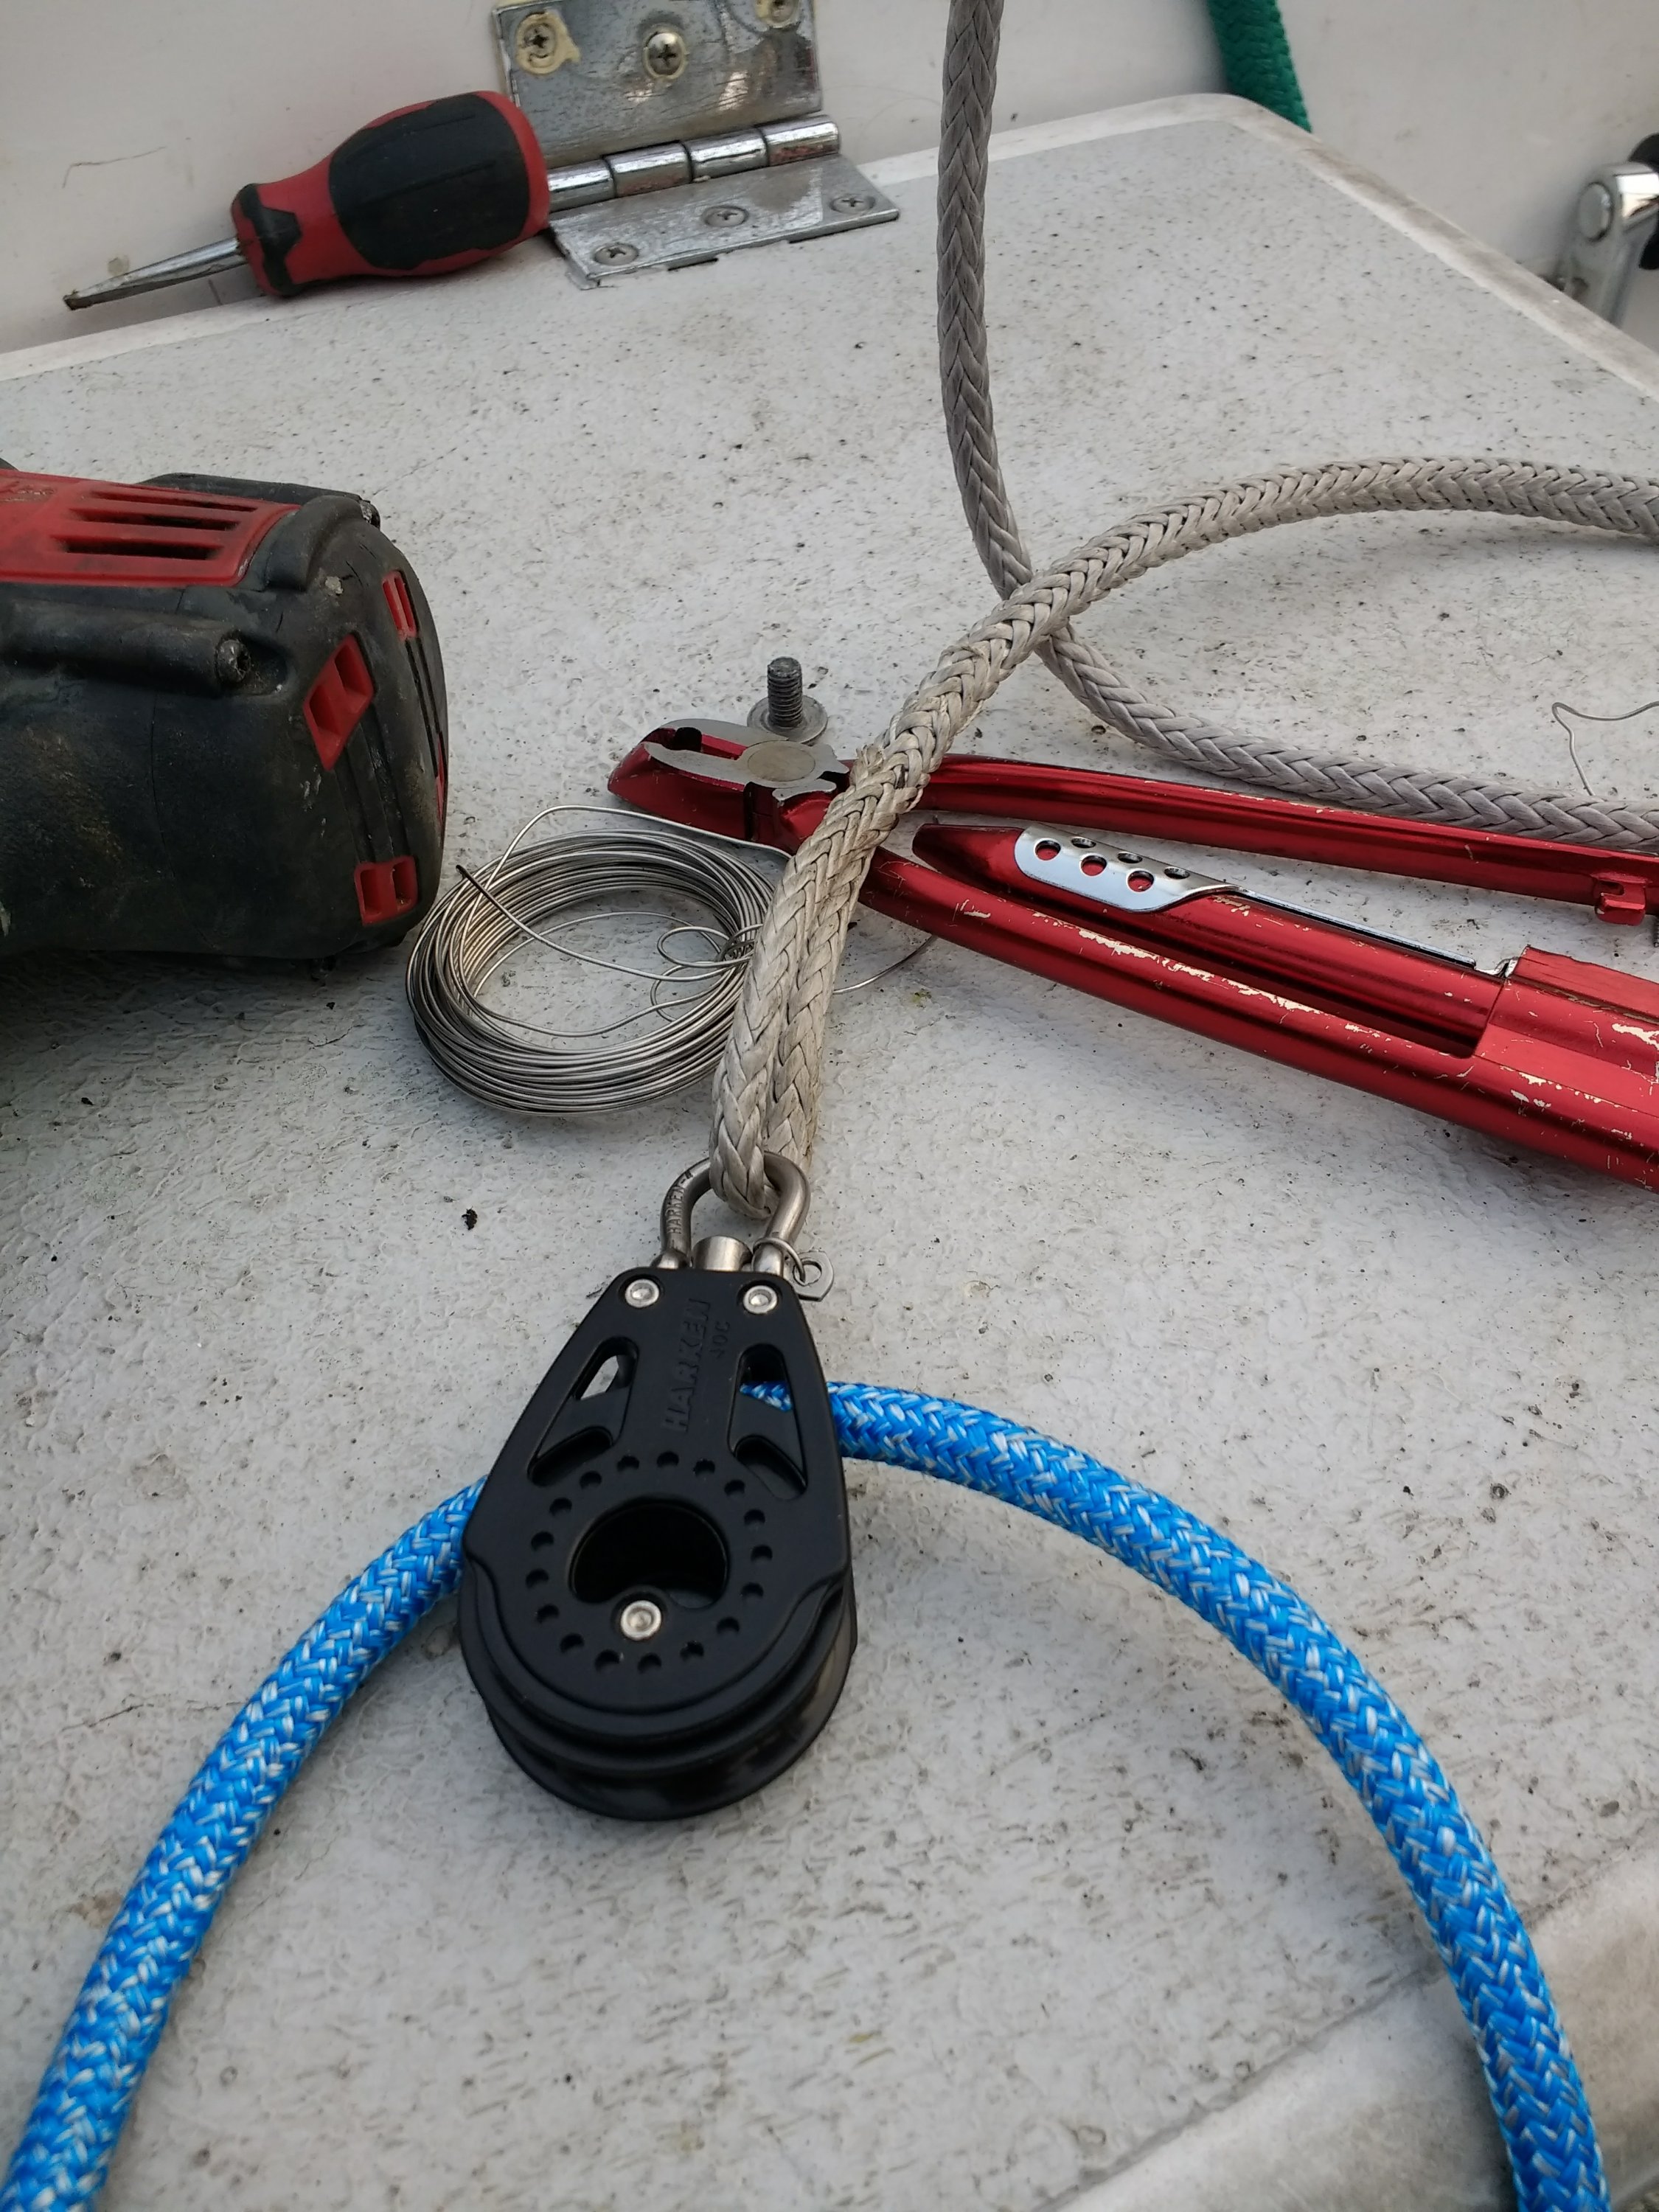
this is now 4-1 instead of 5-1 but the reduction in friction should really help. Also it doesn’t seem to be jamming anymore. Hooray!
New Mainsheet
My old mainsheet was the only original piece of running rigging left on the boat (not counting the spare halyard) so it was time for a new one, especially since the old one was slightly too short meaning I couldn’t get the boom out as far as I would have been able to otherwise. Look how pretty it is.
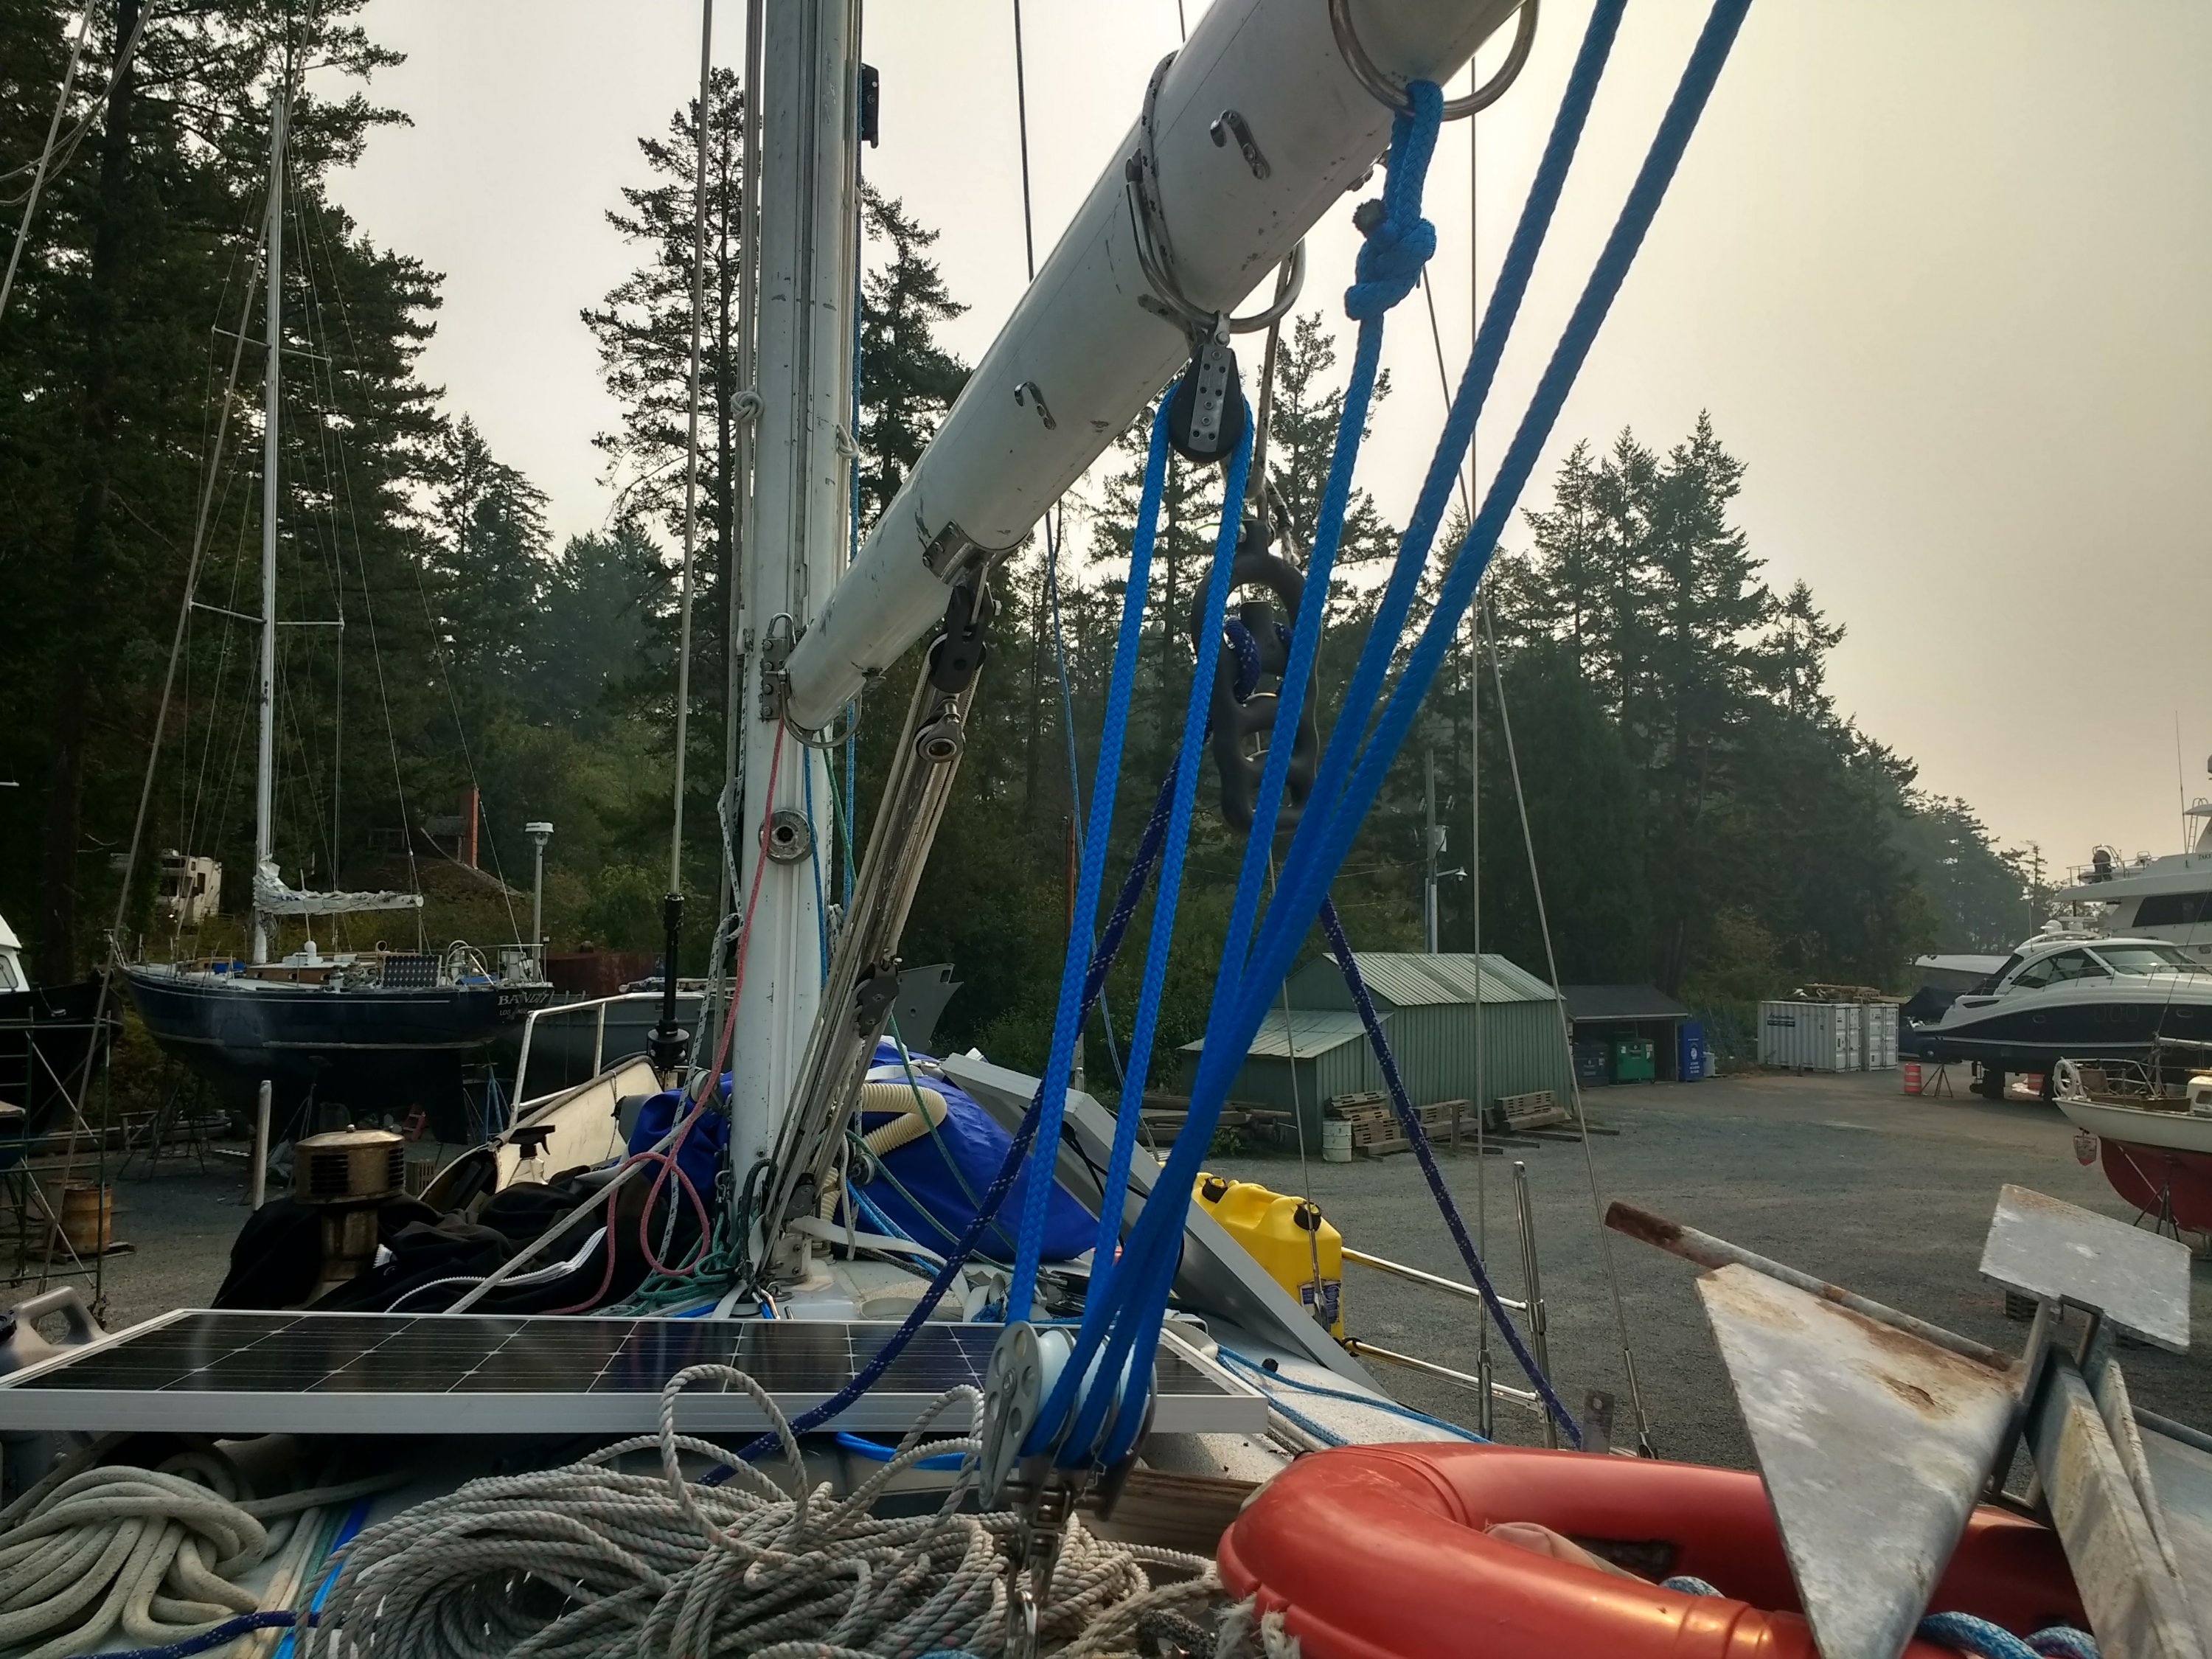
Note all the stuff on deck as I try to do 400 projects at once and the post-apocalyptic skies, caused by dozens of wildfires
Here is the ‘sunset’

Yeah. It’s pretty bad here right now.
Other small things
In addition to the stuff above, I also retorqued the keel bolts, sealed the small screw holes in the cockpit floor so it’d stop leaking onto the engine (and hence into the cabin eventually), changed the heat exchanged zinc (finally), scraped the winches with 60 grit sandpaper to try to make them less ‘slippery’ and rewrapped the furler so that the furling line is proper length again. PHEW. I also sold my downriggers :(. End of an era, but that meant I had to reseal up all the holes etc.
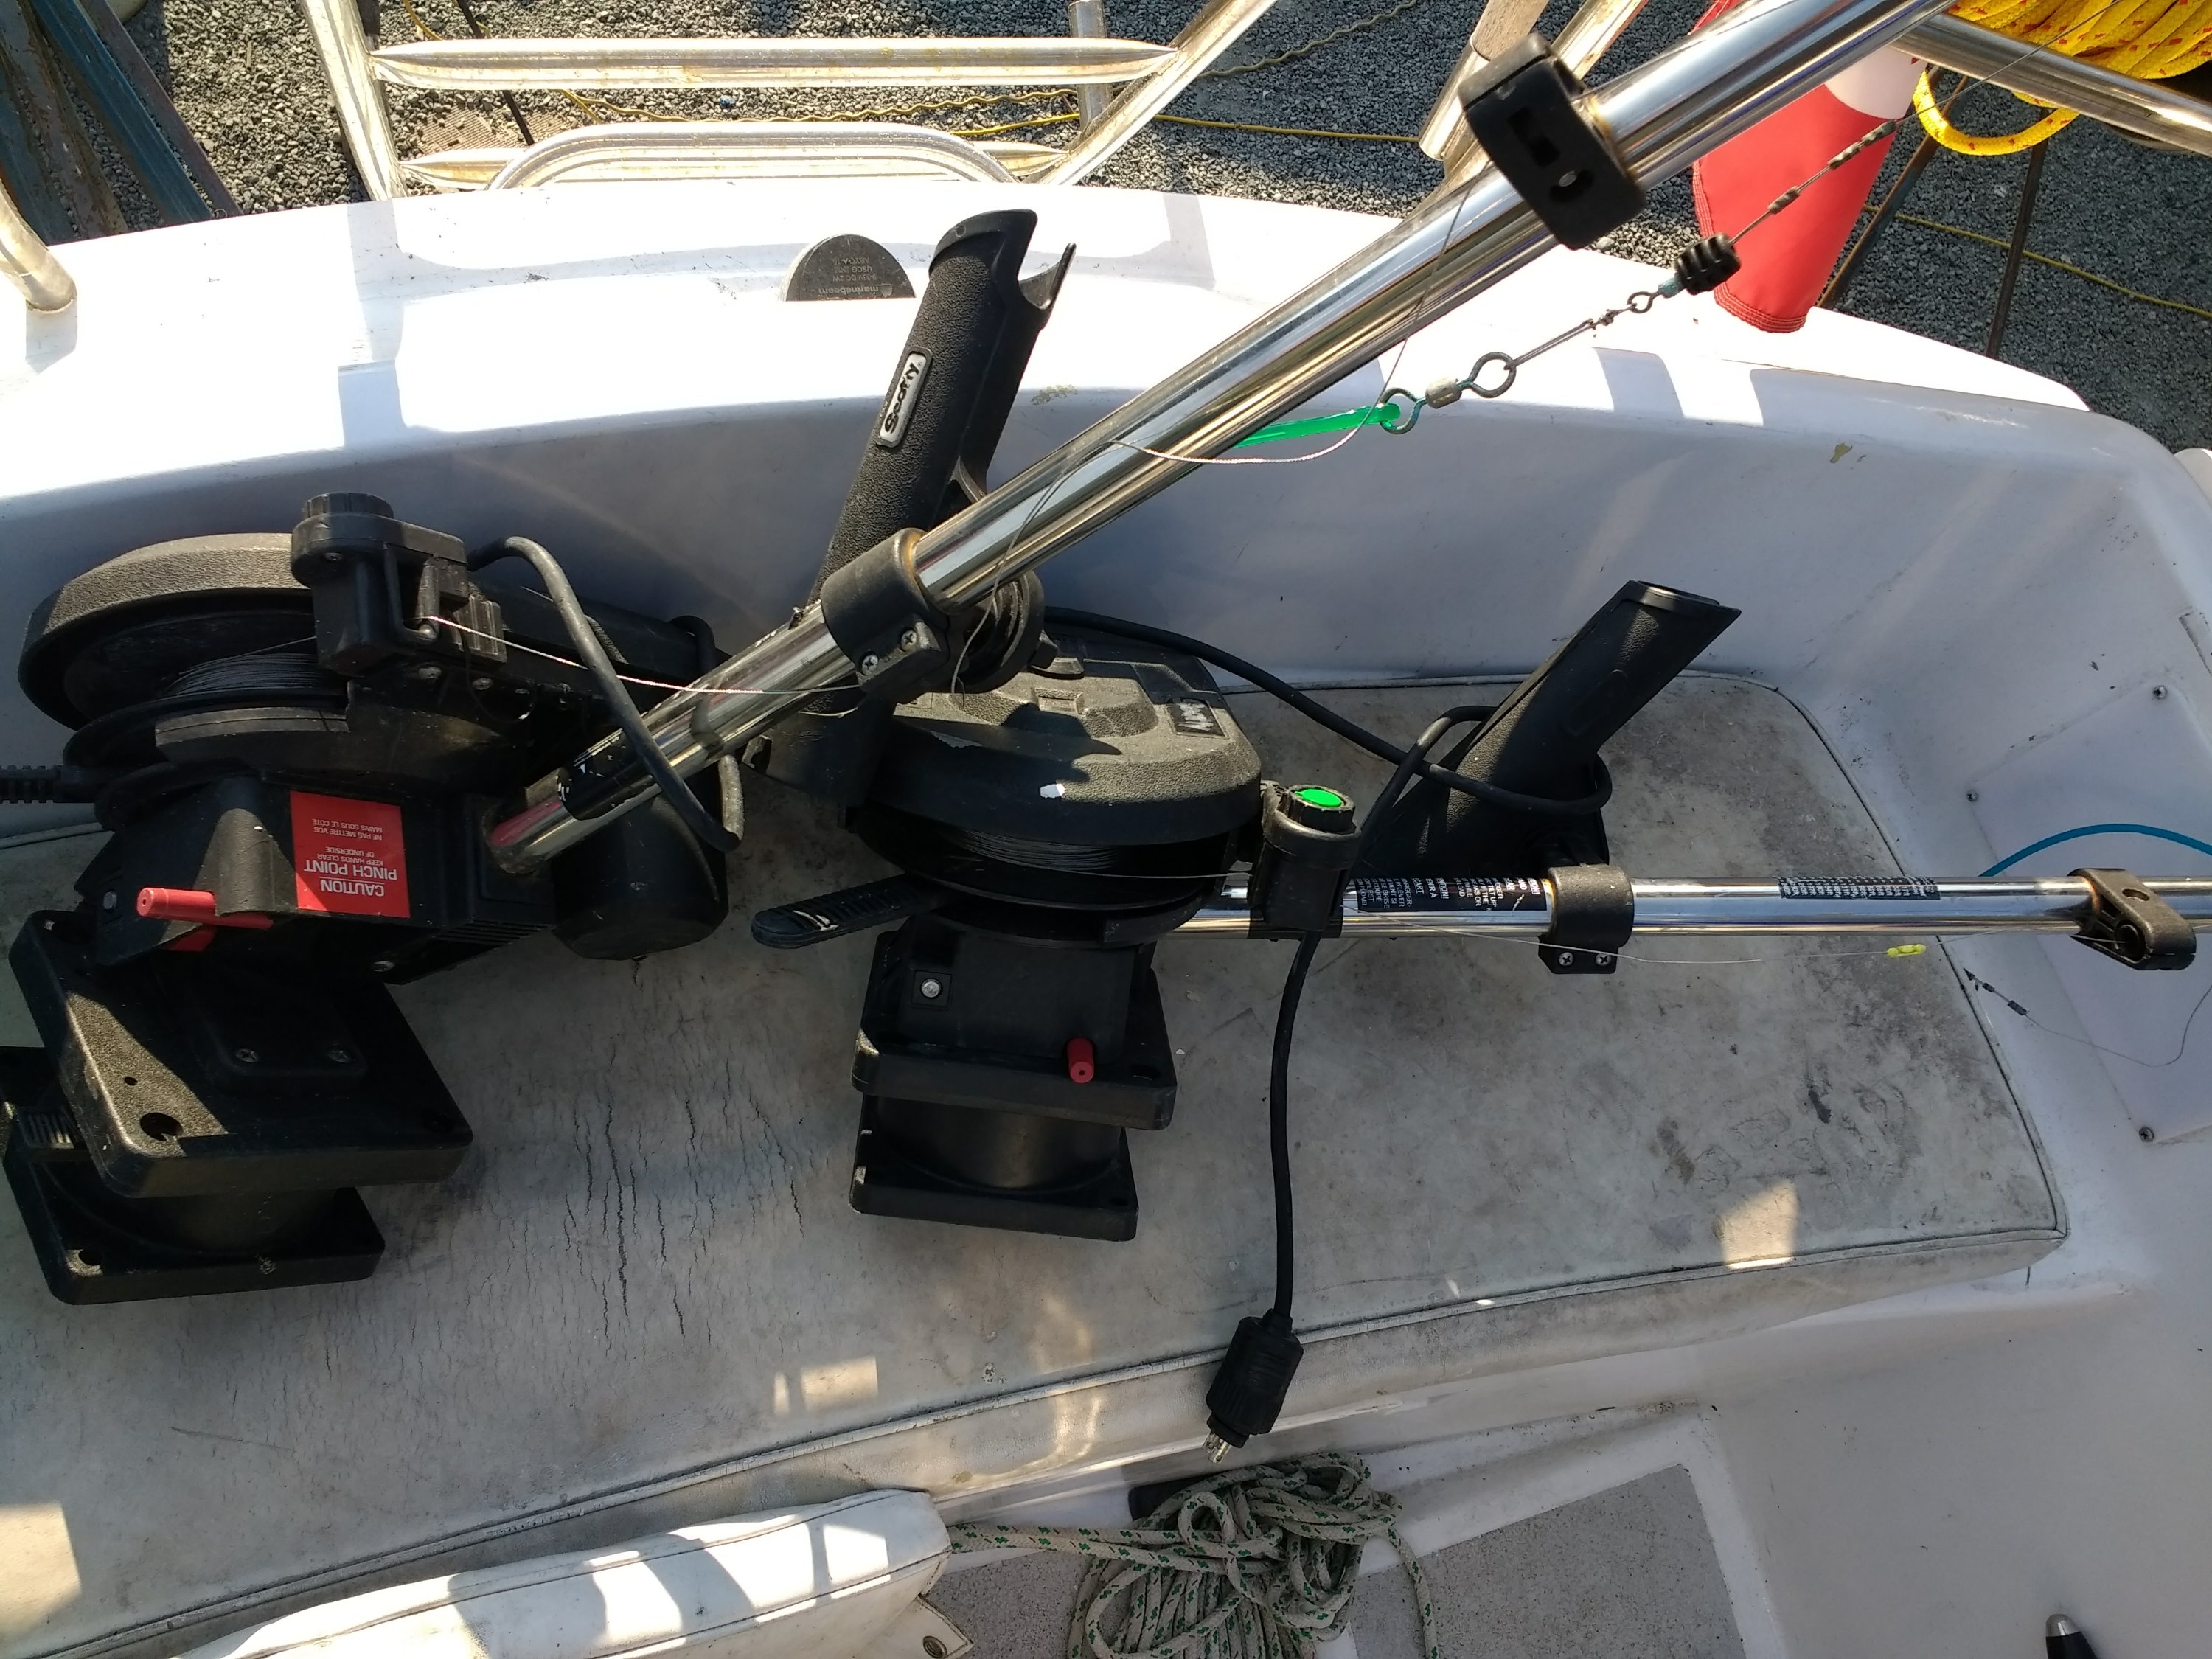
farewell sweet princes etc etc
And that’s it (well, and I’ve kinda halfway through a pushpit extension + solar arch).
I’m exhausted and reaaaaaally want to get back into the water but probably have another week still to go… ugh!
On the plus side I met some nice people who follow my blog and a couple in a 32 foot sailboat who is going down around the same time I am, so we are going to try to keep in touch. Exciting!
I hope the next update is less BOAT WORK and more BOAT SAILING but we will see.
Awesome. In the time it took you to accomplish all those boat projects AND take pictures AND blog about it I managed to not quite finish running the charging wires from my aux motor to within a foot of my battery terminal. Way to make me look bad. After this stint you’ll deserve a week of relaxing downwind sailing as you head south.
Disclaimer: I didn’t thoroughly read this whole blog (partly because it contrasted my ineptitude and laziness) but I intend to keep it in mind as a resource when it comes to making improvements on my boat.
Man, removing those downriggers would be as monumental for me as getting travel vaccines or installing that drogue attachment point. Definitely a sign that you are departing local waters and heading off to the waters of surface feeding pelagics. Can’t wait for when you convert your spinnaker pole into outriggers for tuna fishing!
In fairness running wires suuuuuuuuucks – probably my least favourite part of electrical. Thanks for the nice words – bear in mind if you use it for a resource some of my early solutions were…. less than ideal. :).
And yes, the downriggers going is a big thing – I had one of them for over four years – sigh.
Wow, man. You are totally on a mission.
Those wildfires are nasty!
Plus the traveller problem really raised my eyebrows!
It’s finally clearing up a bit as the wind has shifted – can see the sky and clouds for the first time in two weeks!