So to cut to the chase, I am back in the water and tooling around the area testing out stuff. This is what I managed to get done after that last post
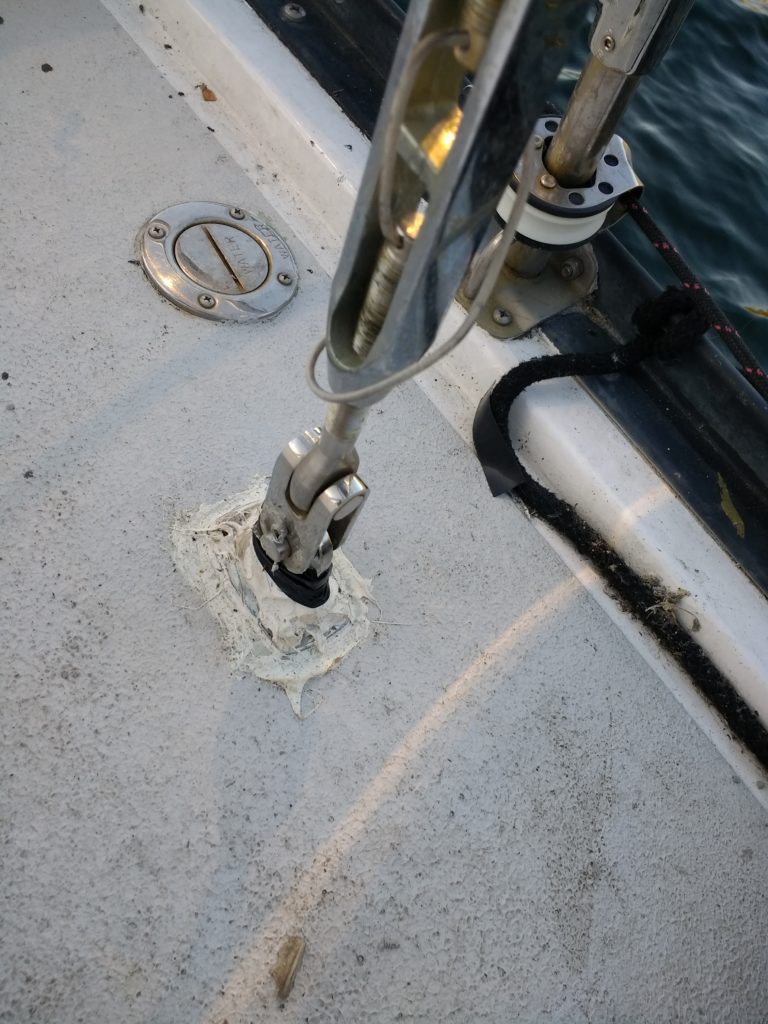
Replaced chainplates
So I bought new chainplates almost a year ago and hadn’t gotten round to replacing them, well I finally did. I also resealed them for good measure using a different type of calk – hopefully they will be less leaky!
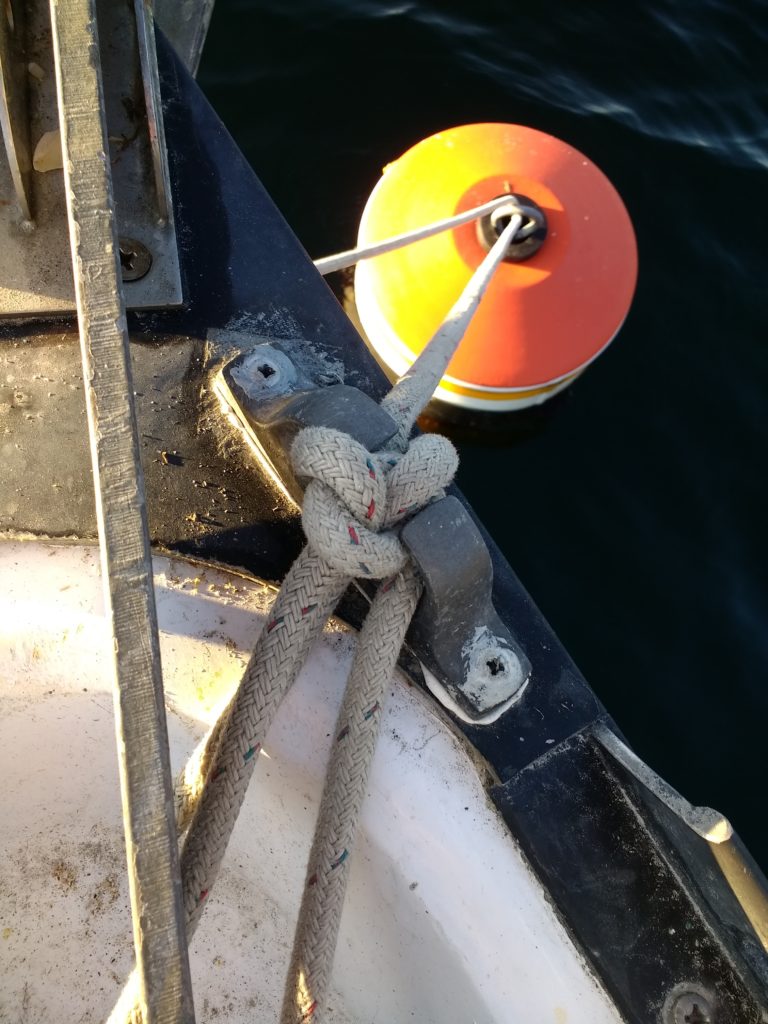
Refastened forward fairlead
This had been loose for over two years – I hadn’t fixed it as to get to the bottom of it I had to remove the entire forward bulkhead! Ugh. I finally did it as I had to remove the bulkhead anyway to…
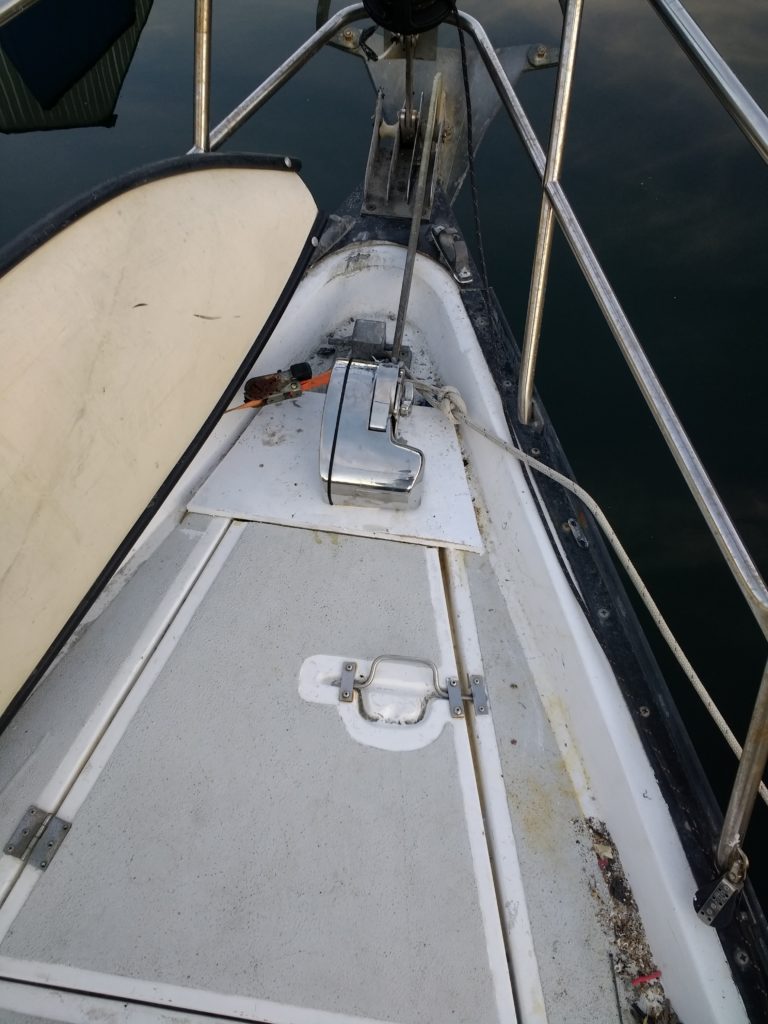
Install Windless
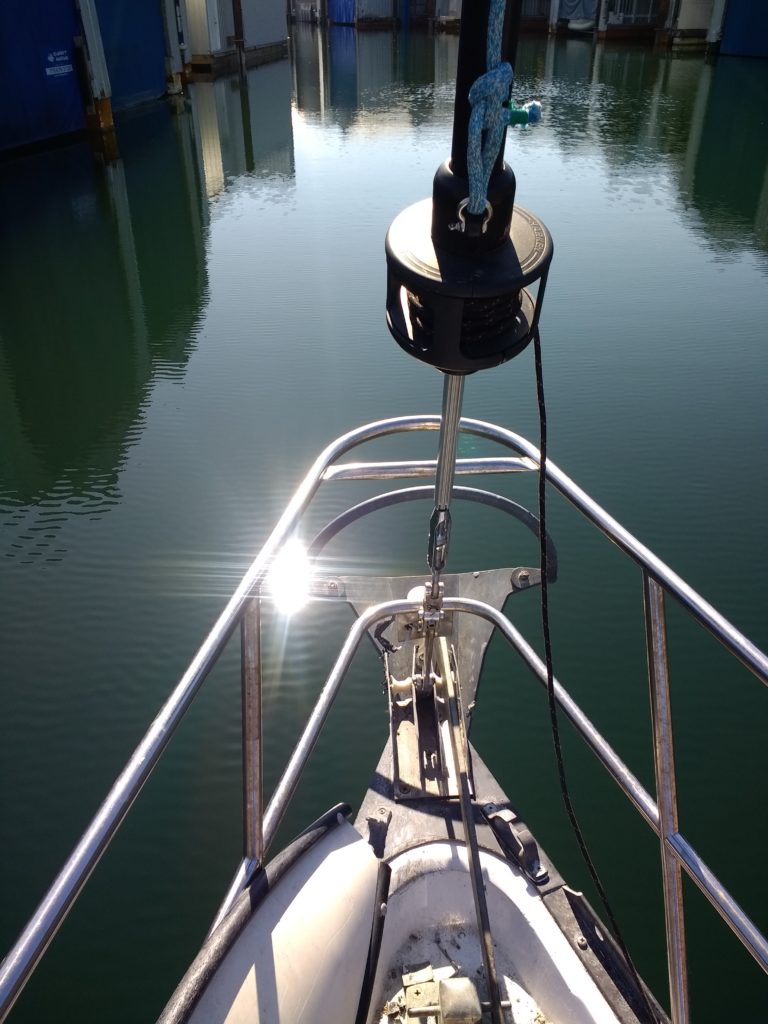
Yes, after years of talking about how easy it was and good exercise pulling up a 45lb anchor and over 100 foot of chain by hand, a string of 60+ foot anchorages this summer made me reconsider for the sake of my back and my mood in the morning. I ended up with a Lewmar PRO-FISH 1000G
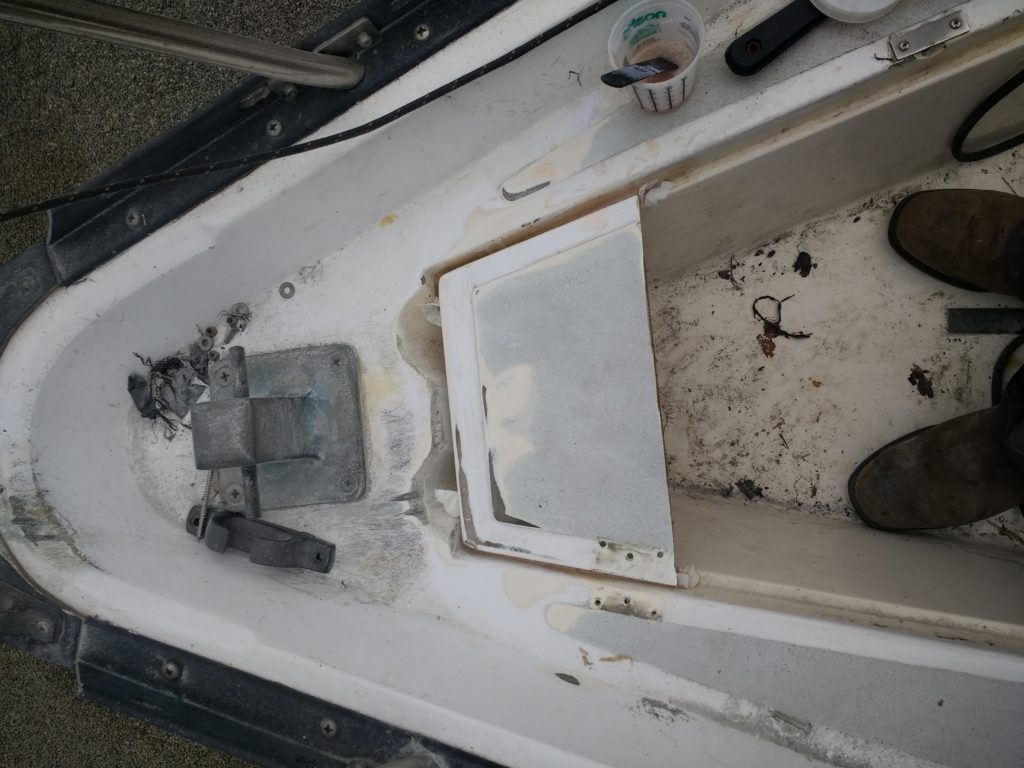
Now the problem was my anchor locker is tiny and there is not much room on the foredeck – I did what a bunch of other people have done and cut my anchor locker in two
Next I sealed the bare wood, epoxied on another sheet of thick plywood and then fastened on the windless on top, after cutting the holes/boltholes.
a LOT of wire running later and I had a working windless, using a Hand Held Remote!
Only took four years.
Removed top solar panel and filled holes etc
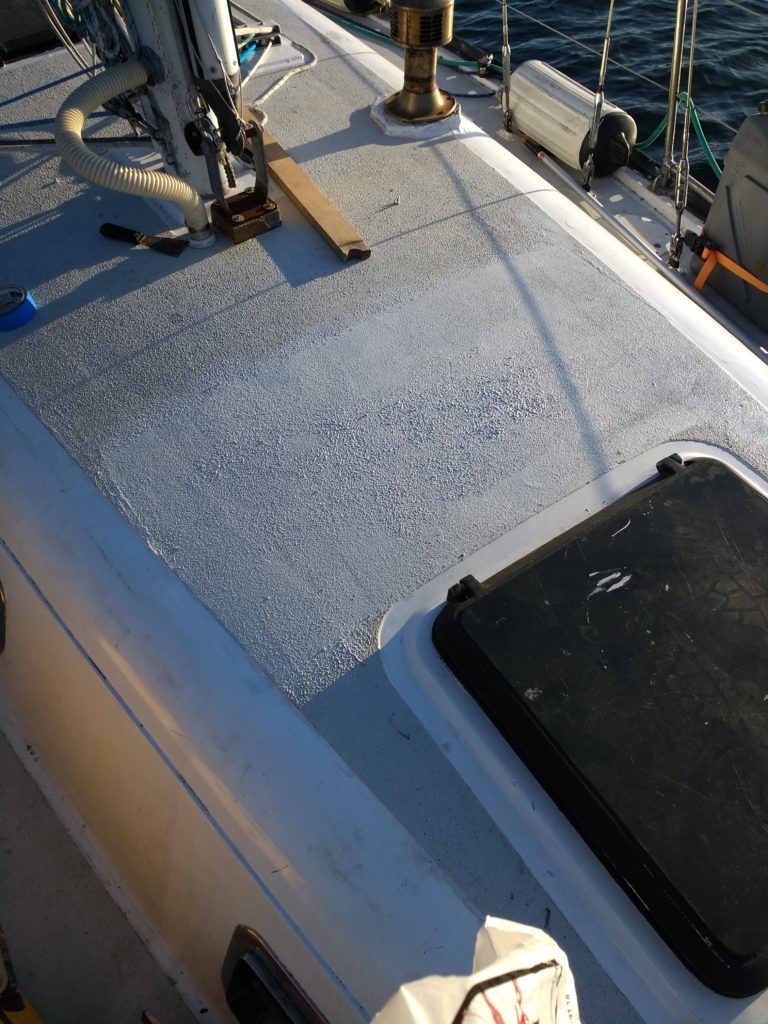
I removed the solar panel that was on top of the cabin, in front of the mast. I just kept stepping on it and breaking off the junction box – I repaired it twice but in the end, I just got fed up and took it off and repainted.
Rudder Repaired
I didn’t actually do this but the guys at Blackline Marine (under insurance) took the rudder, drilled holes in it to let the water out and inspected it. The inside structure apparently was fine, so once it all dried out it just got filled again. Good as new.
Pushpit/Solar Arch
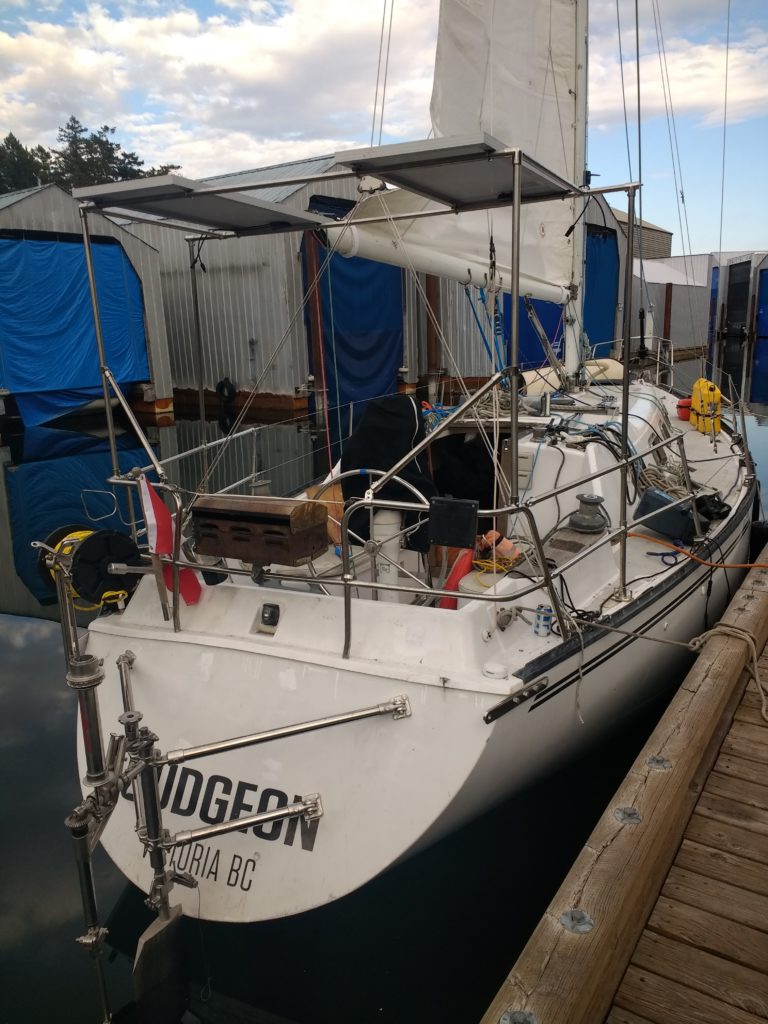
So on the 37′ version of my boat that I hung around with in summer, Fernweh, John had built this pretty awesome pushpit/solar arch combo. I mentioned I was going to copy it and he gave me some hints and mentioned some things he would do differently. And so I started!
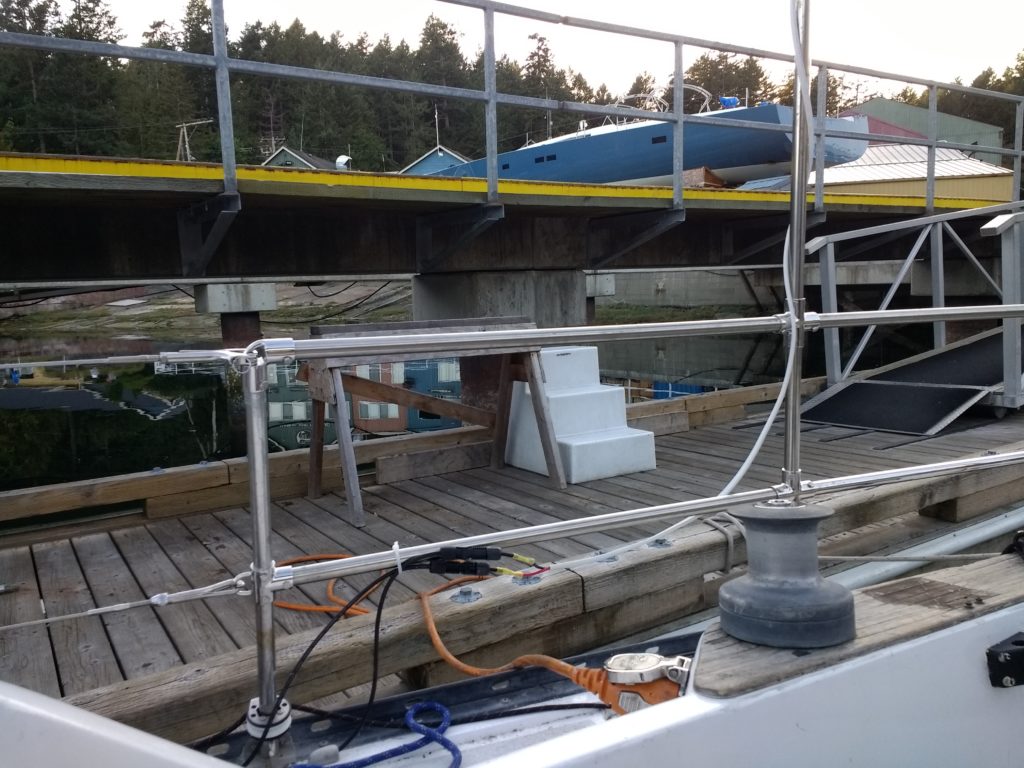
I did the pushpit extension first, using stainless tubing and standard fittings which I drilled and tapped out and used screws to attach. I also shortened the lifelines to attach to the new points.
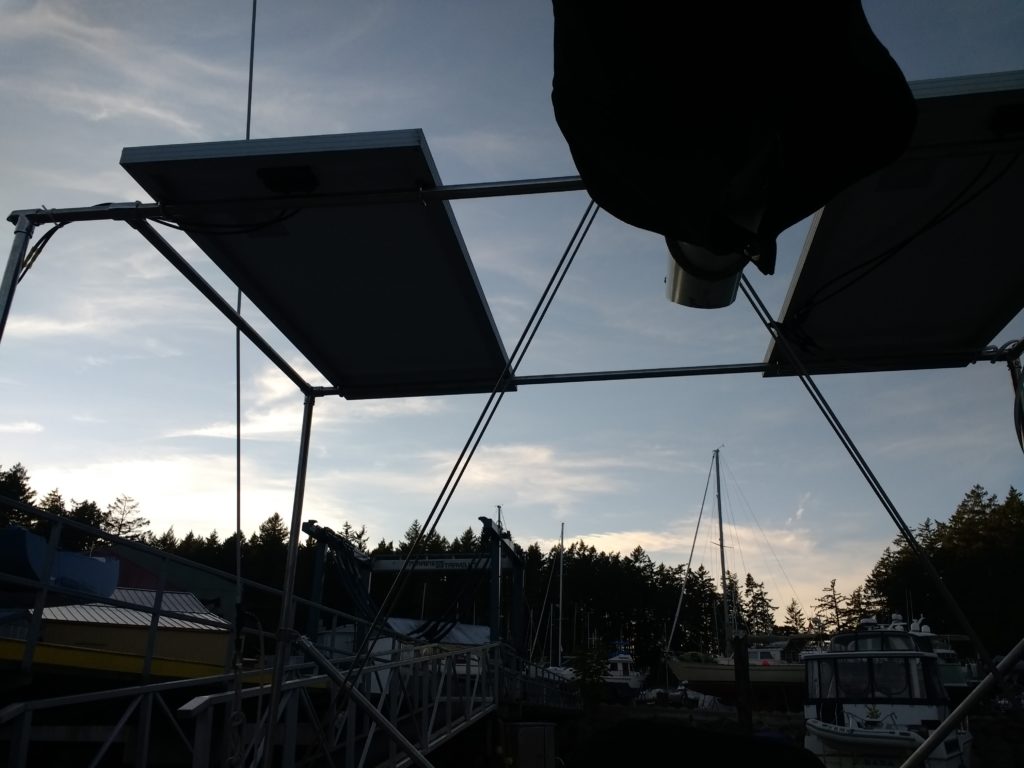
Then I cut the rails in half and used a 4 way connector on either side to build the front solar arch, before making a second one off of the back pushpit.
I took the solar panels I had on the sides off, as I felt they weren’t too secure there, and put them on the arch, using the same wiring points.
I haven’t been through anything too nasty but it seems very stable – though there is a slight bit of additional cross bracing I would like to do. I guess we will see.
Added spreader patch on mainsail
Pretty self-explanatory. Only took me a year and a half.
Refurbished Rudder Stuffing Box
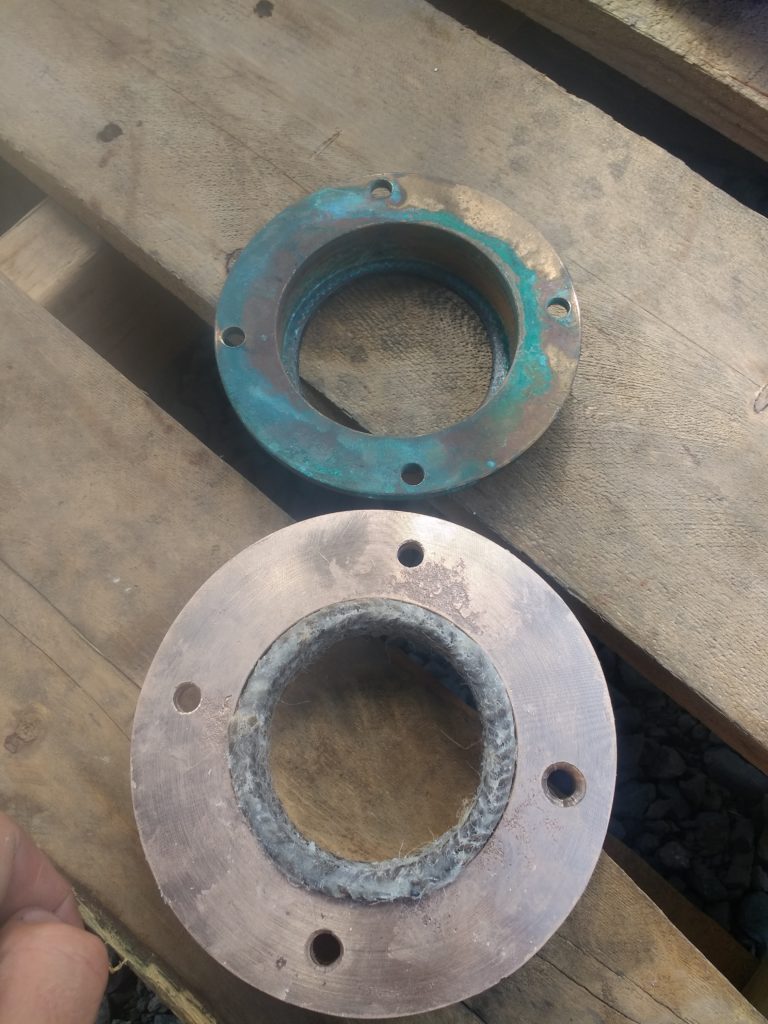
This thing has been the bane of my life, I repacked it four times and it was still leaking. In the end I got it sent away, and they ended up recasting the top a lot thicker as the old one was all bent.
Quite the size difference!
Windvane Install
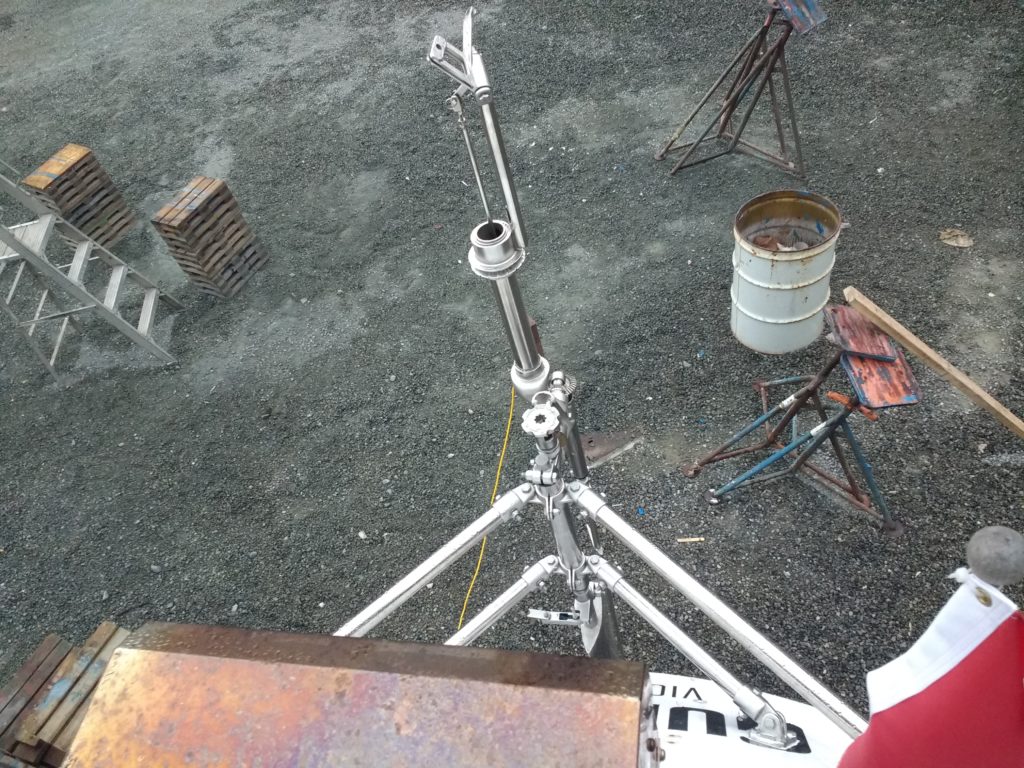
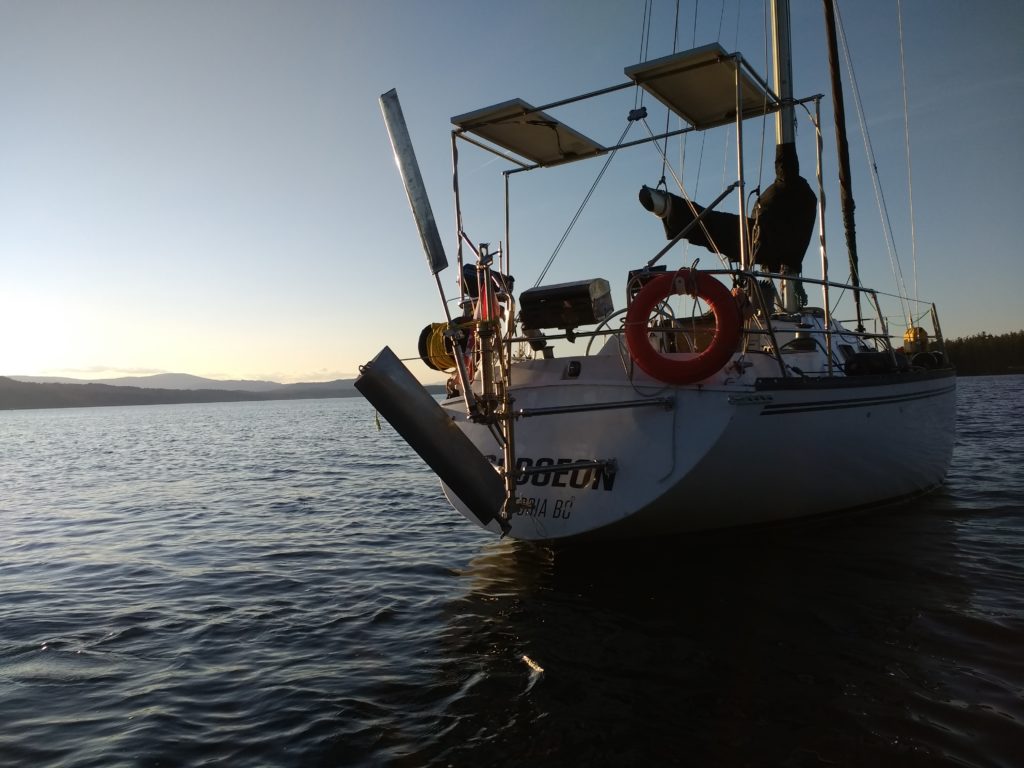
I finally got round to installing the windvane – although I got blackline to help. Good job too, as it was a real pain in the butt. Having the rudder already be off was a huge help though.
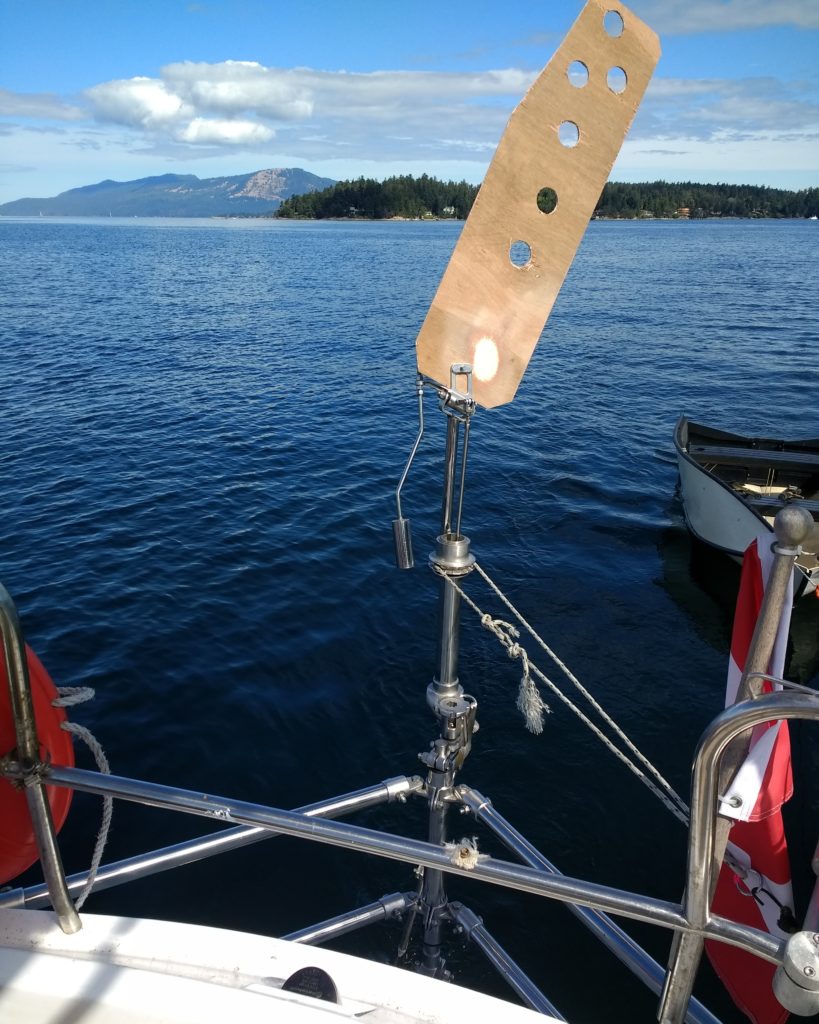
I got it all installed and then had to make a vane for it as it didn’t come with any (it was second hand, just never installed.) I had a fun hour tweaking it as I sailed in light winds
I still need to cover the vane in sail tape but it was a good proof of concept.
I also worked out how to lift the servo and the aux rudder out the water when they are not in use.
If I had more time I would get the lettering of the name moved up, but maybe I can do that in the states/mexico!
Retune the rig
While I had the sails off I also took the opportunity to retune the rigging a bit. Mainly the forestay had been too slack since I got the rigging replaced three years ago, but tightening it was a pain as it involved moving the furler drum. Anyway, I finally got around to doing it. Hopefully, this will help me tension the foresail a bit more and maybe point a bit better.
New Prop
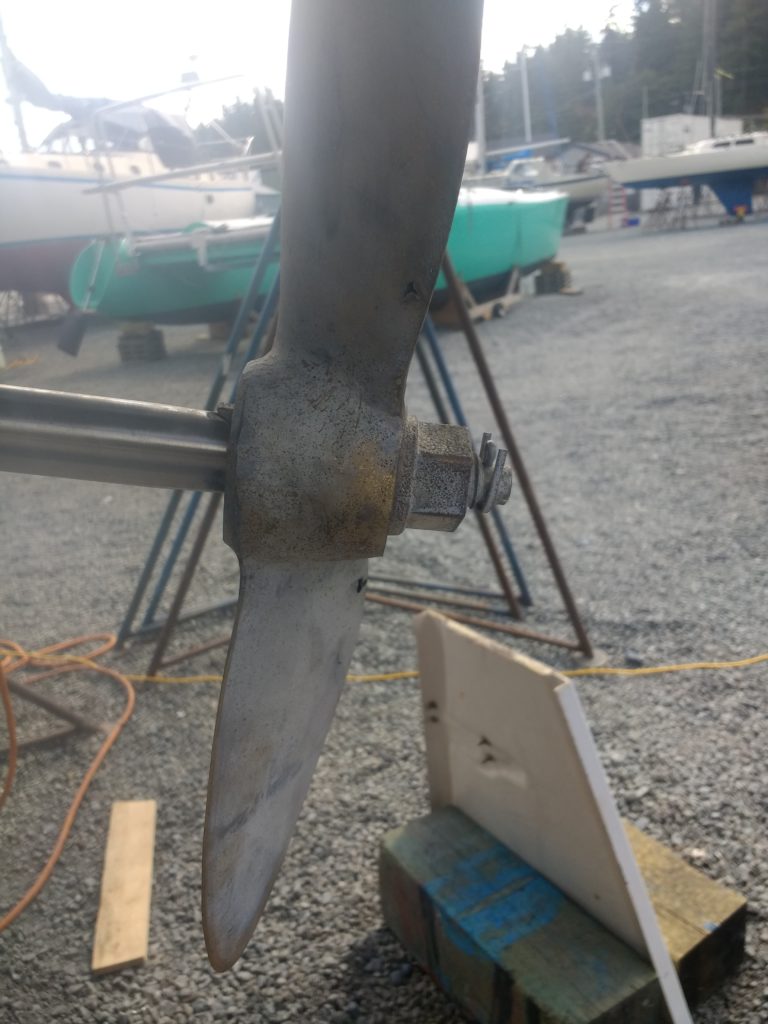
My refurbished prop was looking pretty ratty
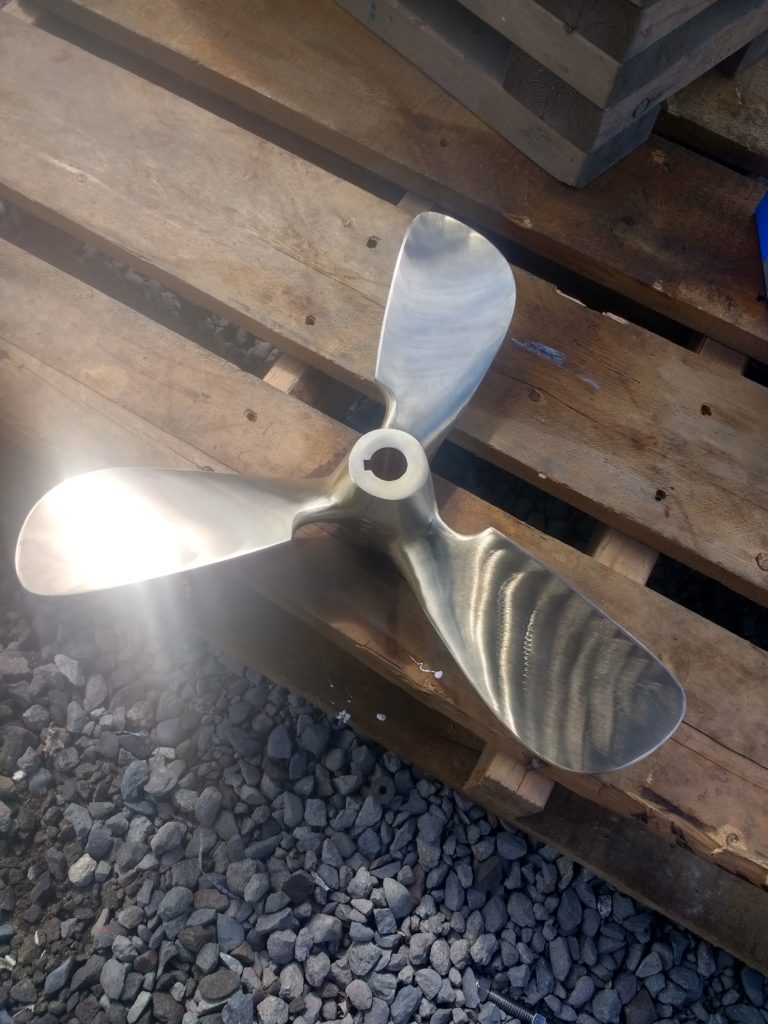
so I sperged for a new 3 blade Campbell Sailor prop
These are supposed to have very little drag compared to a usual prop while costing way less than a folding/feathering prop. We will see!
Other stuff
I also recaulked some of the hull/deck joint, replaced the heat exchanger zinc and plugged all the holes from my old downriggers.
I am exhausted – it was a lot of work over the last few weeks but I’m glad to be out of the boatyard! Tomorrow I start heading South…. ACK!
Looks good Mathew, all the best. I found out that some sailors where having success putting one ear plug in the opposite ear of your dominant arm or side, thought you might try it, I know the pills can be a pain.
All the best
Ralph
Thanks Ralph!
Wow. And you’re off… Report back about that Campbell Sailor. Our boat came with one and it backs pretty well without too much prop walk. I always wonder if it is the prop or the boat. I would be interested to hear your before and after comparison
Way waaaaay less vibration, seems to be less drag sailing as well. I think I’ve lost 0.5-1 knots though at my usual engine setting so it may need to be repitched?
Hi Matt,
Much good work done! I don’t know what you re-bedded your chain plates with but, after many attempts, the only thing I have found that lasts more than a couple of seasons is butyl tape. Lots on MaineSail’s website about it. Good luck on your passage south – be safe!
Fair winds, Jim in Halifax
Hey Jim, I actually used butyl tape last time and it didn’t super work – I think because of the design of the chainplates doesn’t allow much compression around the deck seal. I’ve used it other places with great success however!