First part of the new DC system was to hook up the house battery system to the battery switch, and then to the panel.
First of all I screwed the battery box back down to the boat in the location I’d selected (under the starboard lazarette) and installed the battery there. The next stage was to create some cables. For this I had to use some pretty heavy duty crimpers and lugs.
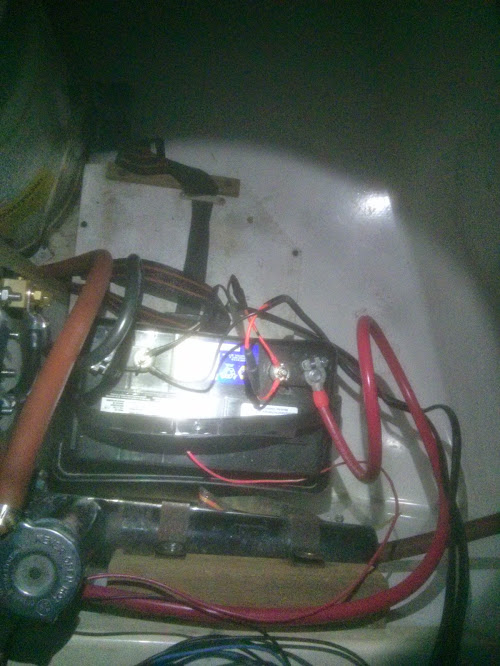
Once I had the cables made, I attached one end to the battery as shown
The other end was run to the battery switch on the other side of the boat. For this I had to run wire through the engine compartment, so I ran it around the top edge, and attached it with clamps and zipties

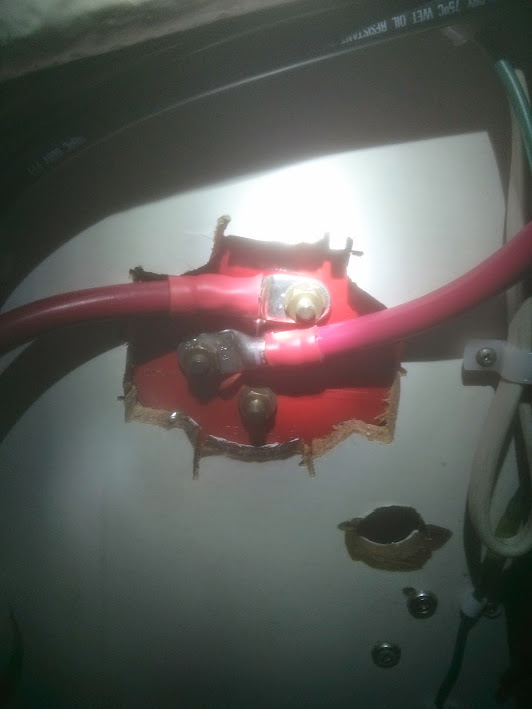
Next, I crimped on the lug and tried to attach to the battery switch.
Disaster! The lug was too big. Using my Dremel I ground out more of the bulkhead away from the back of the switch, so it would fit.
Next, I ran another cable from the #1 position to the panel, a nice short run. Below you can see both the negative lead and the positive lead.
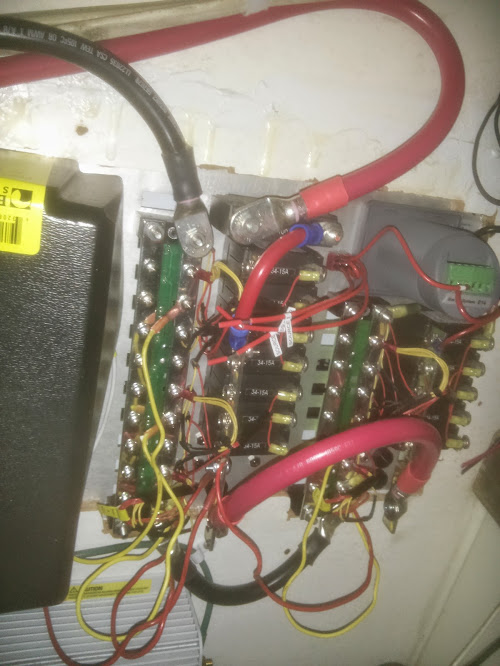
Then the only thing left to do on the positive side was run a short cable from one panel column to the other one, as seen in the above picture.
Next was the negative run – this was a bit trickier as it would require 5 wires instead of two.
First, I ran the negative wire from panel to panel, you can see it in the picture above.
Next I had to run the wire from the panel, to the main negative bus. Then from the bus I had to run a wire to a lug (for the battery monitor) and also to the engine. Then the last wire was from the lug to the battery terminal.
Basically like PANEL -> BUS -> LUG – > BATTERY
|
ENGINE
See below pic for the negative wiring
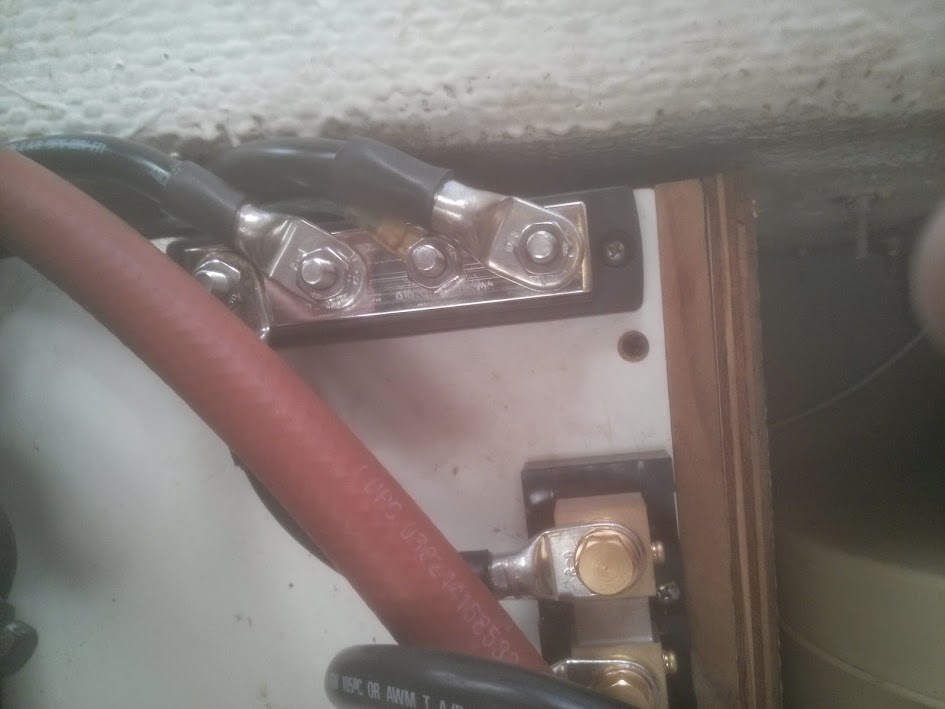
I also attached the AC ground to the main negative bus.
After that it was just one thing to do – switch the battery control to #1, and give it a go!
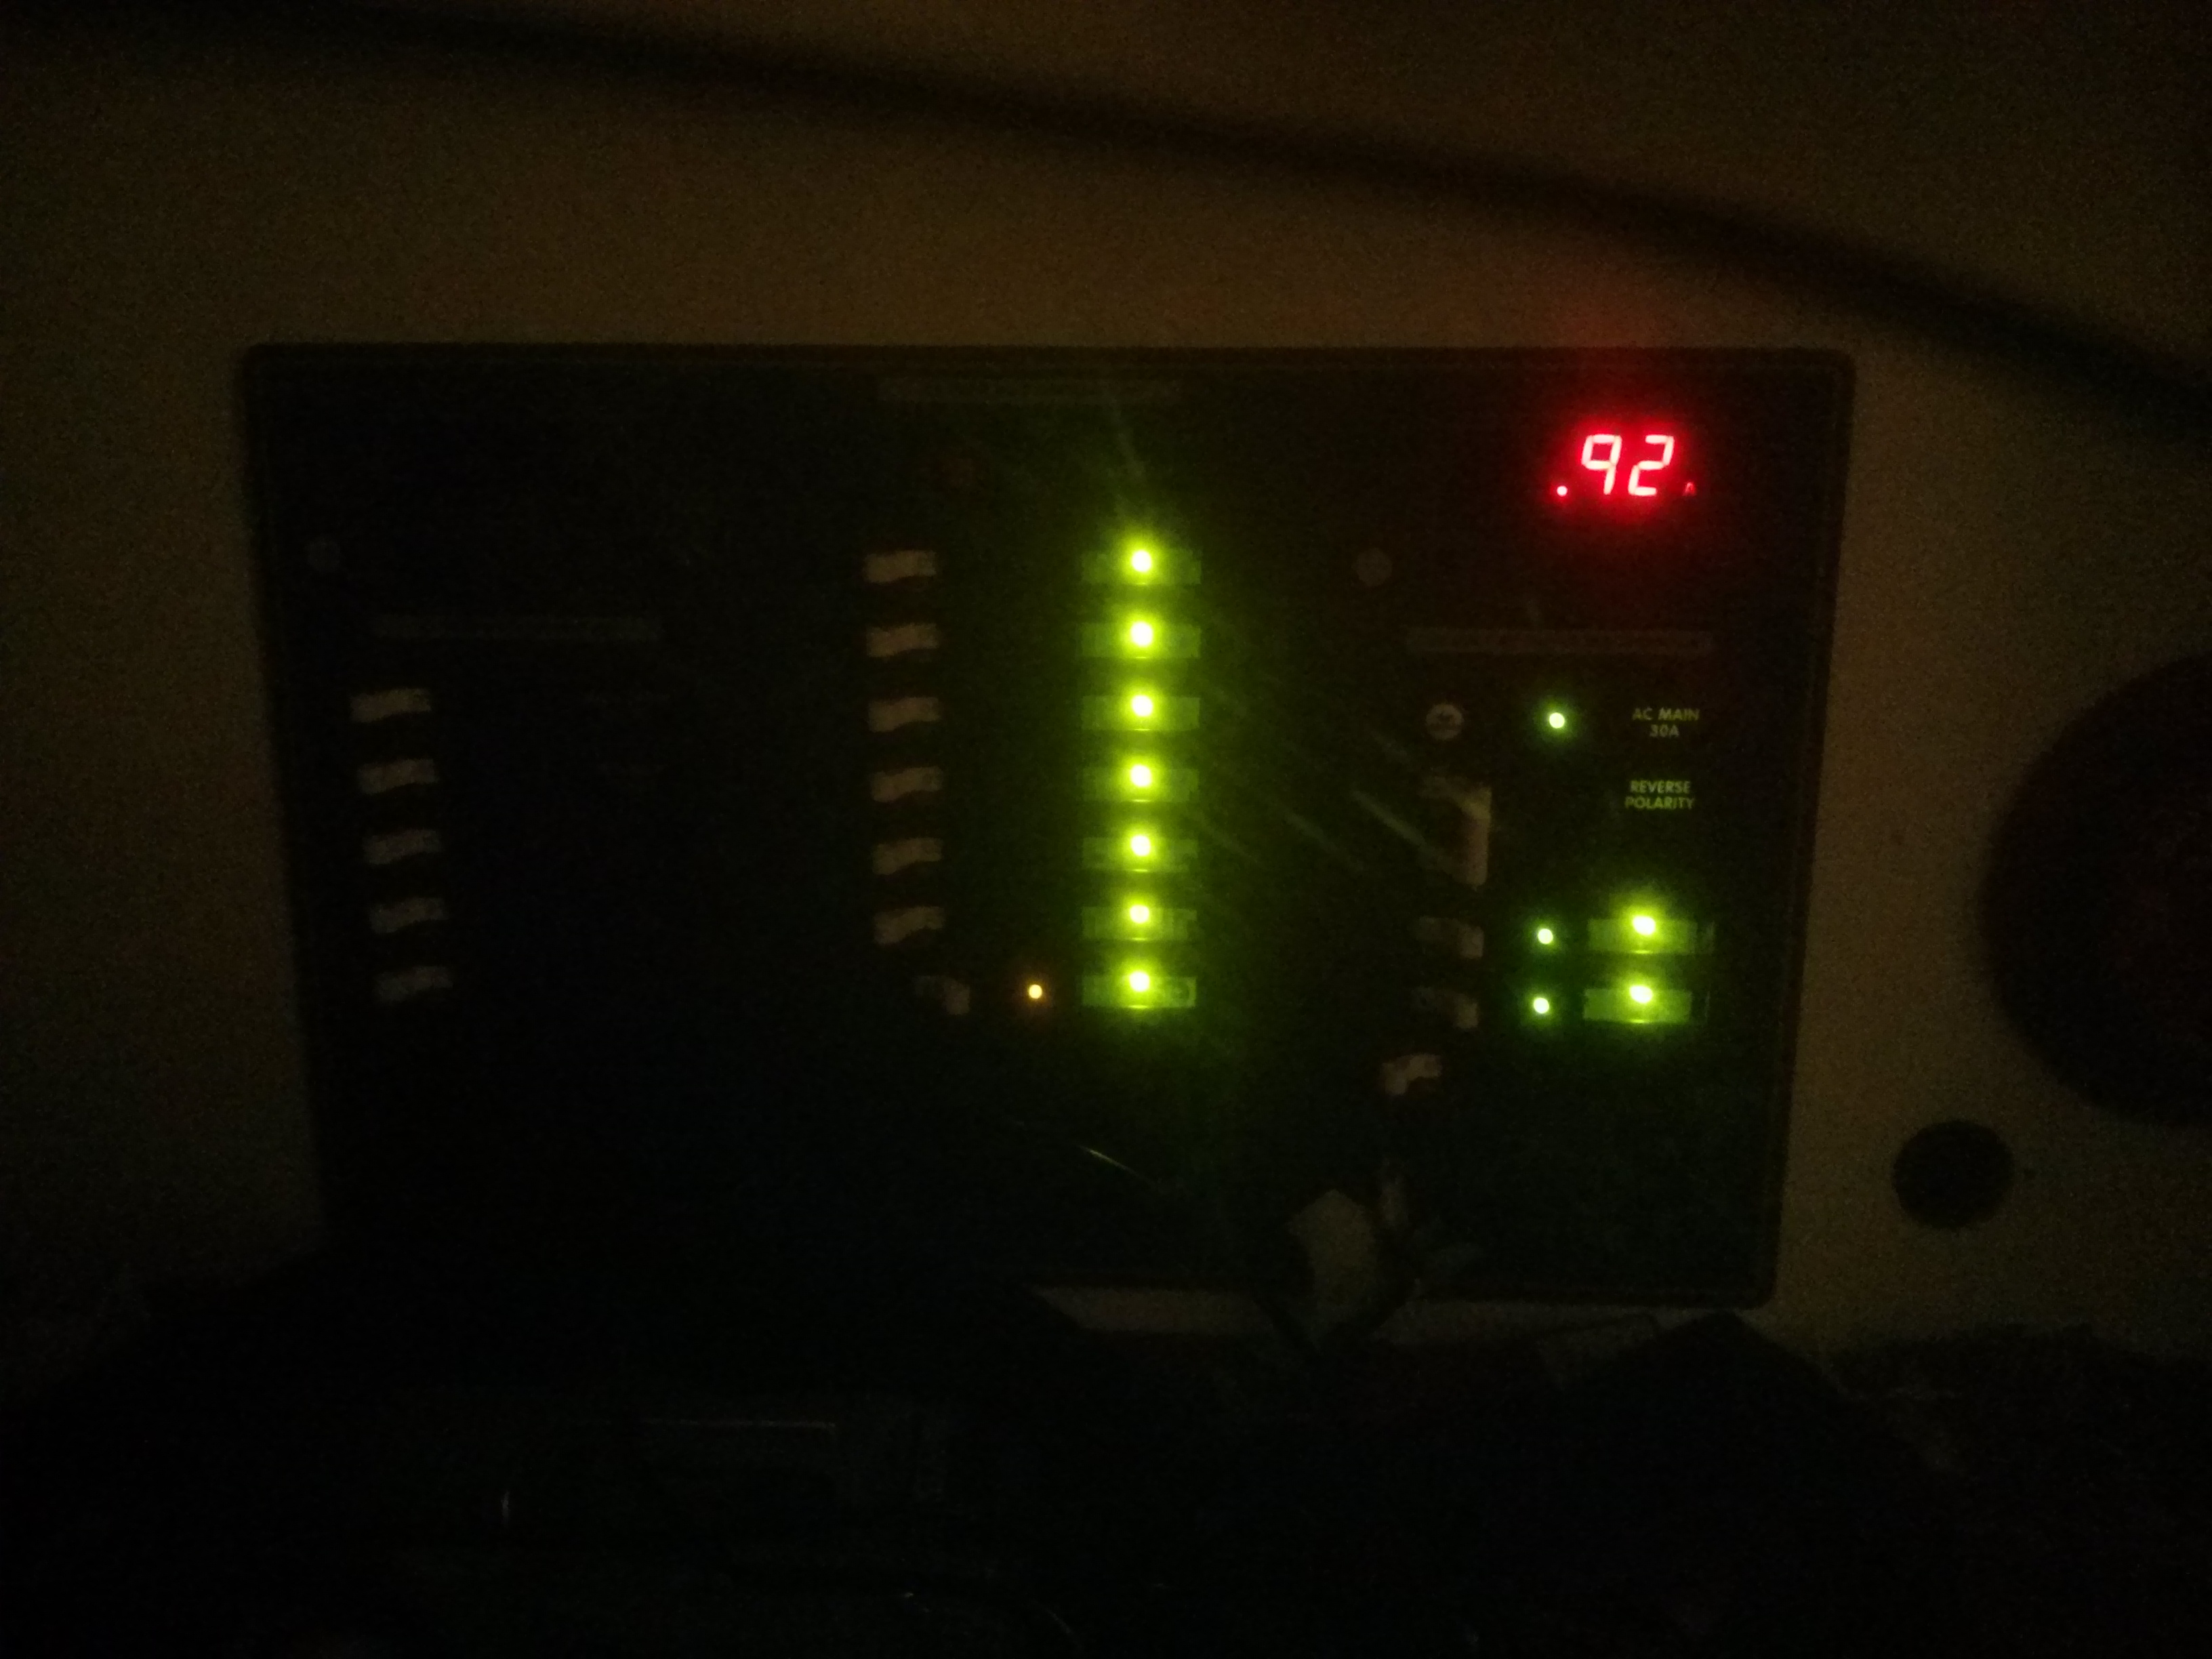
Success!
Next, wiring up the rest of the DC battery monitor, and the branch circuits.
Be sure to dremel an equivalent amount of material away from the opposite side of the boat in order to ensure it remains laterally balanced. It’s not a big deal when you’re docked, but you don’t want to get caught in high seas with an unbalanced hull!