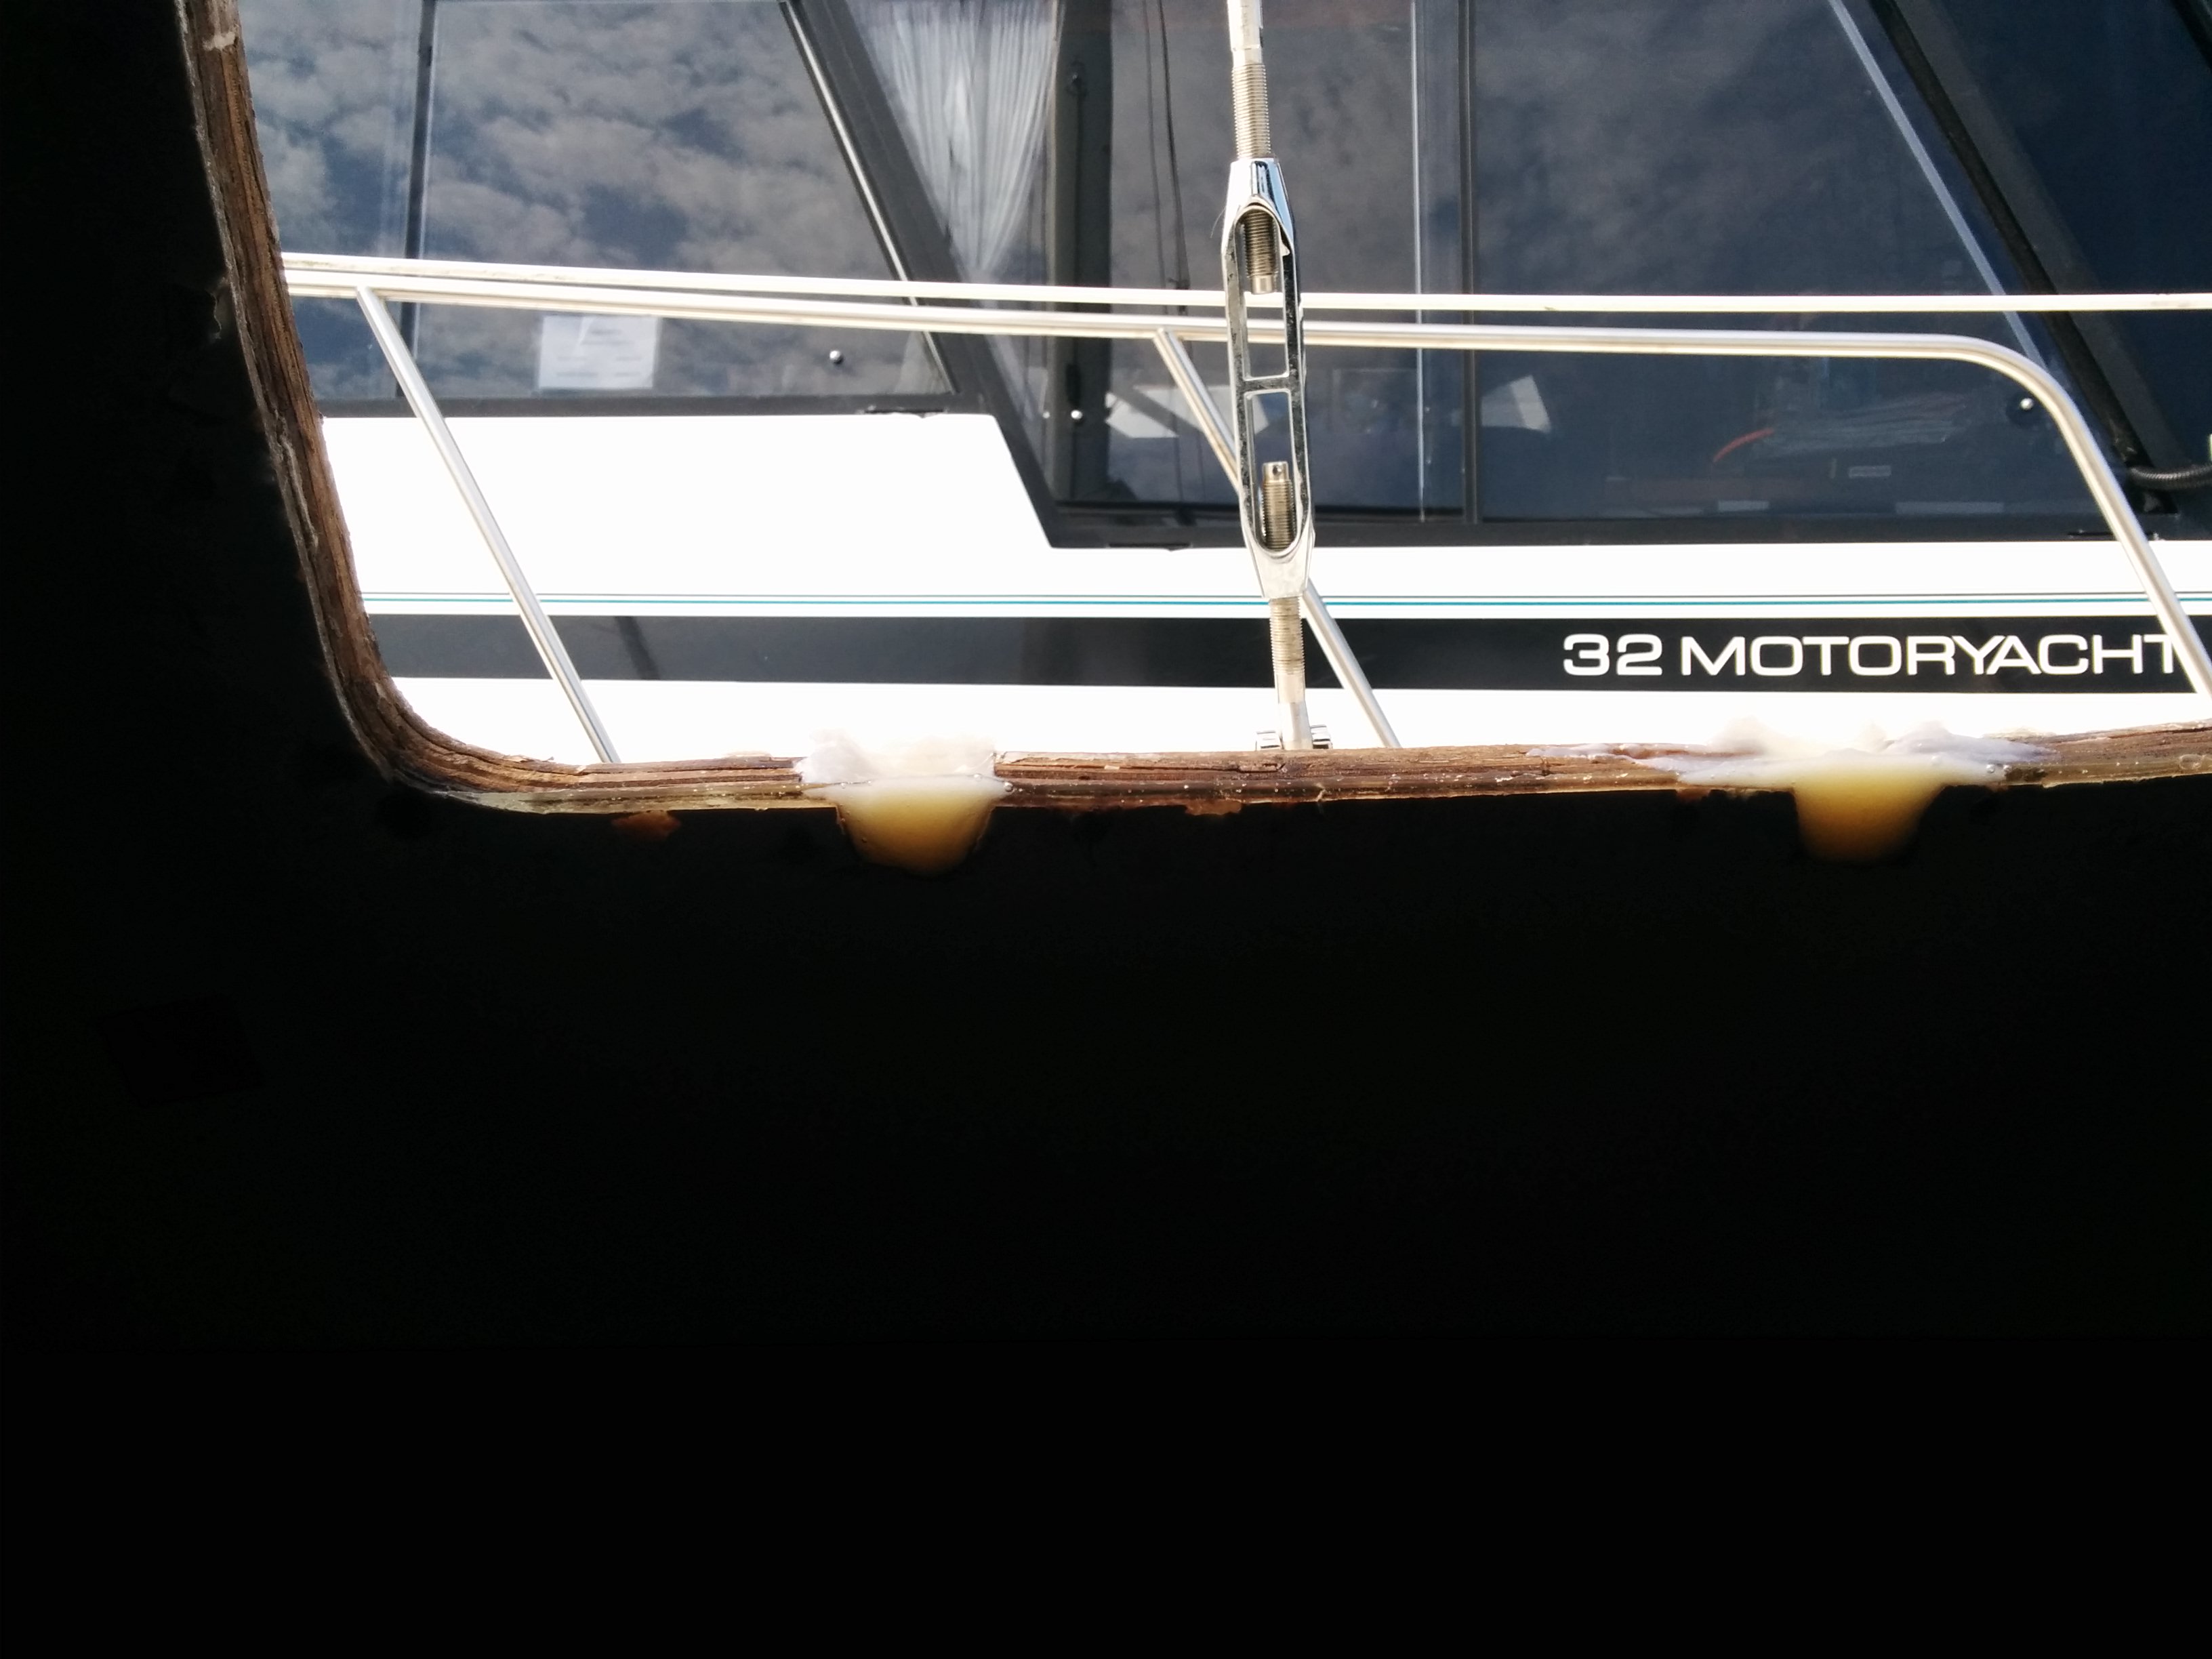
If you follow this blog somewhat regularly and have a good memory, you will remember me bitching about a leak above the nav table.
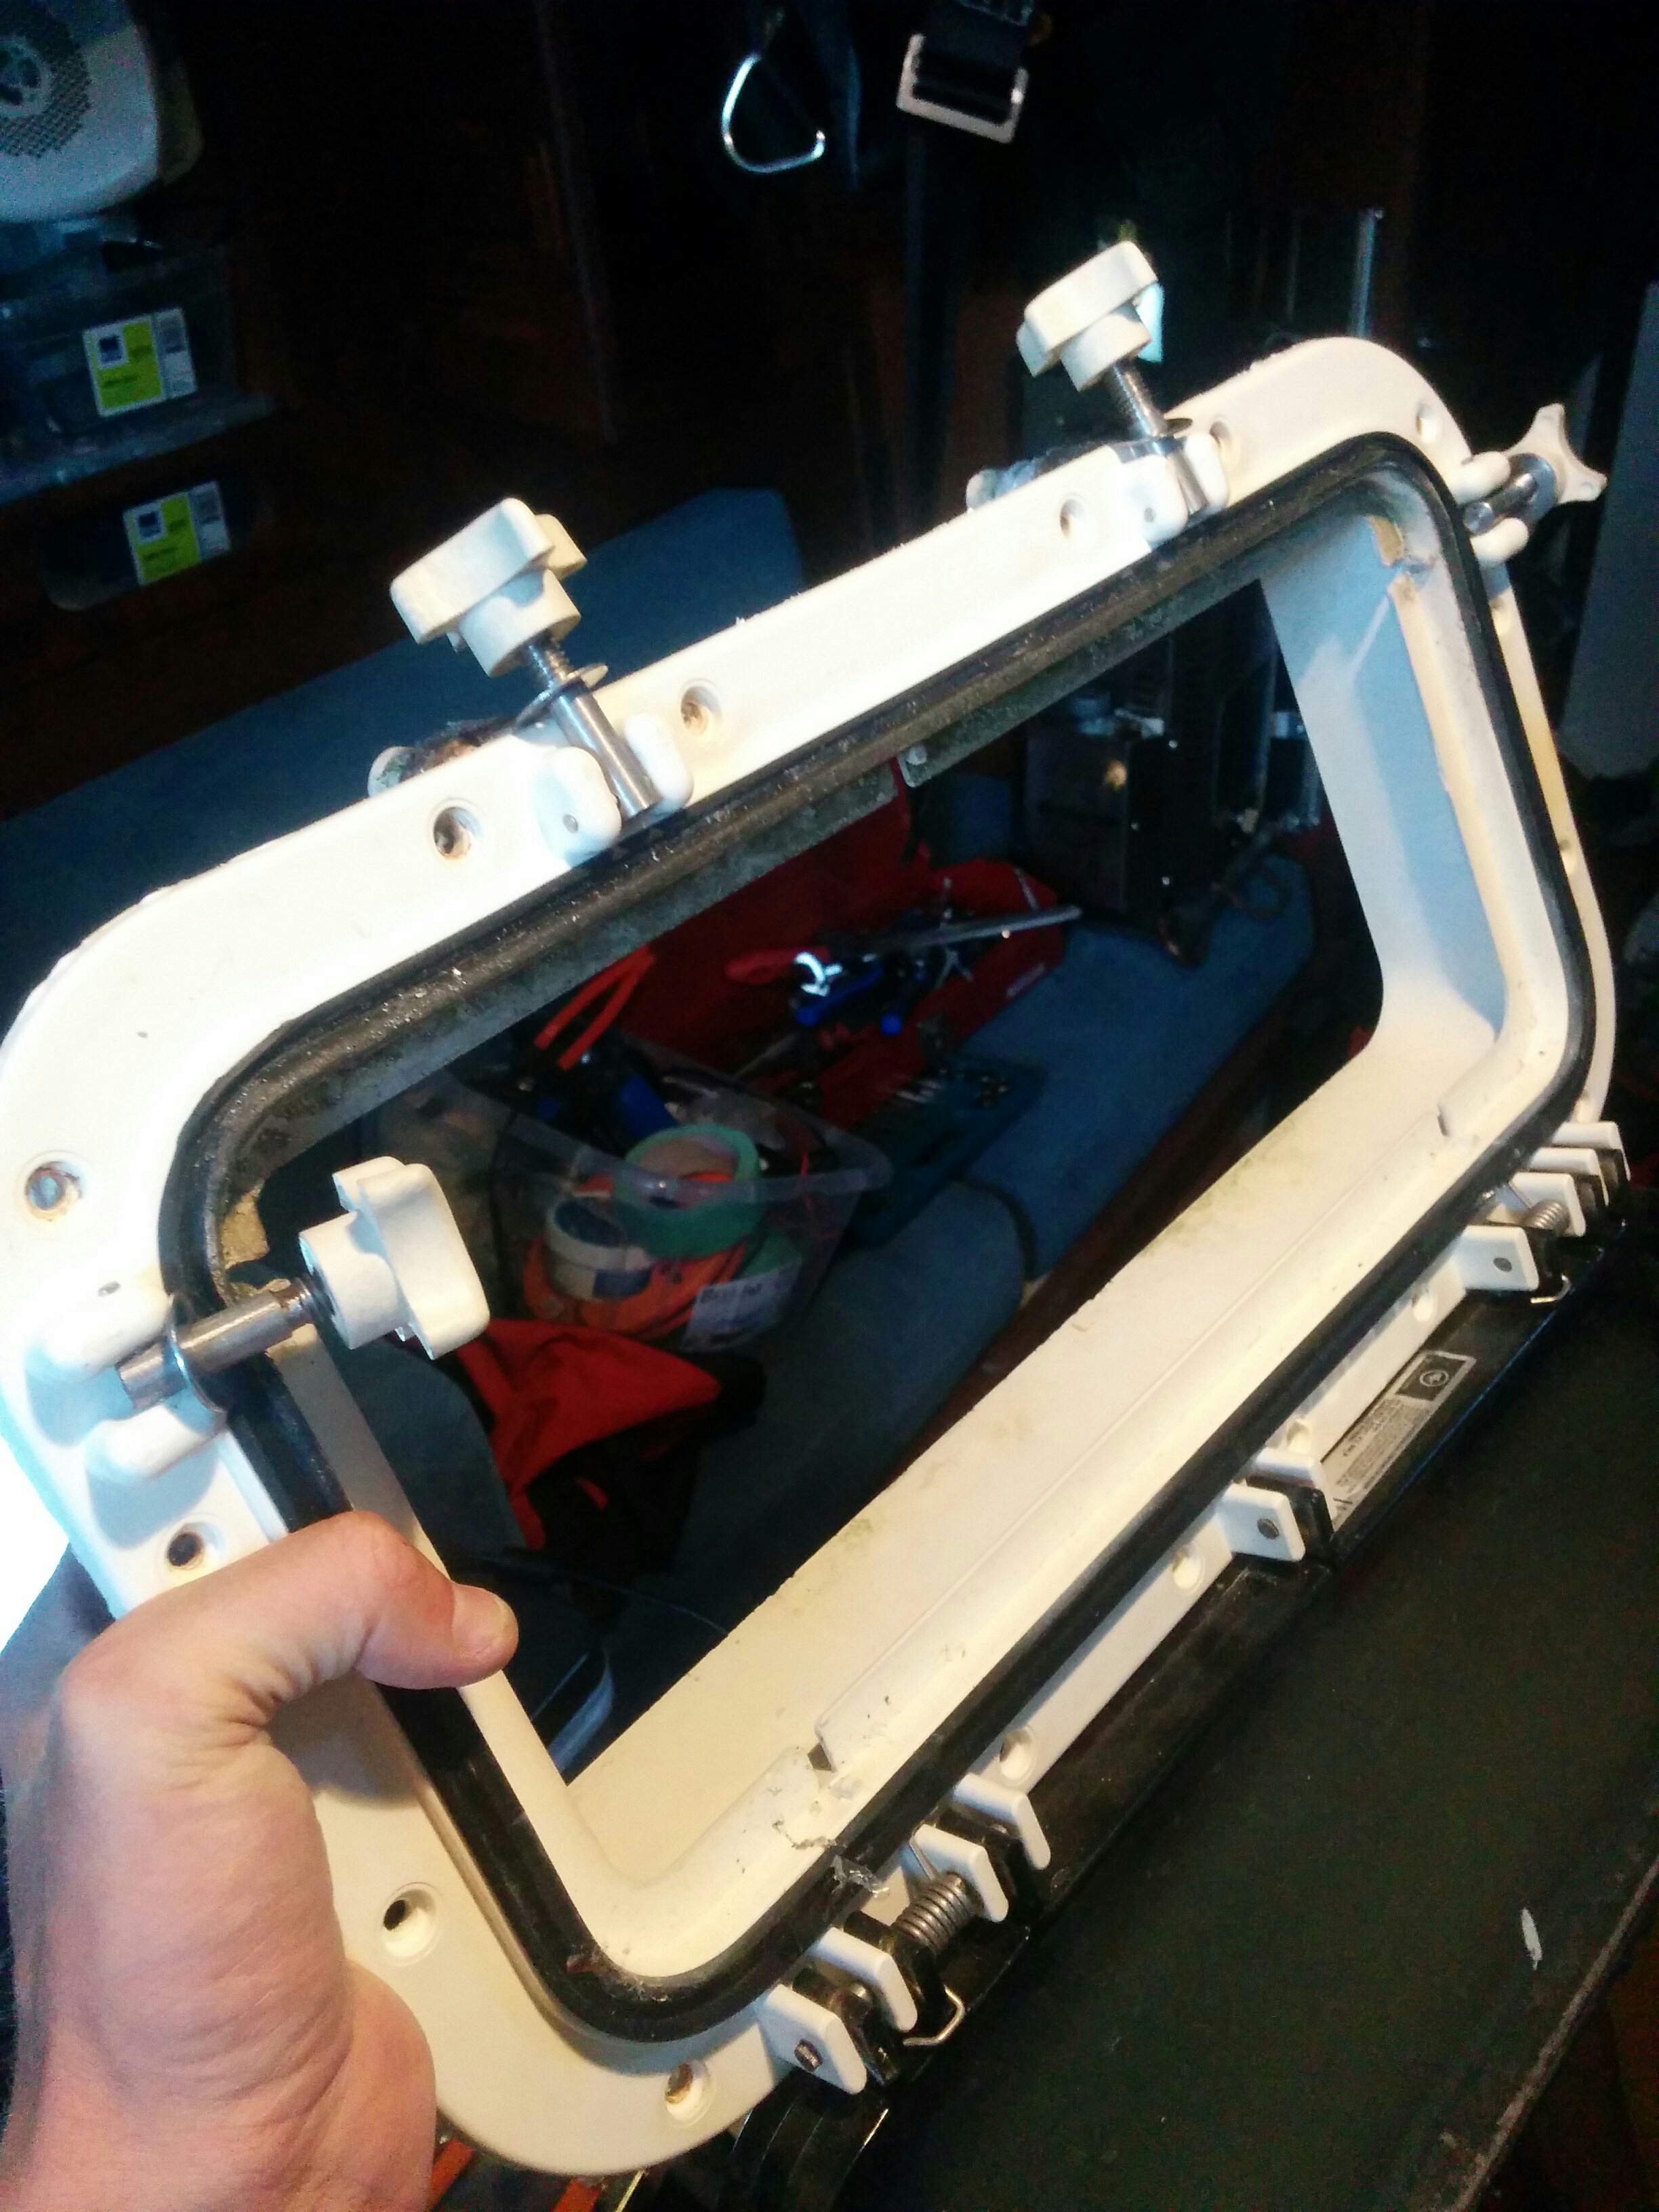
I thought this was a leaky porthole, so I ordered a new one from New Found Metals
Because I am an idiot, I assumed all 6 of the big portholes were the same size, so I measured a different one from the one I wanted to replace. Of course, 2 are 7″x15″ and the other 4 are 8″x 18″. The one I measured was 7×15 and the one I needed to replace was 8×18. Shit.
ANYWAY, I decided to keep it as a test and the leak seemed to have been fixed with replacing the chainplate, so what the hell. This weekend I finally got around to replacing the thing, loosely following the instructions here. Basically, no sealant, all butyl tape.
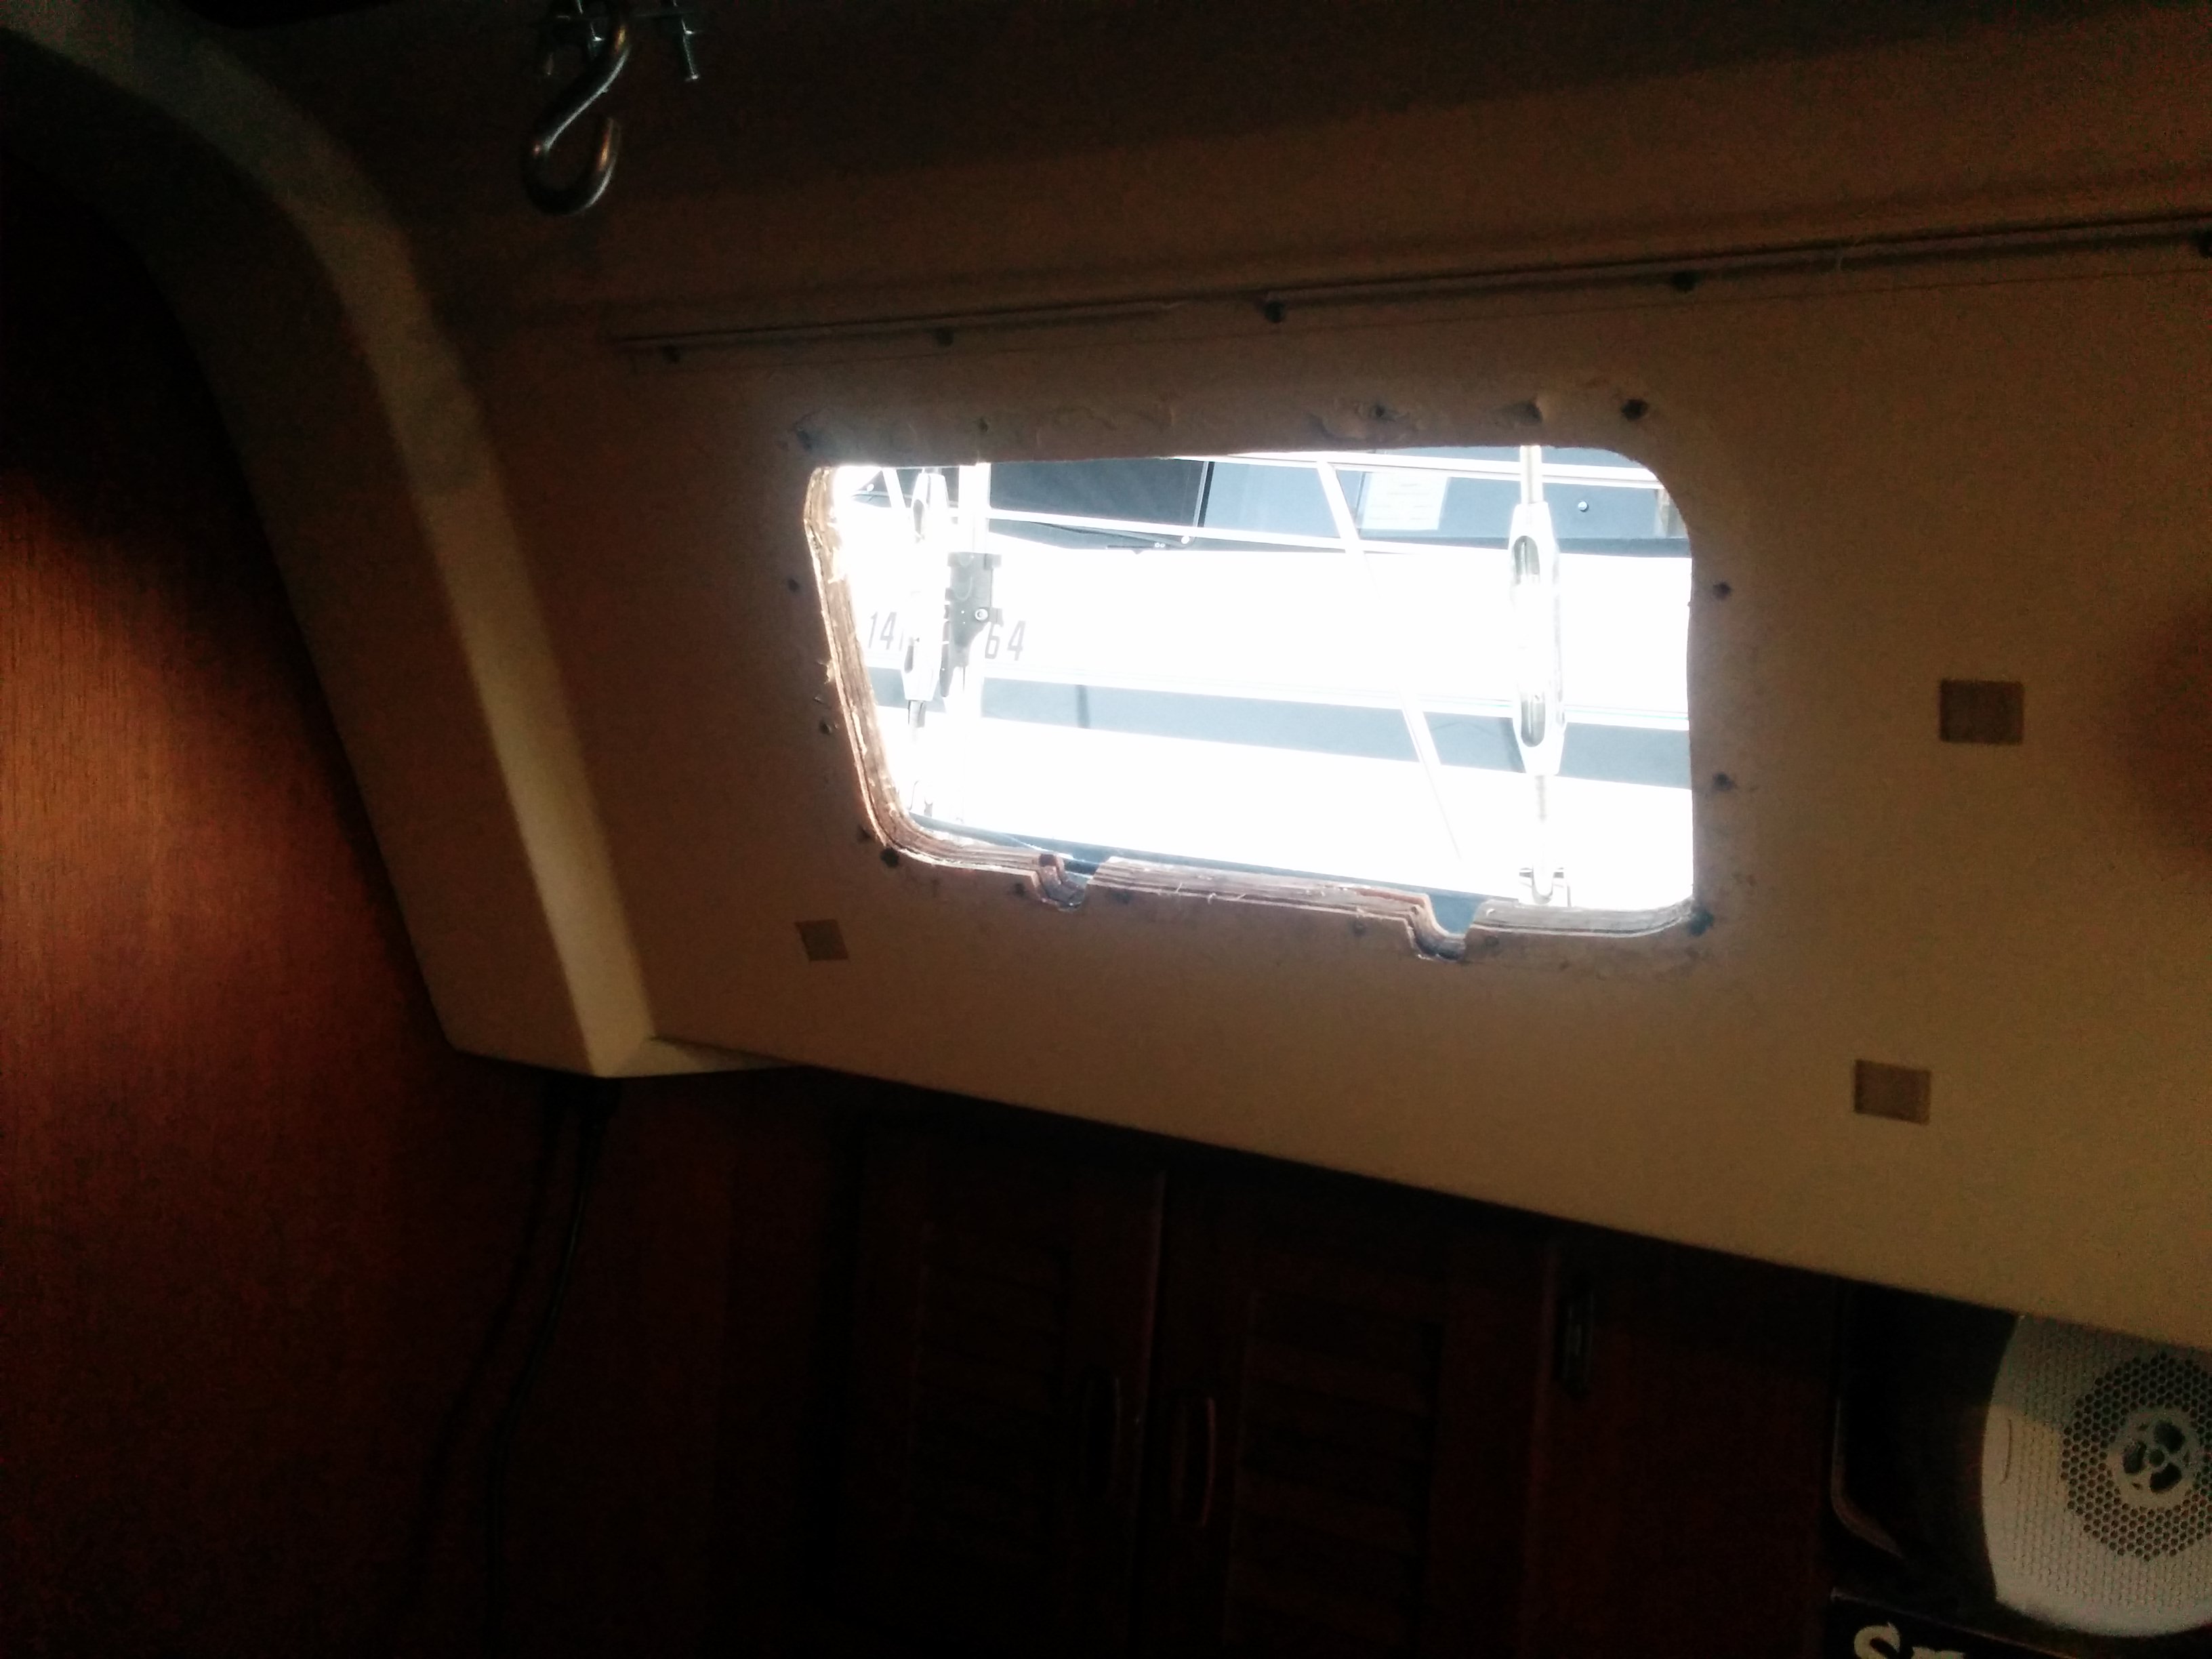
First off, removing the old port. This was a huge pain in the balls, as I undid all the screws and the thing was still wedged on with the sealant. After an hour of jamming a putty knife and slowly trying to prise it up, it came off. This was the first of the ‘extremely tedious cleaning tasks’ it turns out.
Next step was to epoxy up the bottom of the frame where there was some delamination from a leak (so I guess it was good I was replacing the port!
Using the tape as a barrier, I filled up the old ‘drain holes’ as well as they didn’t match the location of the new NFM ones. This was all done using thickened epoxy.
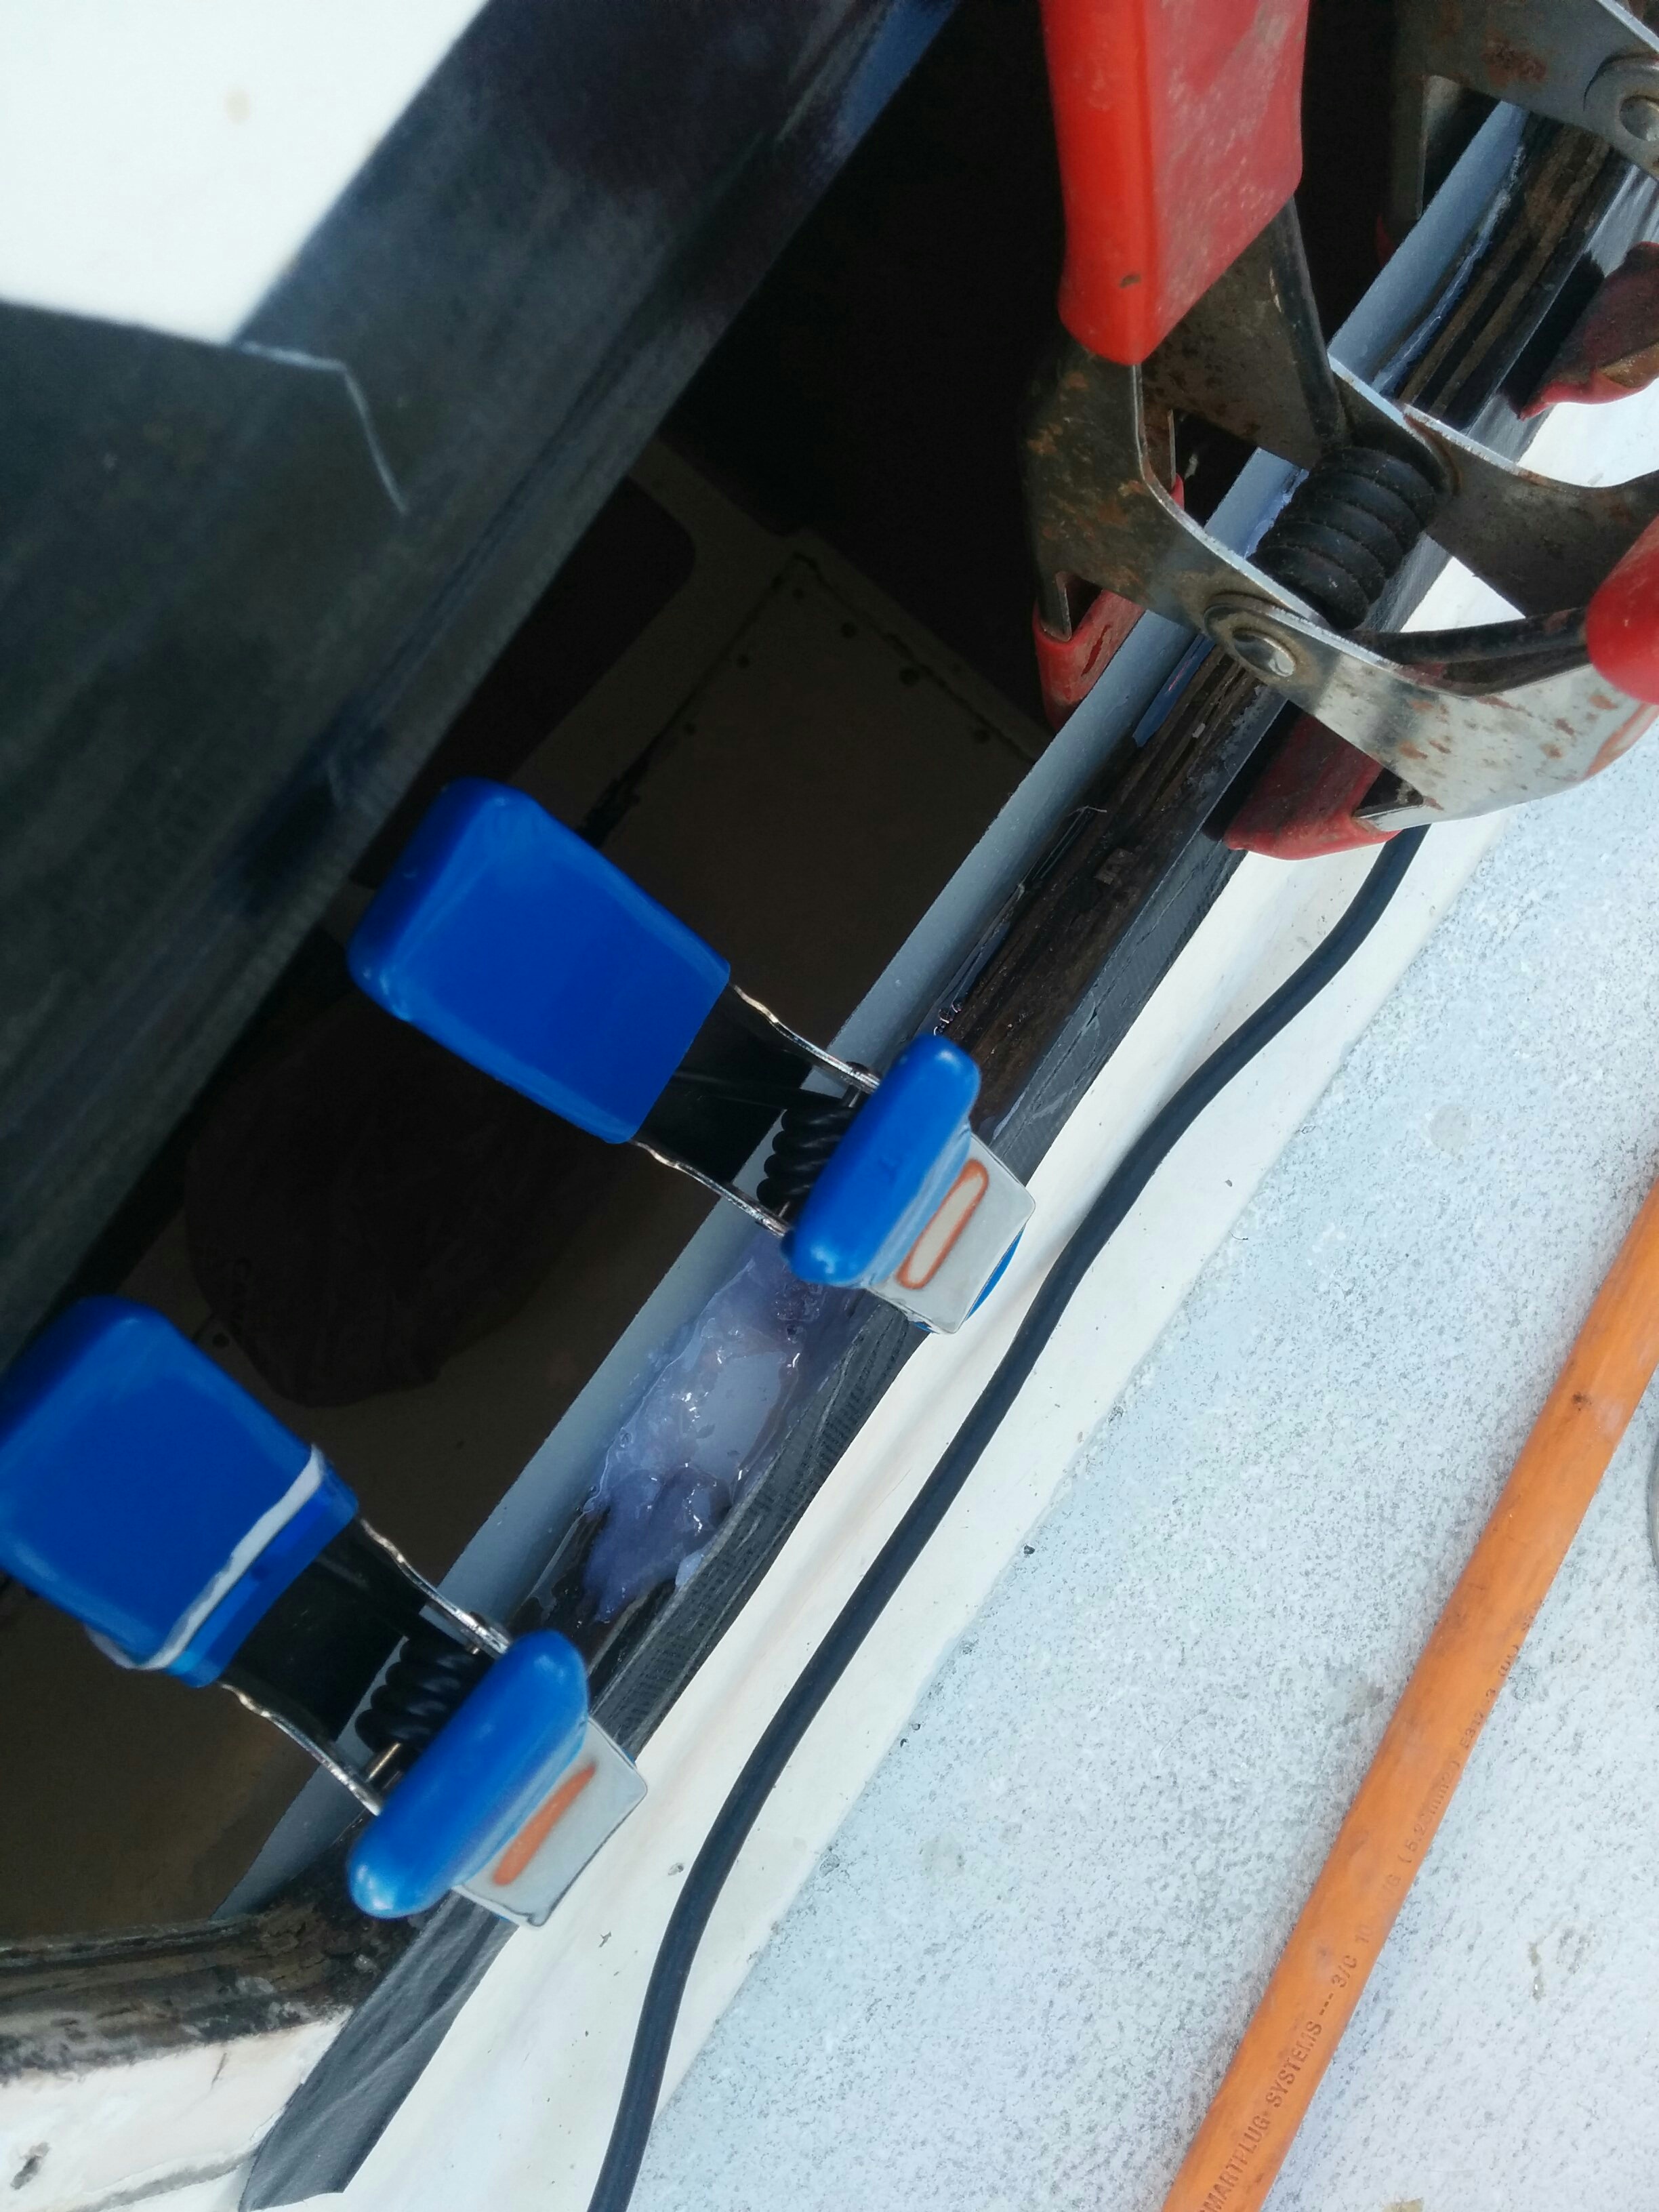
Here you can see the end result.
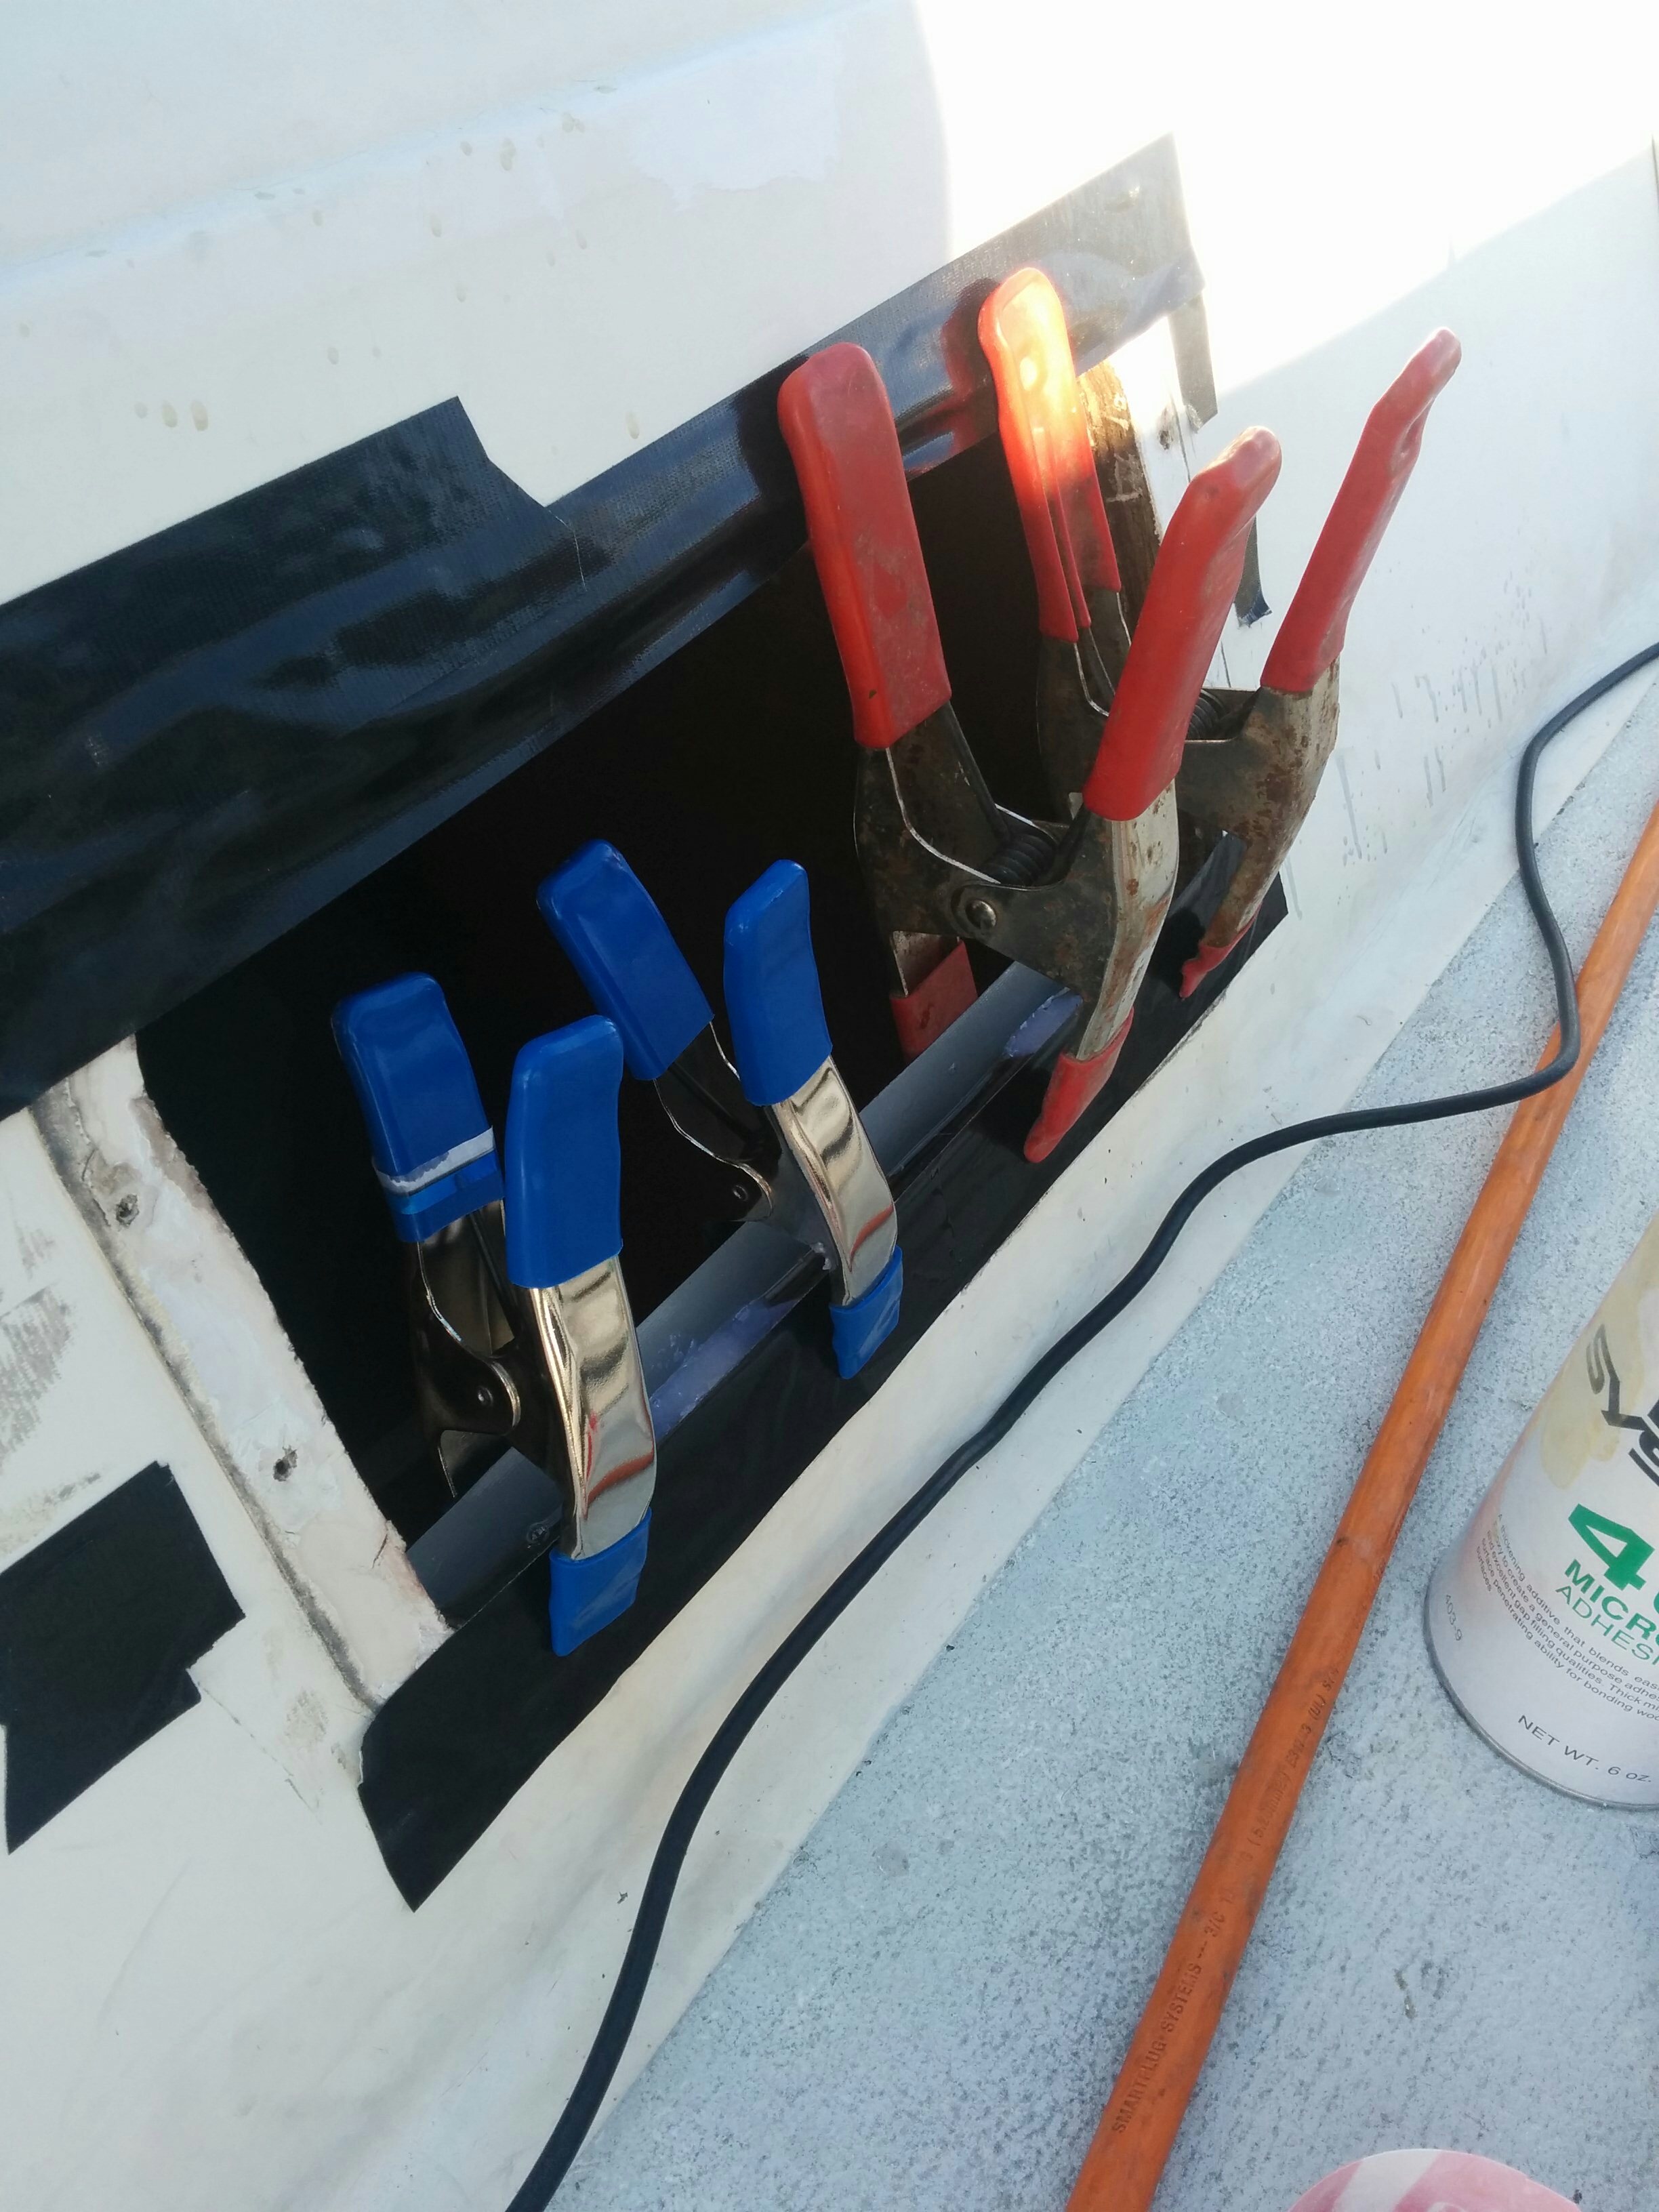
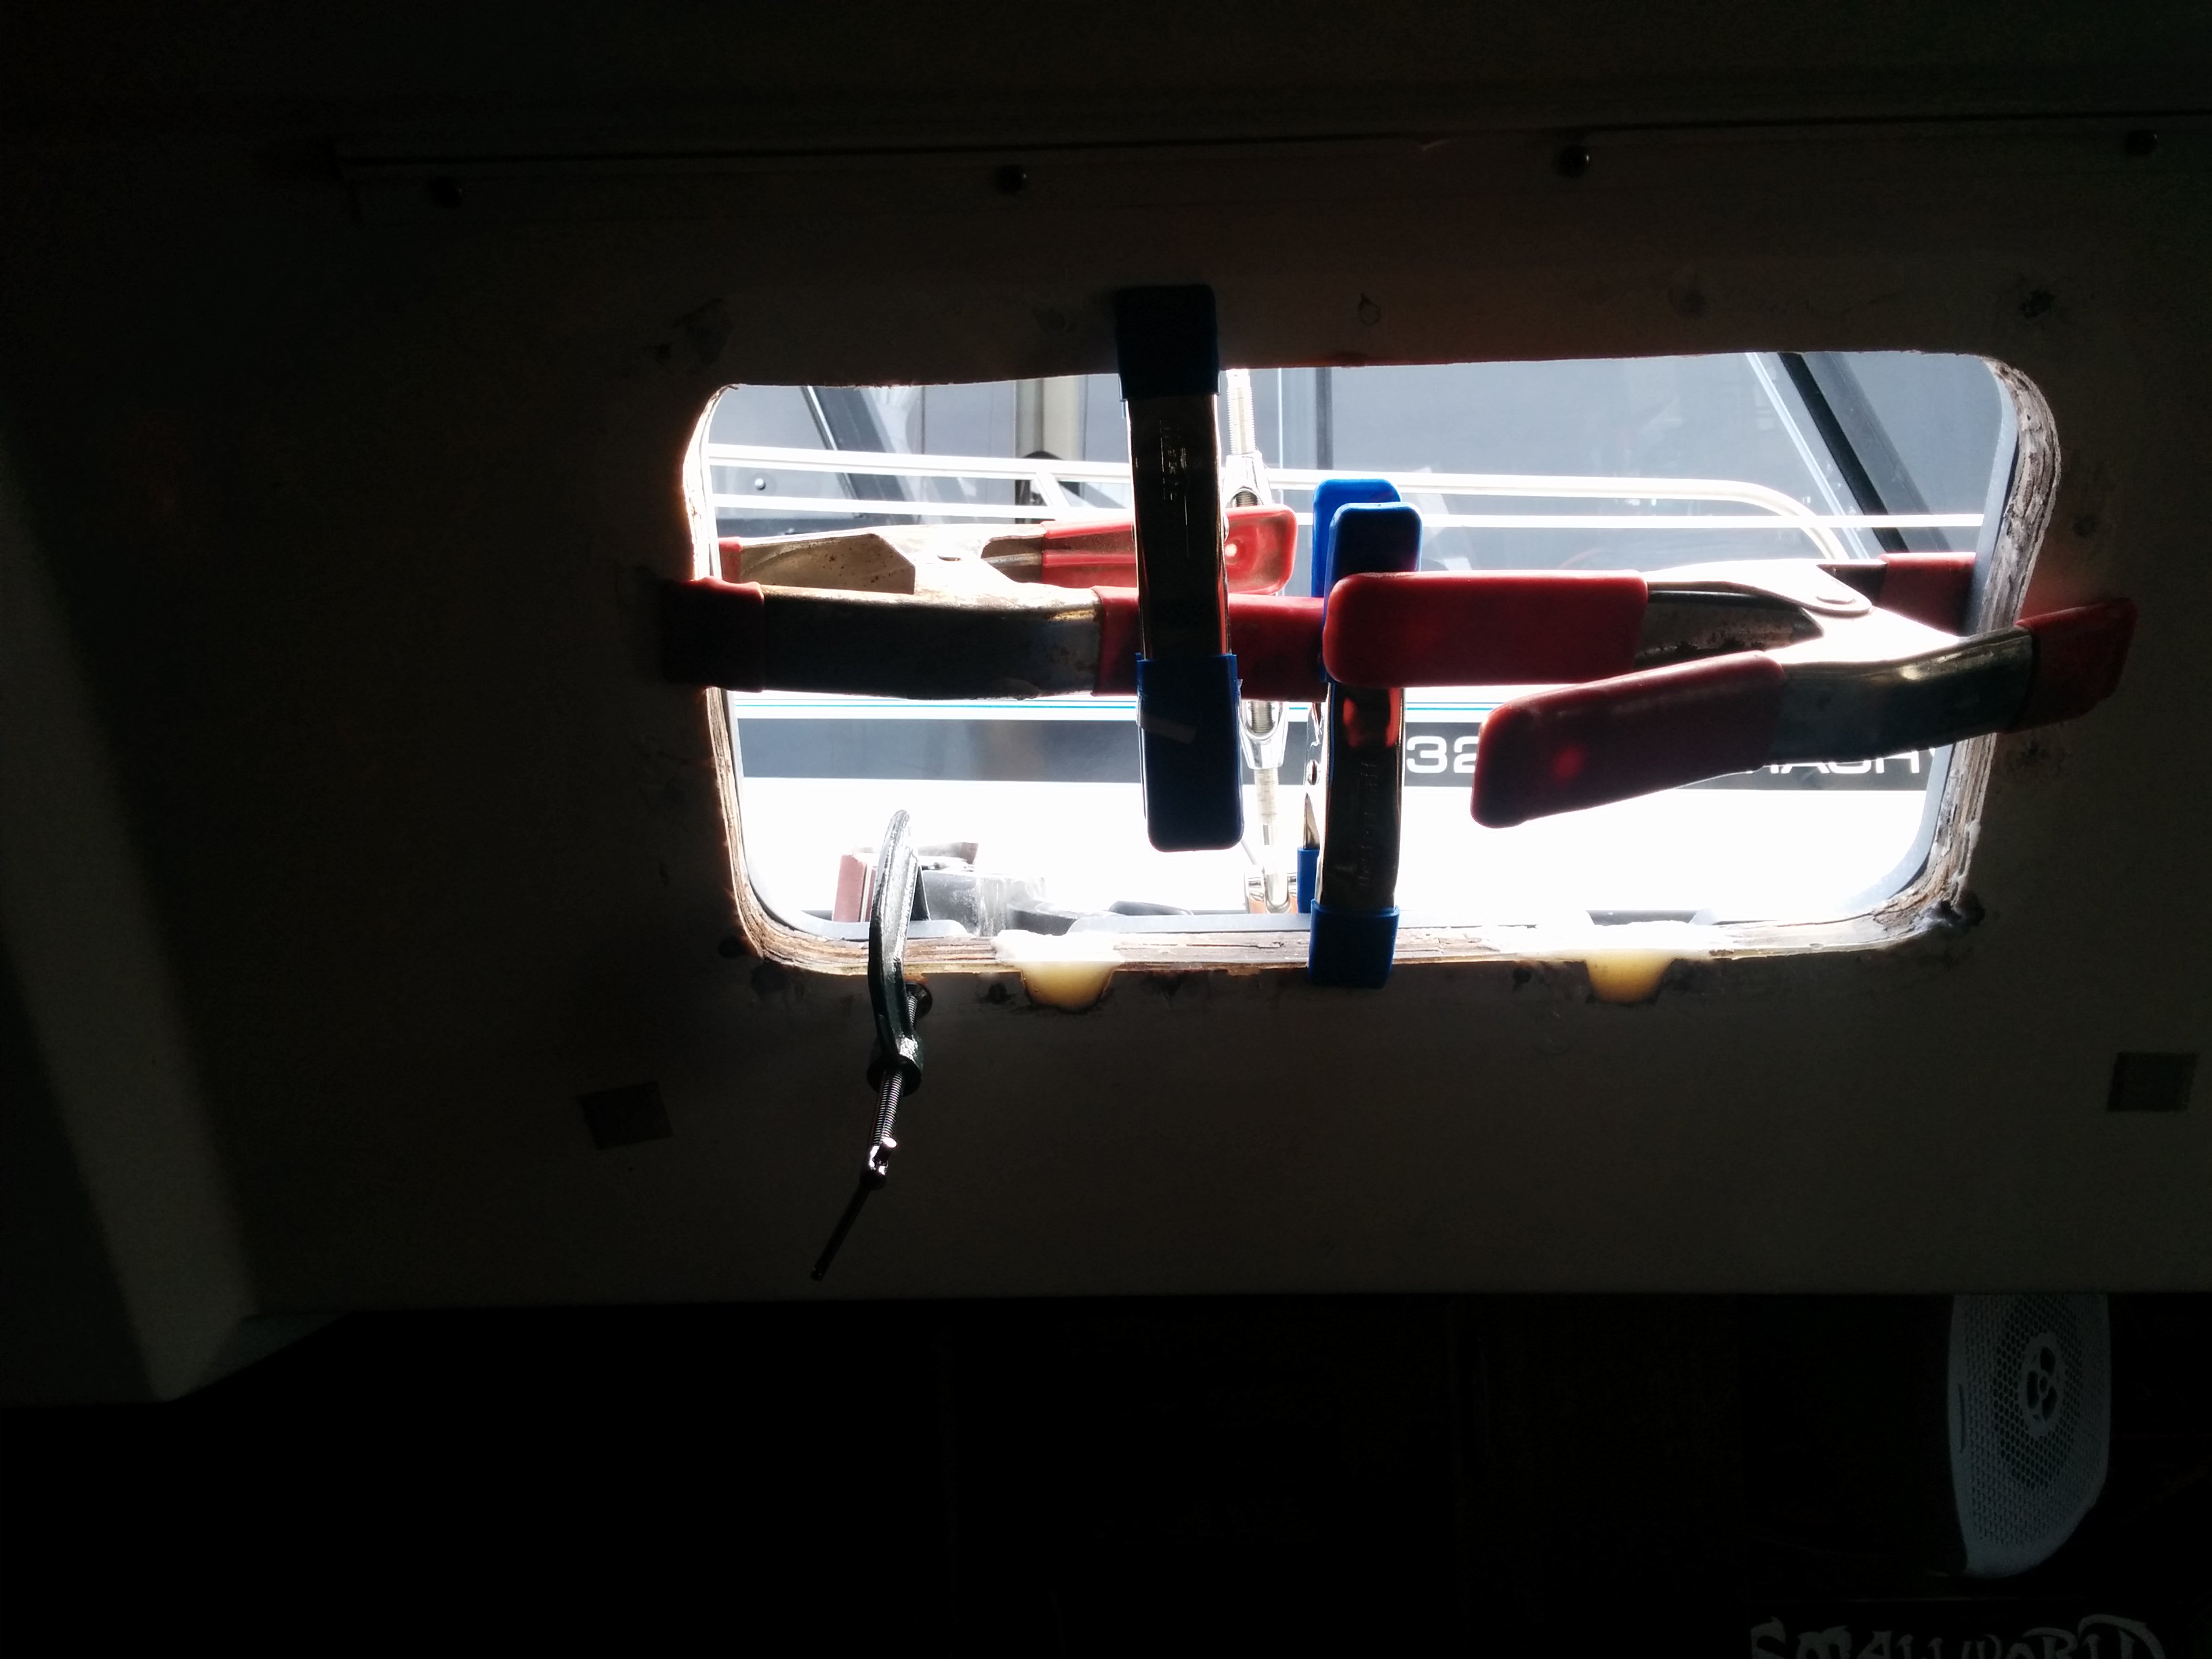
Once that was done, I had to clamp the template (don’t try to do this WITHOUT the NFM template) to the frame and cut the new drainage holes and drill the bolt holes. This is not a great picture since the template is bolted to the outside and the photo is from the inside. Oh well.
After all that was done, I cleaned both the trim ring, outside of the hull and the porthole with acetone, and then spent over an hour slowly cleaning up all the gorilla tape residue! GRRRRR.
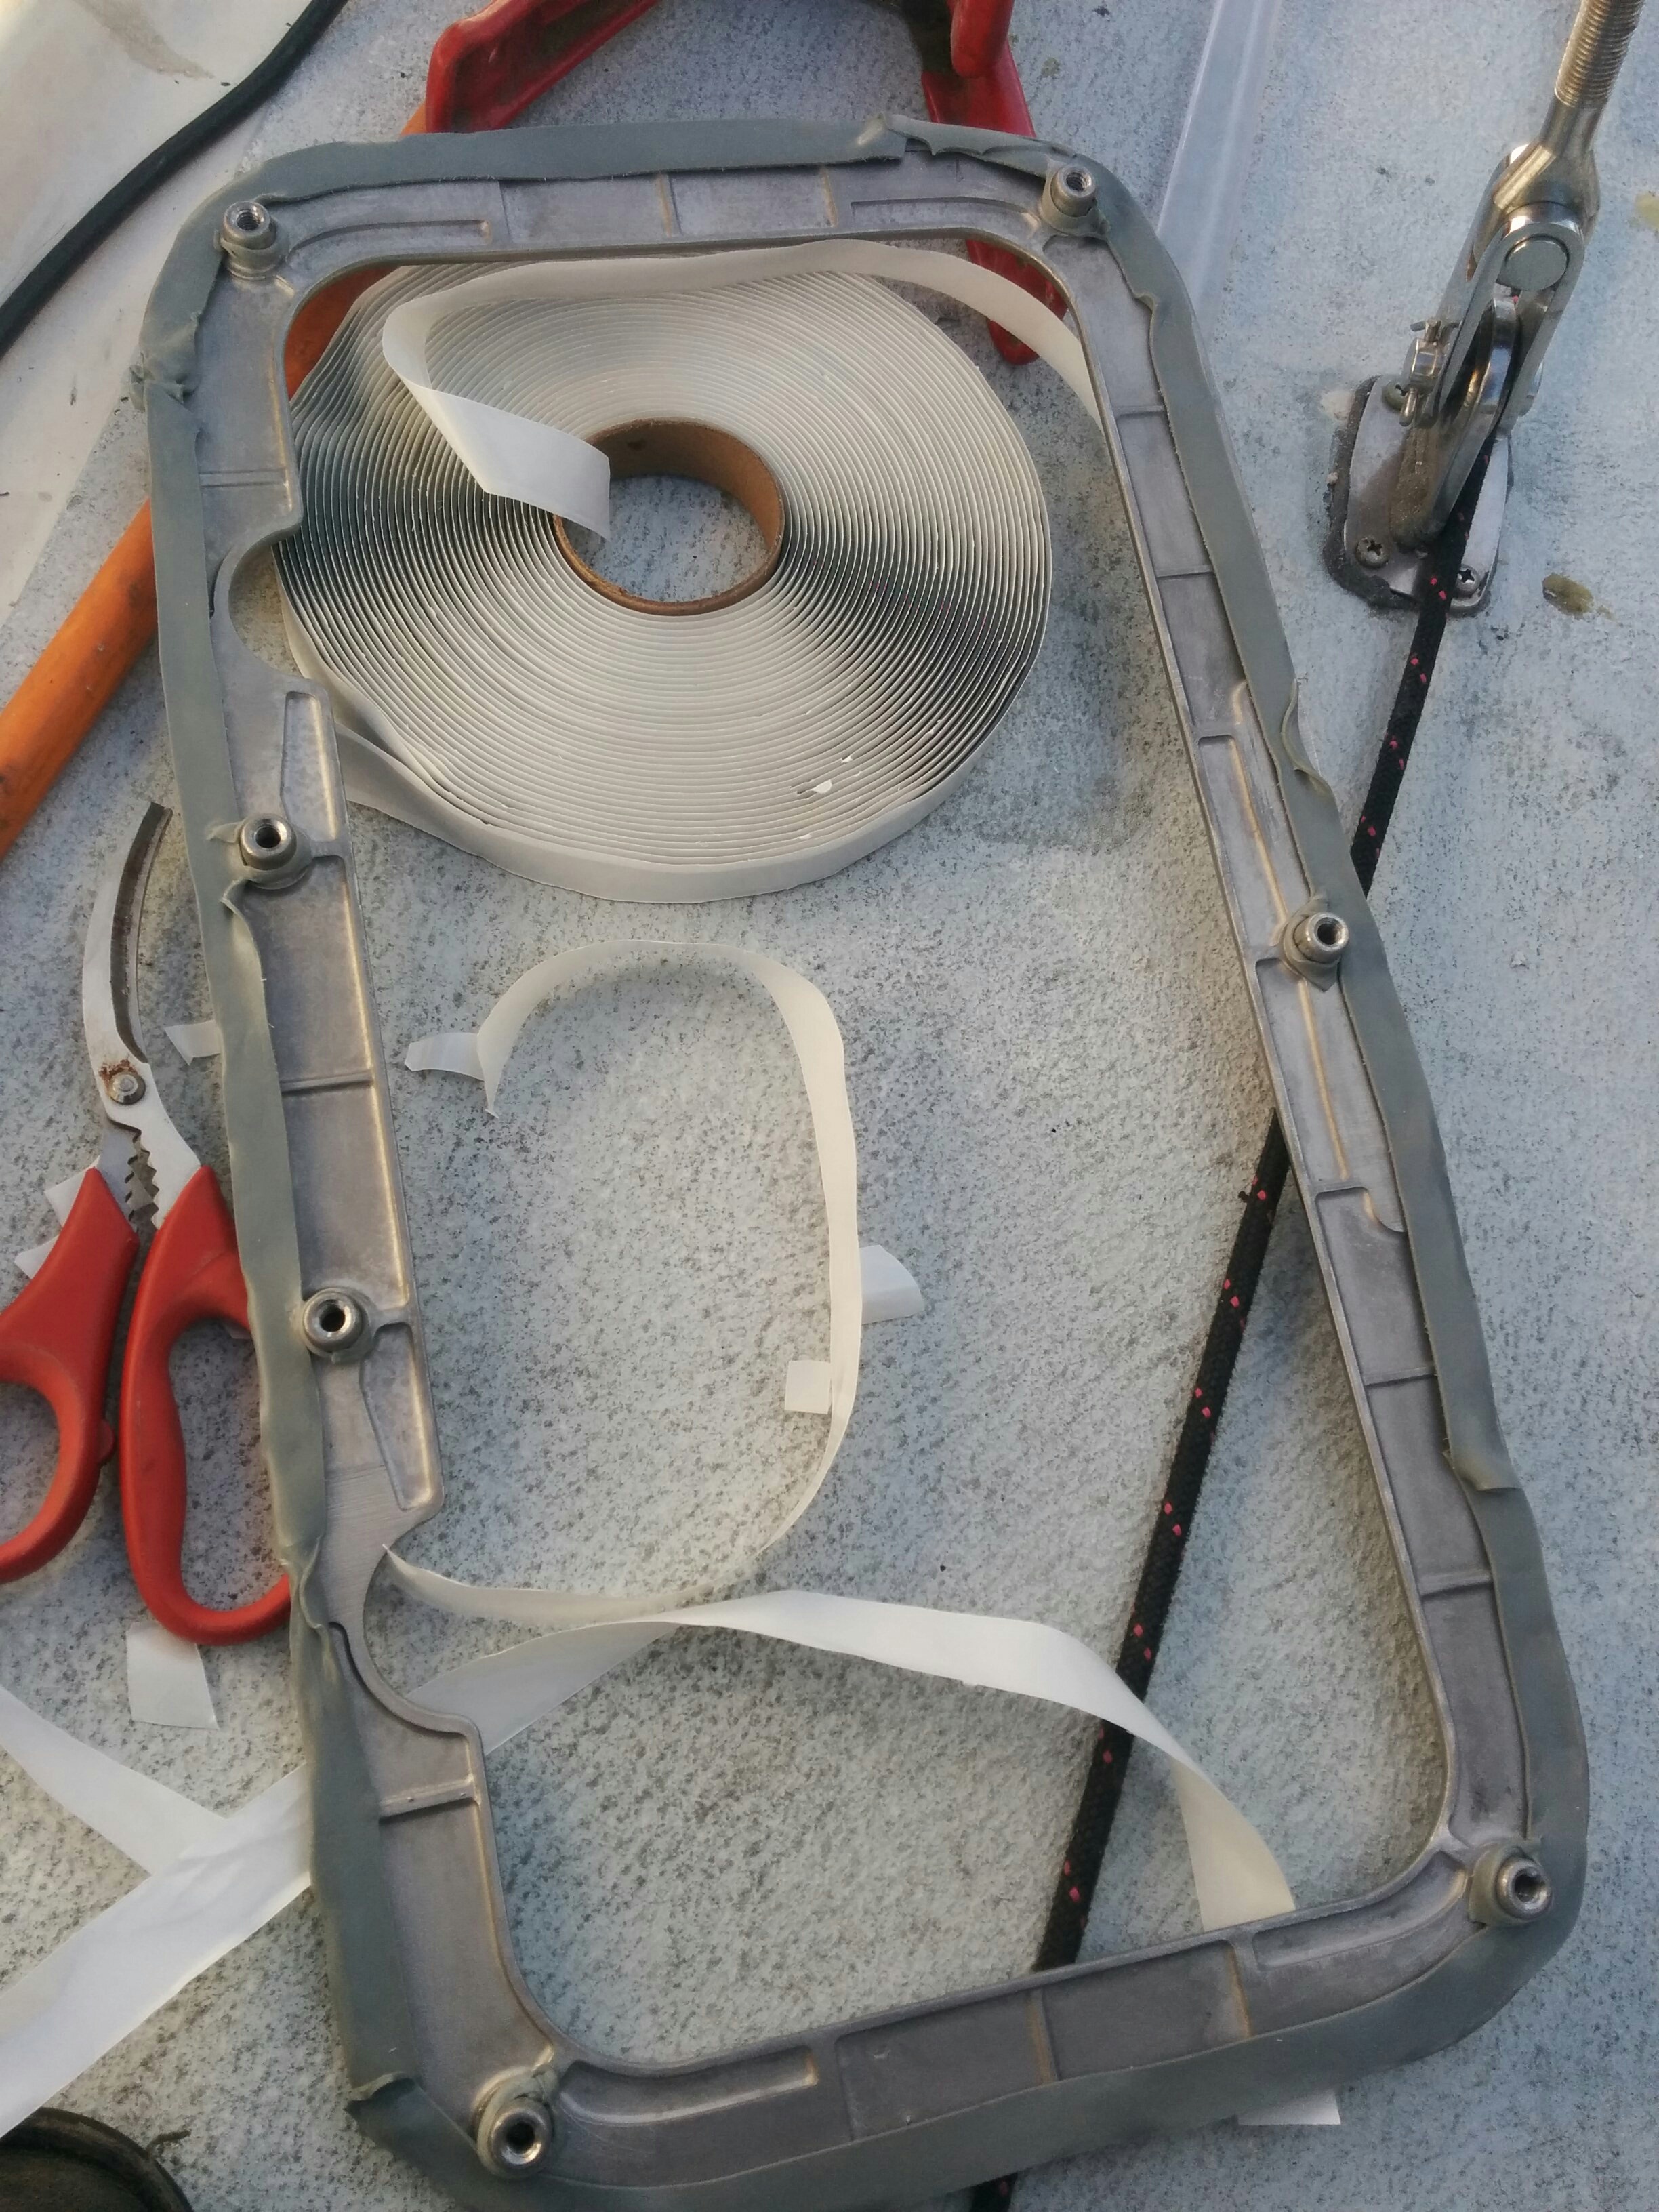
Then I put butyl tape (I still don’t know how to pronounce this correctly) along the inside edge of the trim ring as seen above, and fastened it to the porthole which mounts from the inside. Of note here is that I had the wrong size screws, and had to wait till the next day to buy the correct size. GRRRRRRRRRRRRR AGAIN!
Once that was all done, I then sealed the trim ring/porthole connection with butyl tape from the outside. This looks not as nice as doing it from the inside, but was important as I wanted to avoid sealing the inside entirely, as that would trap leaks into the core and would hide them from me.

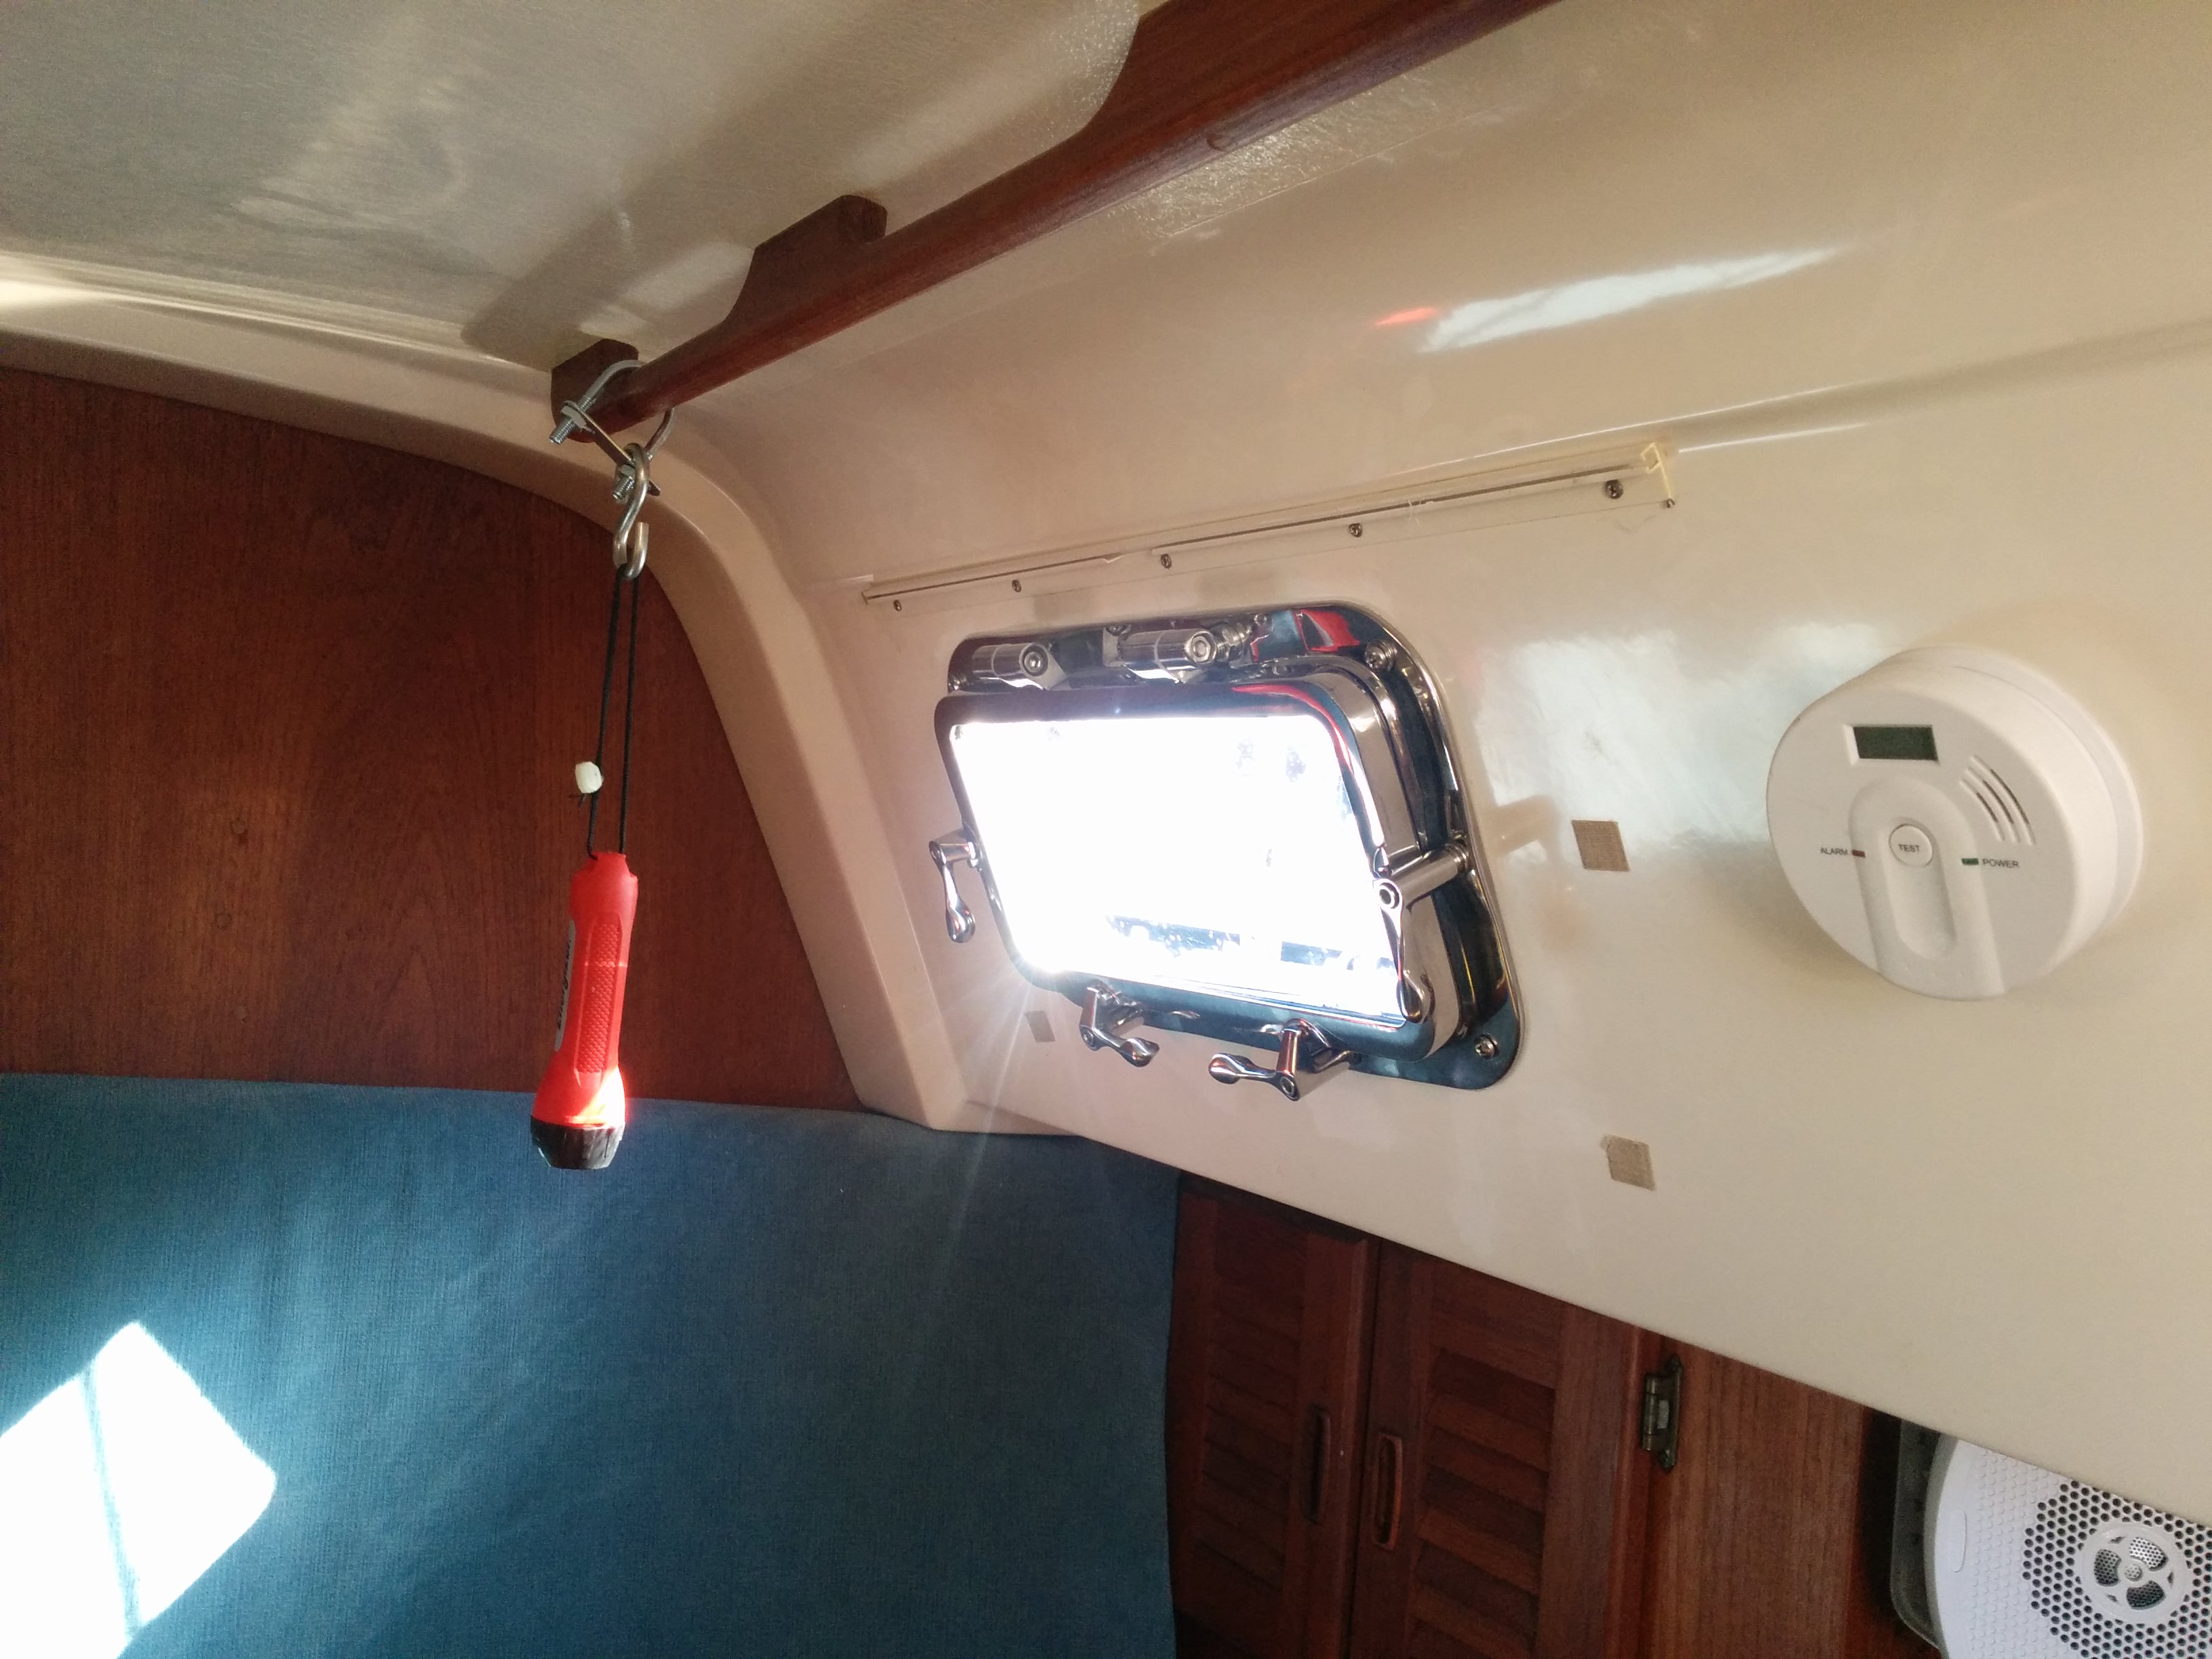
All done! I guess I should have taken a photo of the outside, but that can wait for another time.
Also my propane sniffer went off, as it turns out the connection to the oven was loose, so I took the chance to remove my force 10 oven, dismantle it, and completely clean it (it was a busy weekend!) As you can see, behind the oven was HELLA GROSSSSSSS (barf)

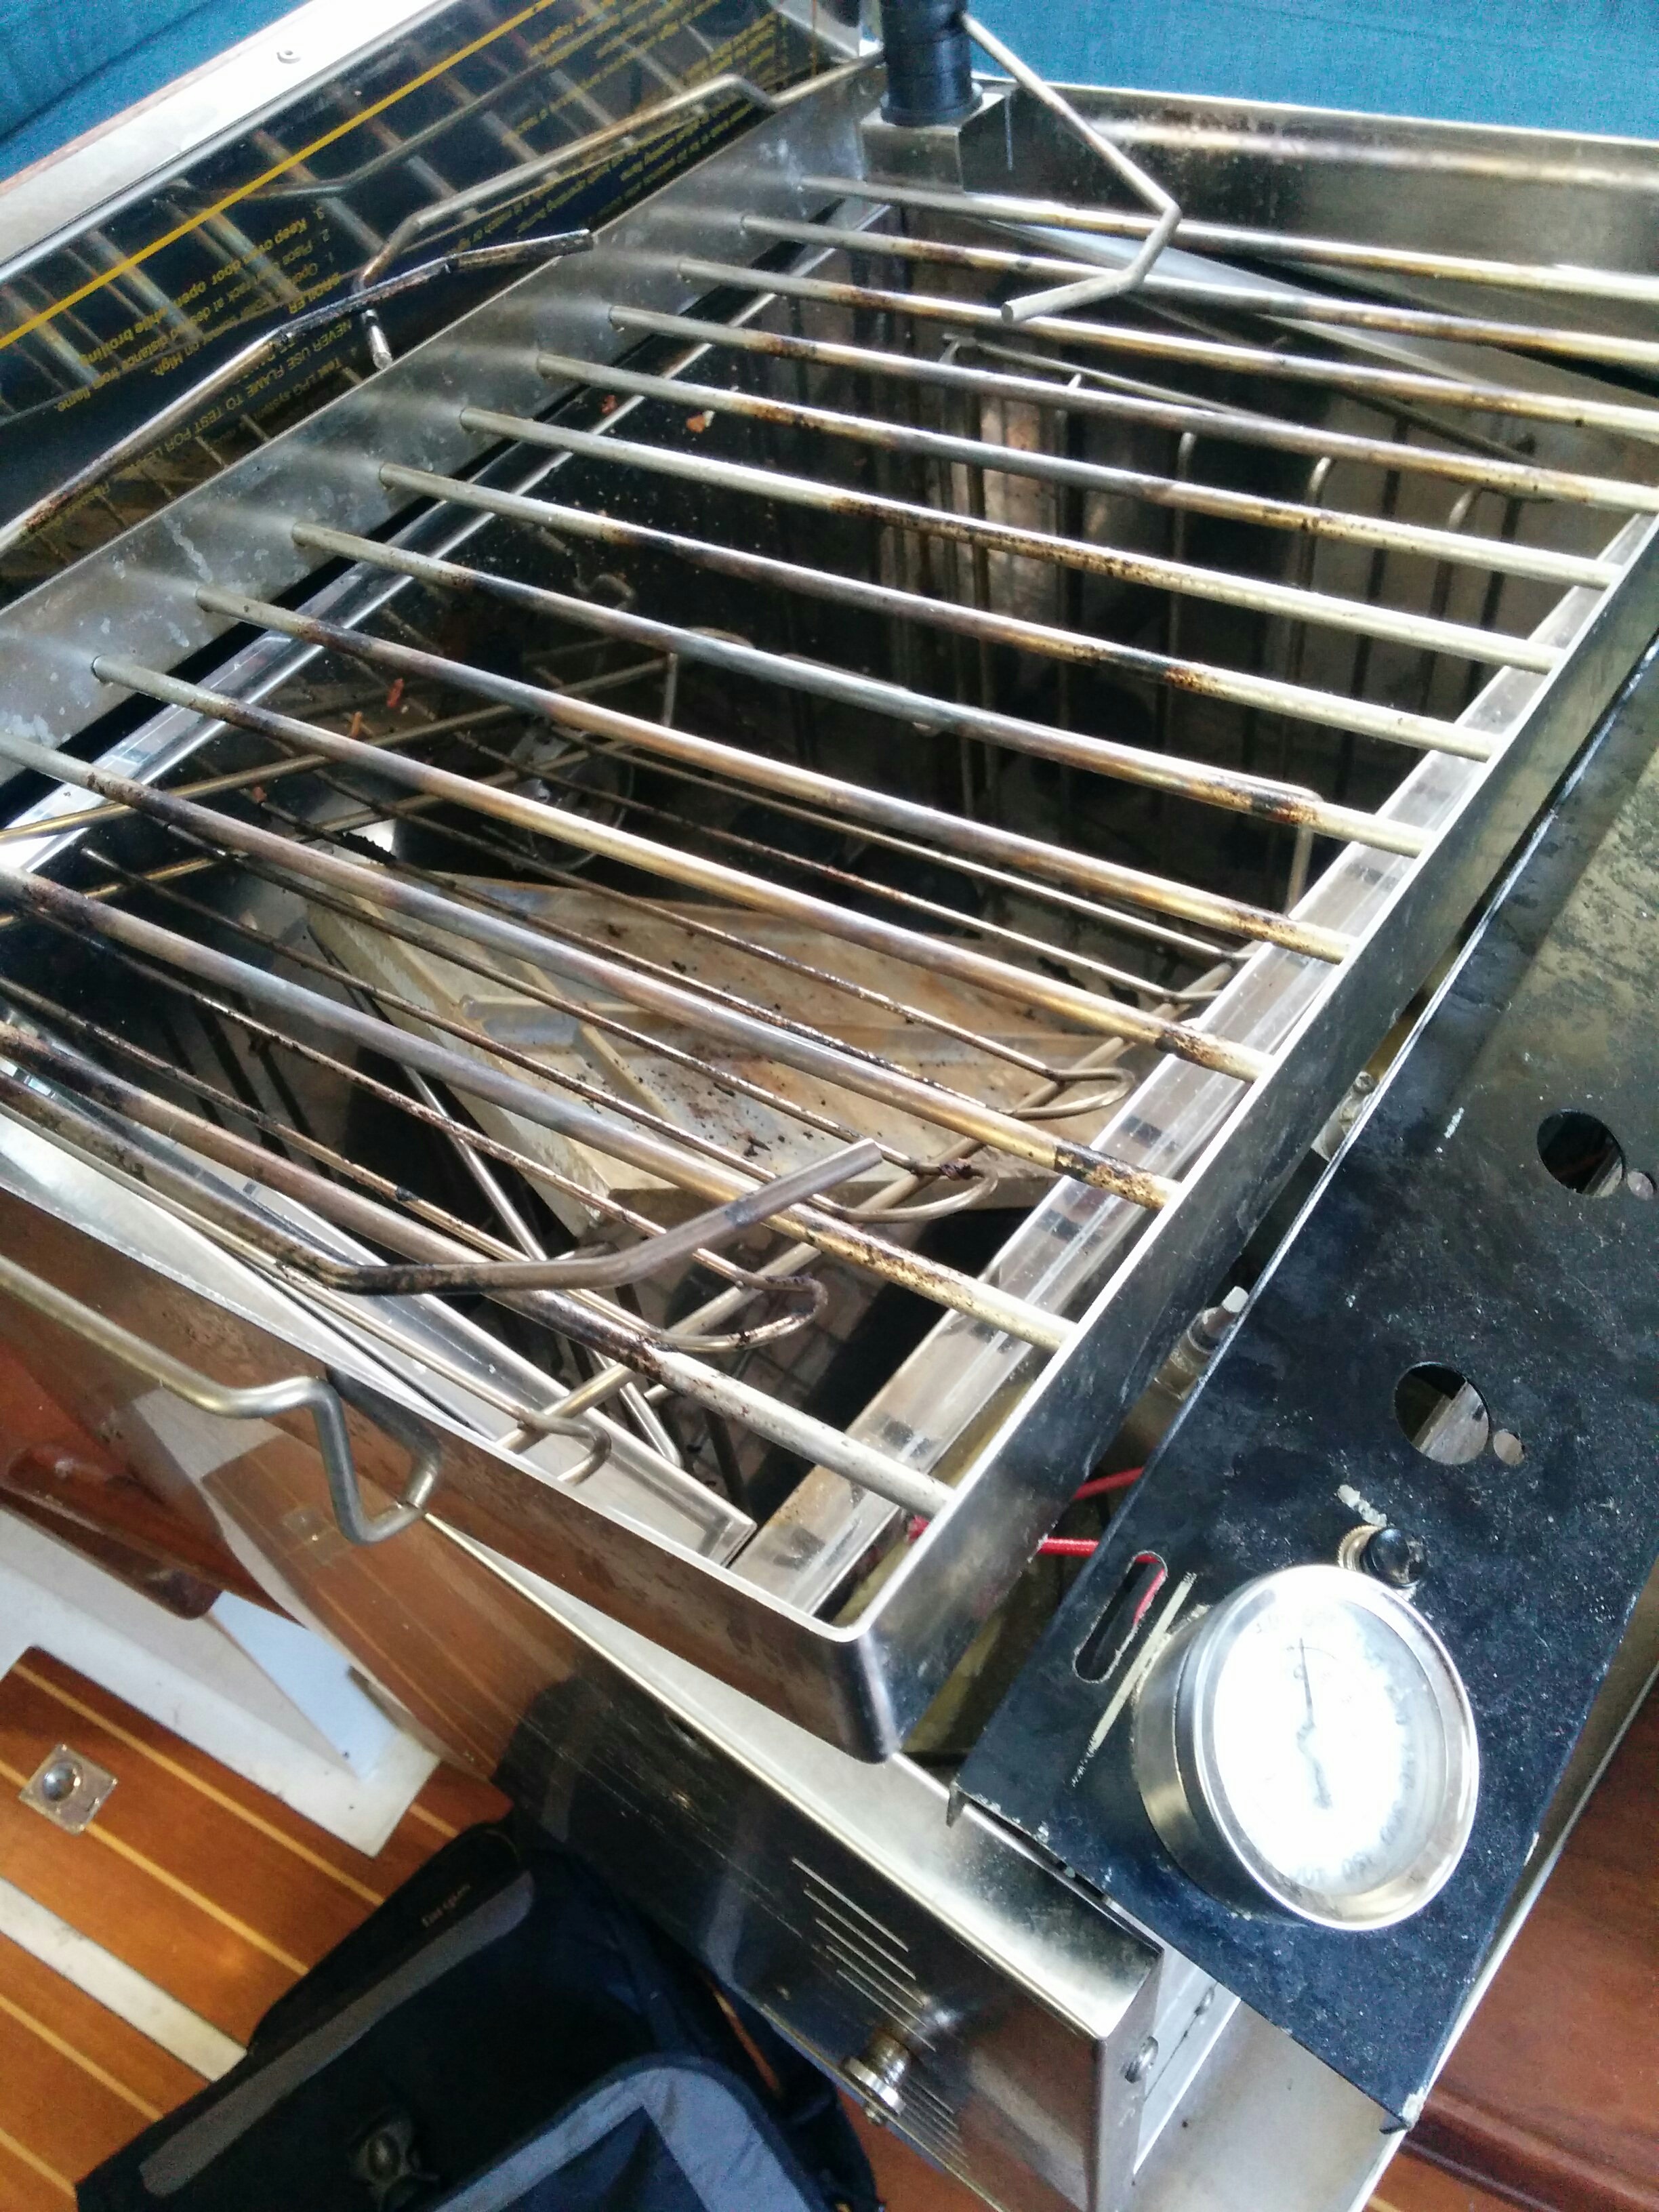
Anyway, once all clean I reconnected the oven (and really tightened it) and it all works a lot better. I also discovered what the 4th knob does – I have a broiler! (grill)
It also goes to show the importance of having a couple of working propane sniffers setup around the boat.
Looks good man! I didn’t get the part about not completely sealing the port from the inside with butyl. I understand you want to see water that gets past the outside of the port, but can you describe in a bit more detail you sealed it on the inside?
I didn’t use any tape at all on the inside of the cabin- I put tape on the inside of the trim ring, and then bolted into porthole. Then I sealed the gap between spigot and trim ring with tape from outside. That make sense?
Makes total sense – thanks! Btw what size or model is your stove?
I actually changed the process, and don’t use tape on the outside at all now – I clamp the port into place, and put tape all in the gaps around the edge. Then when the trim ring is bolted on, it squeezes down on the tape.
The stove is a Force 10 2 burner model, one of the old ones. It works great still!