Dumb title but didn’t know what else to call it – as it’s not the last bit of solar I’ll install.
As mentioned in the previous post on this topic I’d got hold of a couple 100 watt panels and an MPPT controller, the panels were around $200 each and the same for the controller. I didn’t want to go to the time and expense of installing a solar arch this year so I hoped that deck mounting them would allow me to at least pull in some power. Just to hedge my bets, I told everyone it was ‘an experiment’ so if it completely failed then I could just be all ‘yeah I expected that no big deal, pfft’.
So, onto the install of the solar panels (or photovoltaic system as I call it when I am trying to impress A Girl with how Clever and Smart I am)
First, stick em onto the boat. As it was an ‘experimental trial’ and they were cheap panels I didn’t really want to start drilling mounting holes or globbing on huge amounts of sealing, so I used 3M double sided tape to stick em on. I mean not really the best job, but if this thing works out I can mount them more permanently at a later date.
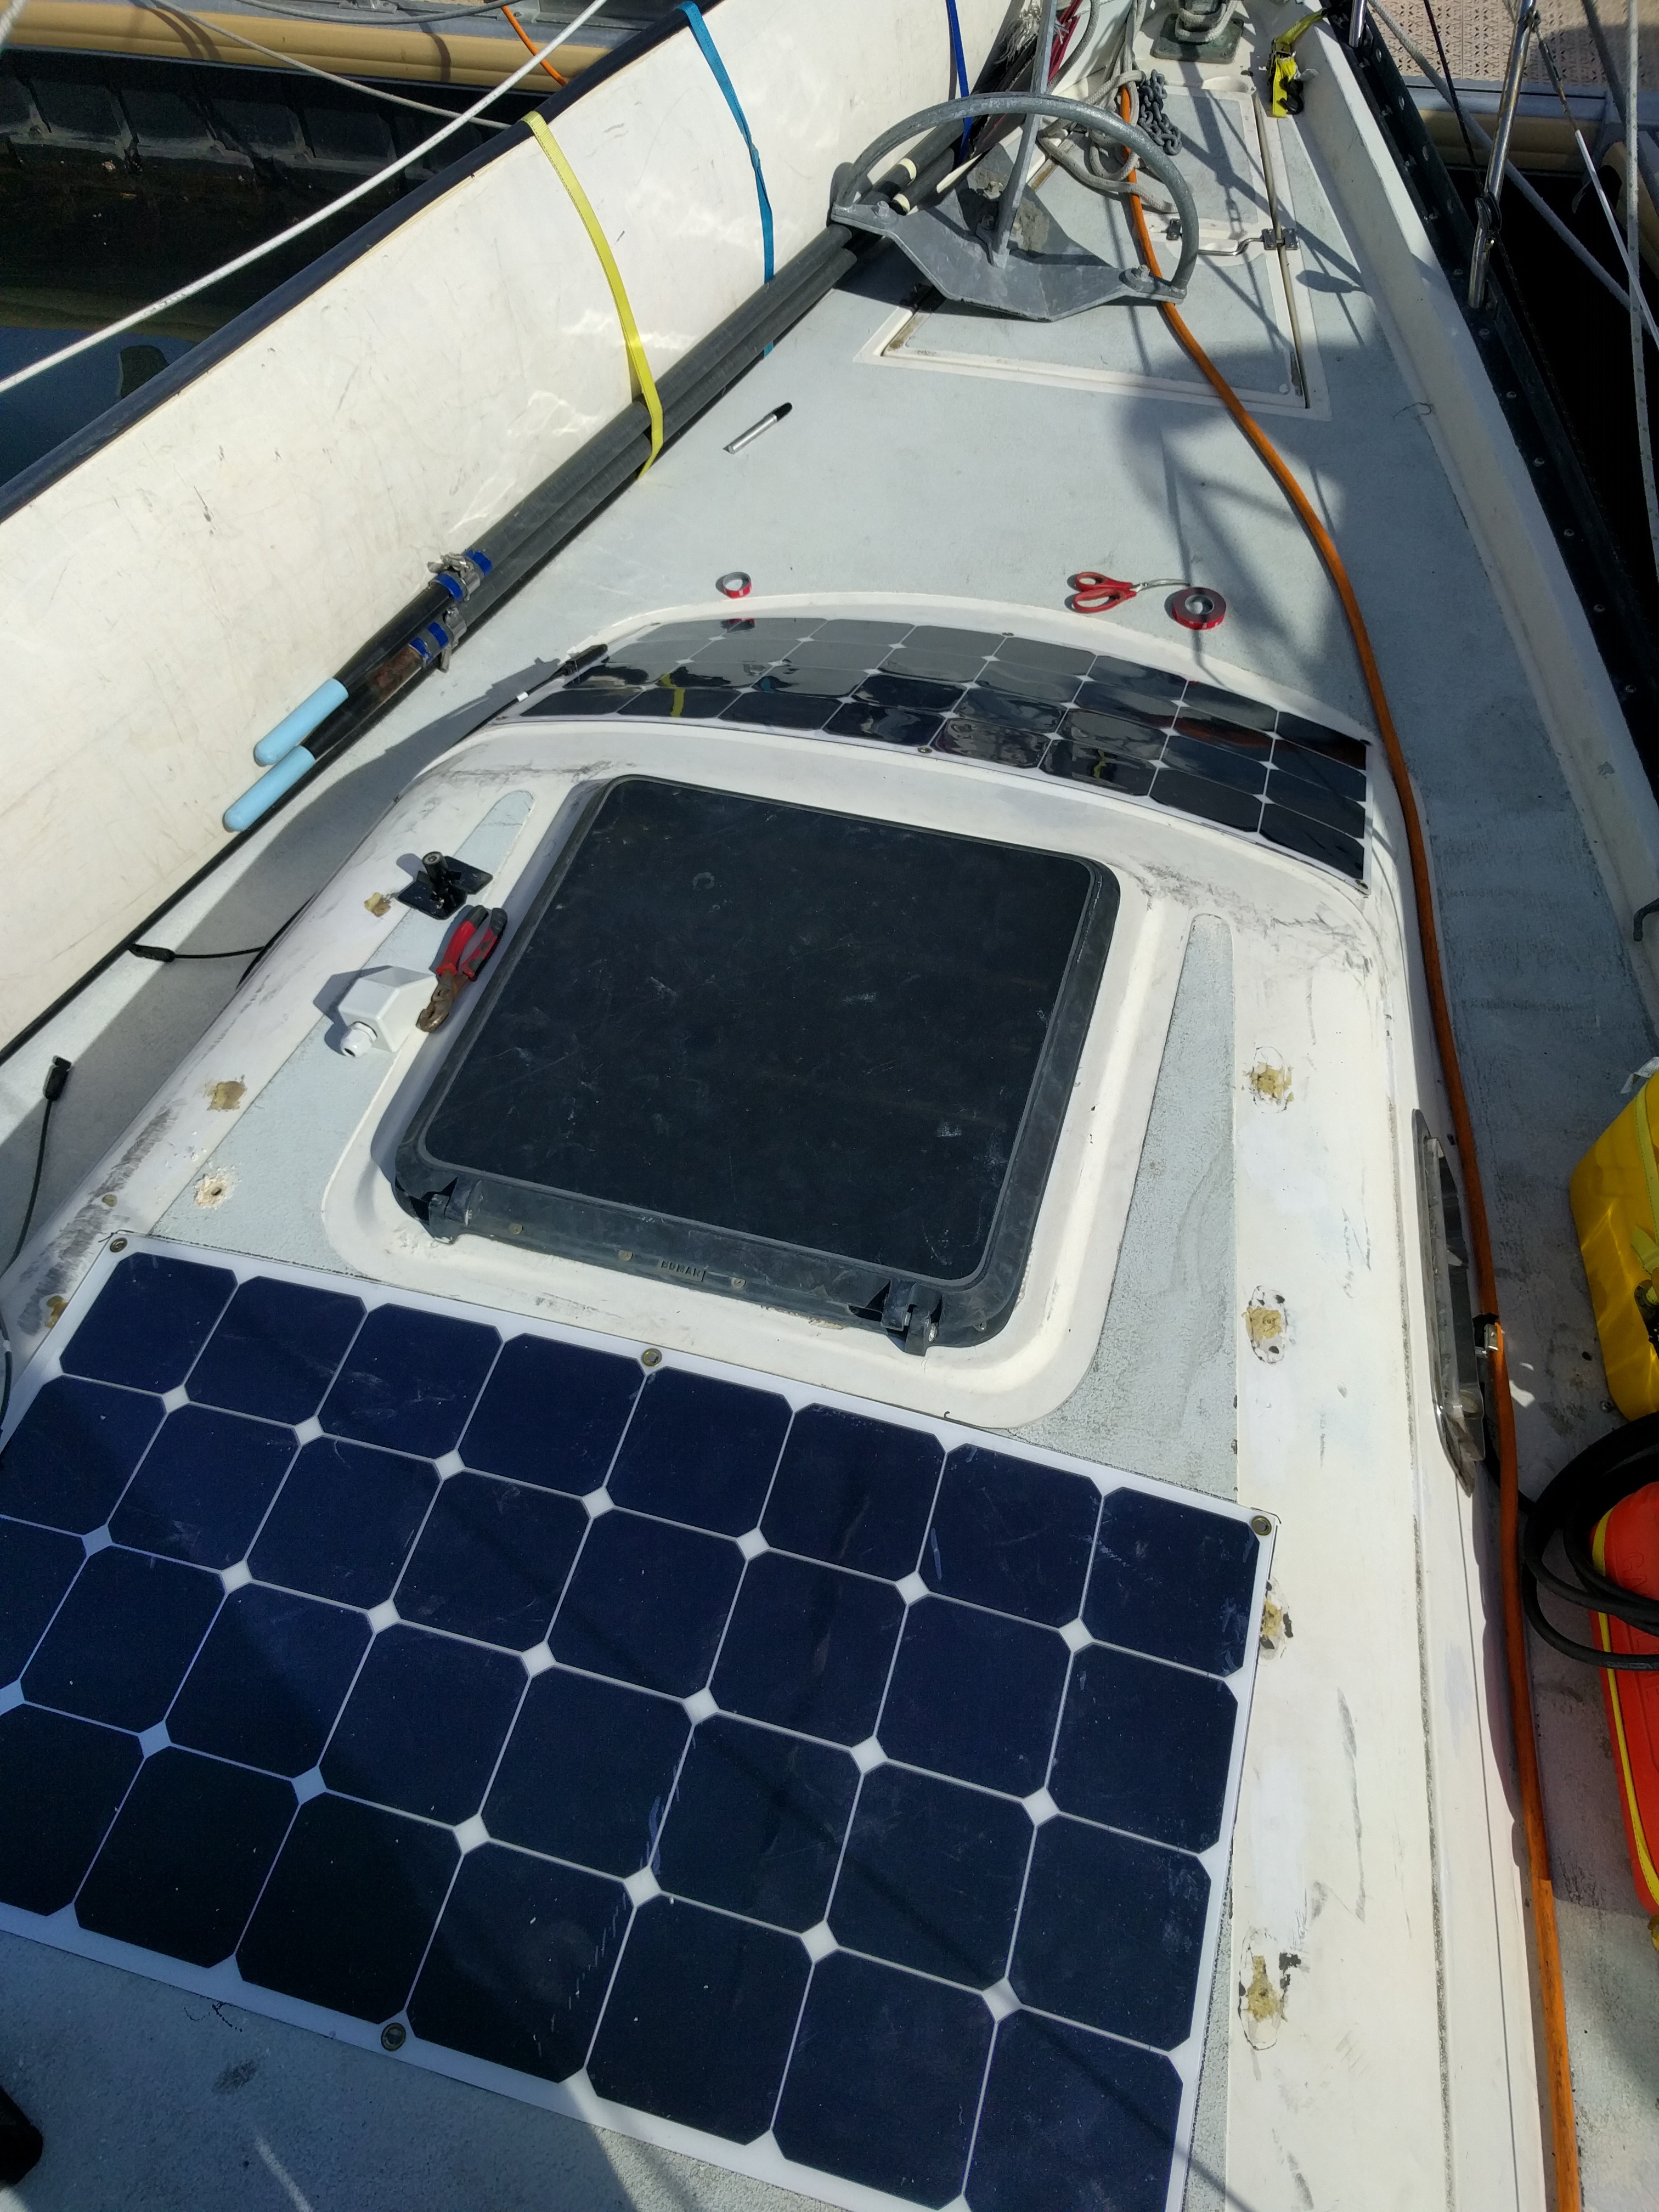
Then I drilled oversize holes for the wires in the deck, filled with epoxy and then drilled through that to make a water tight hole.
I then used these cable glands to run the wires through. They are HUGE though :(. So I will probably end up replacing them with something like this
Otherwise it’s a tripping hazard!
Anyway, I ran all the wires from the solar panels to a little junction box, where I attached the positives and the negatives to each other. I then ran some wire from there to the controller (the solar panels are connected in parallel – I was thinking about serial but went parallel. Not sure in this circumstance if it would have made a difference).
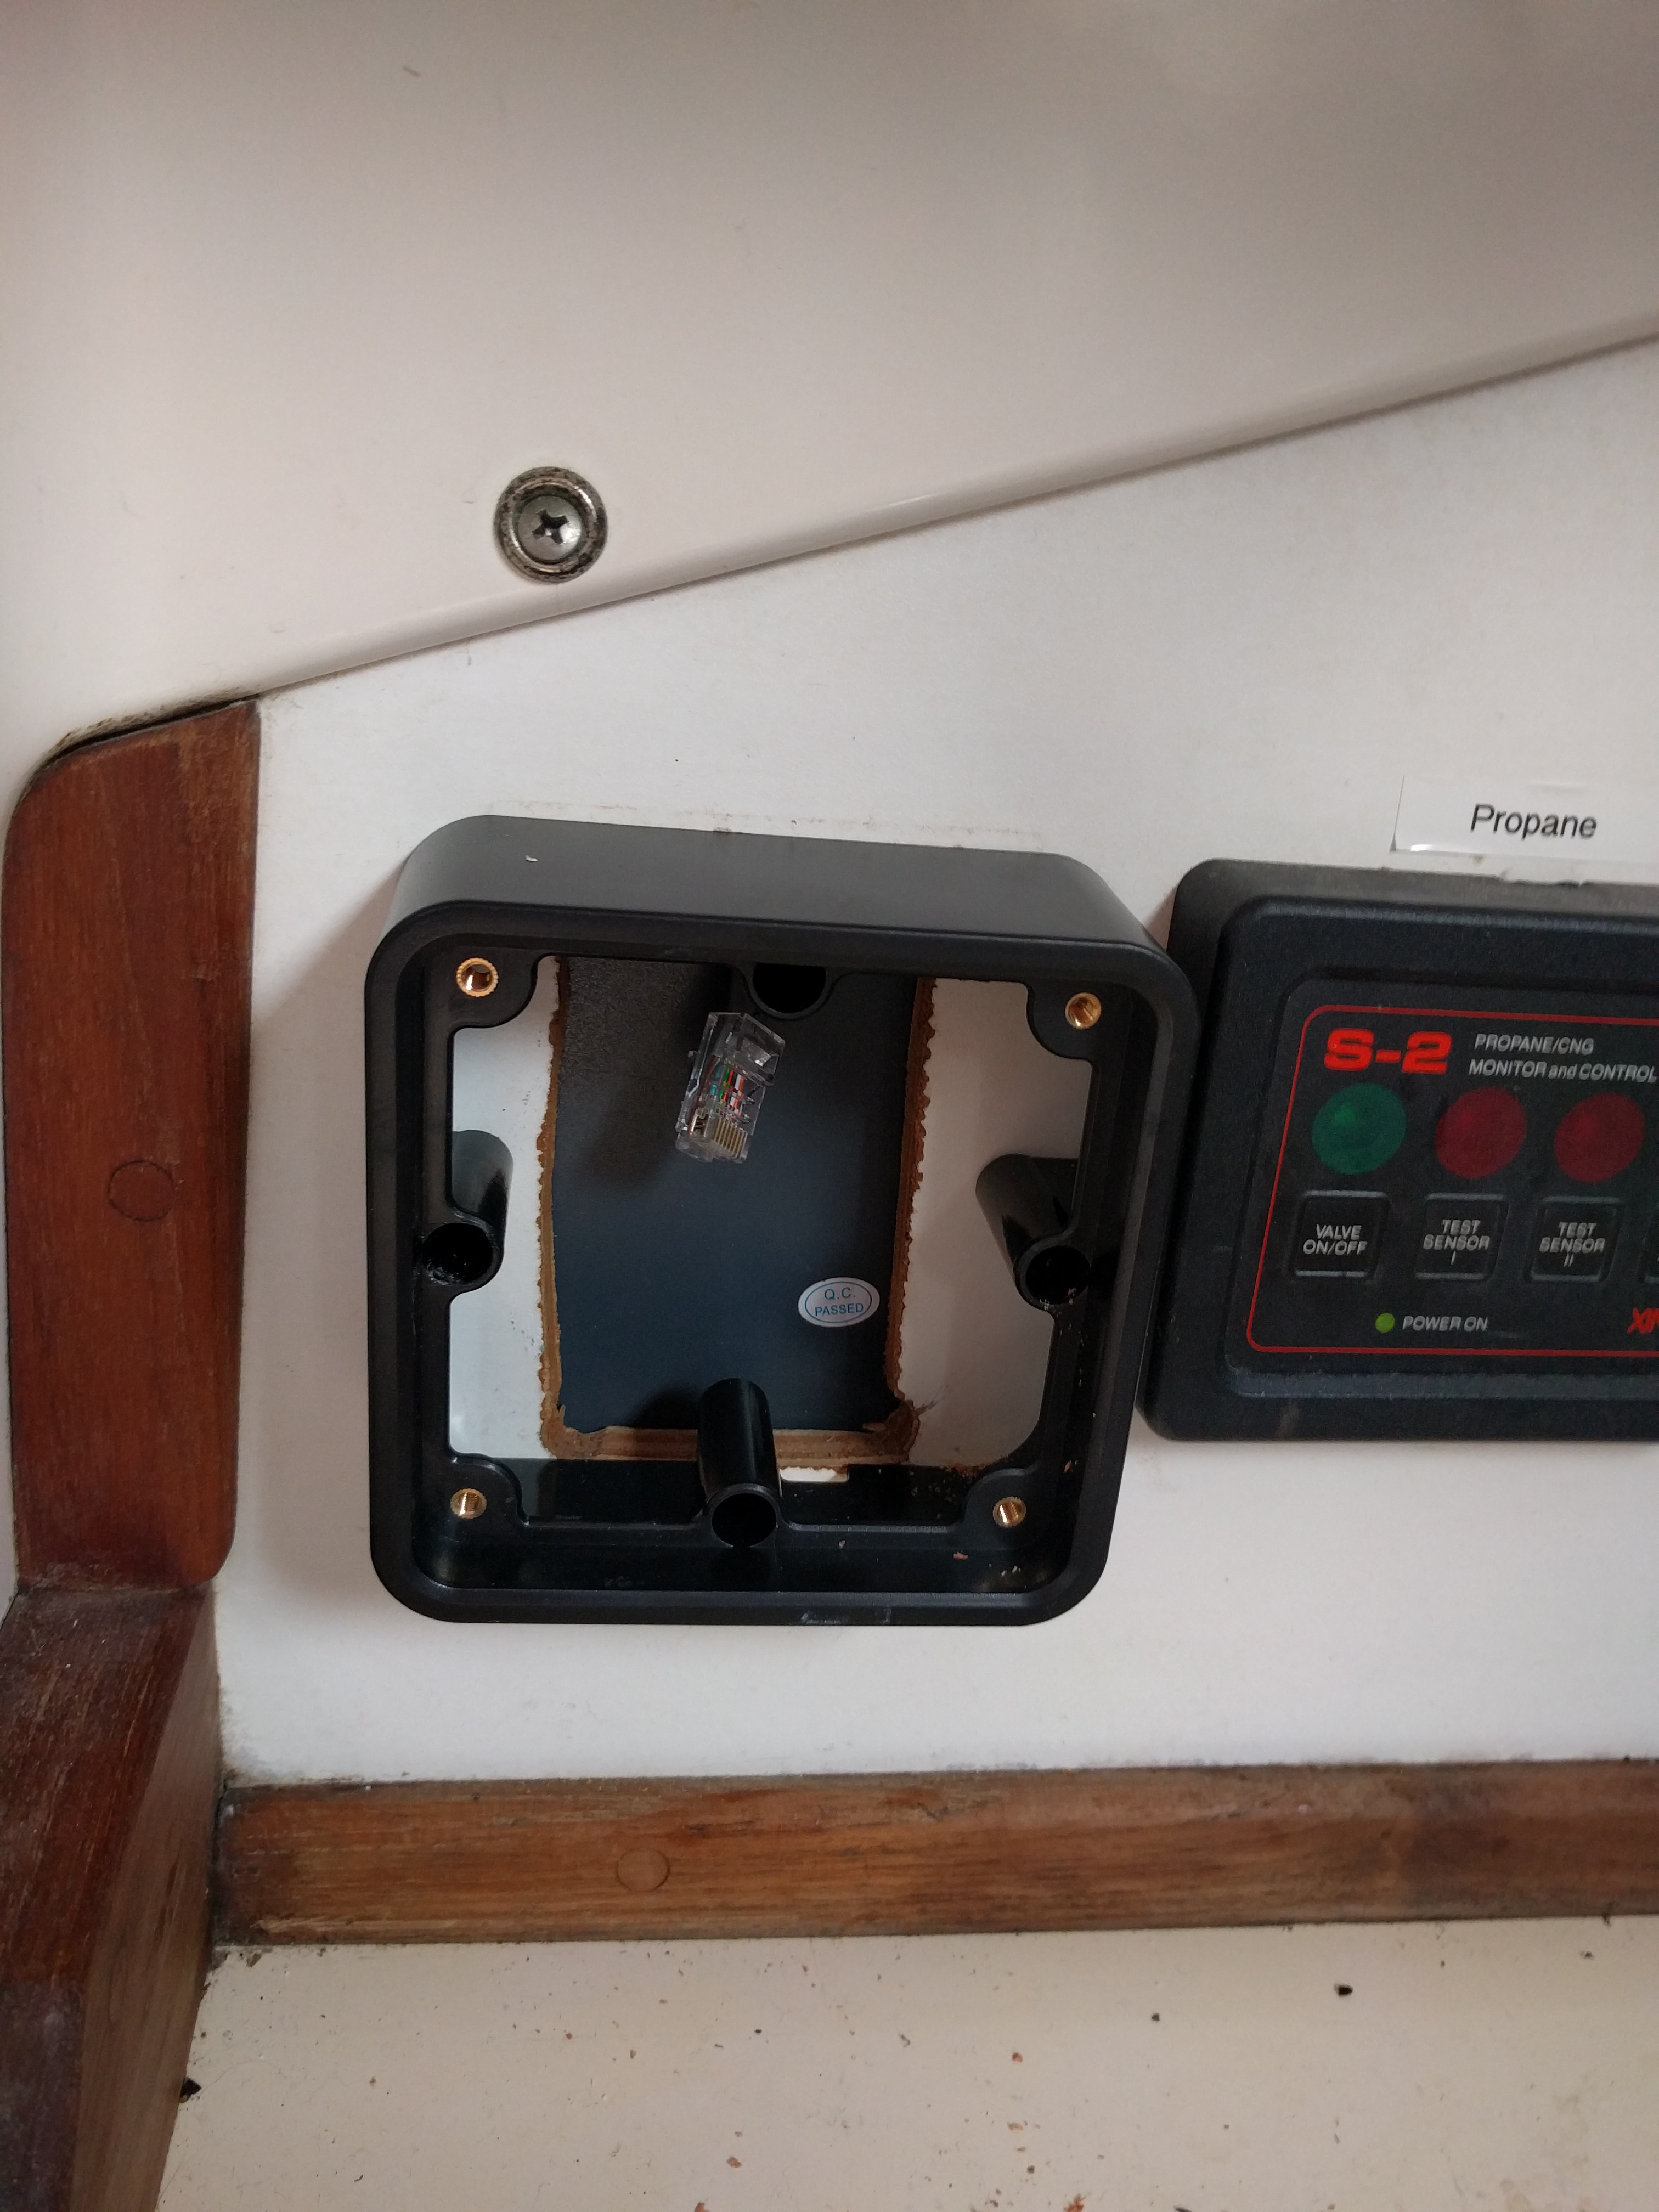
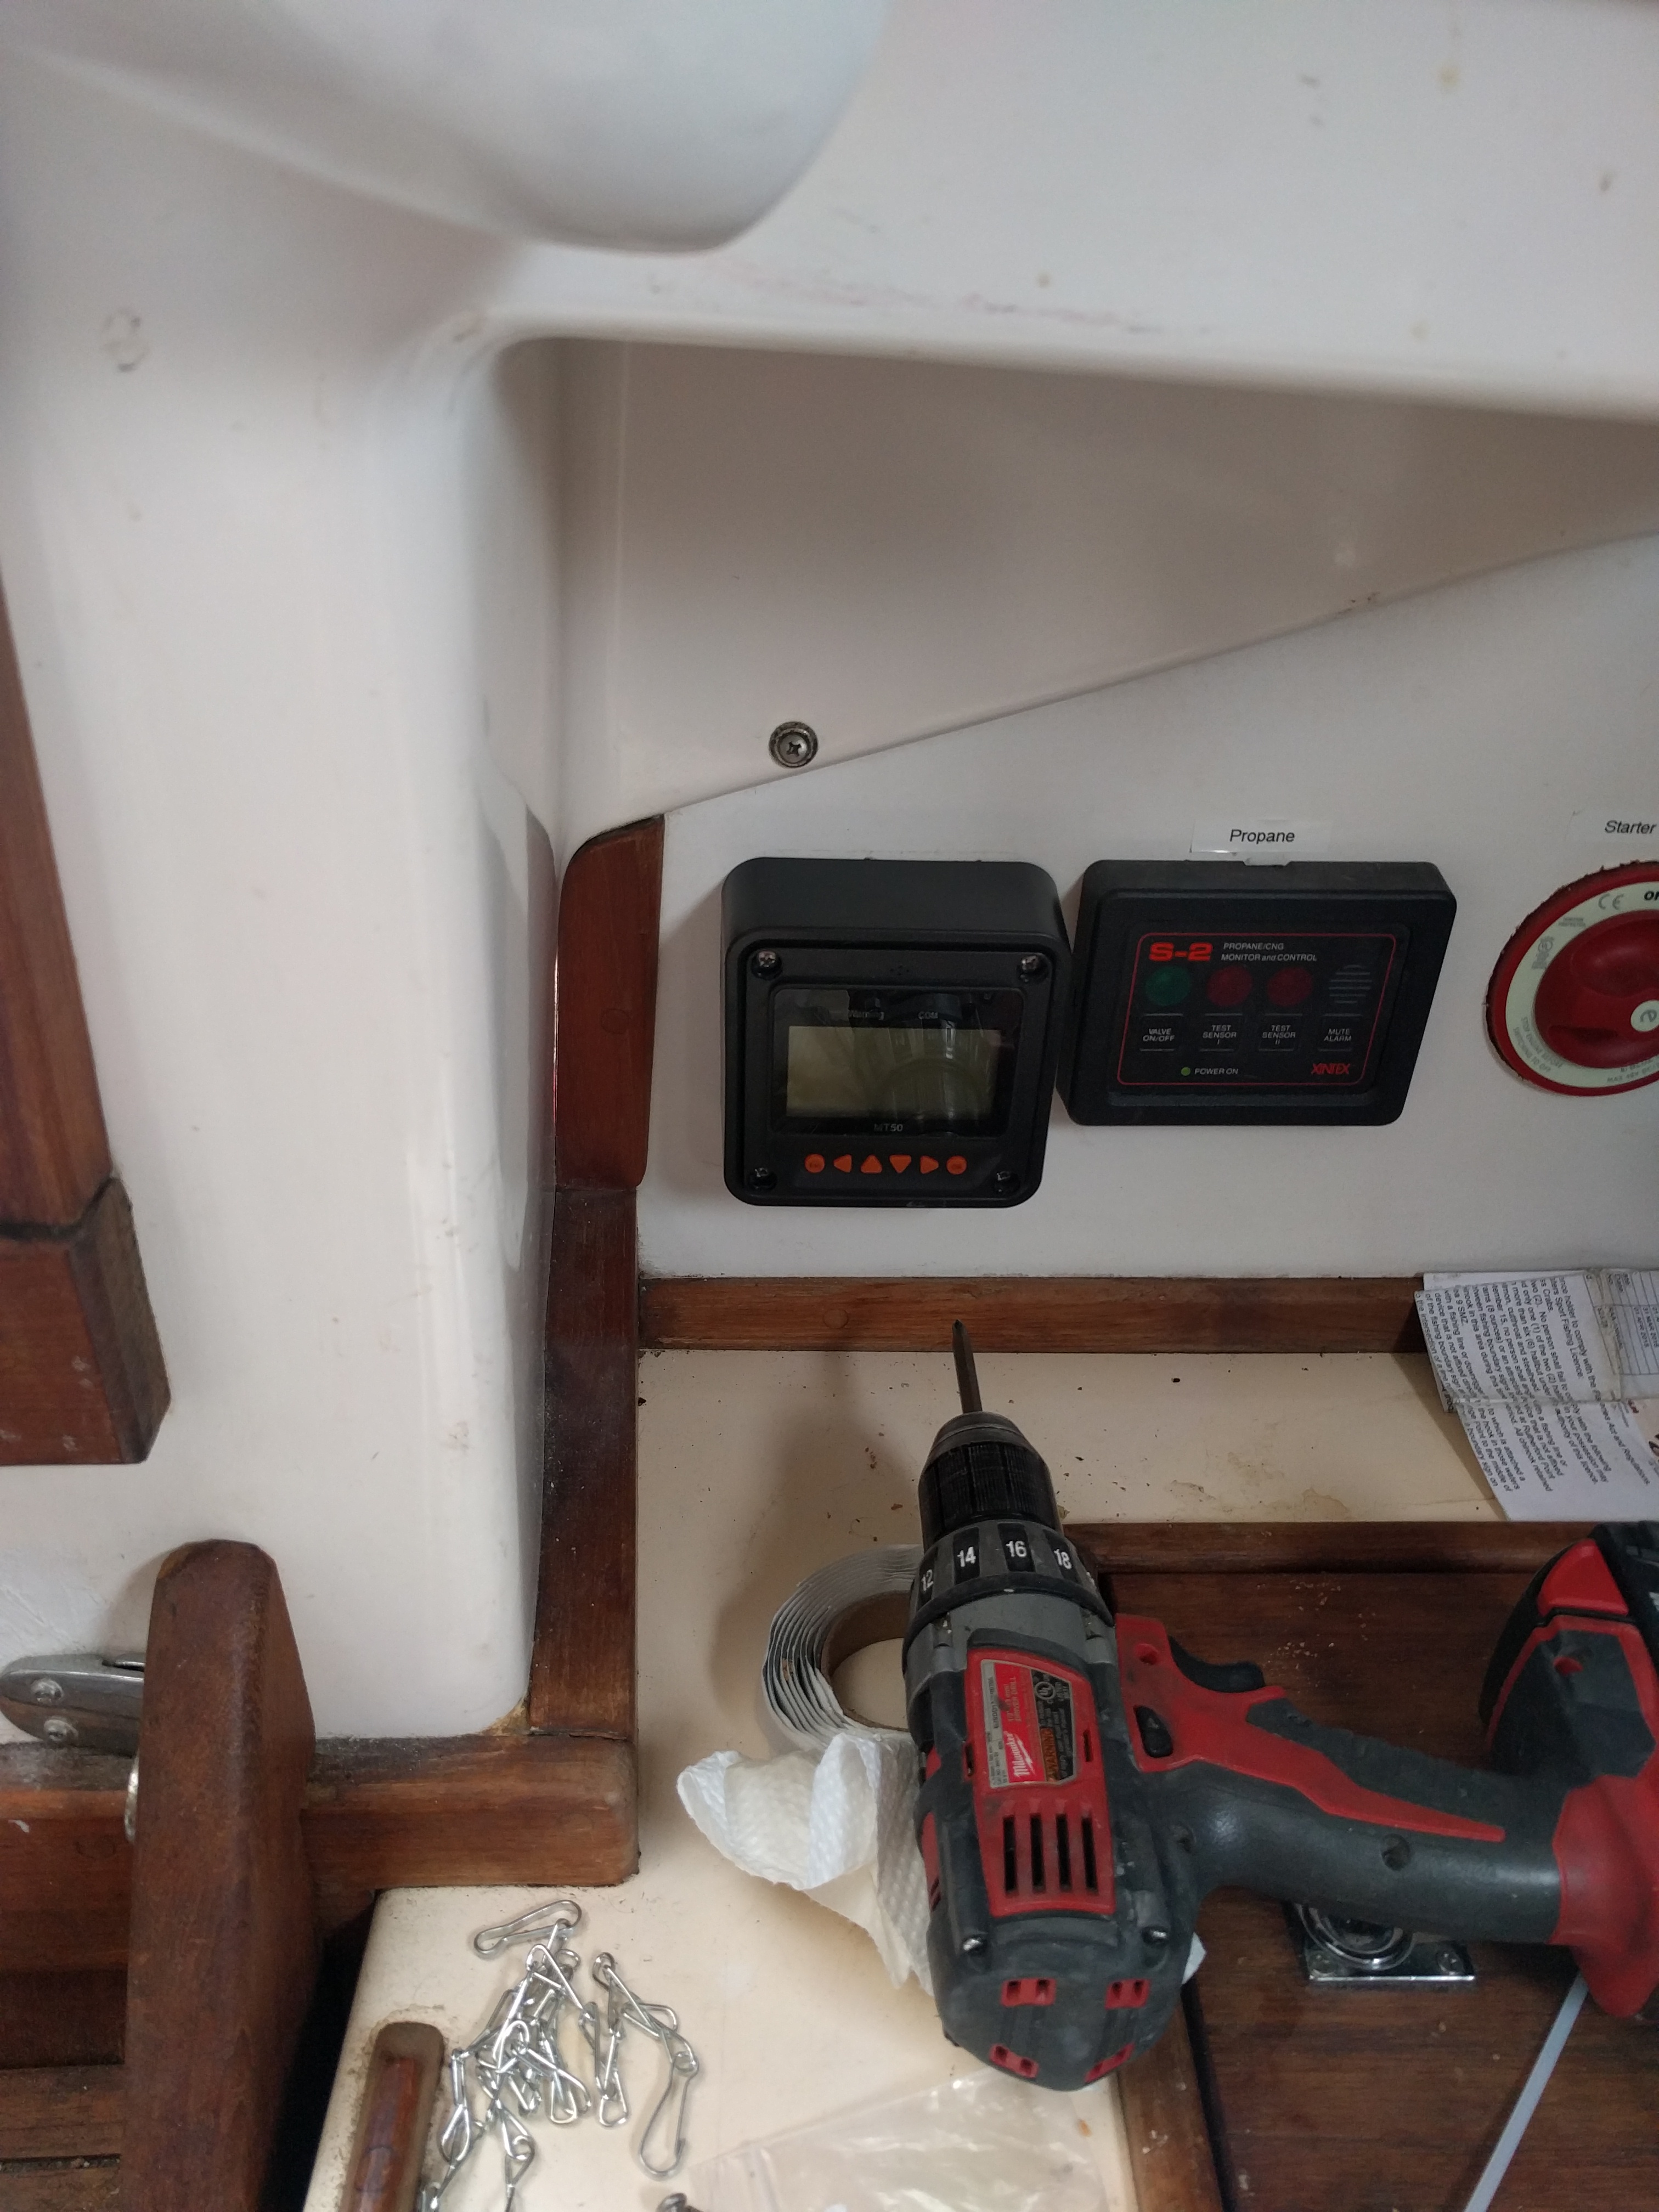
Now, the controller. I decided to install this right near the batteries, so I did it above the battery boxes. It comes with a separate display, so I installed that in the kitchen (obviously) as it
- was on the other side of the bulkhead from the batteries
- I could use it to cover up the hole from the old inverter control panel
- who doesn’t like to monitor their
solarphotovoltaic charge while ‘making’ a frozen pizza?!
With that done, it was time to hook it up to the batteries. In terms of suspense, this is right up there. I LOVE THIS STUFF (also fuck plumbing forever still thou)
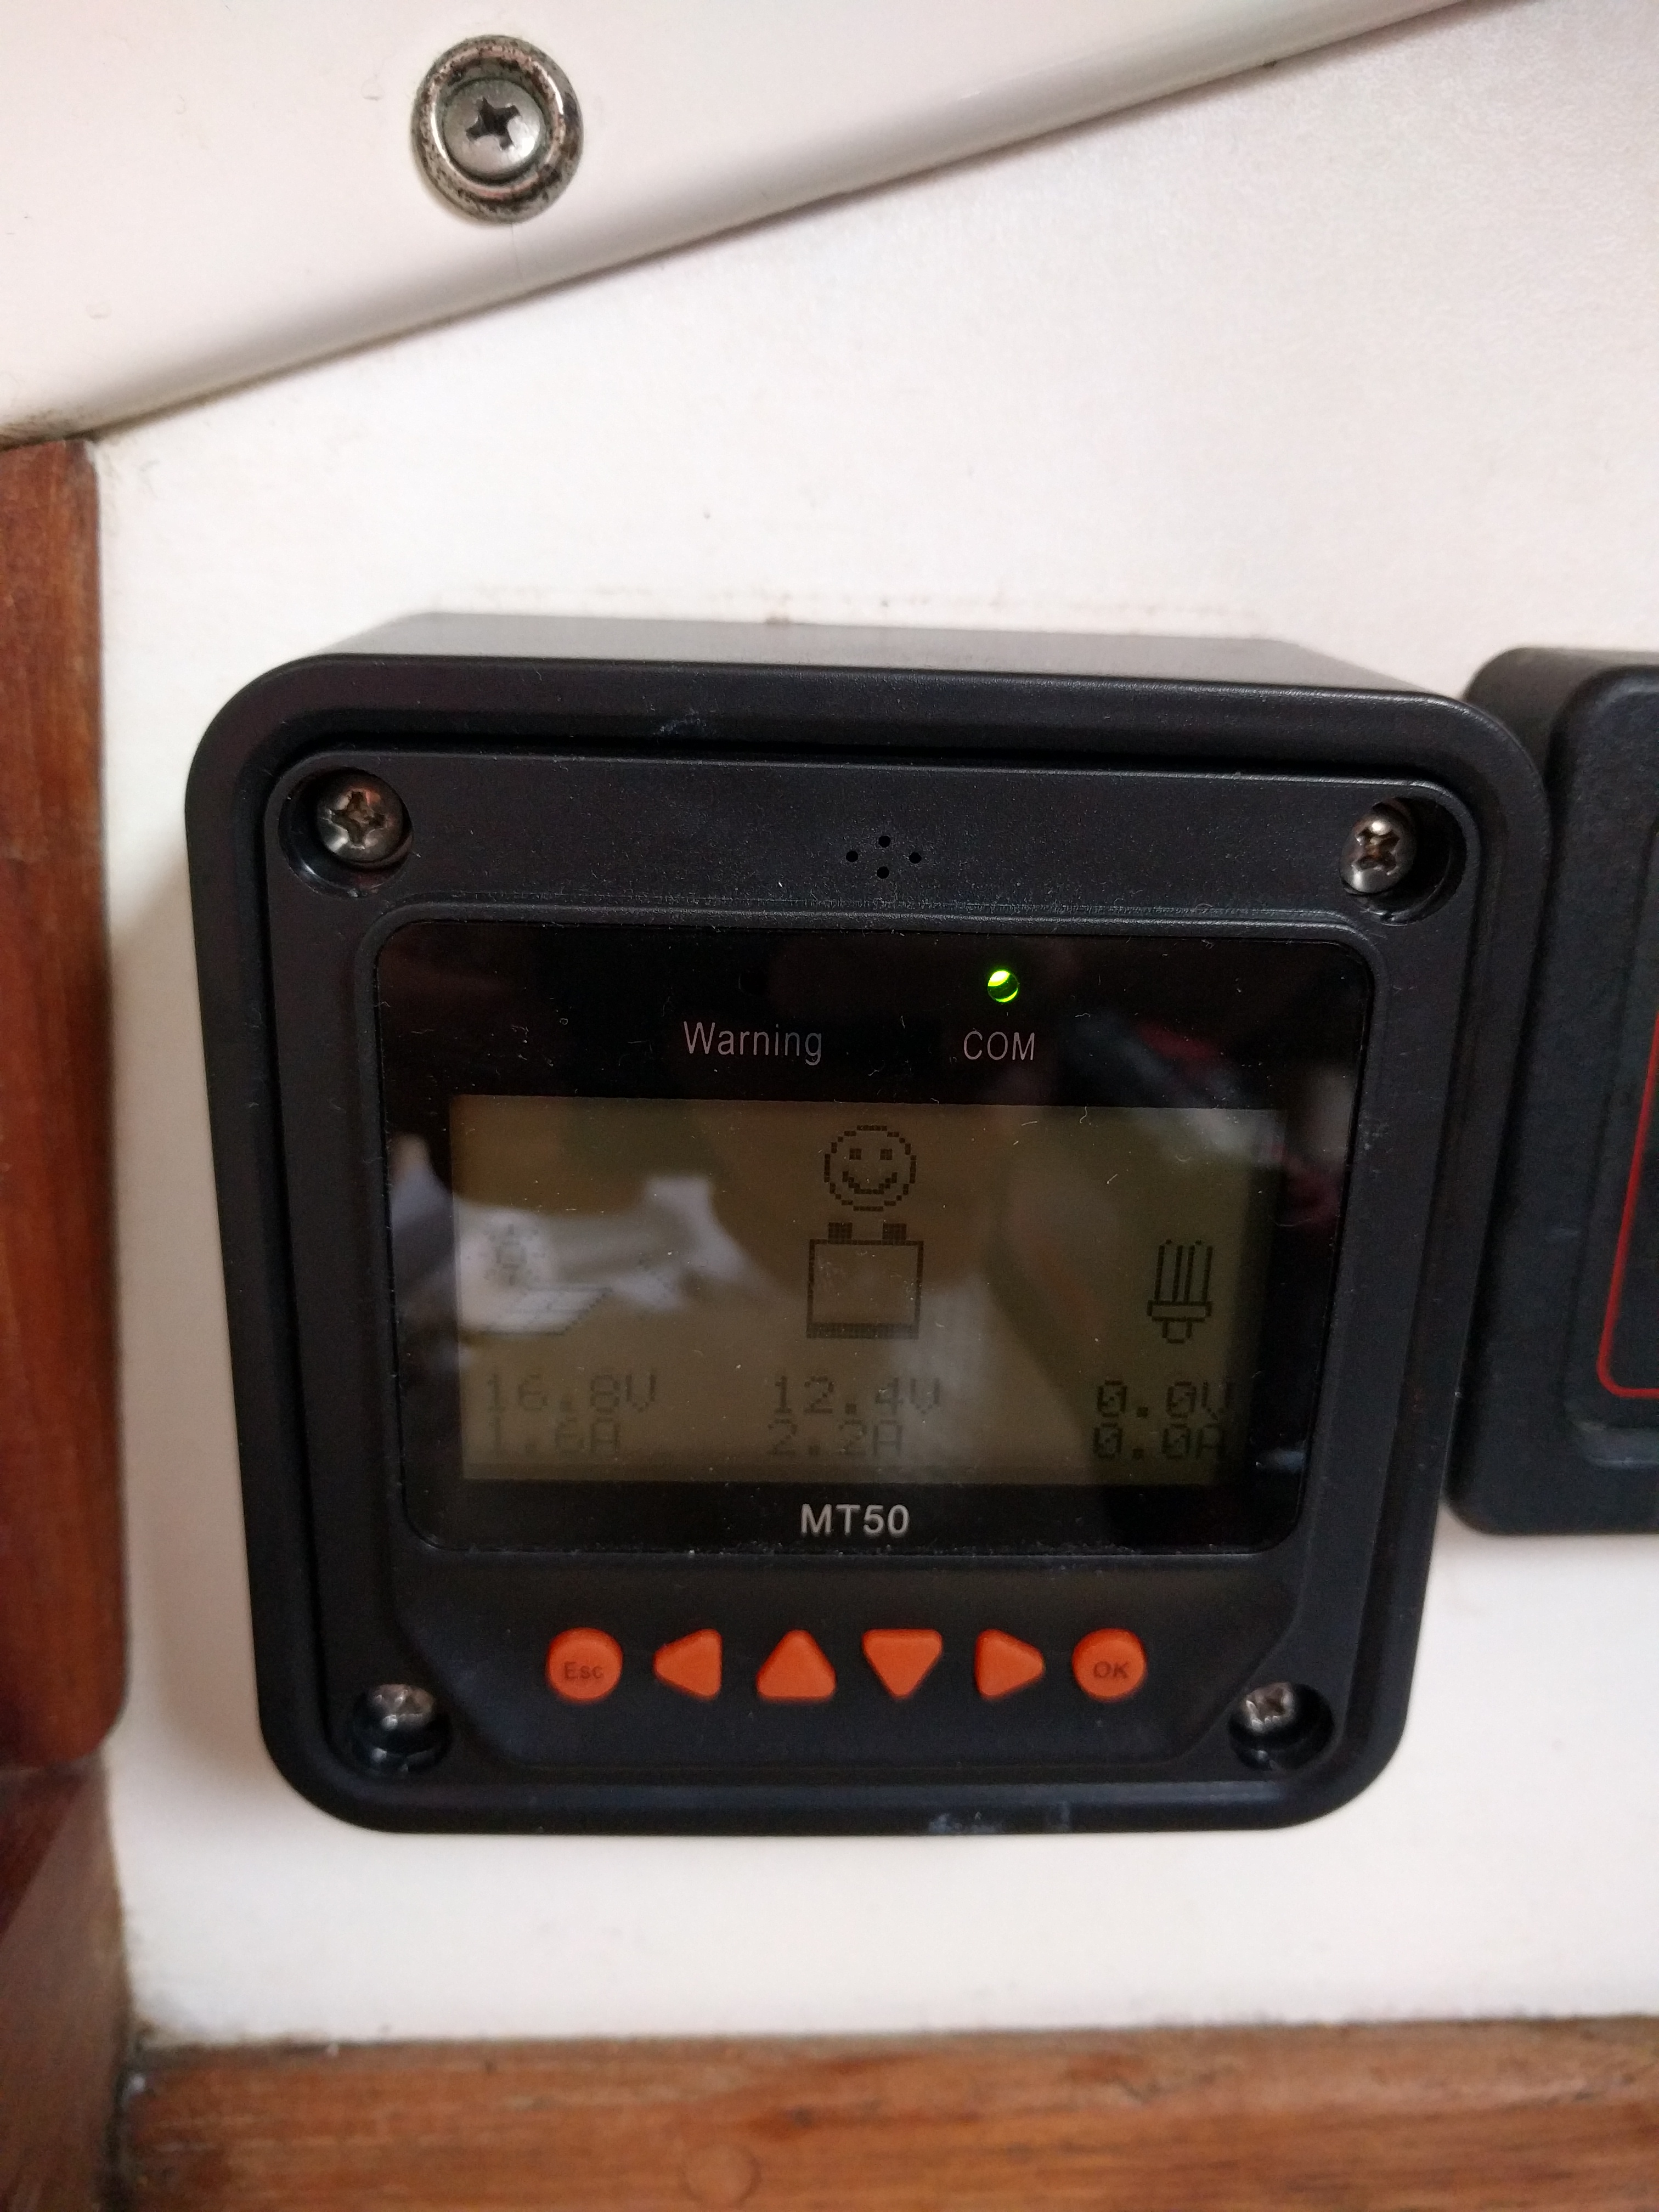
Look it’s charging! It was a very overcast day, and the batteries were basically fully charged but look! Power! And nothing’s on fire!
I can’t wait to see how it does when it’s full sun and the battery needs charging. Luckily I’m going on a 5 day trip over the long weekend so I’ll get to test it out!
Re: showers… We’ve had good luck with a couple of solar showers in July and August. Not so useful in September and so far May has been a bust unless you have some Swedish blood…
Oh, and you didn’t say anything about how you connected the controller to the battery. Is it wired direct or to your charger?
It’s wired direct to the batteries (fused). My charger is a cheap sports pro thingy, whose only saving grace is that it’s a three-stager. I’m going to replace it next year with an integratored inverter/charger