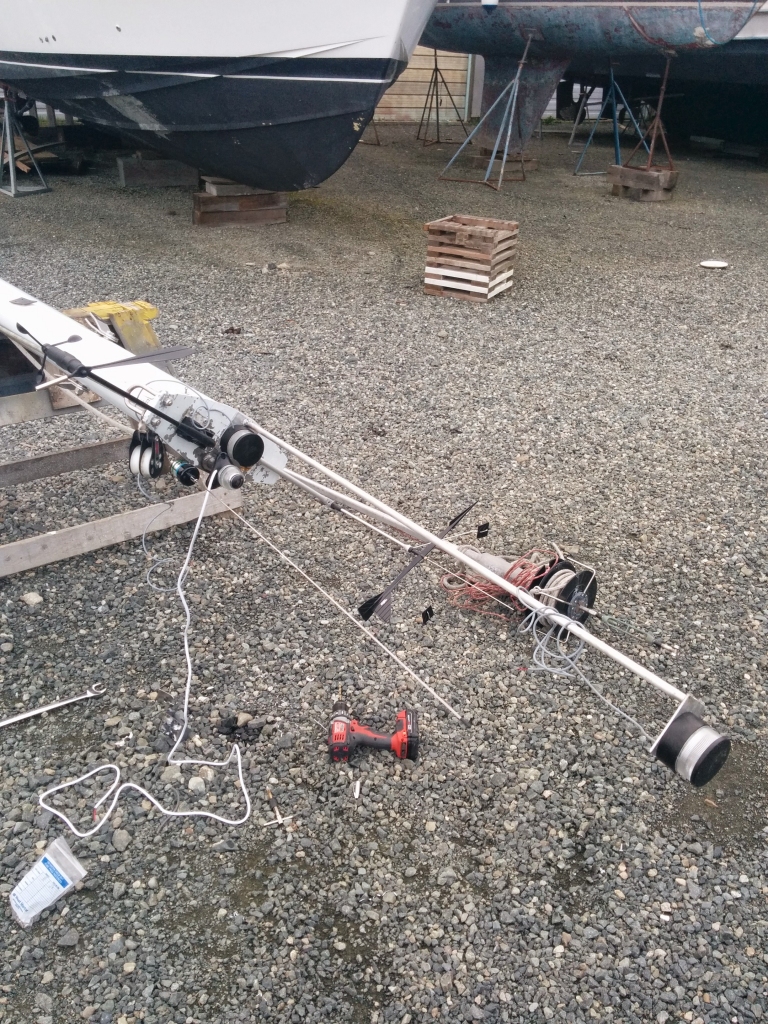
Another day, another few hours of fiddling around with aluminium.
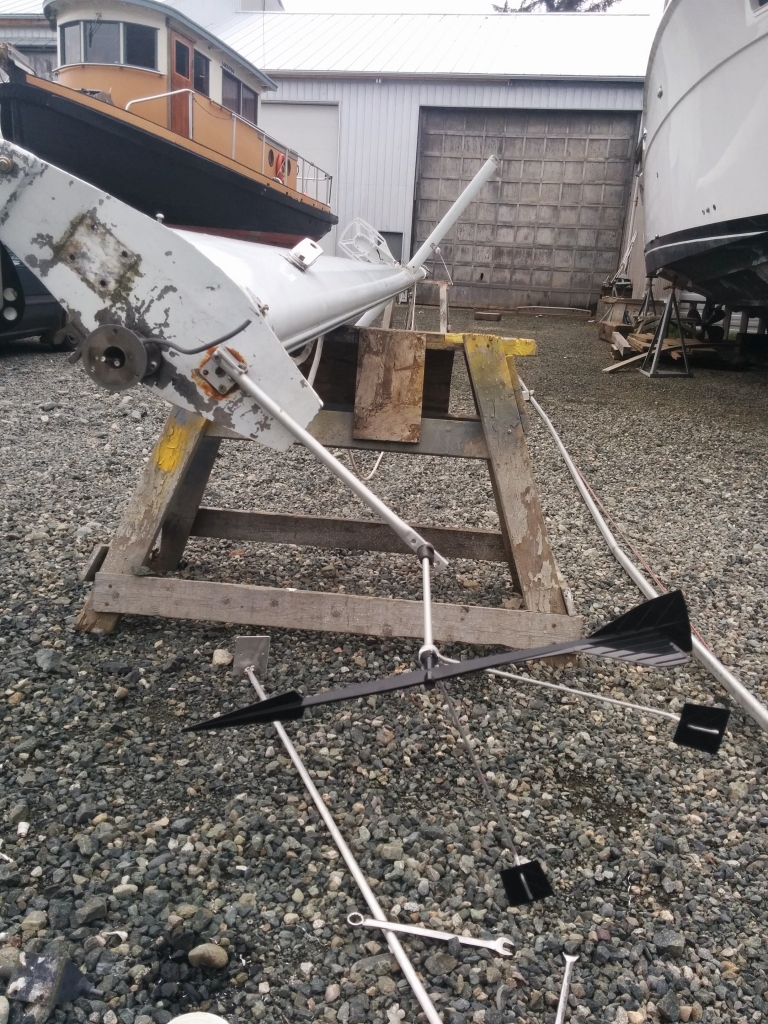
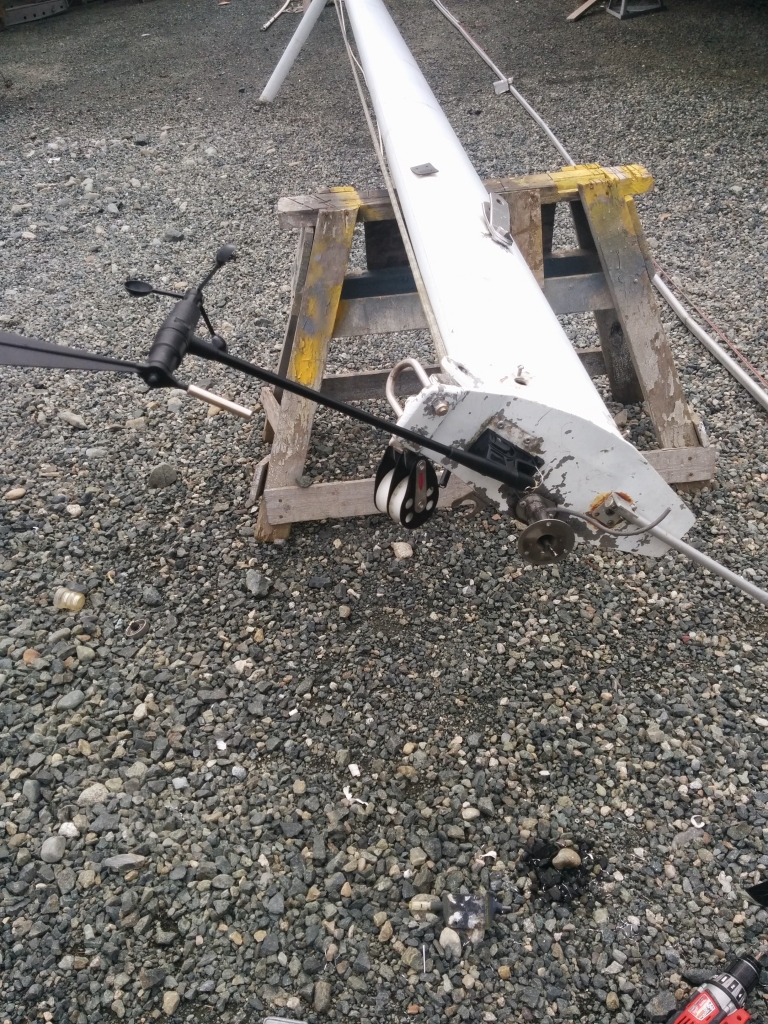
First was to finish taking all the old hardware off the mast. Next, I decided to install the Davis Windex (a big stick with an arrow basically, that shows you which way the wind is blowing. A lot better than sticking my face in different directions and trying to tell that way)
Anyway, gunk, tap, machine screws – yadda yadda yadda. You get the idea.
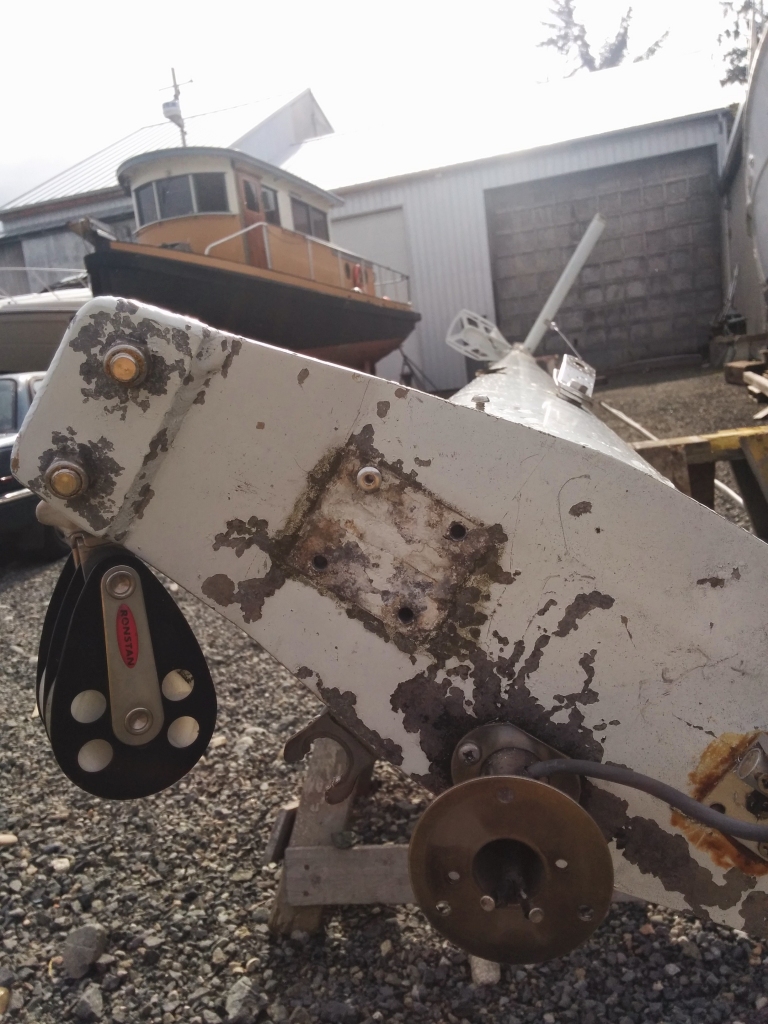
Next up, the B&G wind anemometer – basically the same thing as the wind vane, except electronic and sends wind direction/speed to my chartplotter. I took the time to fill in the old mounting holes with rivets.
Then attached the sensor. This was notable because I used self-tapping screws that came with it. They sucked. Not doing that again.
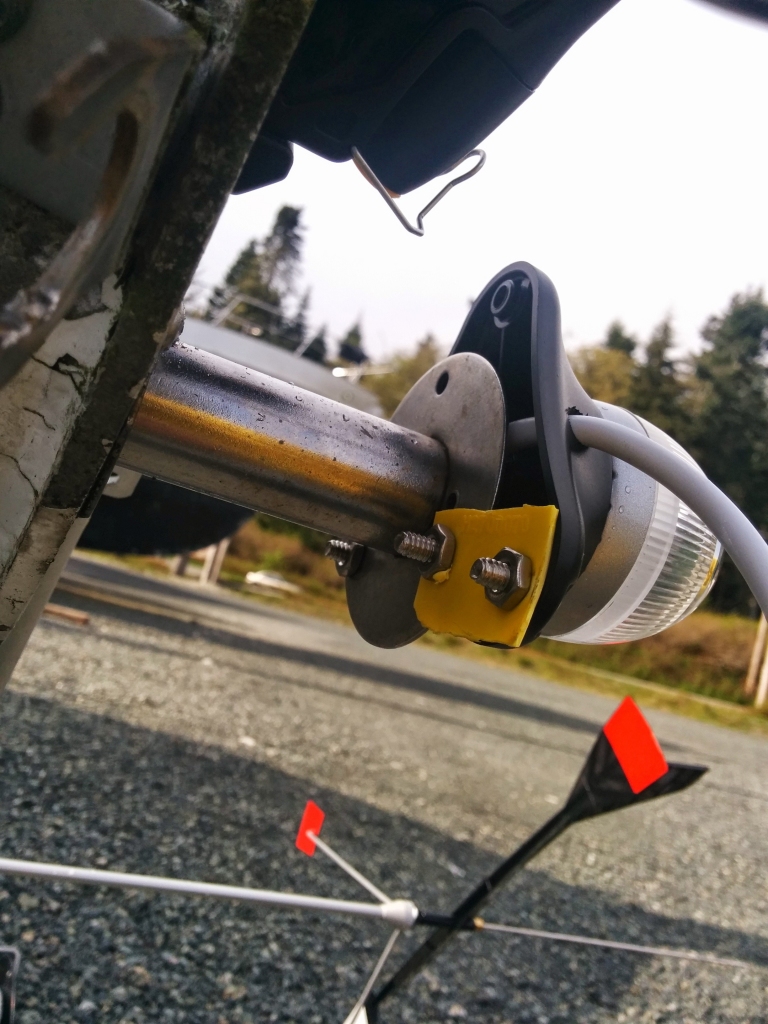
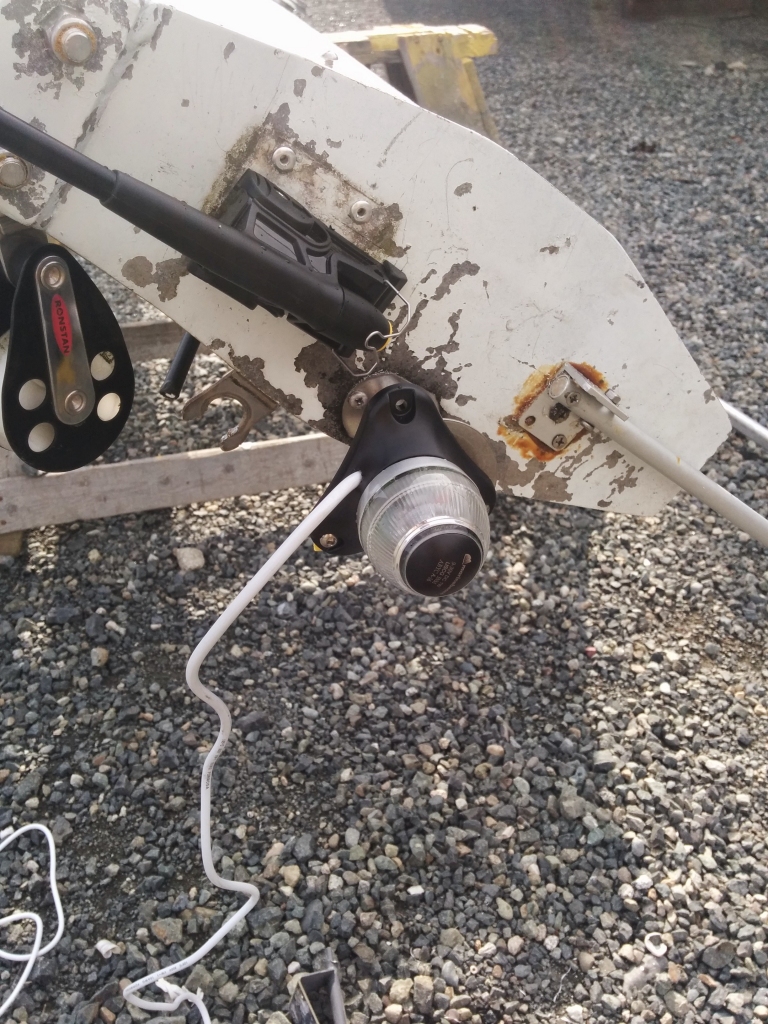
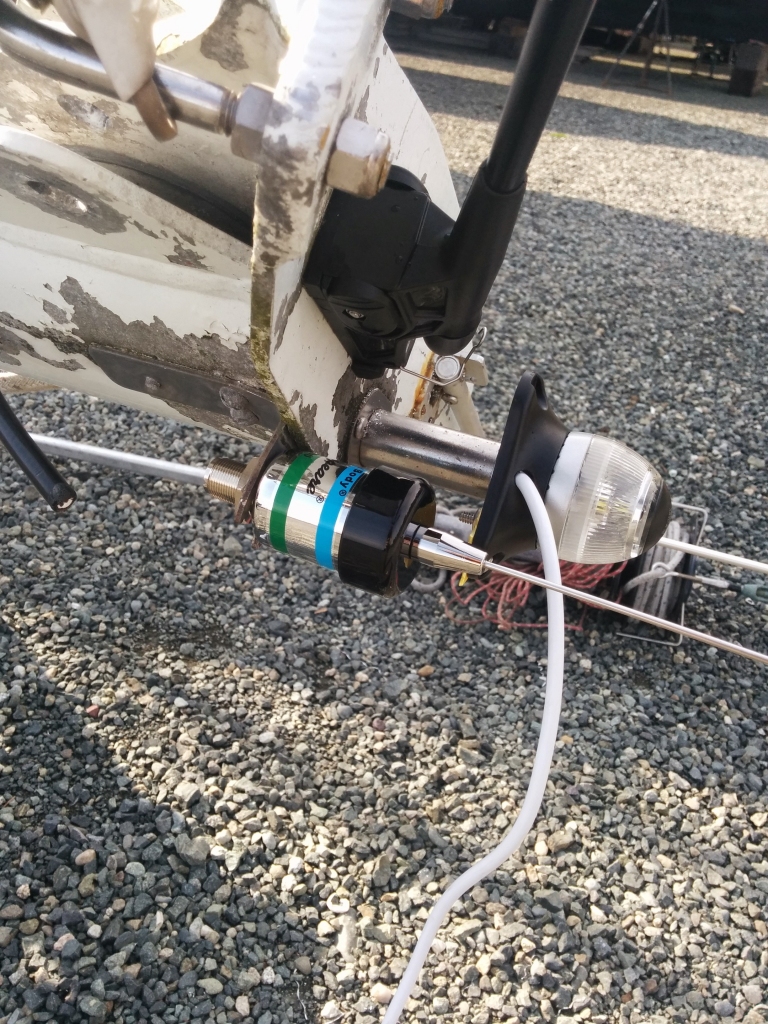
Next up, anchor light. I decided to use the existing stainless steel ‘tree’ to mount it on. Sadly it did not fit, so I had to modify it a little. First, I drilled a hole to let the wire out the side of the light rather than underneath.
Then I got a piece of hard plastic, and used it as a ‘bridge’ so I could attach the light via two screw holes at the top of the tree.
Now, for the most challenging part, mounting the Red over Green sailing light. This is an optional fixture that I decided to go for, since it can be run at the same time as the deck lights, vastly increasing visibility. See my post here for further details. These are pretty uncommon so I would have to make up my own mount.
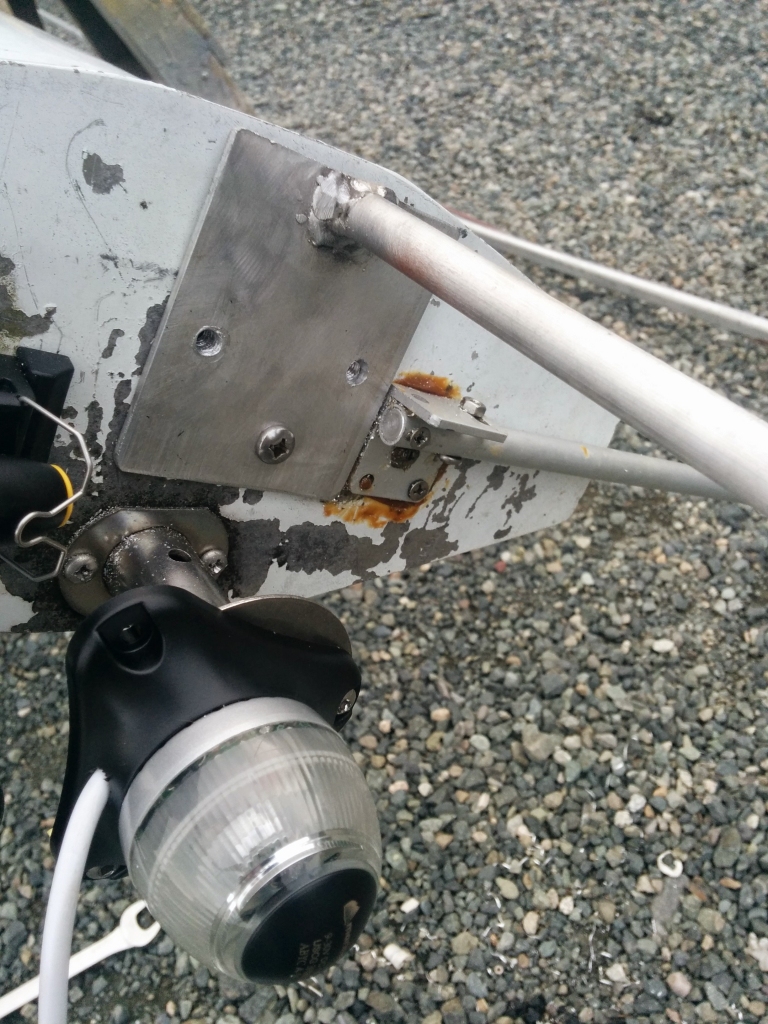
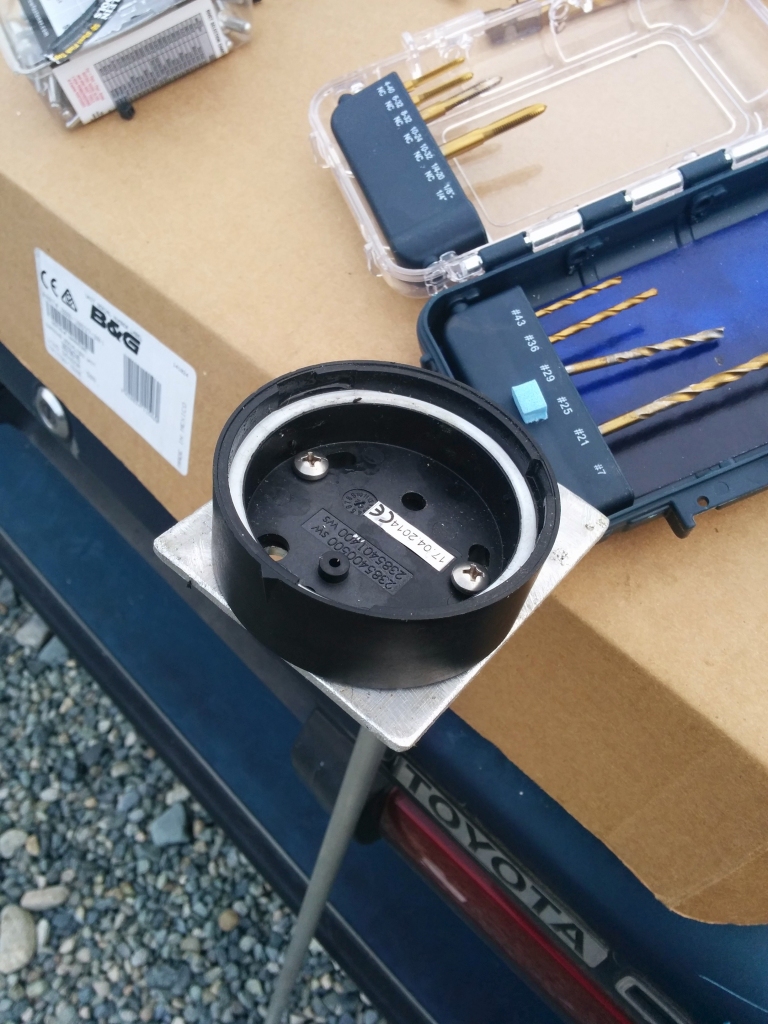
I got an aluminium ‘tree’ made up by a local welder, and made some mounting holes. I decided to mount the bottom light via two screws, and then have a third that just held the bracket on, so not all the bracket weight went through the plastic base.
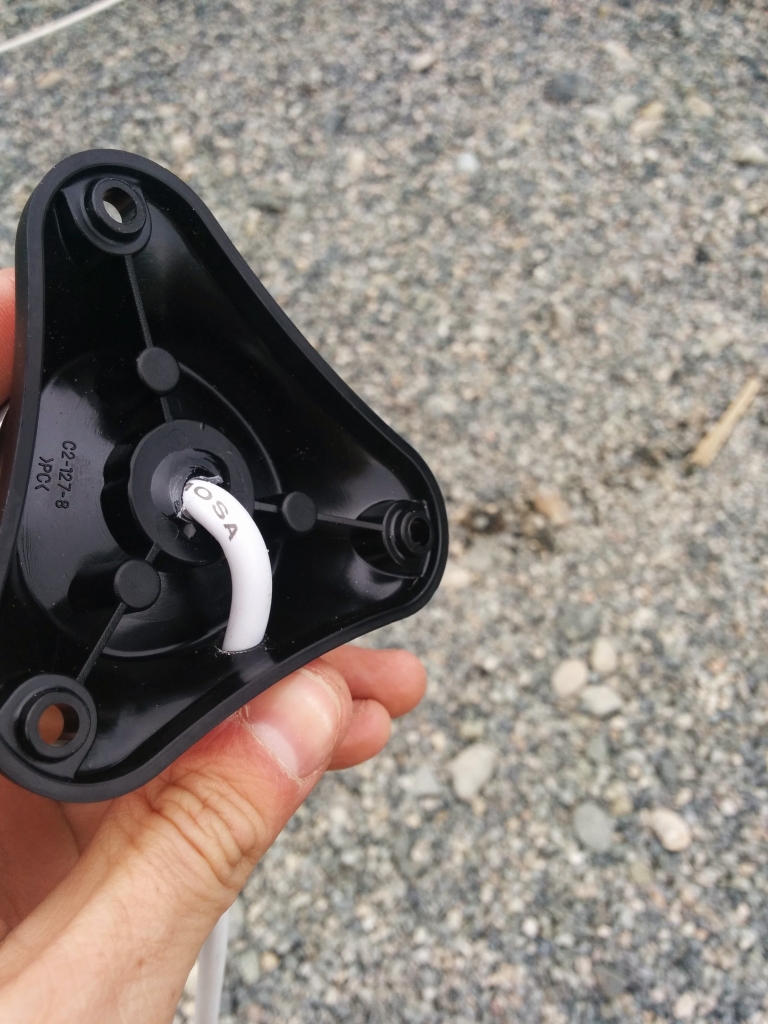
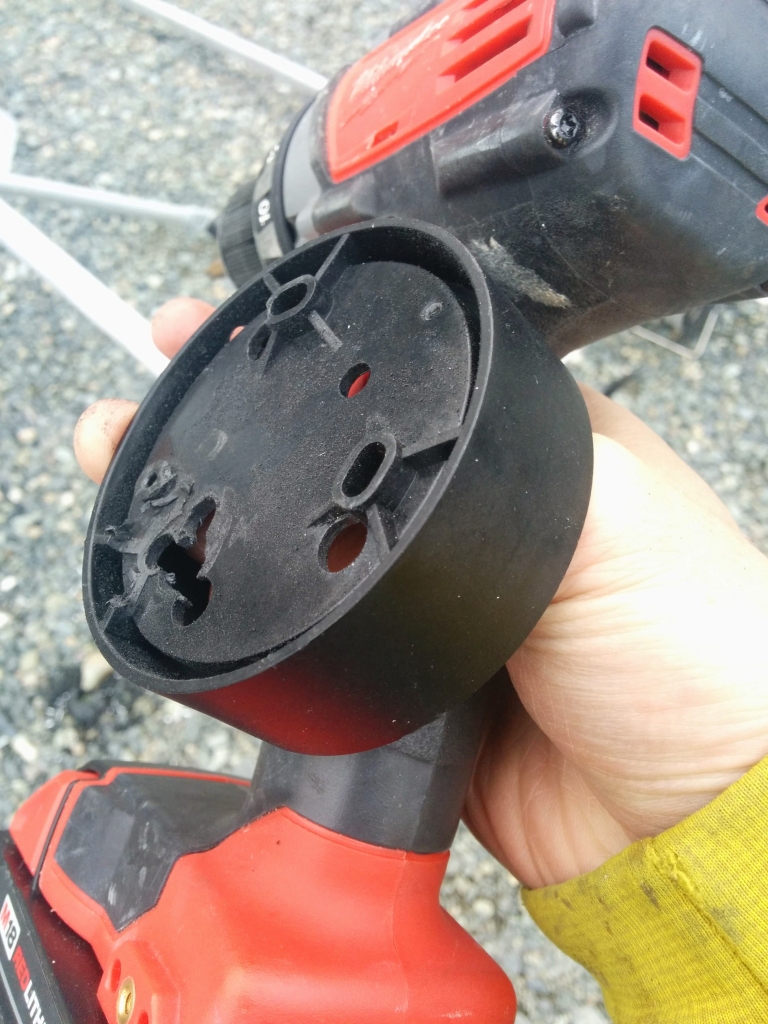
To do this, I had to butcher the LED base a bunch
Mounting the bottom light
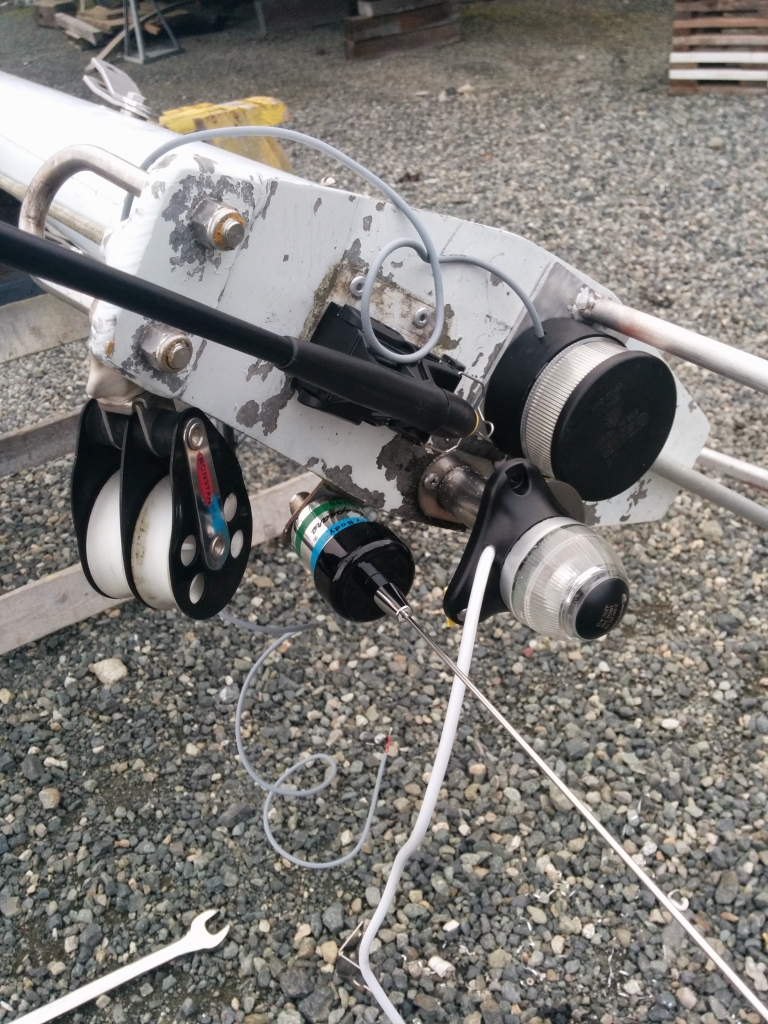
Then I mounted the top light
Last thing to do was mount my new antenna for the VHF. I just decided to use the old mounting bracket, so this was pretty easy. I am mildly concerted about interference on the VHF antenna from all the crap near it, but I will deal with it if it is a problem later. I’ll leave some slack in the cable so I can move it if needed.
Finally! All the hardware is mounted.
Next up, pulling old wires and running new conduit/wires.
