Next up was parts 5A + B
You can see the ‘before’ and ‘after’ below
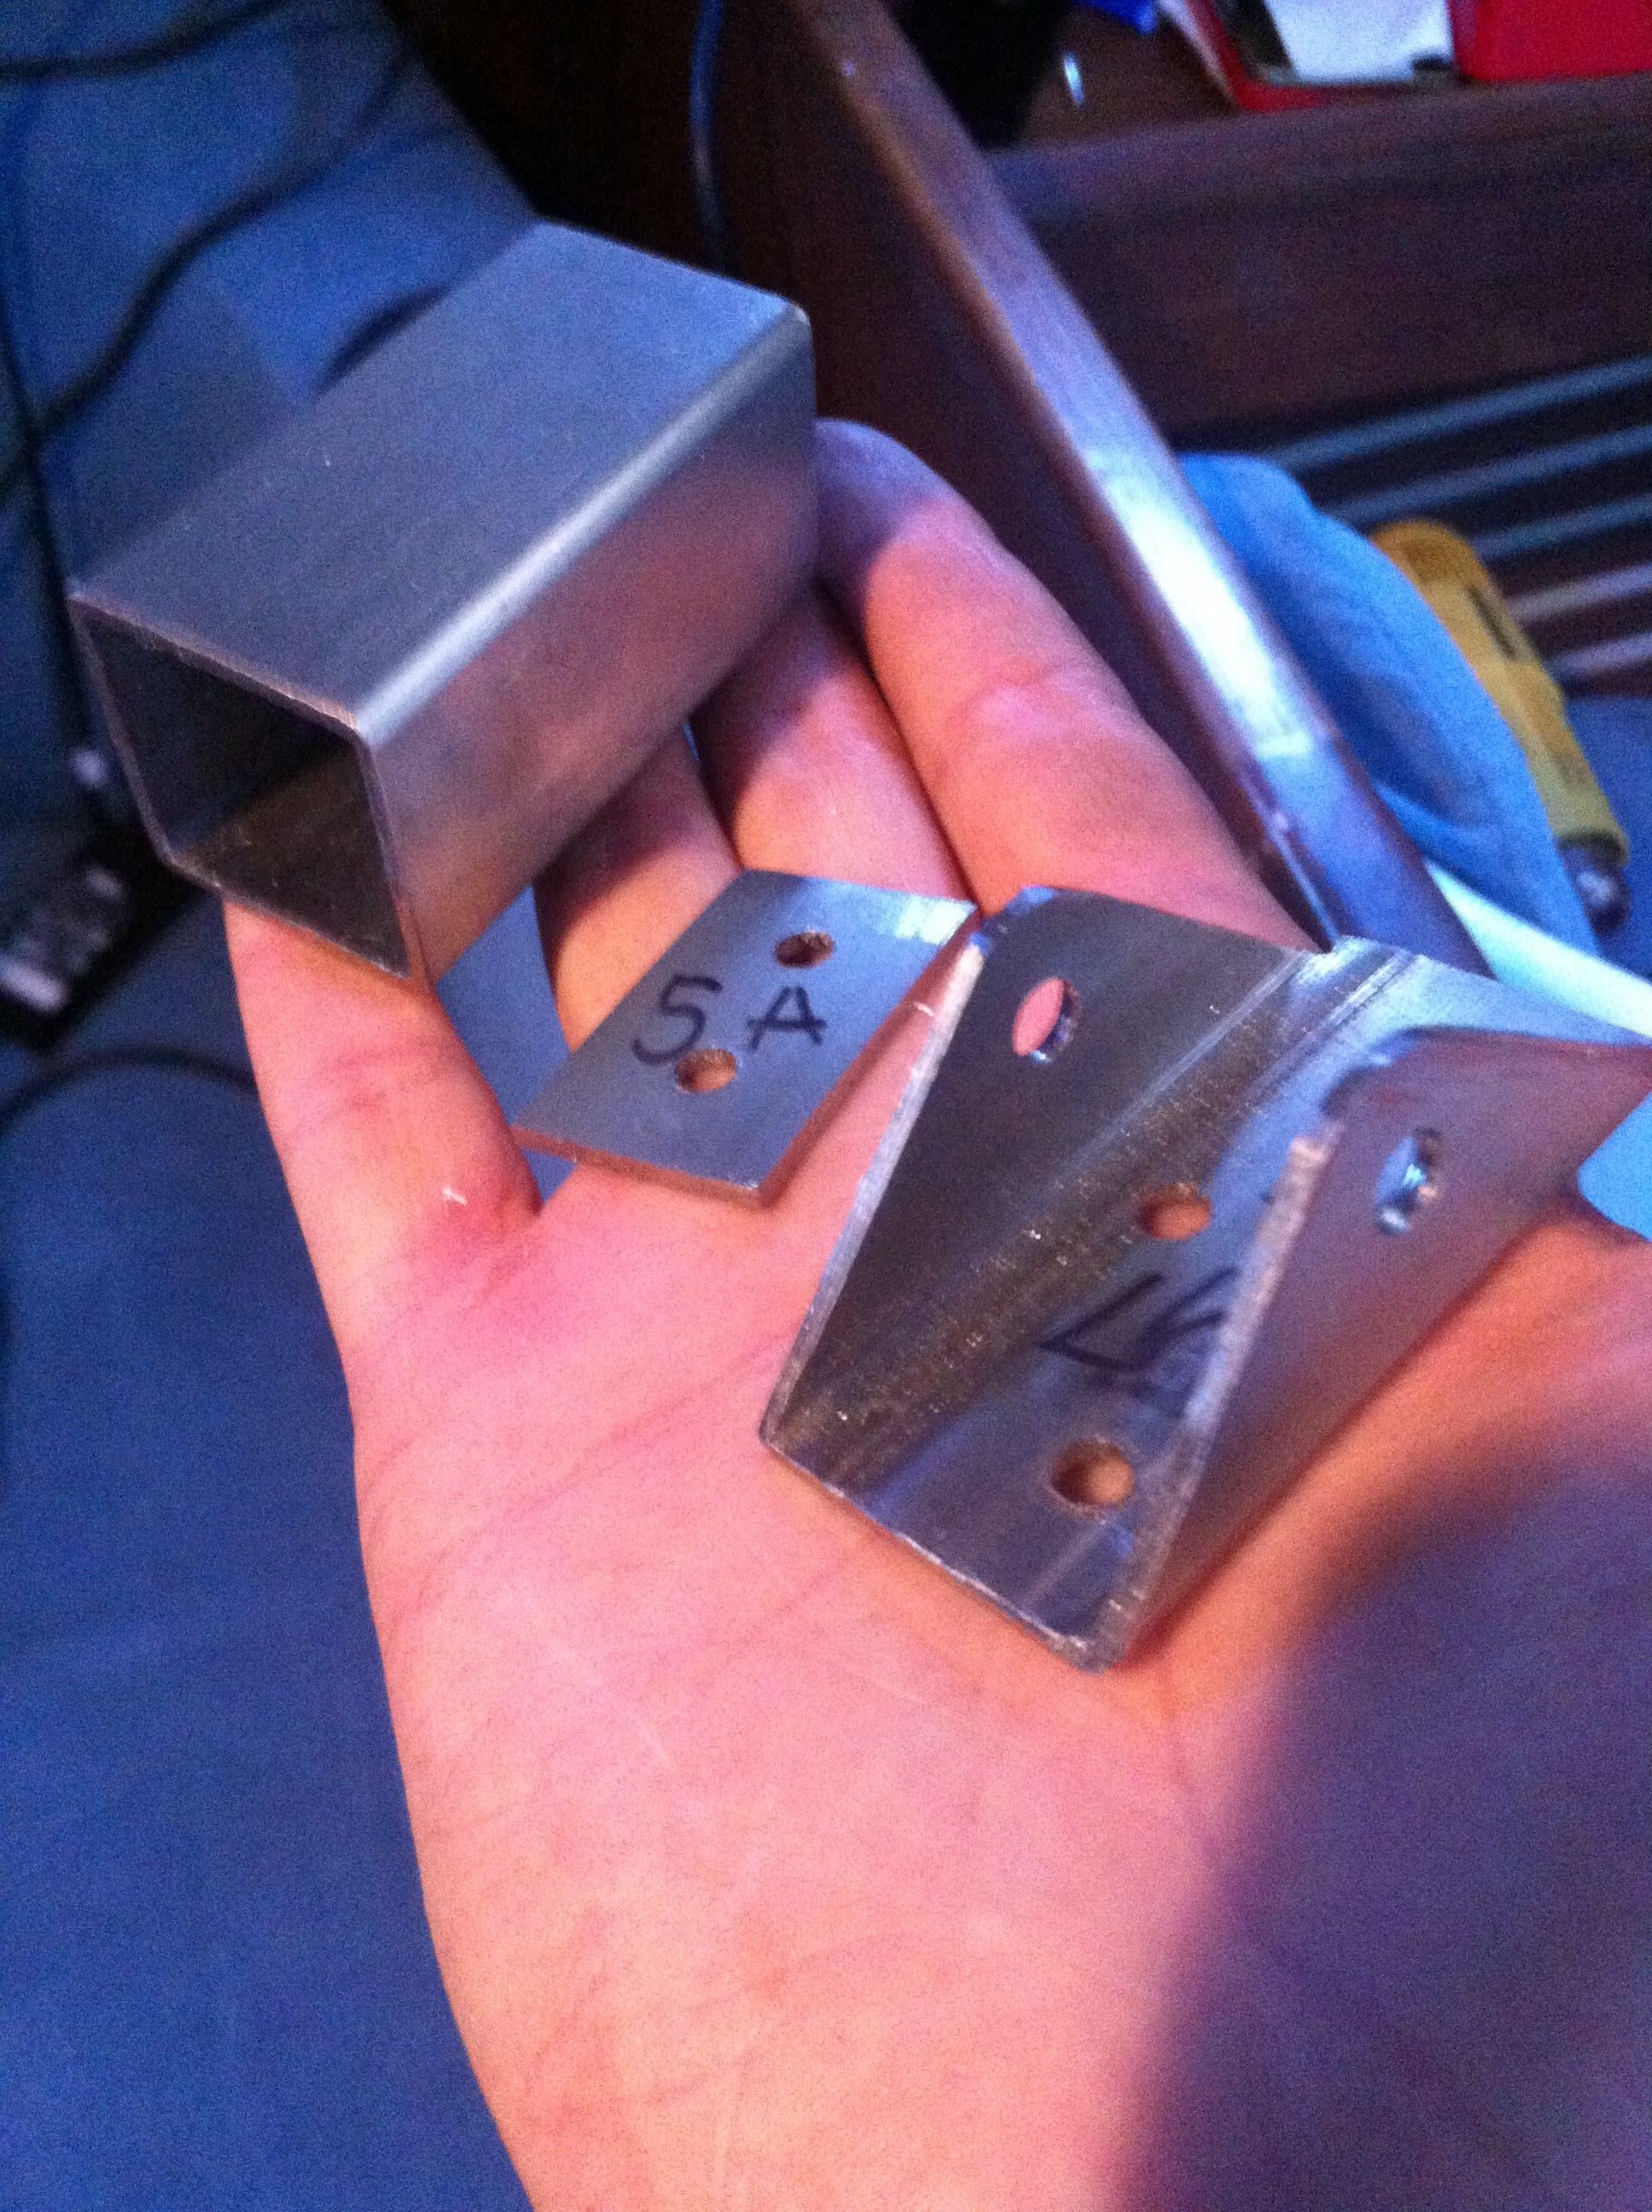
You have to make two lots of these. Not really much to say about this, as it’s very similar to part 4.
One thing I did was after I finished one and the holes in both, was joining them together to draw a ‘stencil’ of where to cut the second one
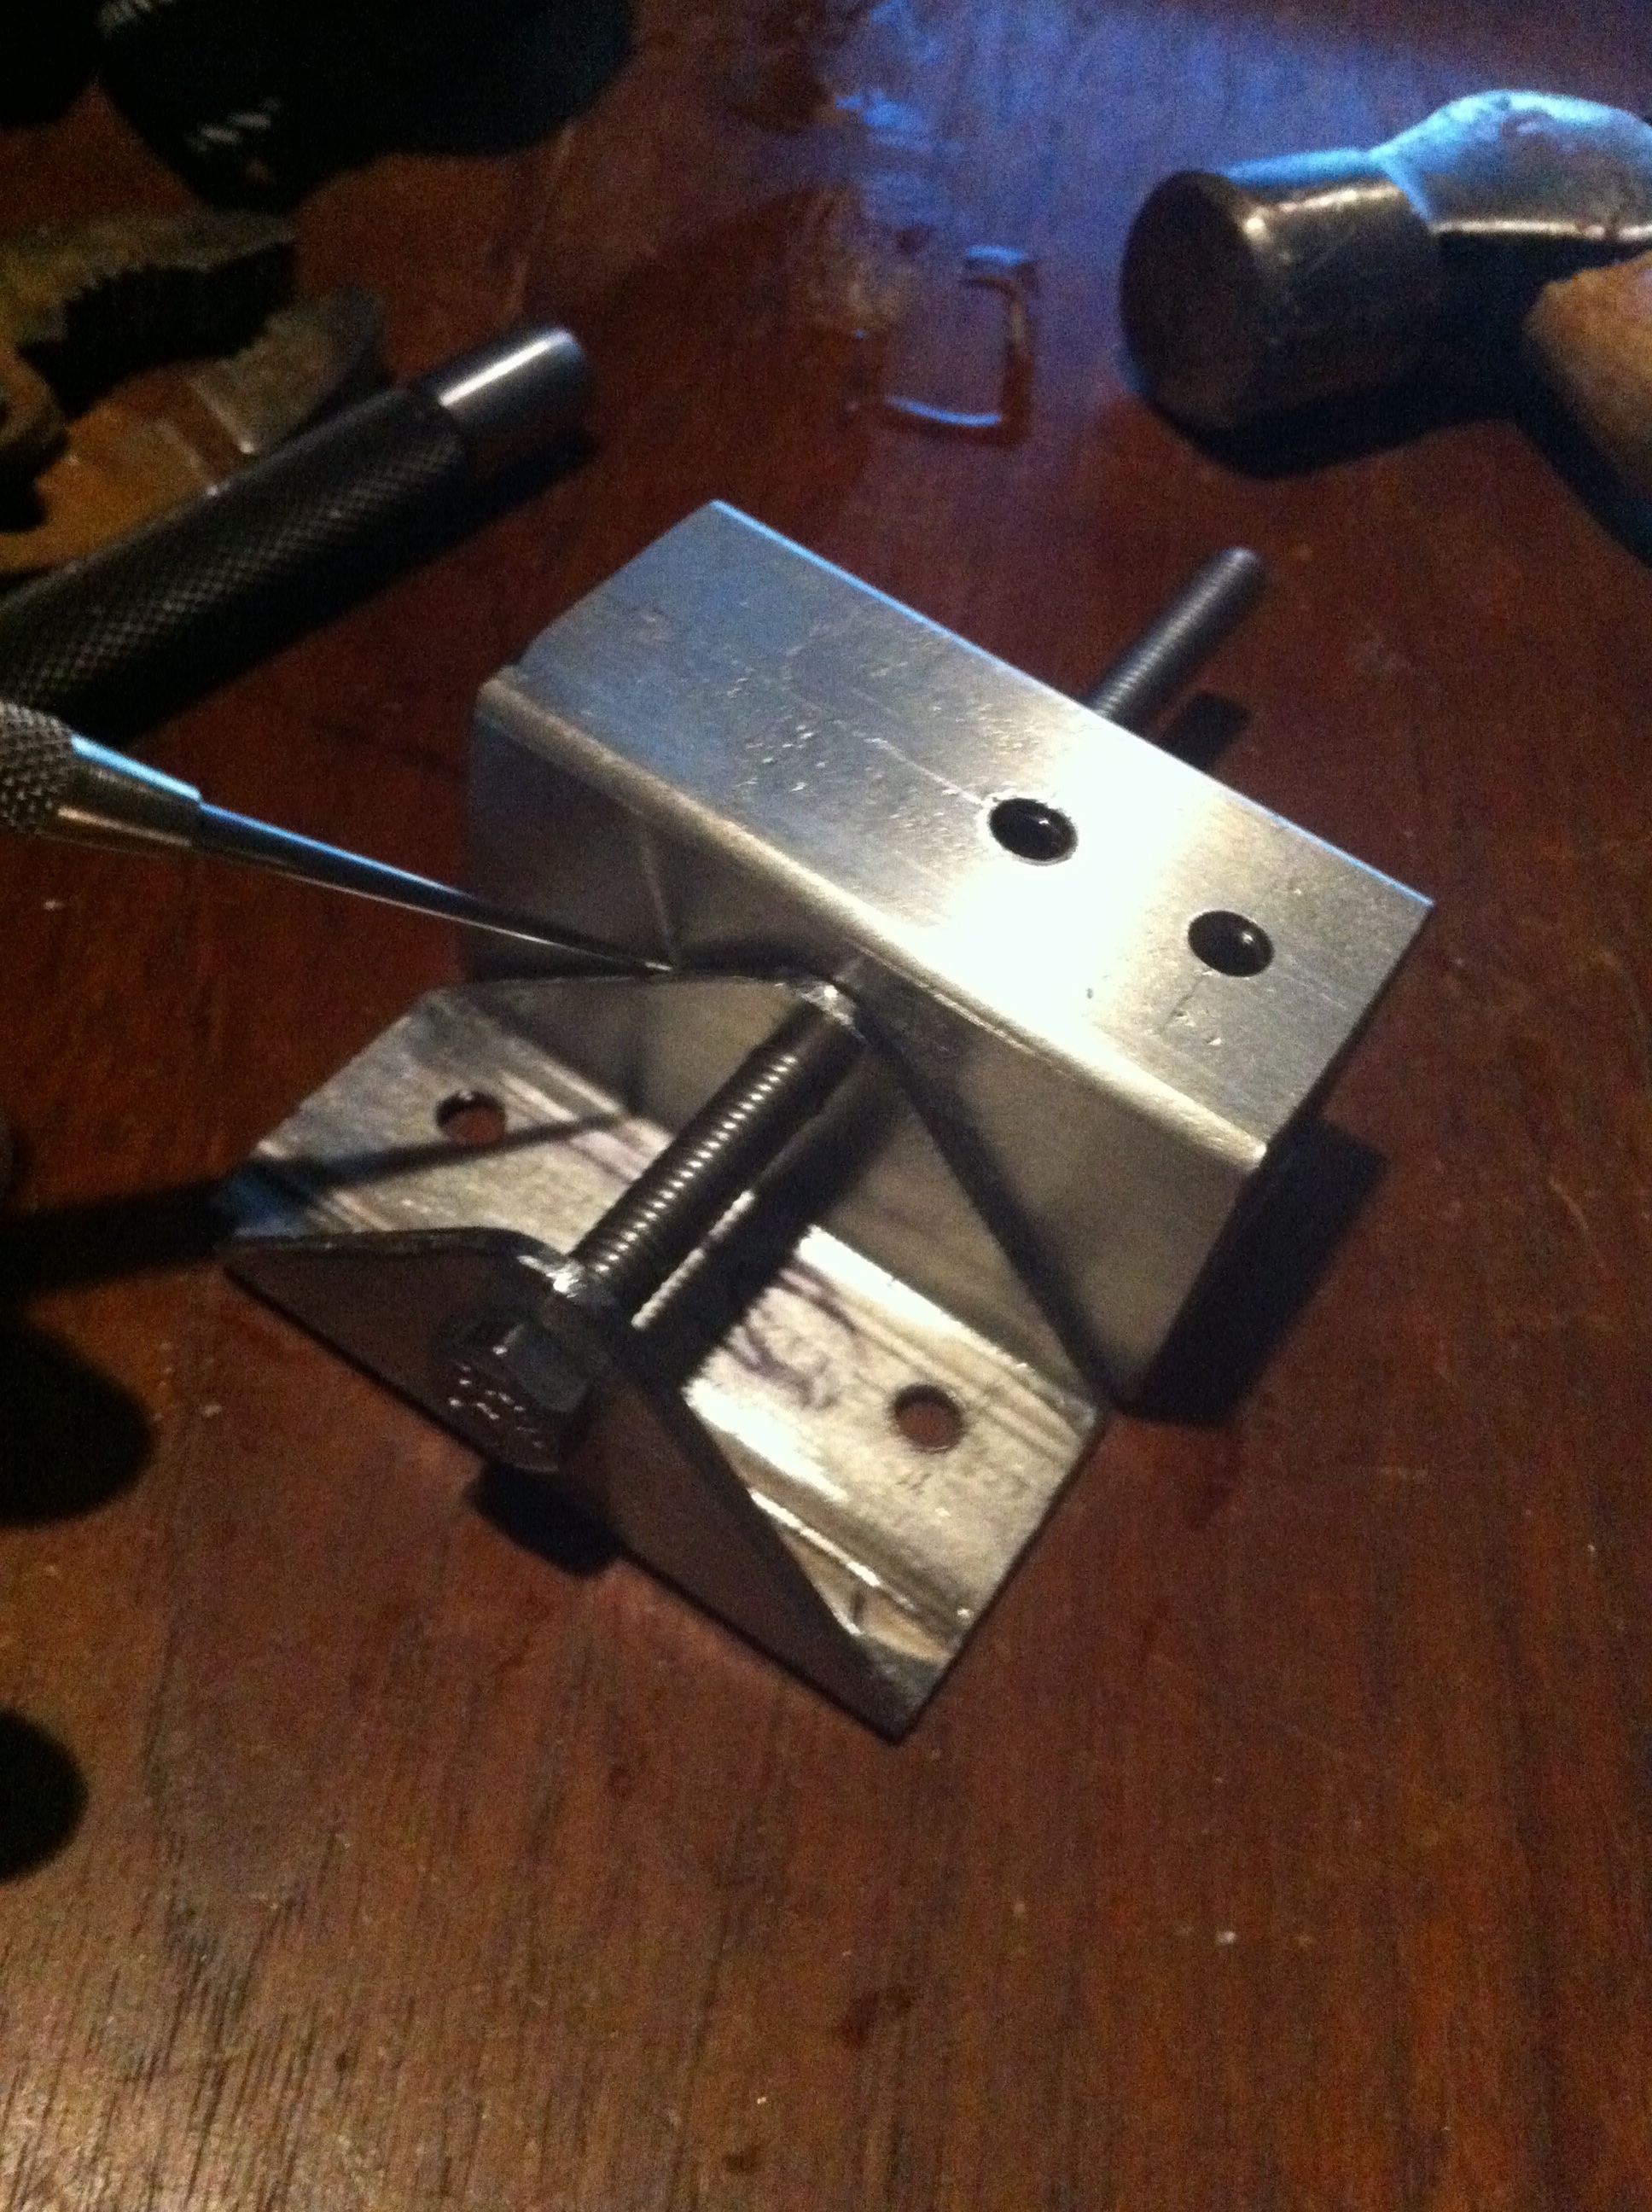
Pretty simple.
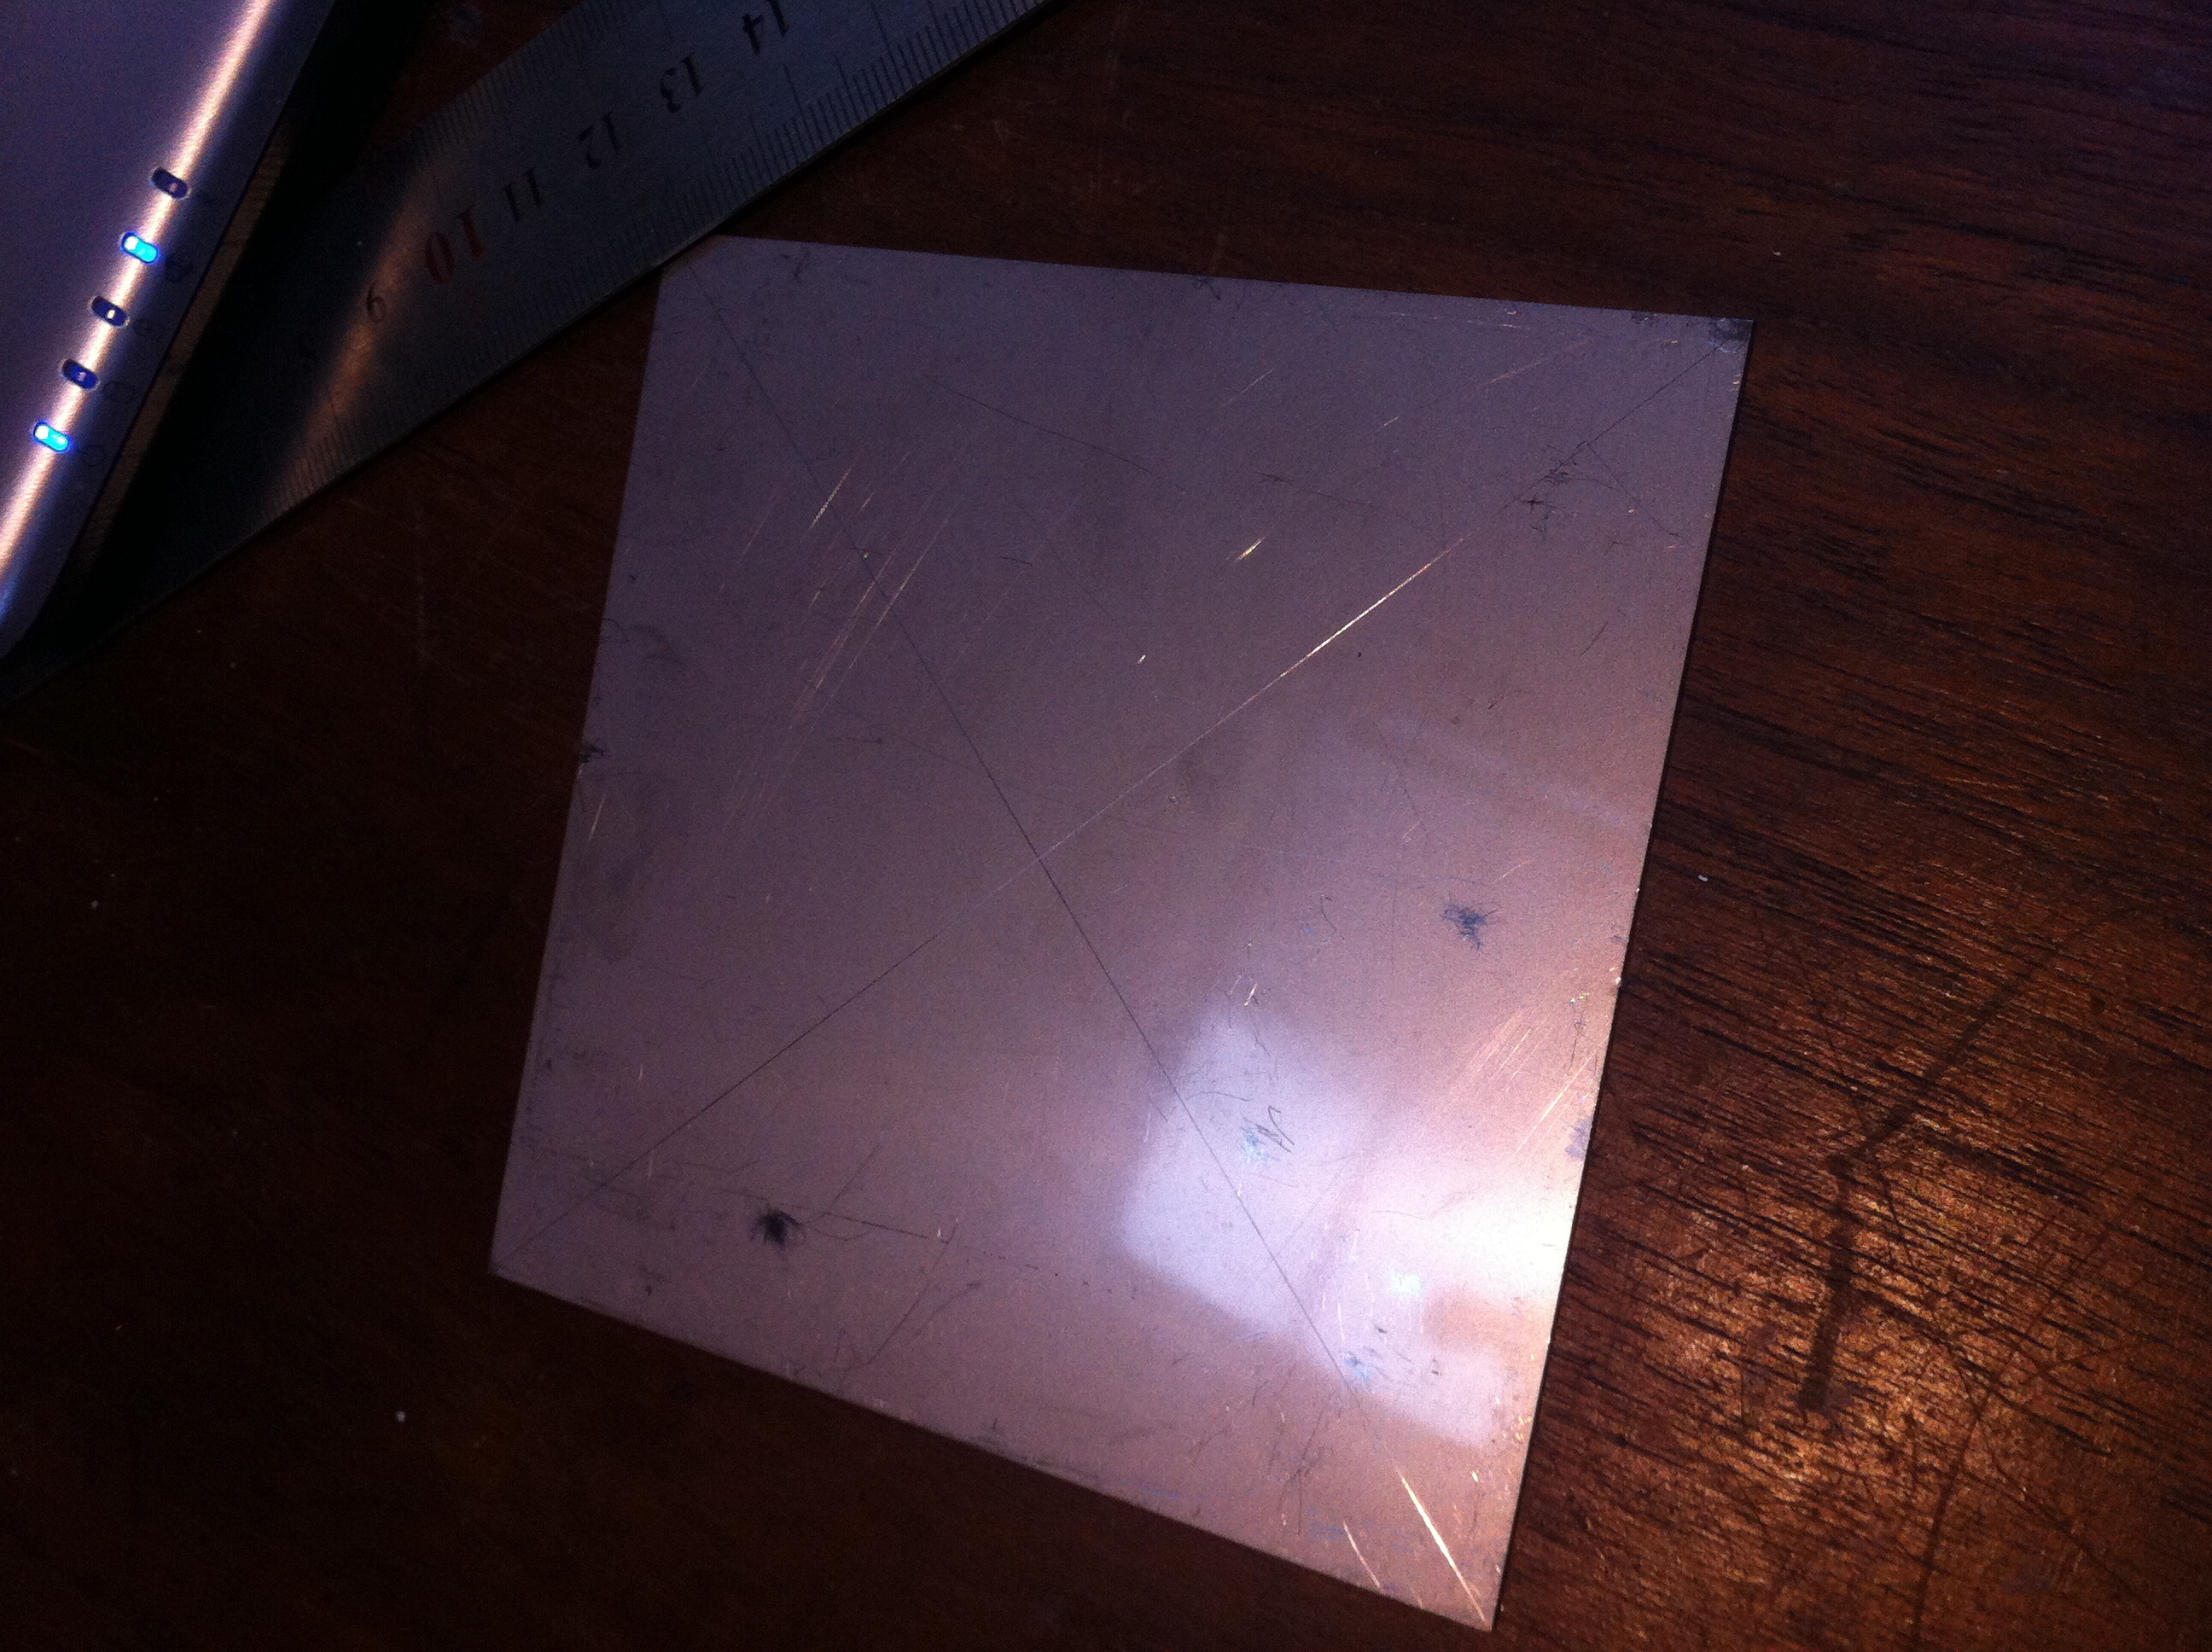
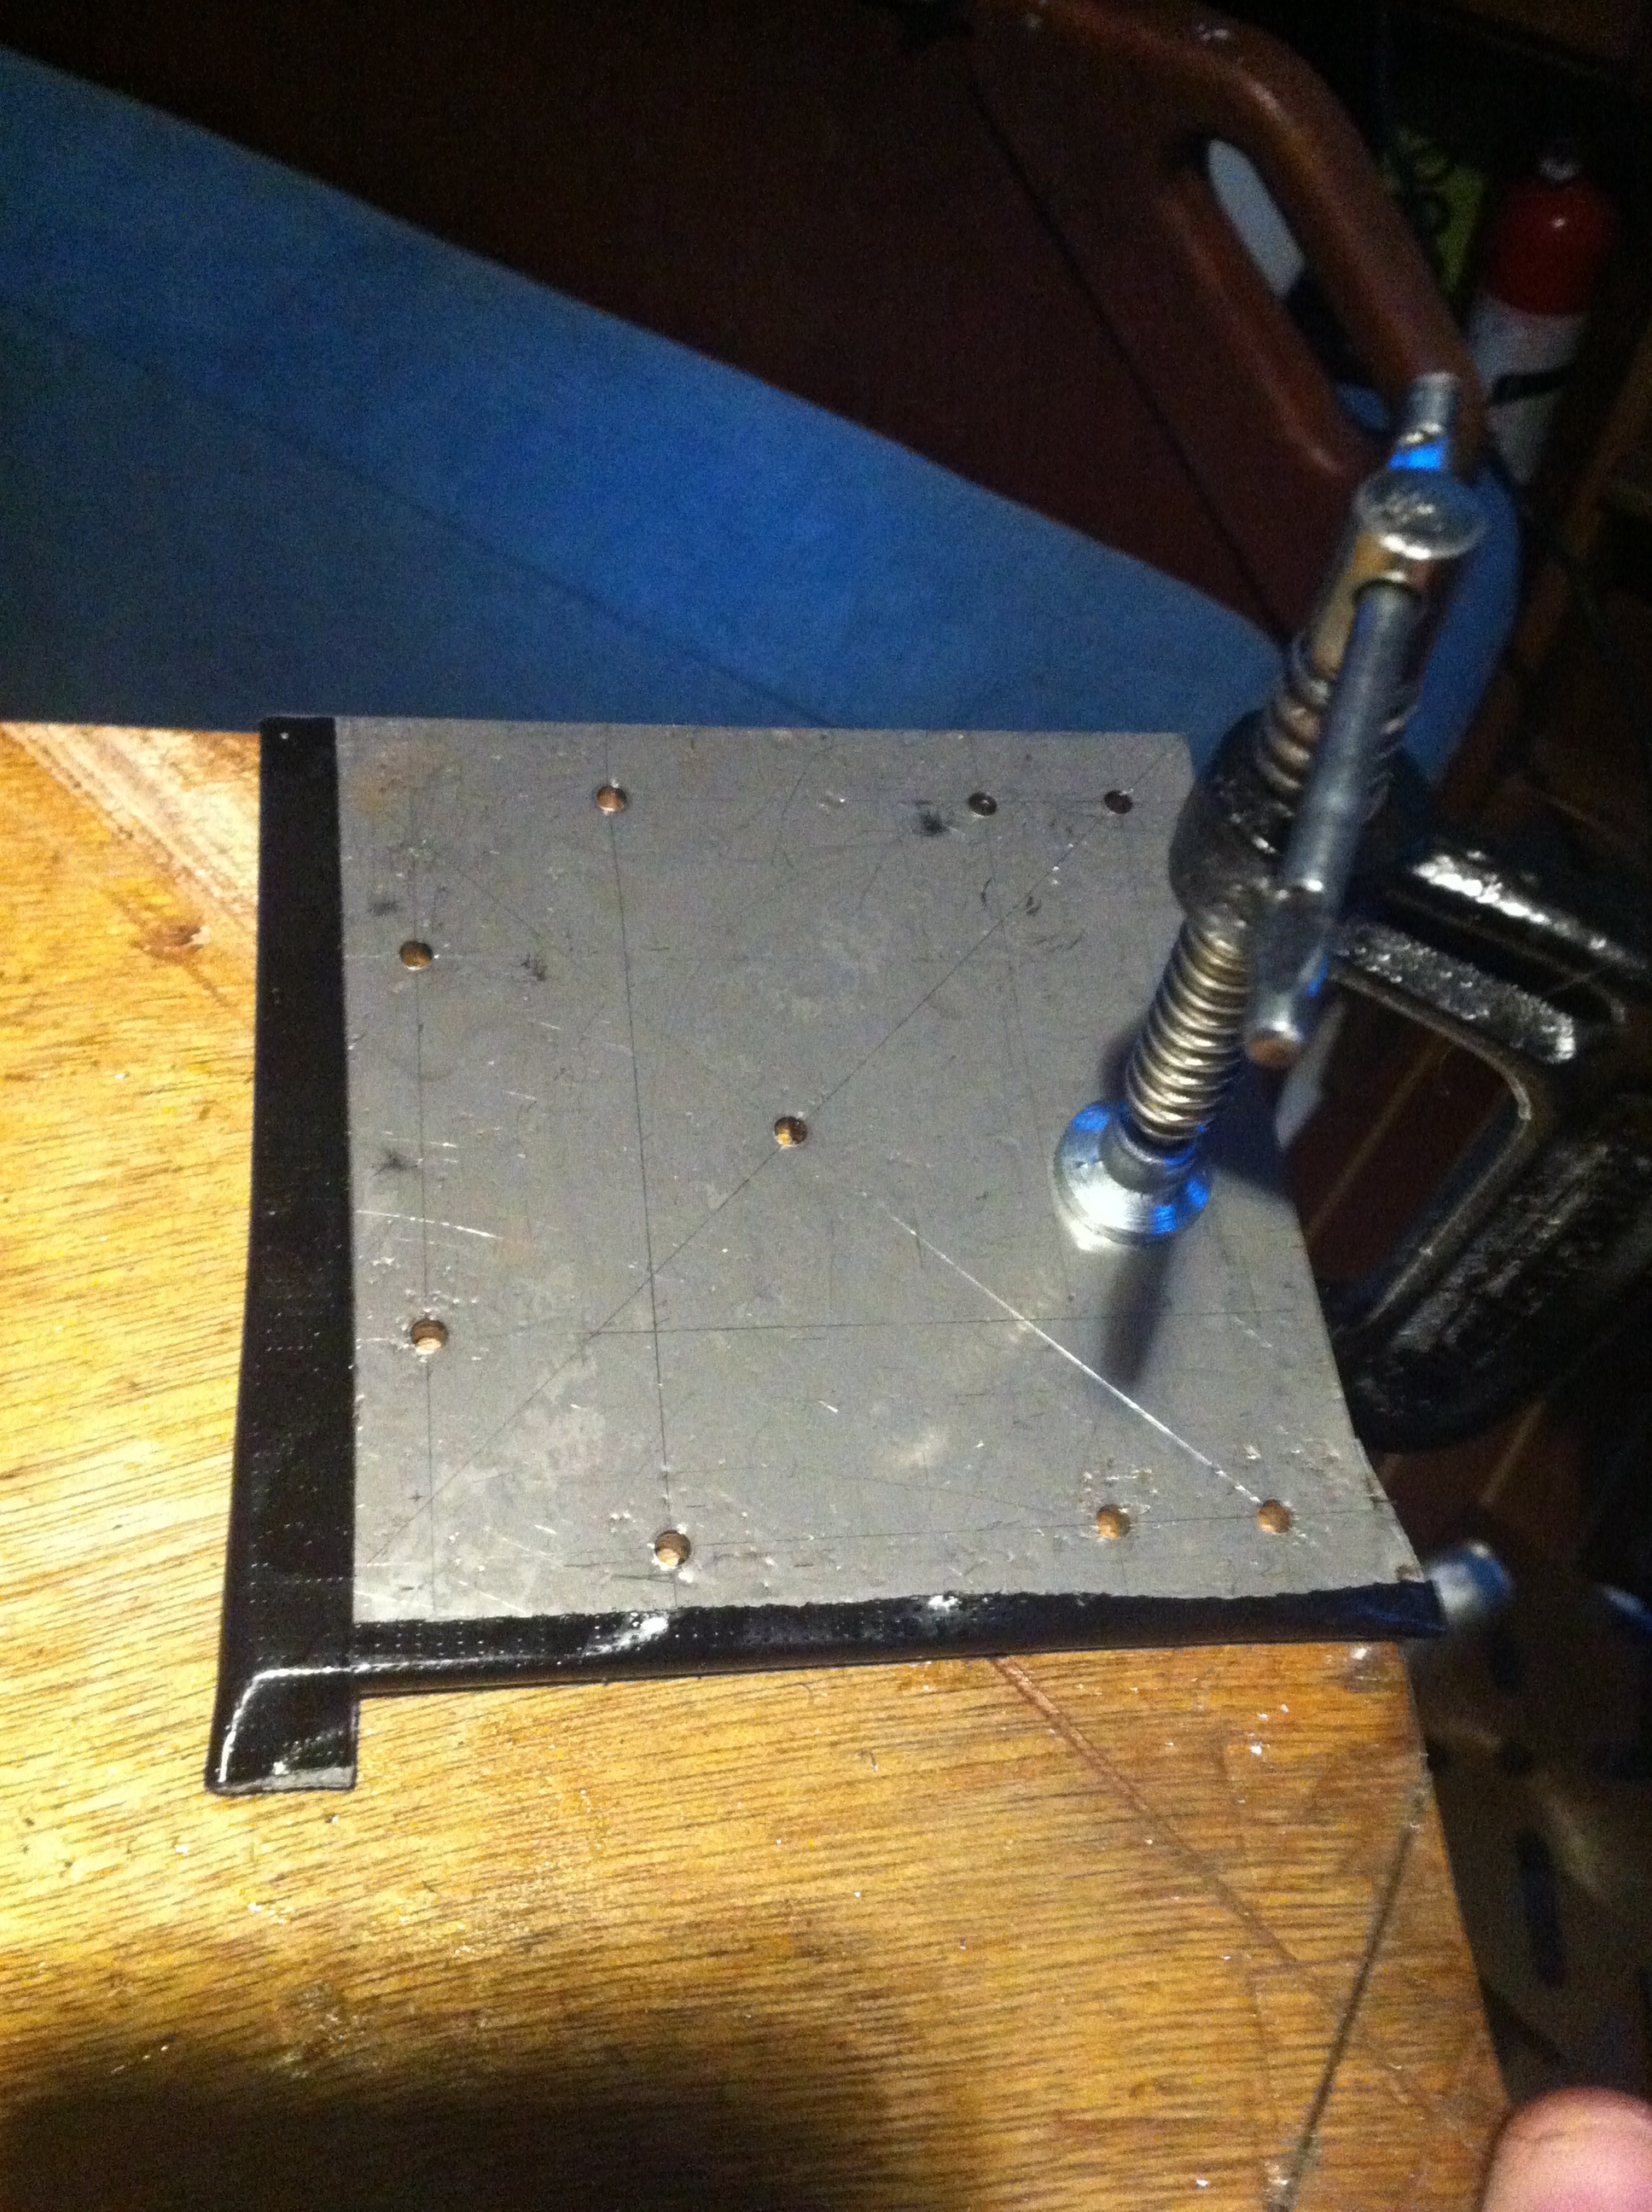
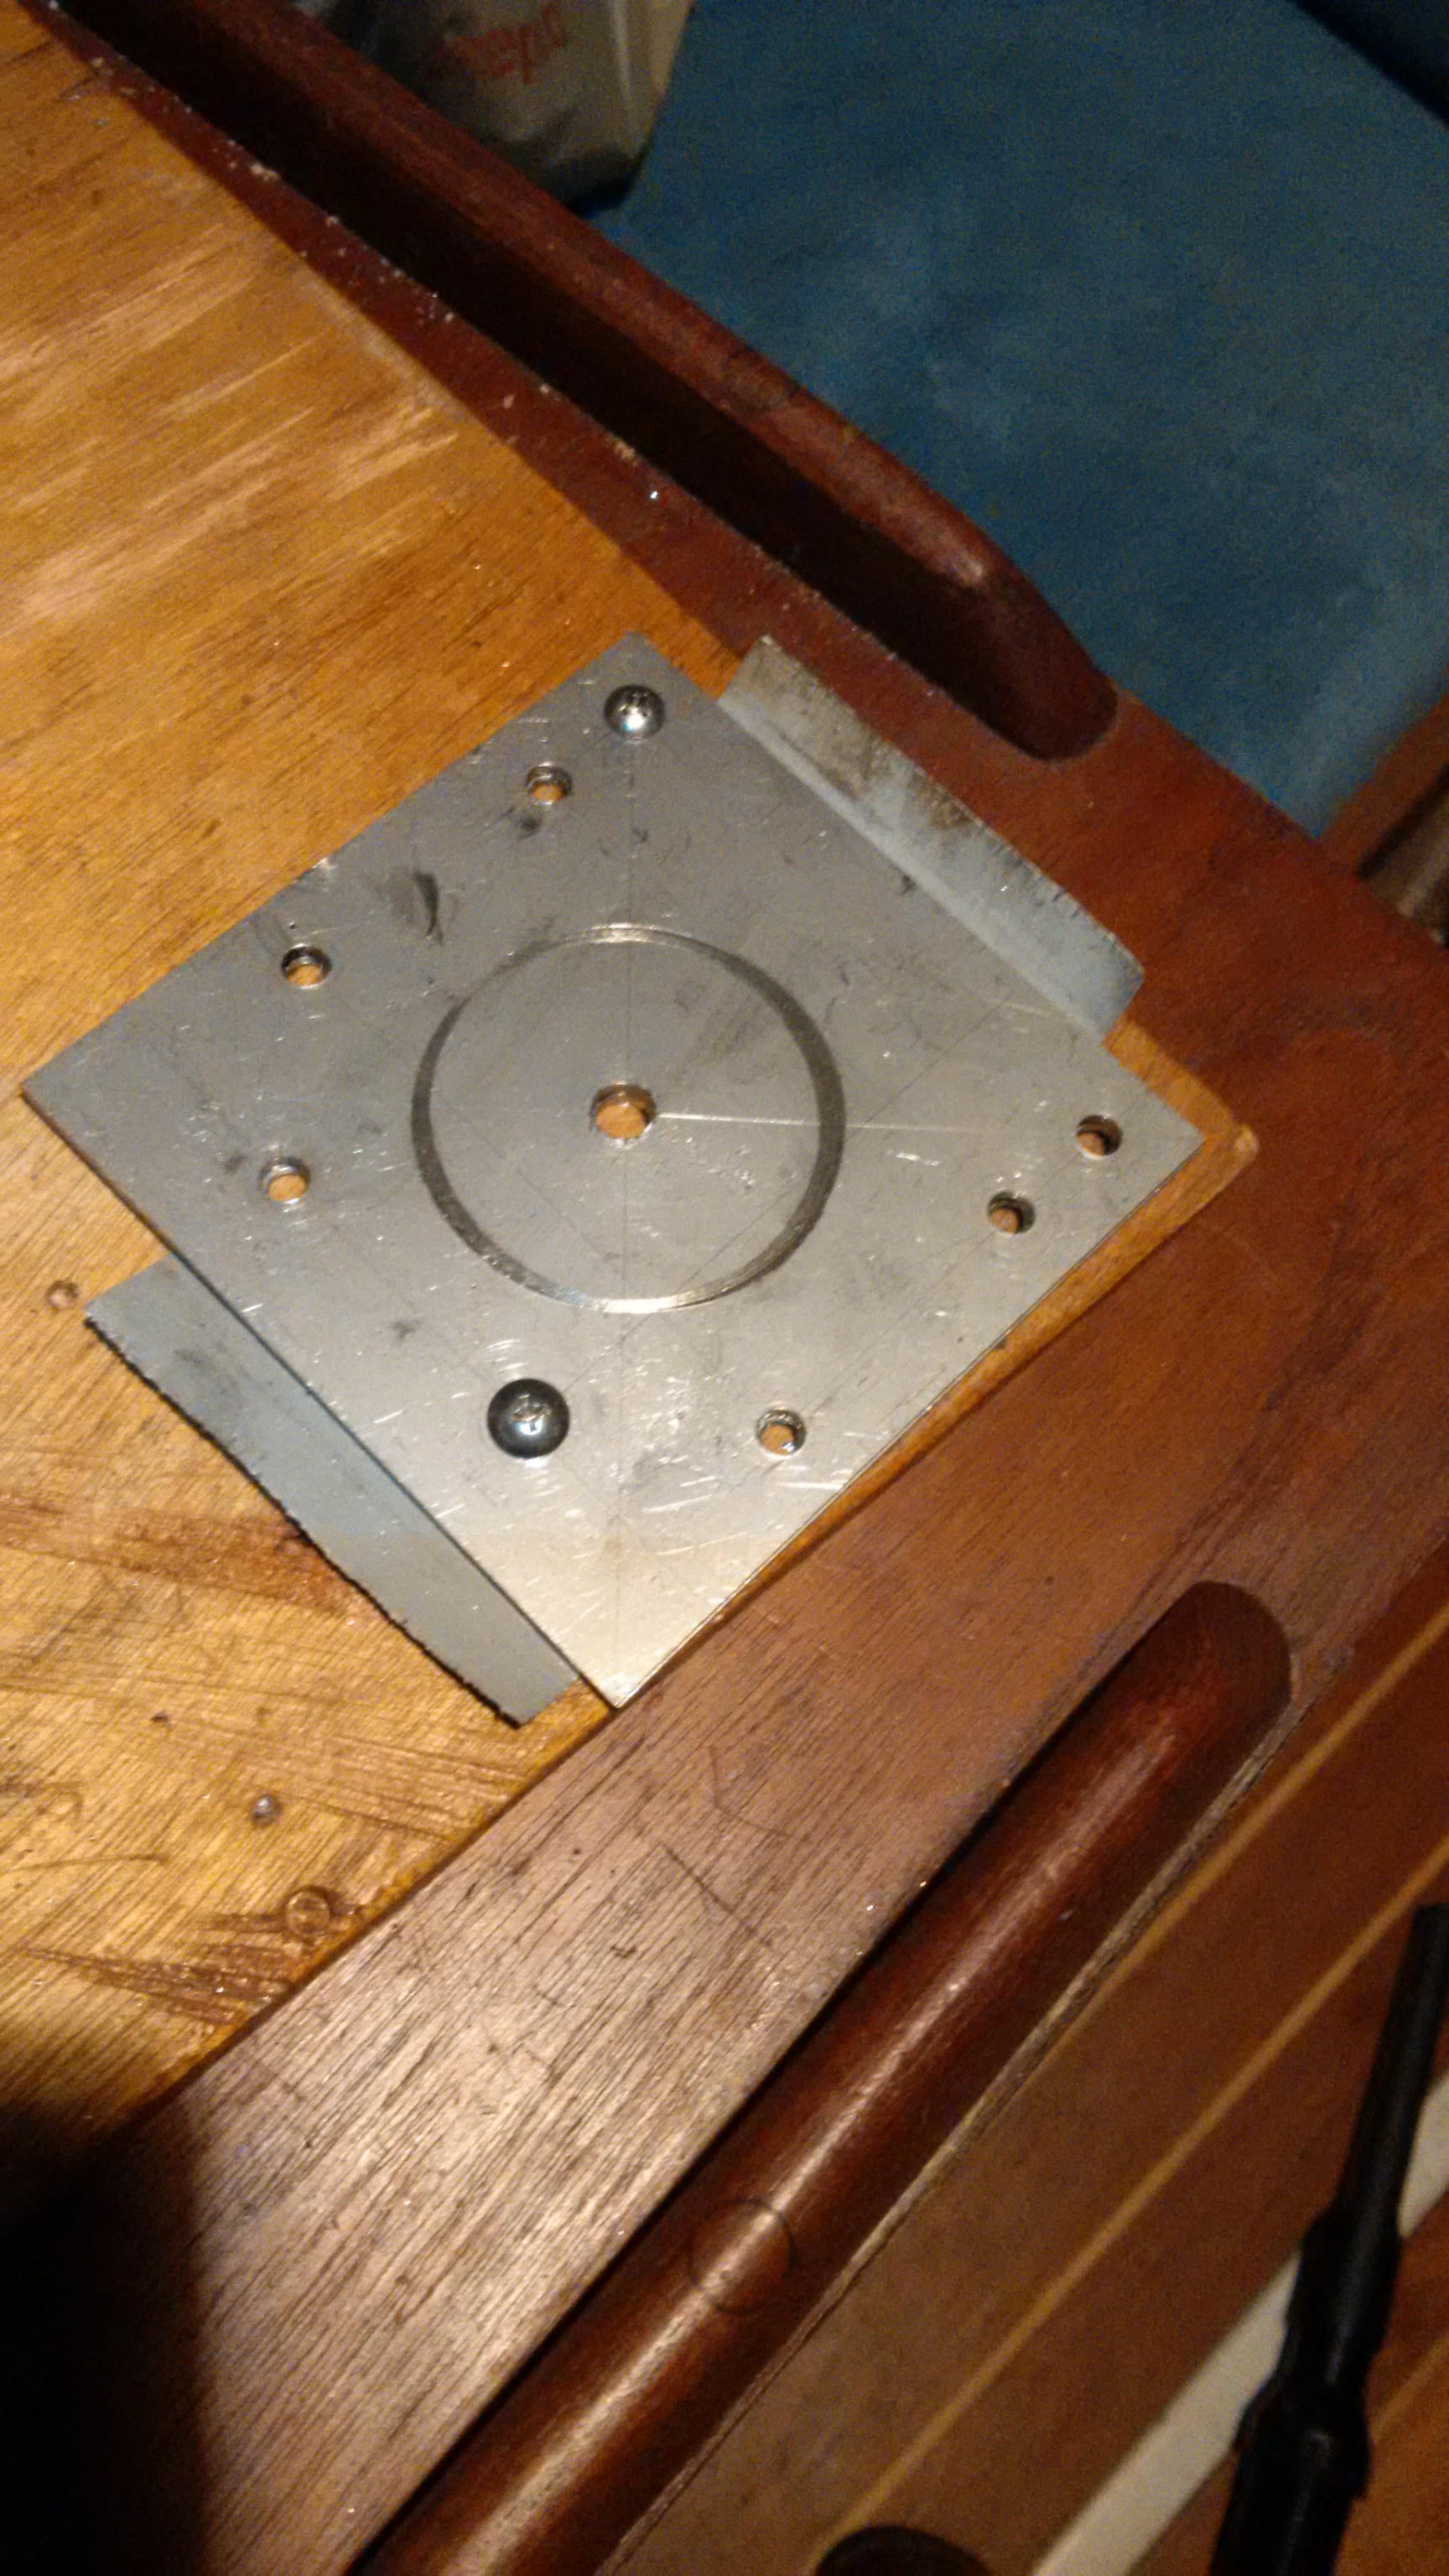
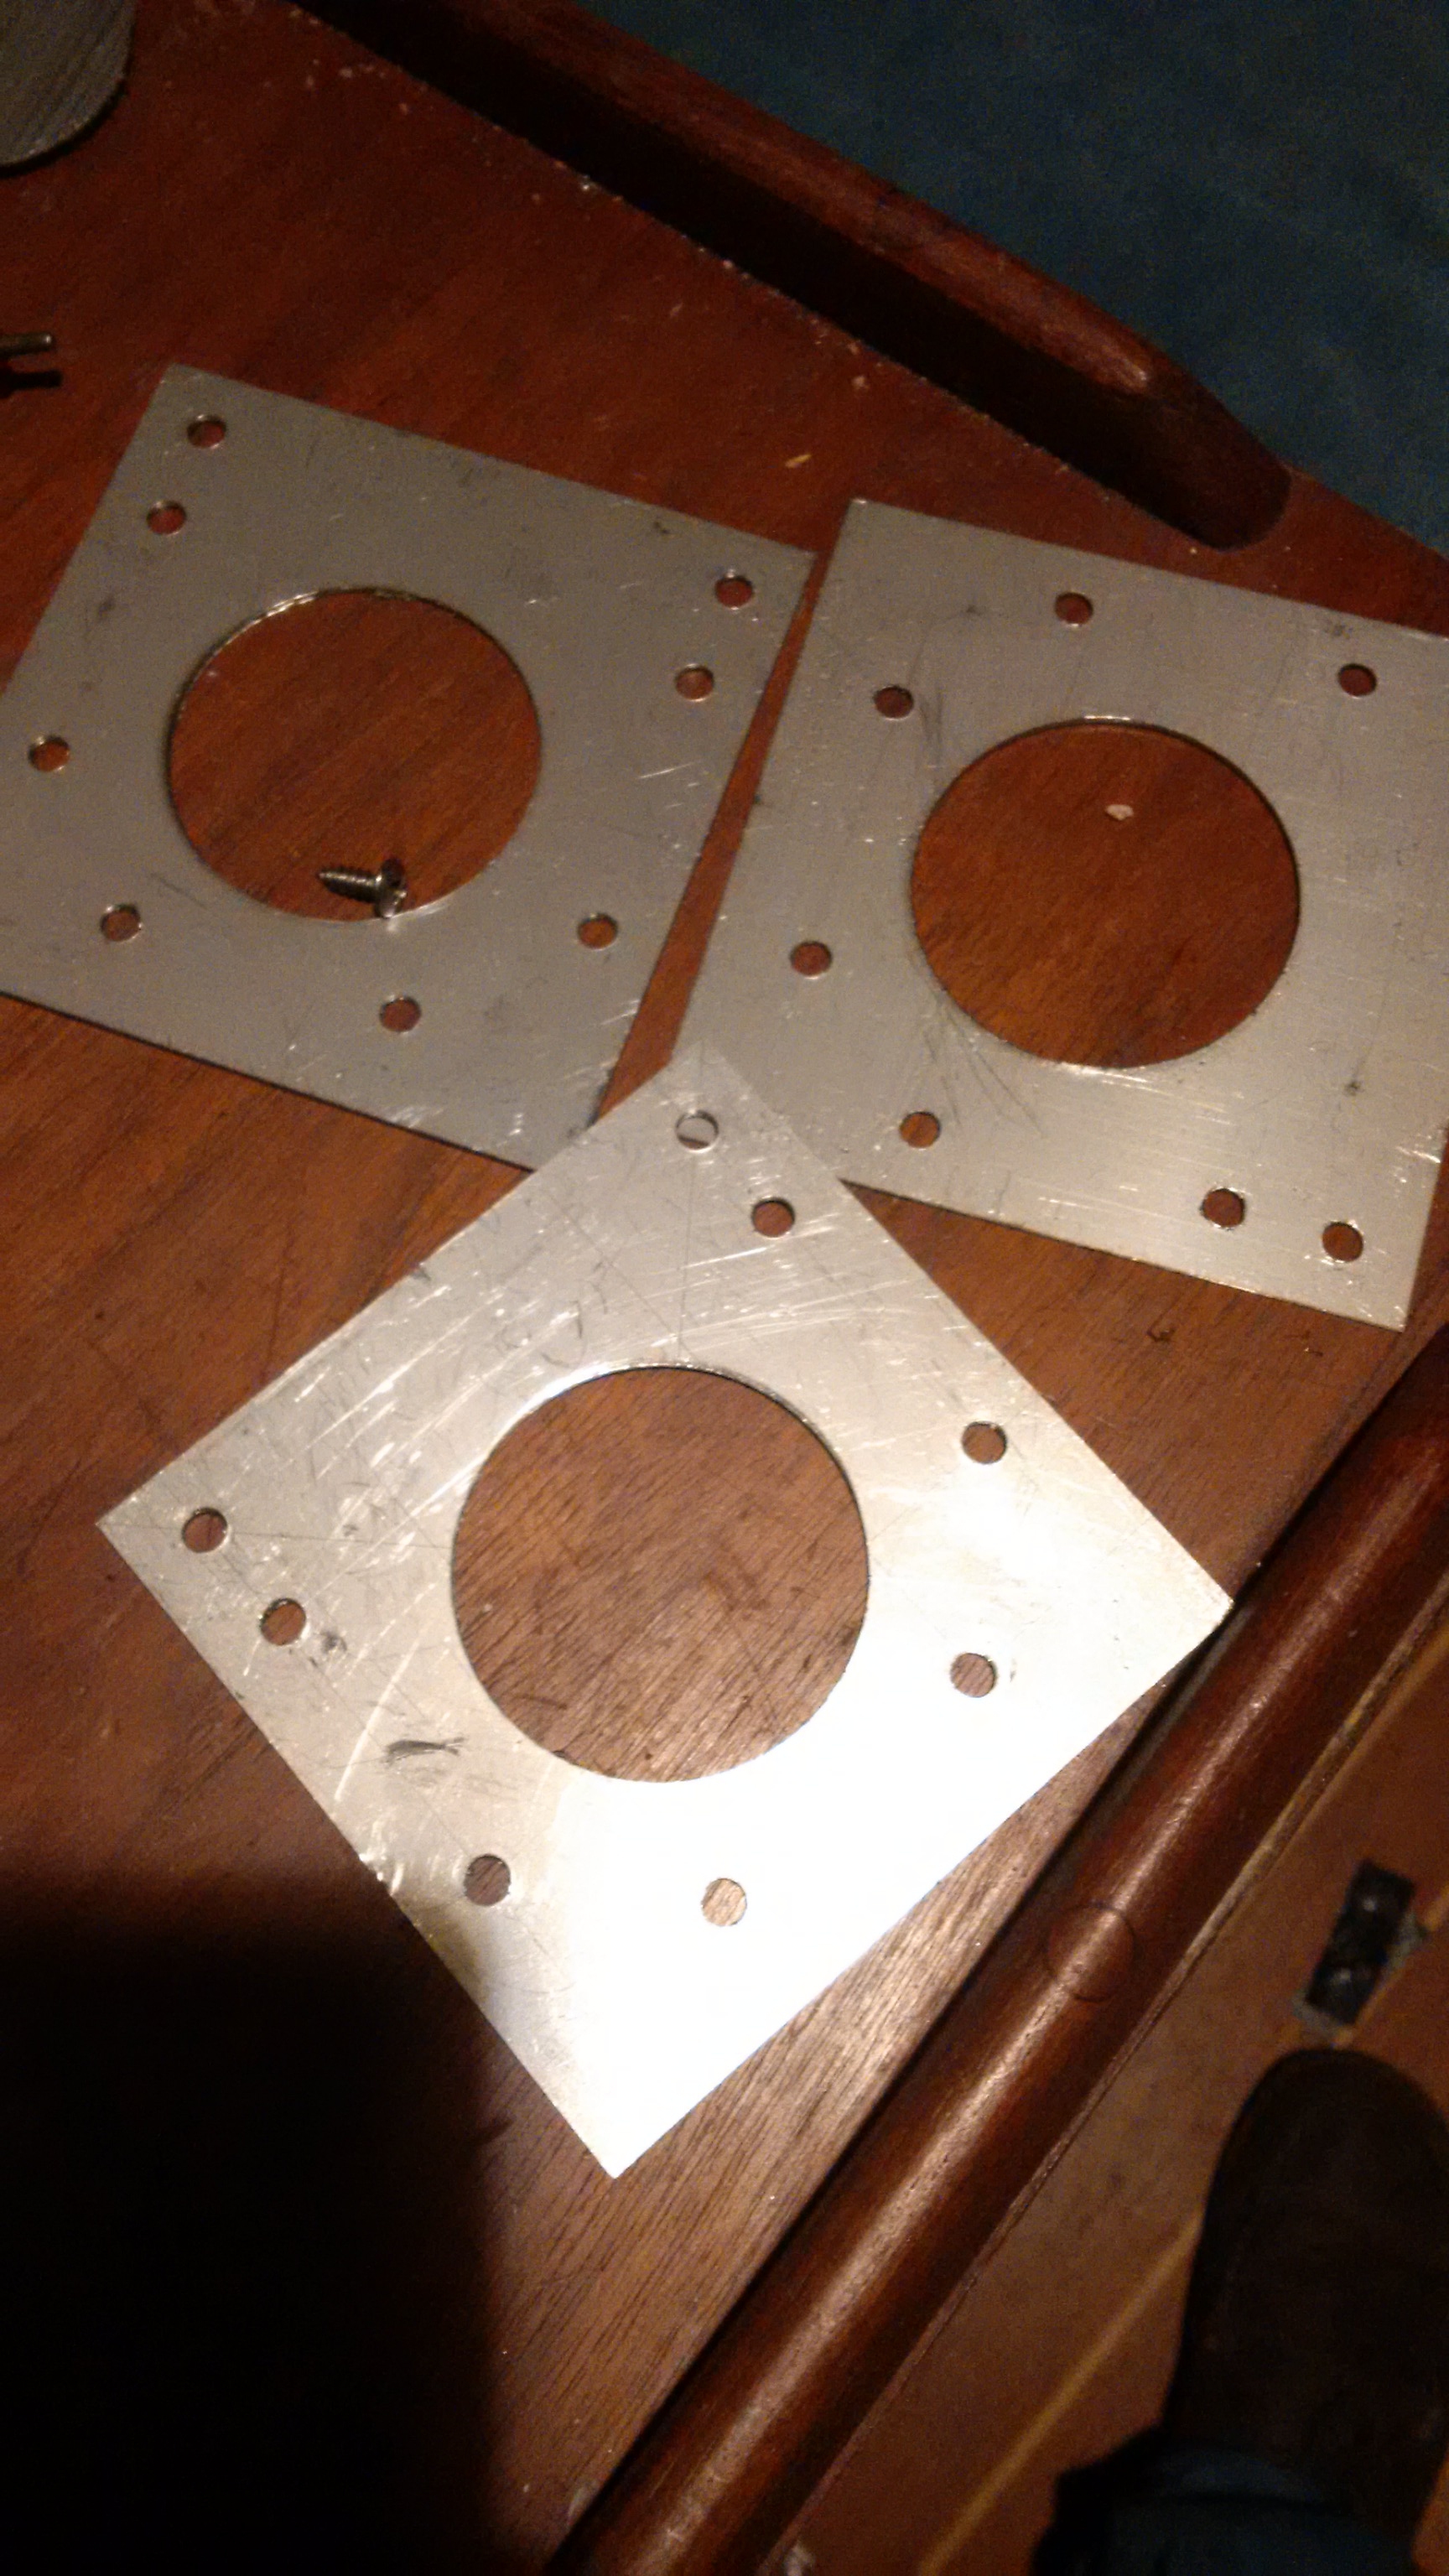
Part 11 was more interesting, three stainless steel sheets that had to be drilled multiple times in the exact same place.
First, I found the centre by marking the diagonals
Then marked all the remaining lines and drilled the holes. To do this I taped all three sheets together with gorilla tape and then clamped them firmly for good measure.
Next, I had to cut a BIG ASS HOLE out of the middle. I used screws to secure them together in the newly cut holes
Then I got a holesaw and cut through
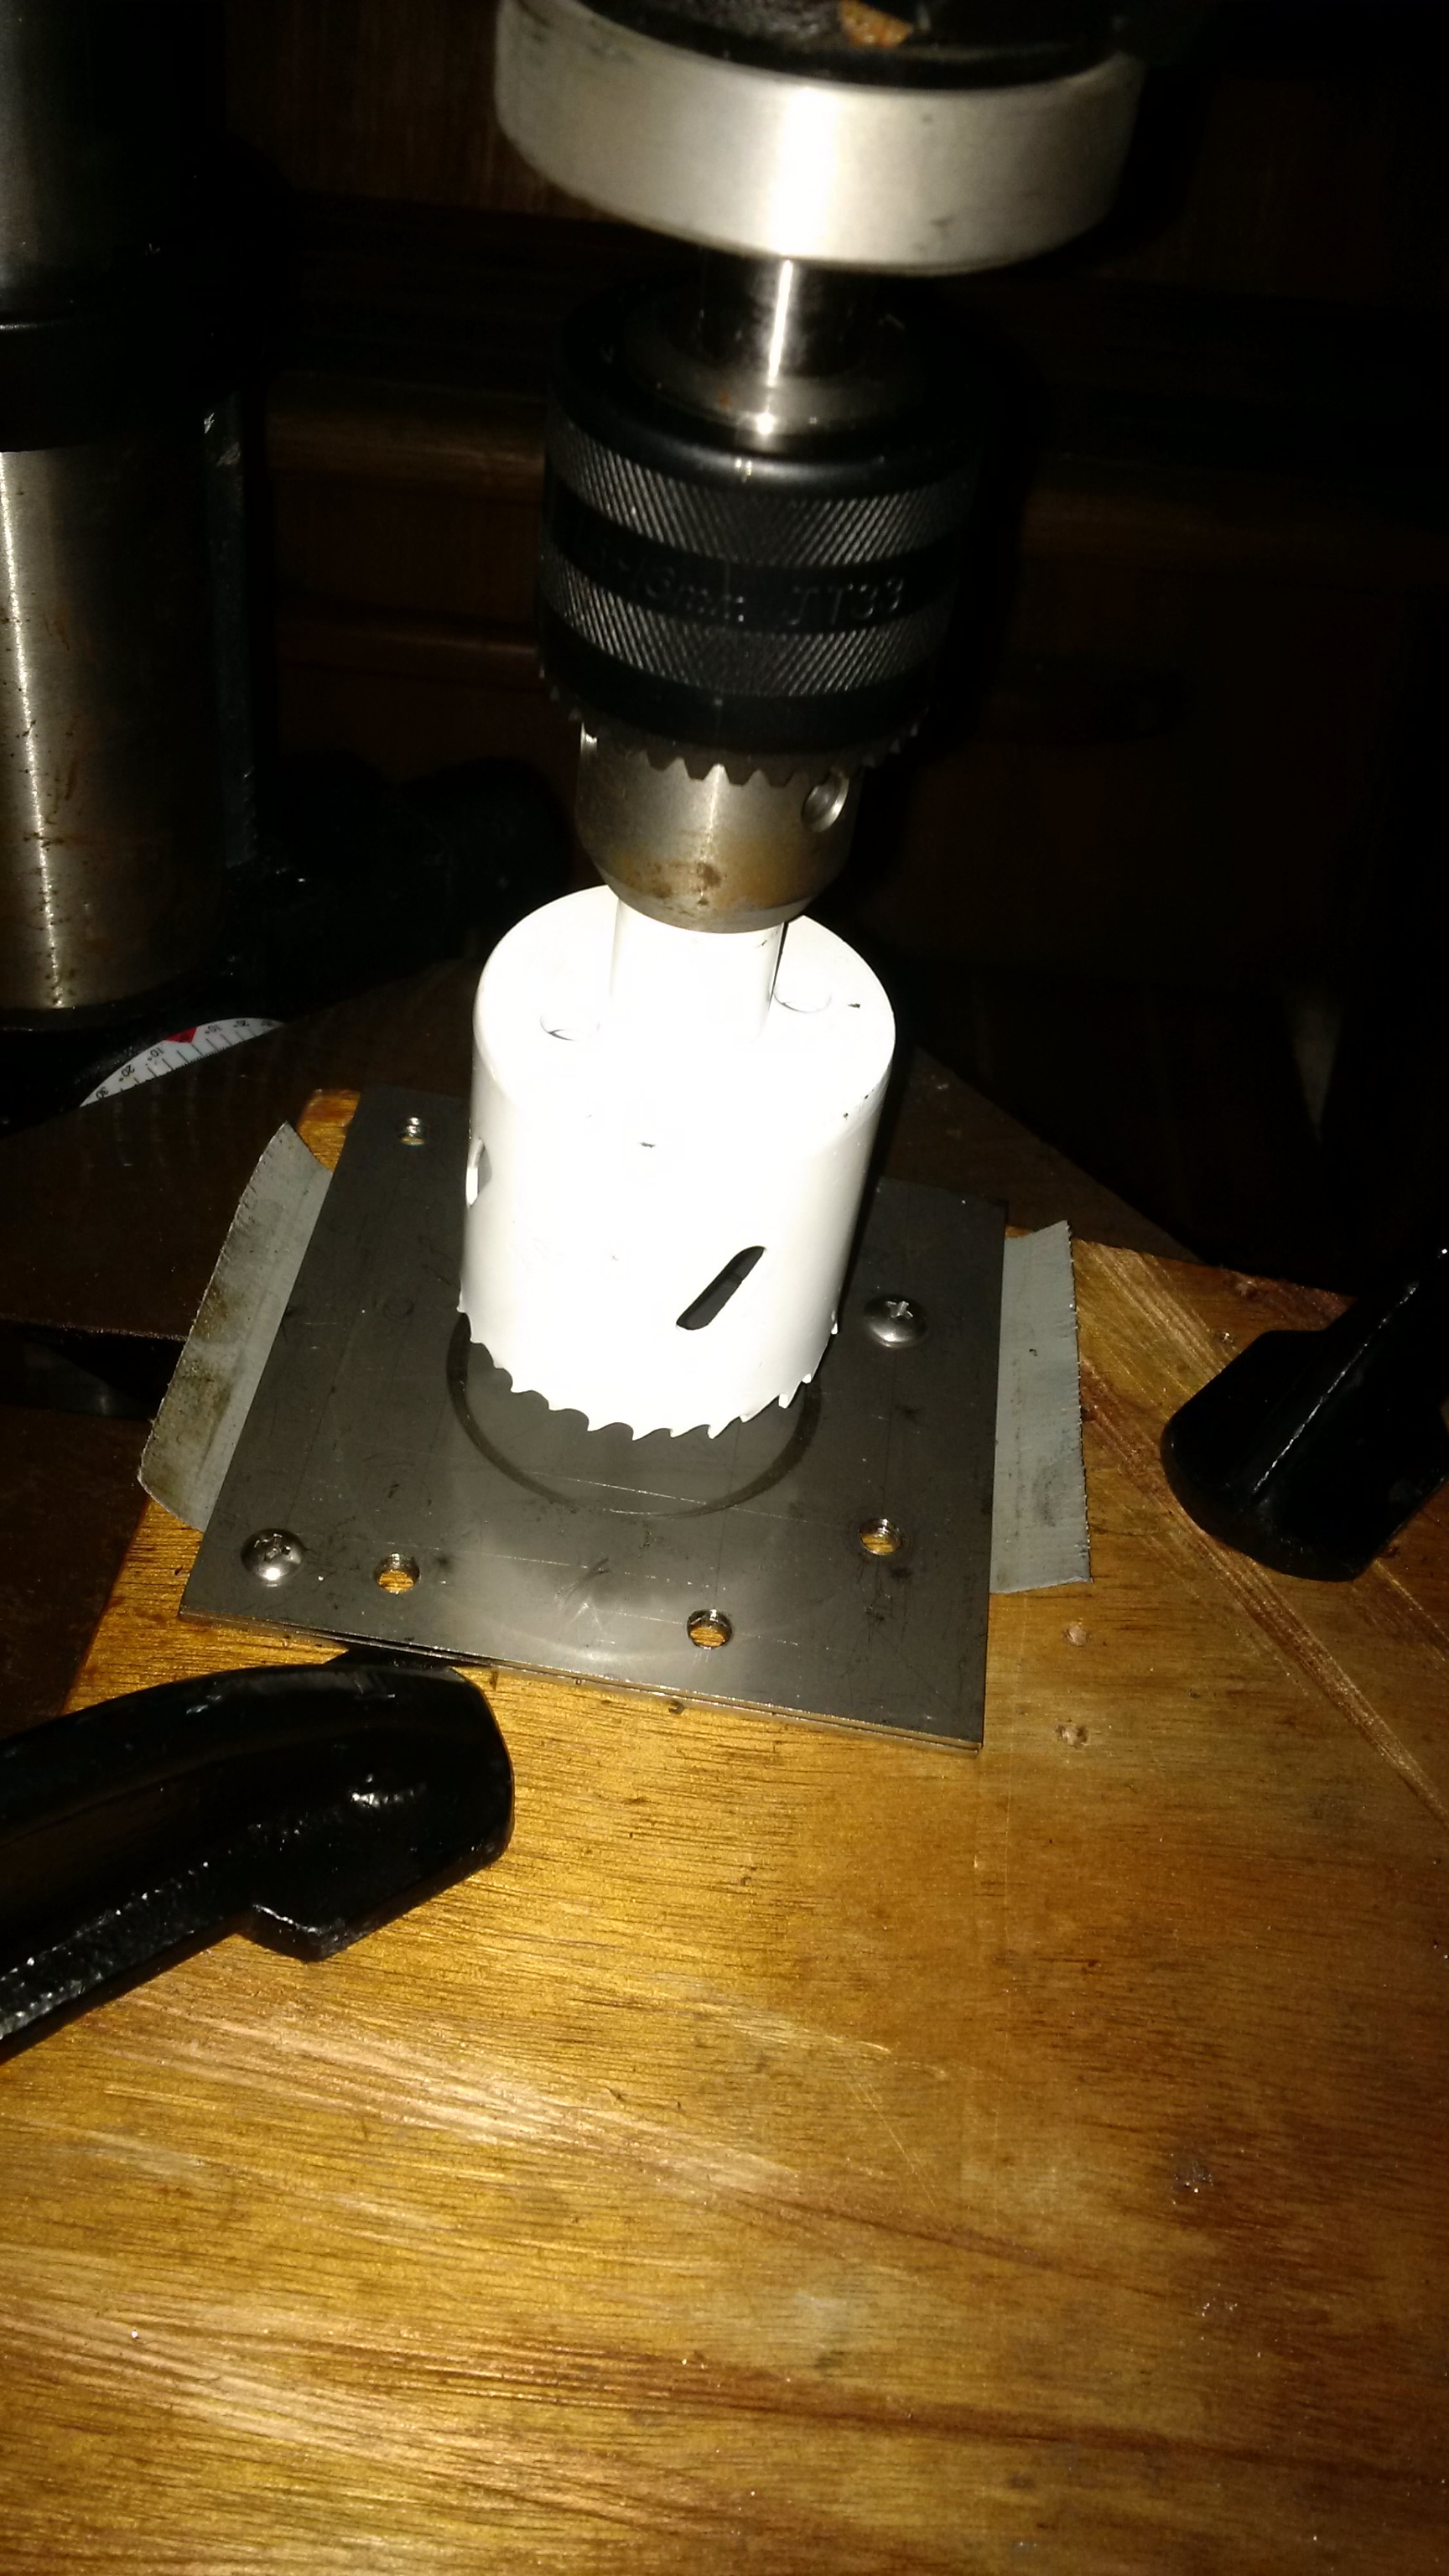
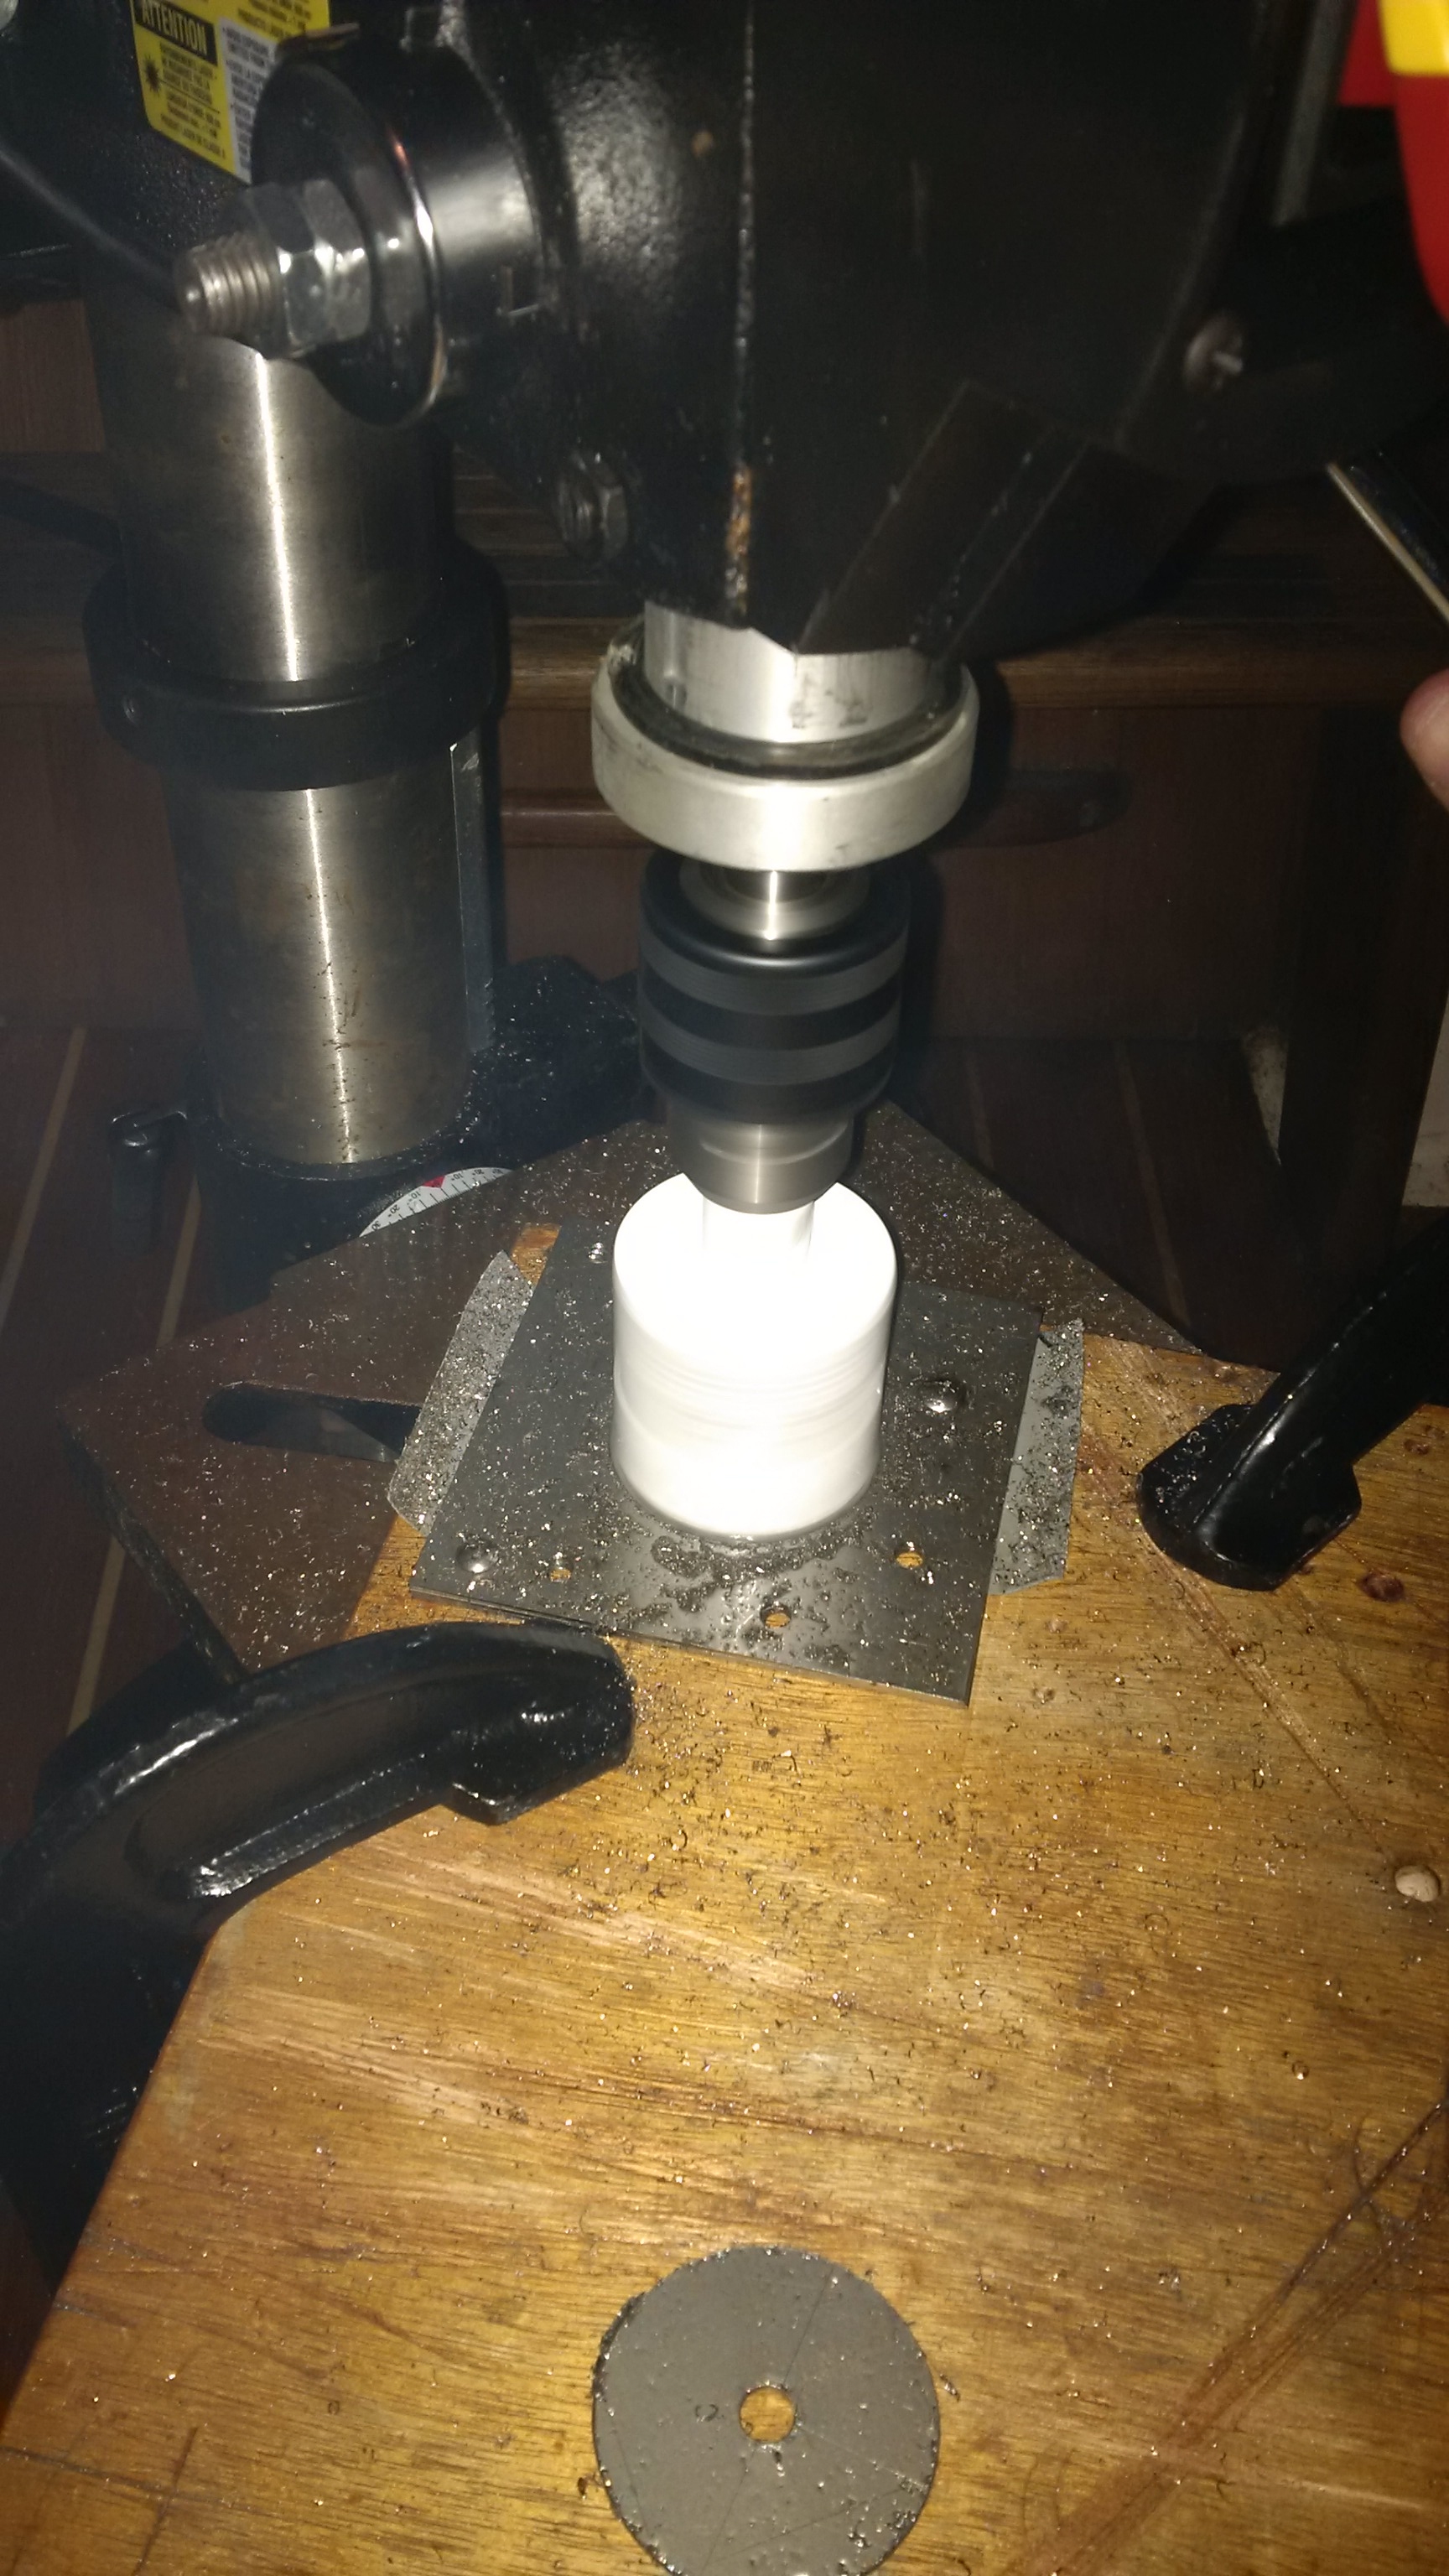
A couple of tips on this
- Use a SHITLOAD of cutting fluid
- I cannot imagine doing this without a drillpress. Borrow one if you have to
- It takes a while. Be patient!
Finally, it was done
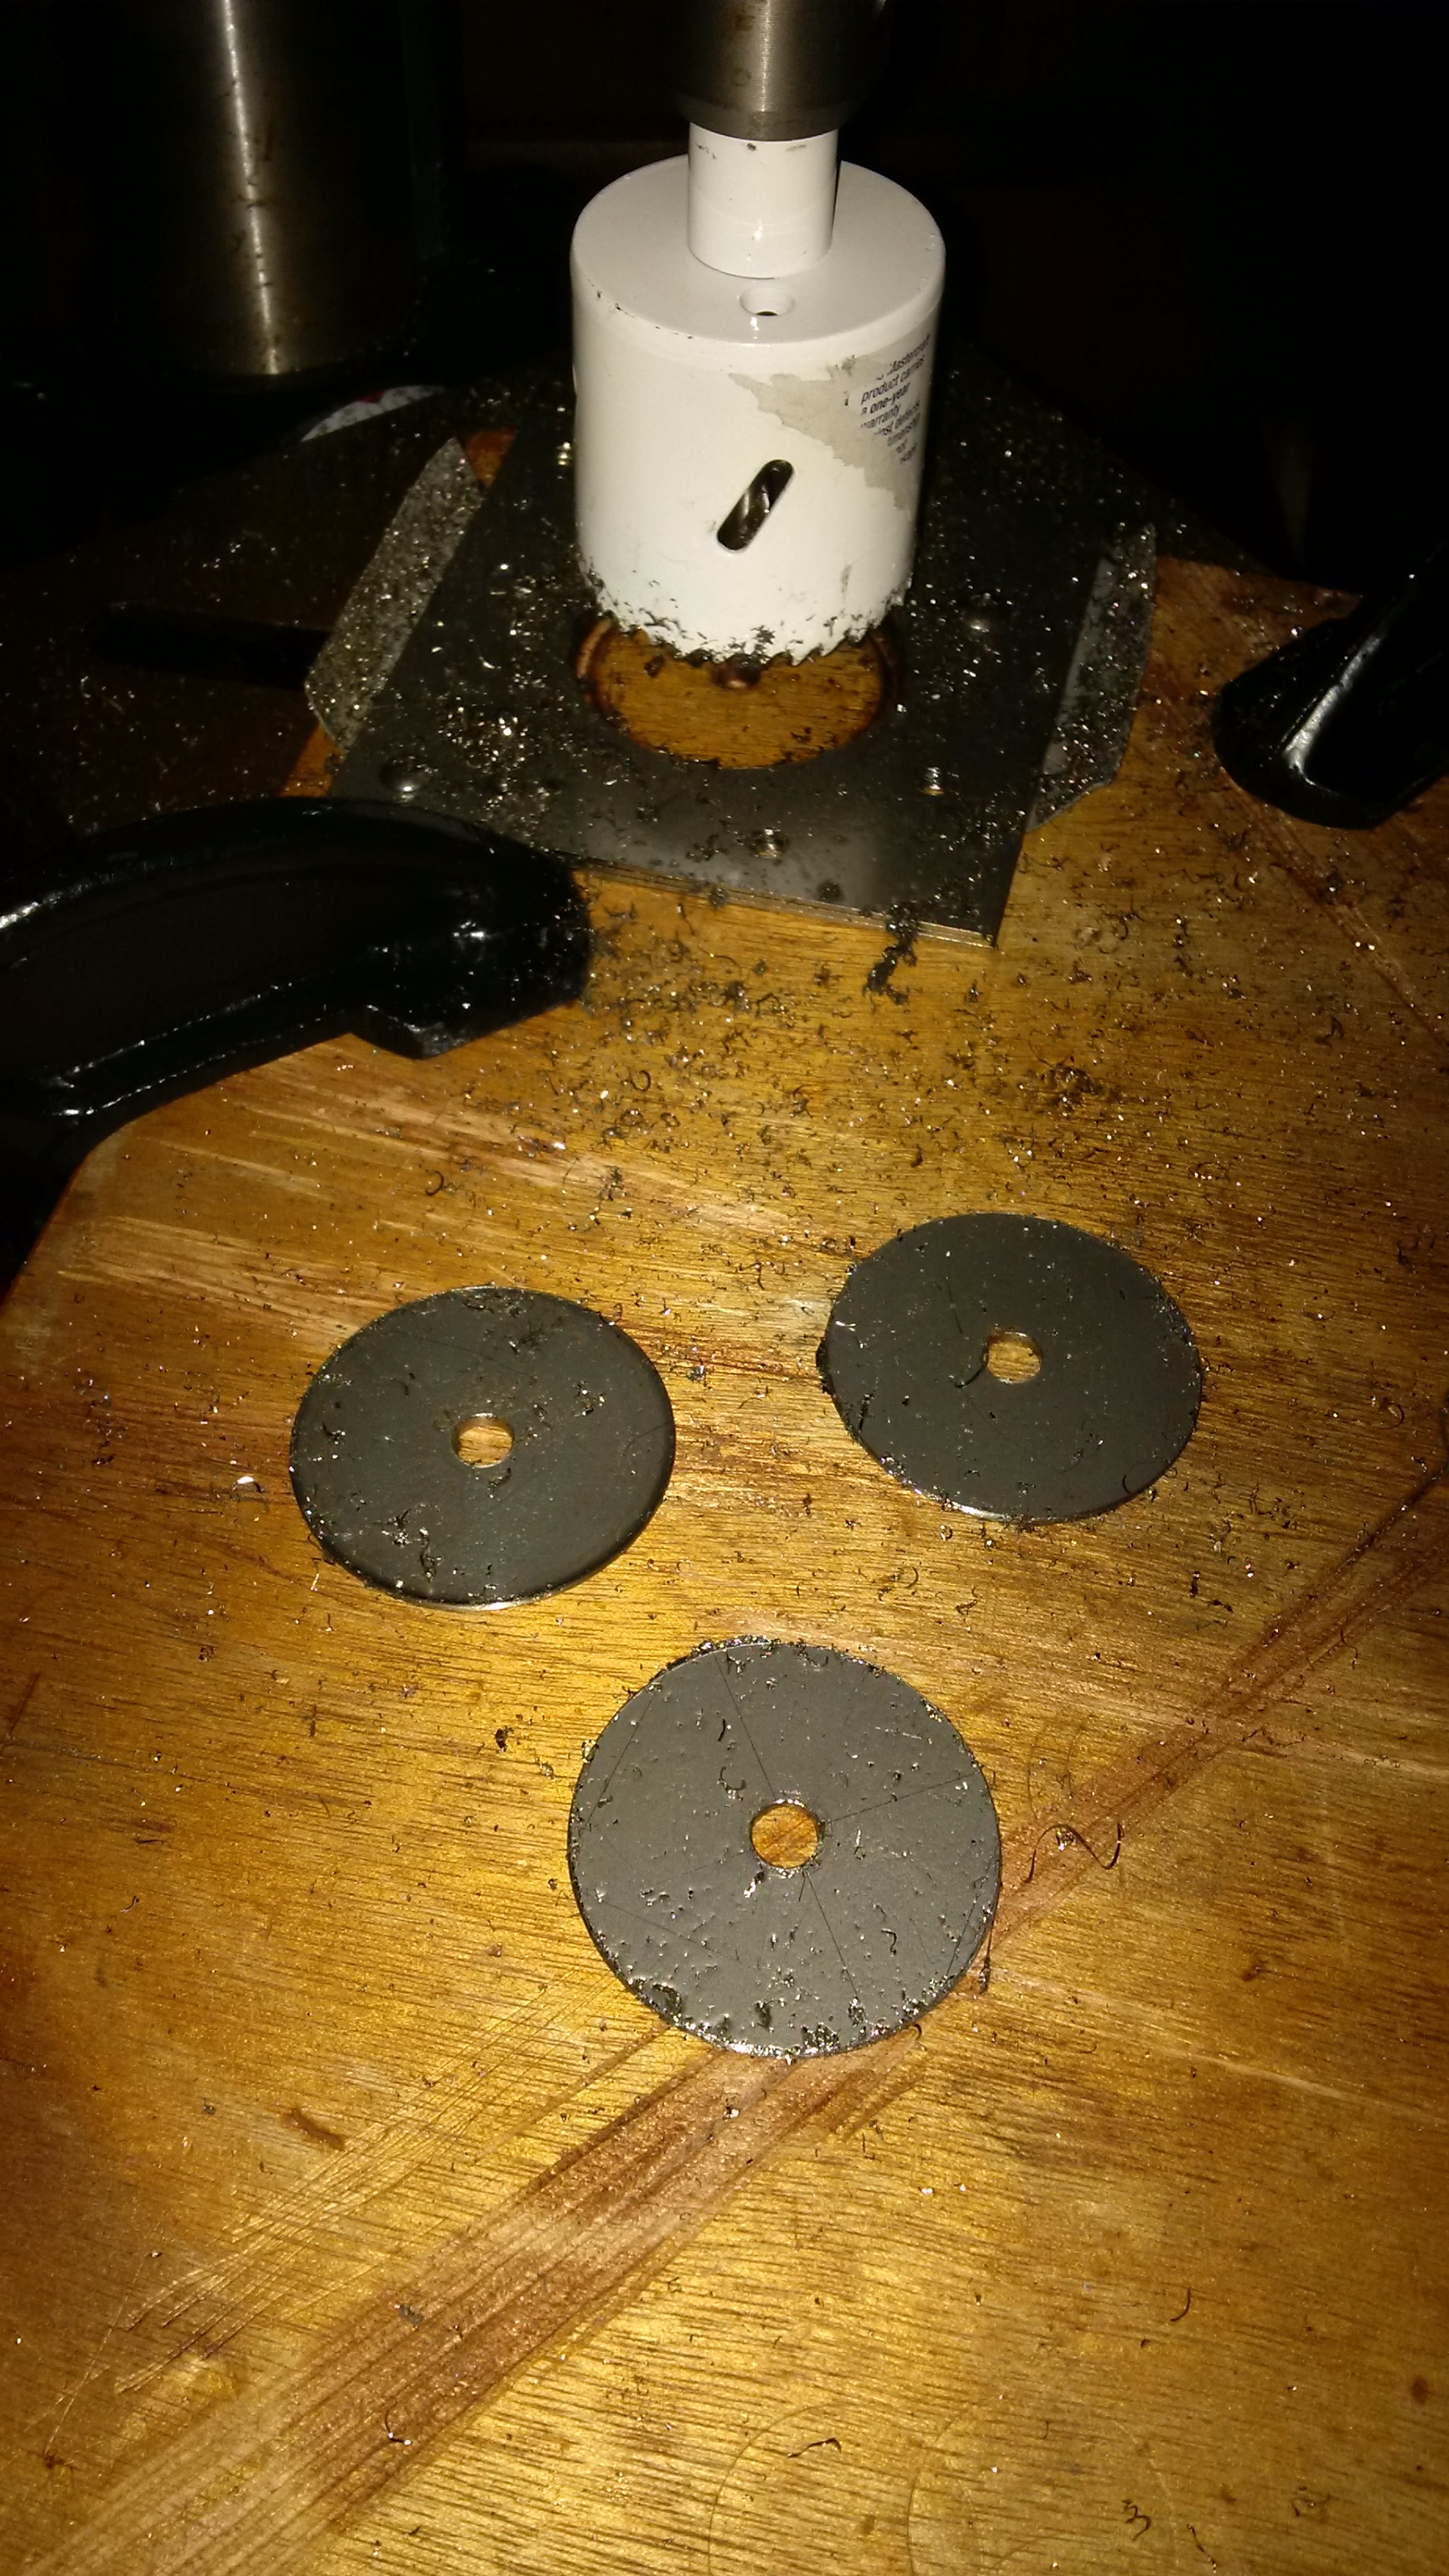
Sweet!
PIECES COMPLETE: 1, 4A+4B, 13, 11, 5A+B
HOURS: 14
Looking good, man.
Thanks!