After I got the smartplug and galvanic isolator installed, it was time to tackle the inside bits of the 120 volt system.
The first order of business was to replace the 3 AC outlets with GFCIs. These are the things you’ll see in bathrooms in houses, and basically trip if they detect a mismatch in the different sides of the AC power circuit (This is useful because the reason for the difference is probably because there is a ground fault, and that excess electricity is now going through your body on it’s way to a new ground which tends to be extremely bad for your health.)
They are cheap and super easy to install so this should be a breeze right? RIGHT?!
*Narrator: it was not*
The main problem was that as soon as I pulled out the first outlet, I saw the circuit was done with solid wire (like is used in household wiring), not stranded wire.
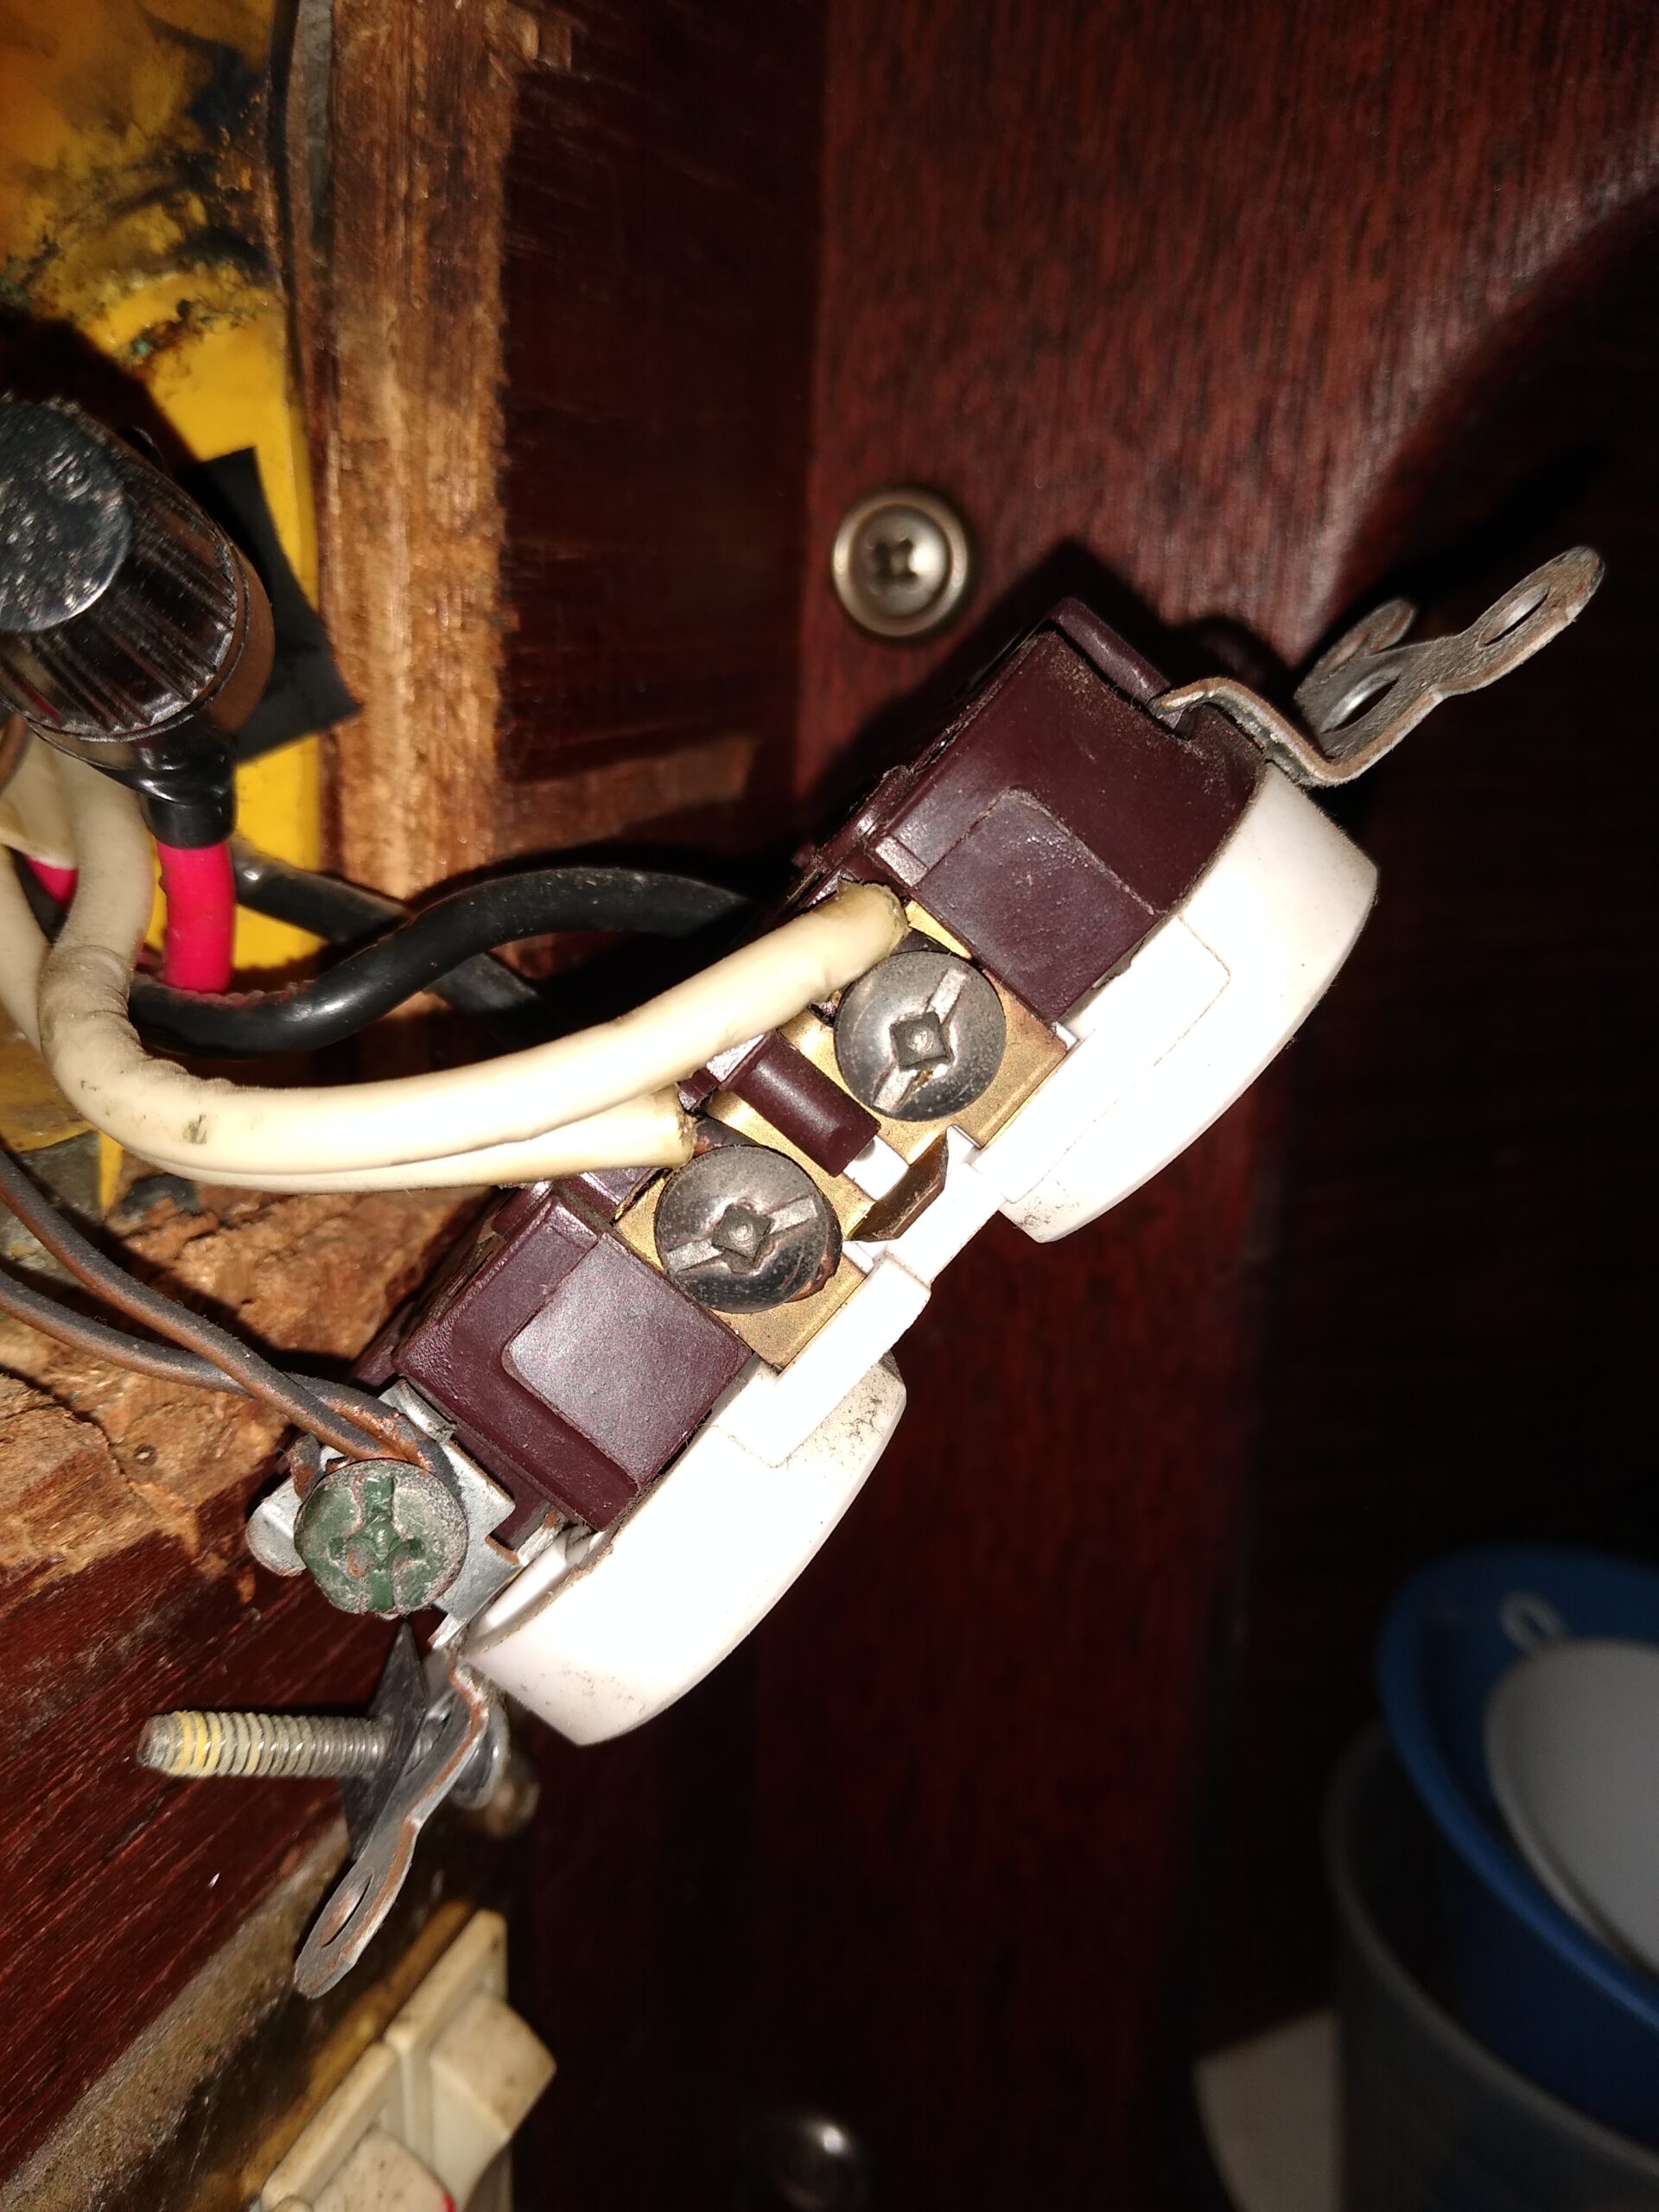
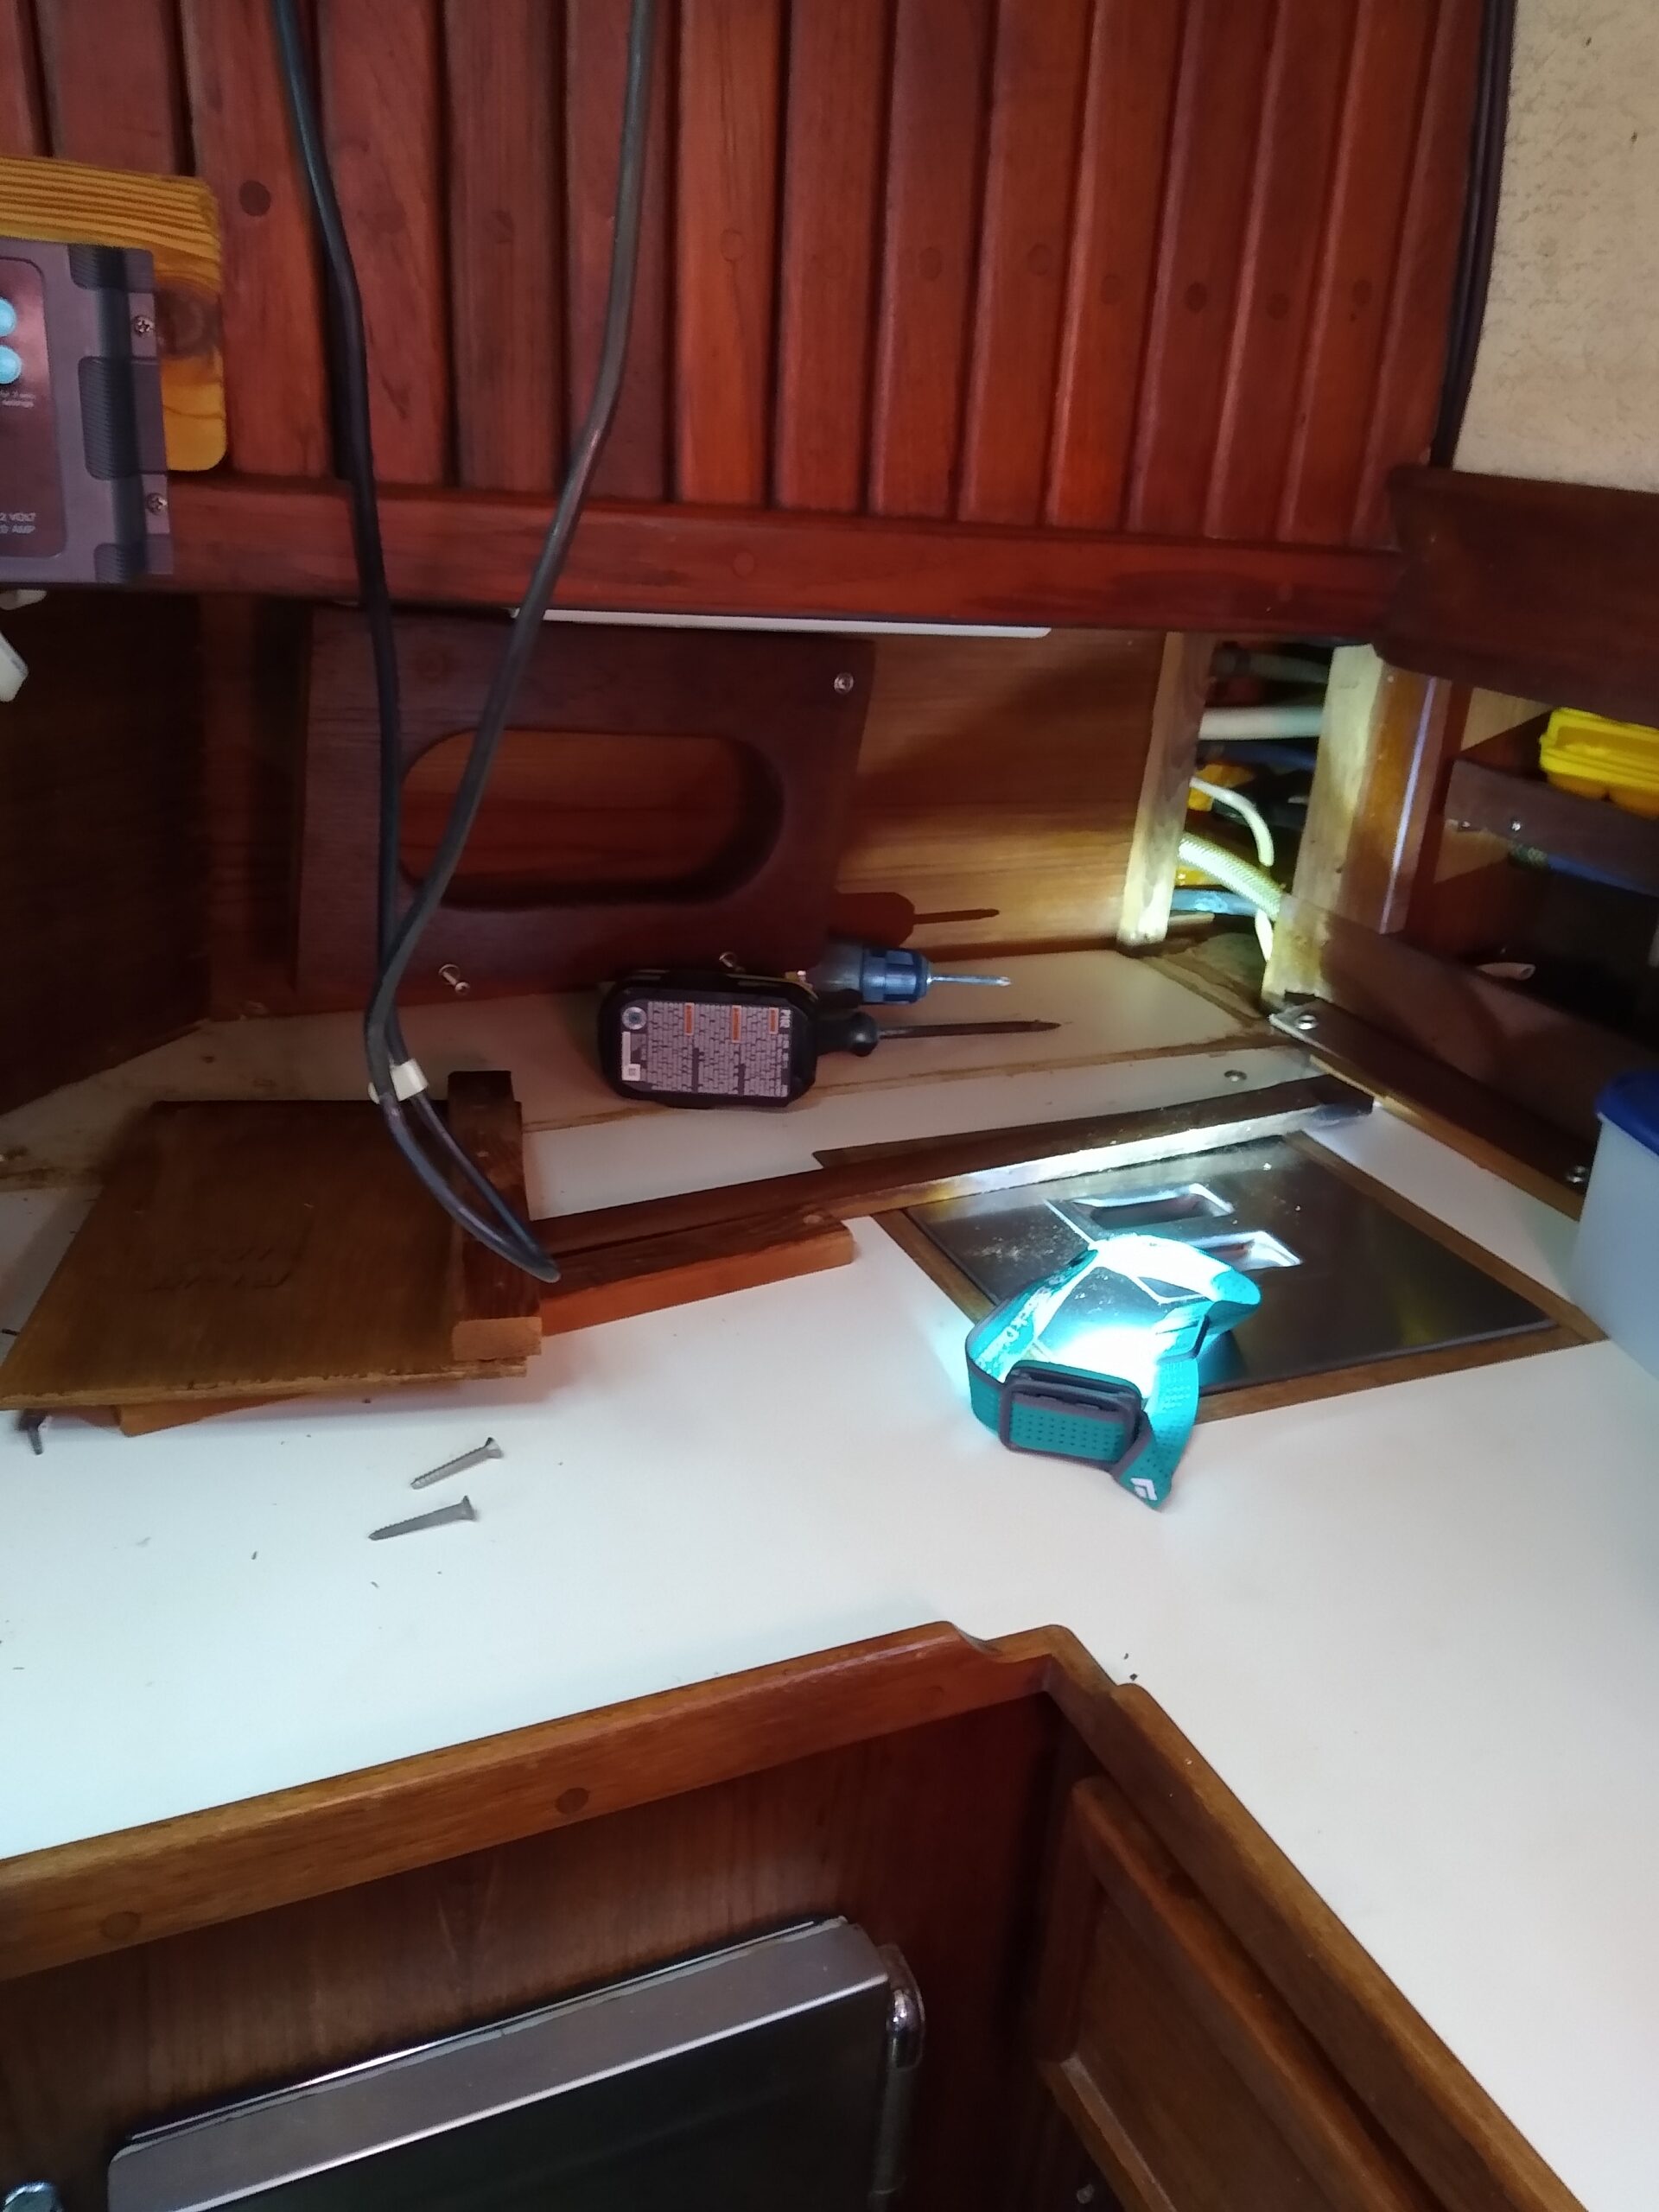
This is a bad thing as it is way less flexible and is likely to break with vibrations and hardens over time. So it all had to come out, which involved pulling out a bunch of old, stiff wiring, dissembling cabinets to get behind them and generally doing a bunch of unpleasant and uncomfortable things.
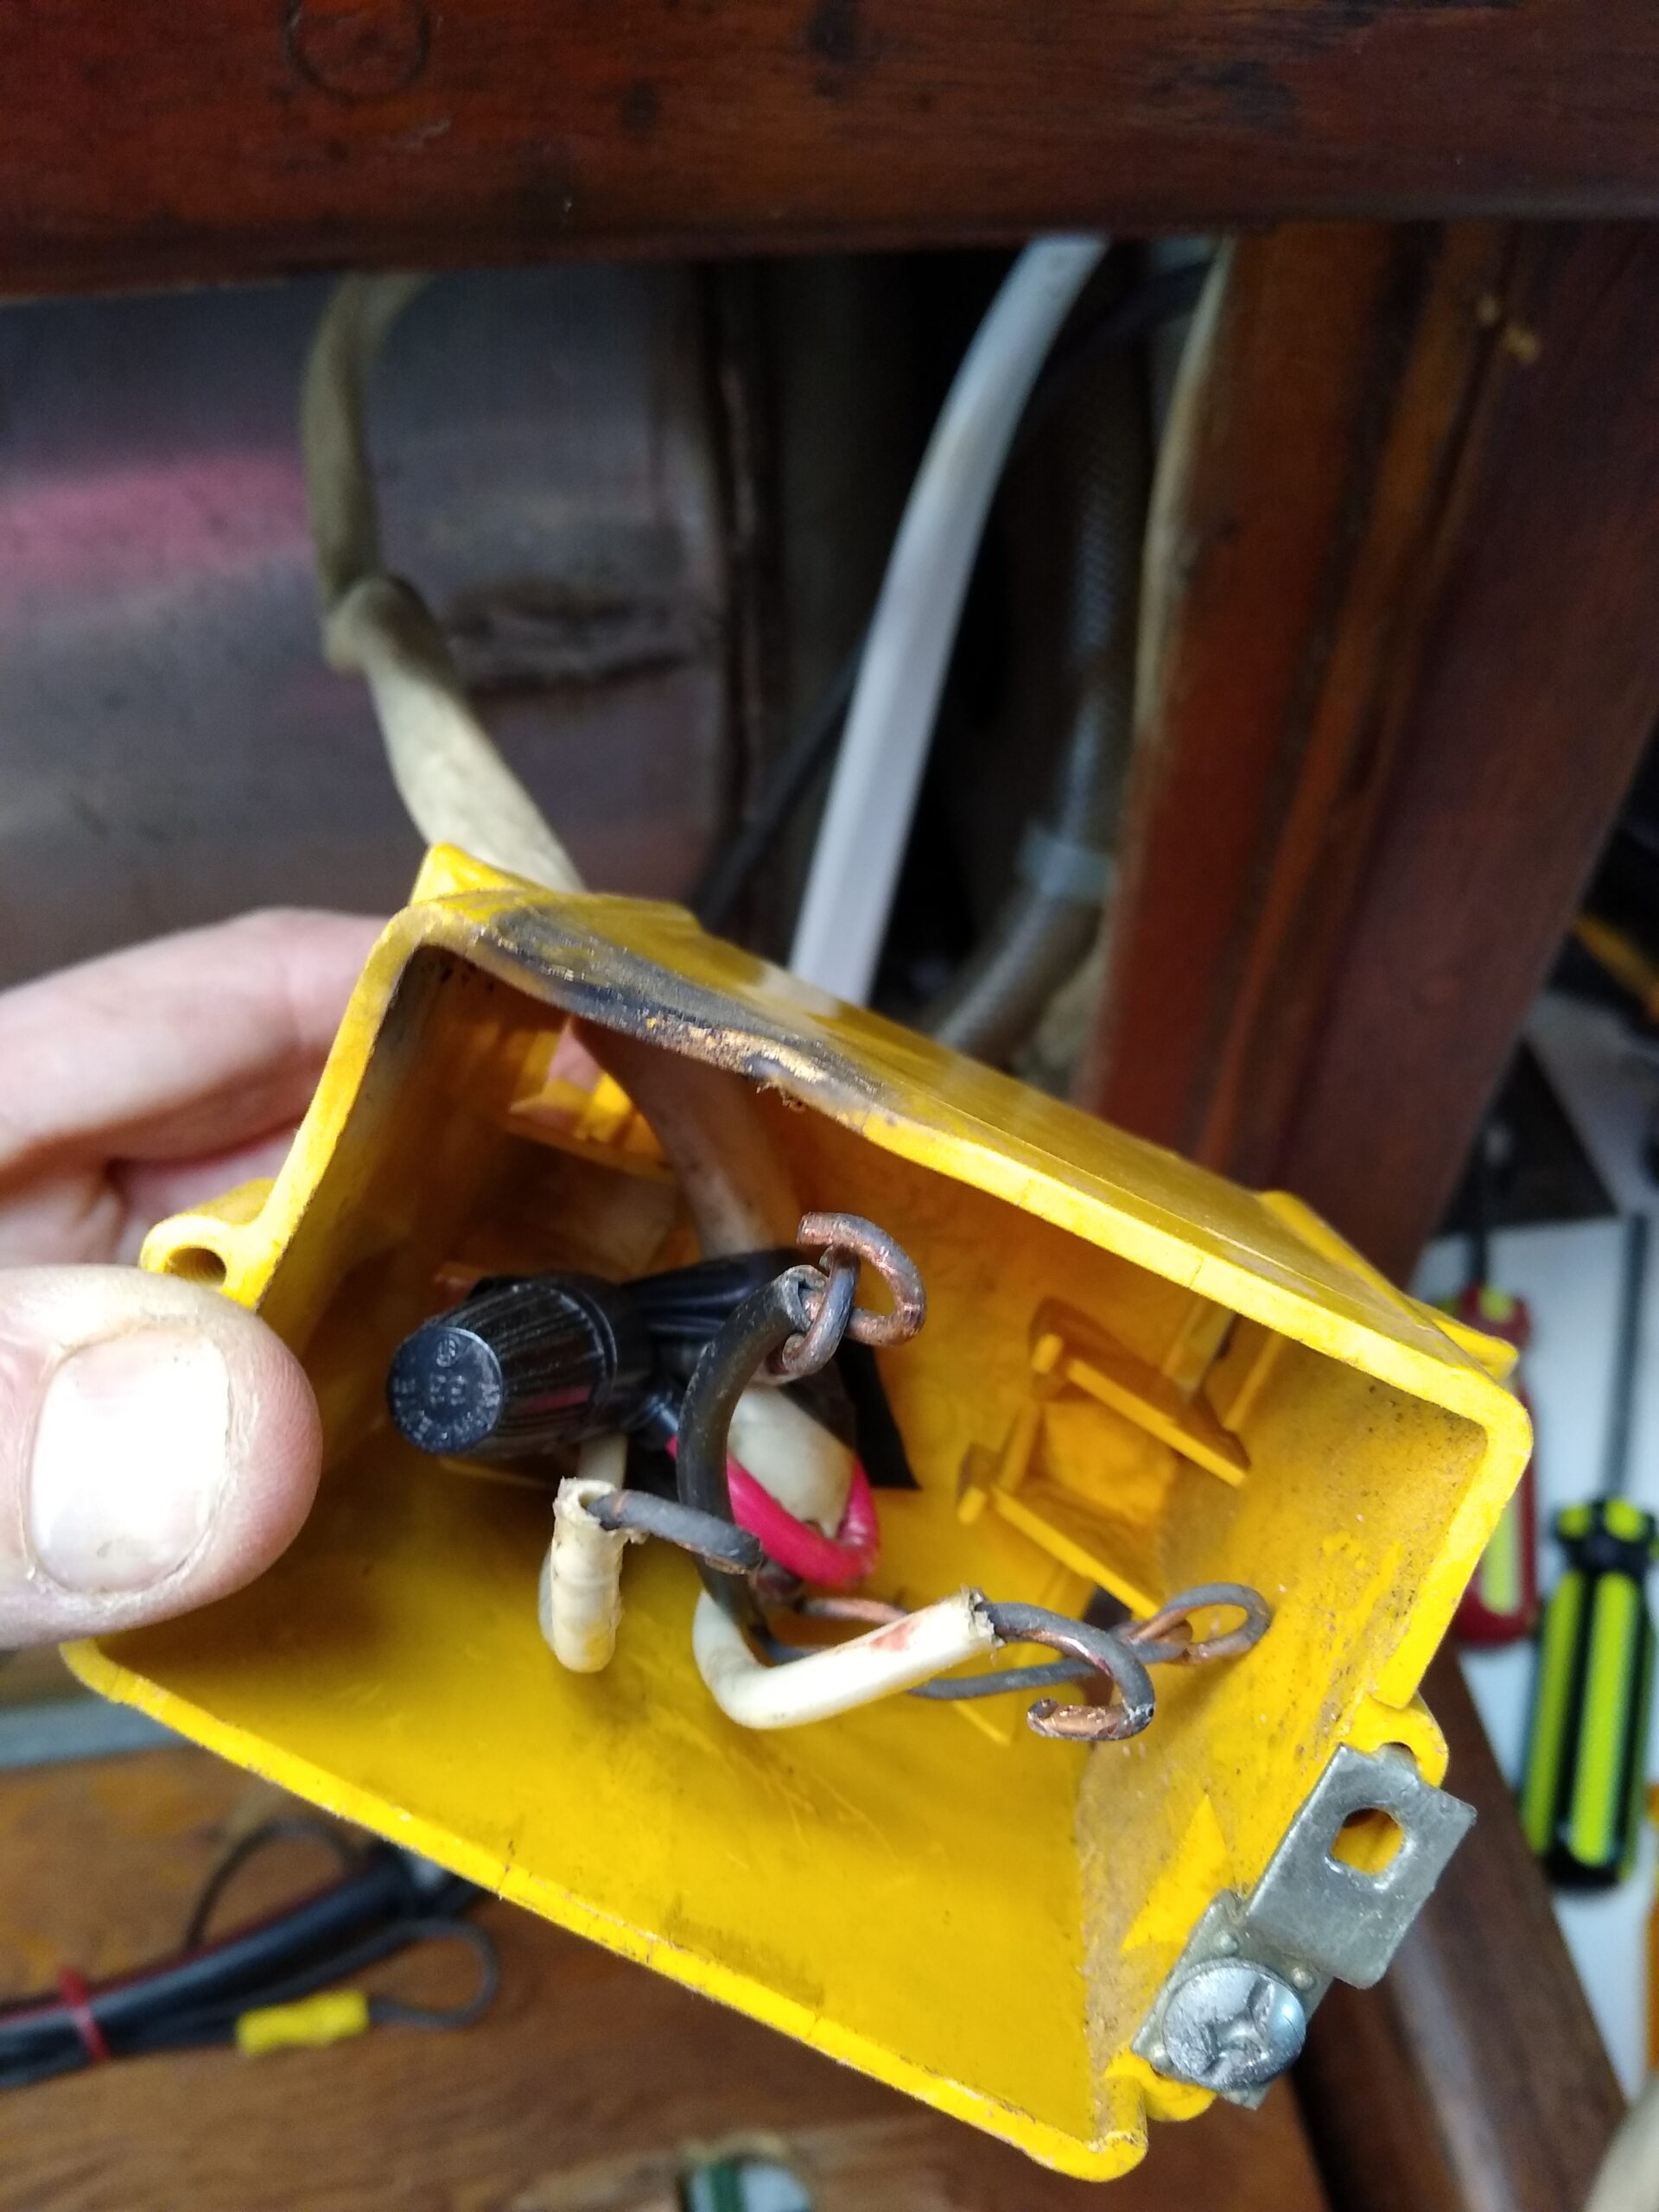
Eagle-eyed readers will have noticed the wire nut in the picture as well (another no-no) as well as this rather… worrying scorch mark on the backing box.
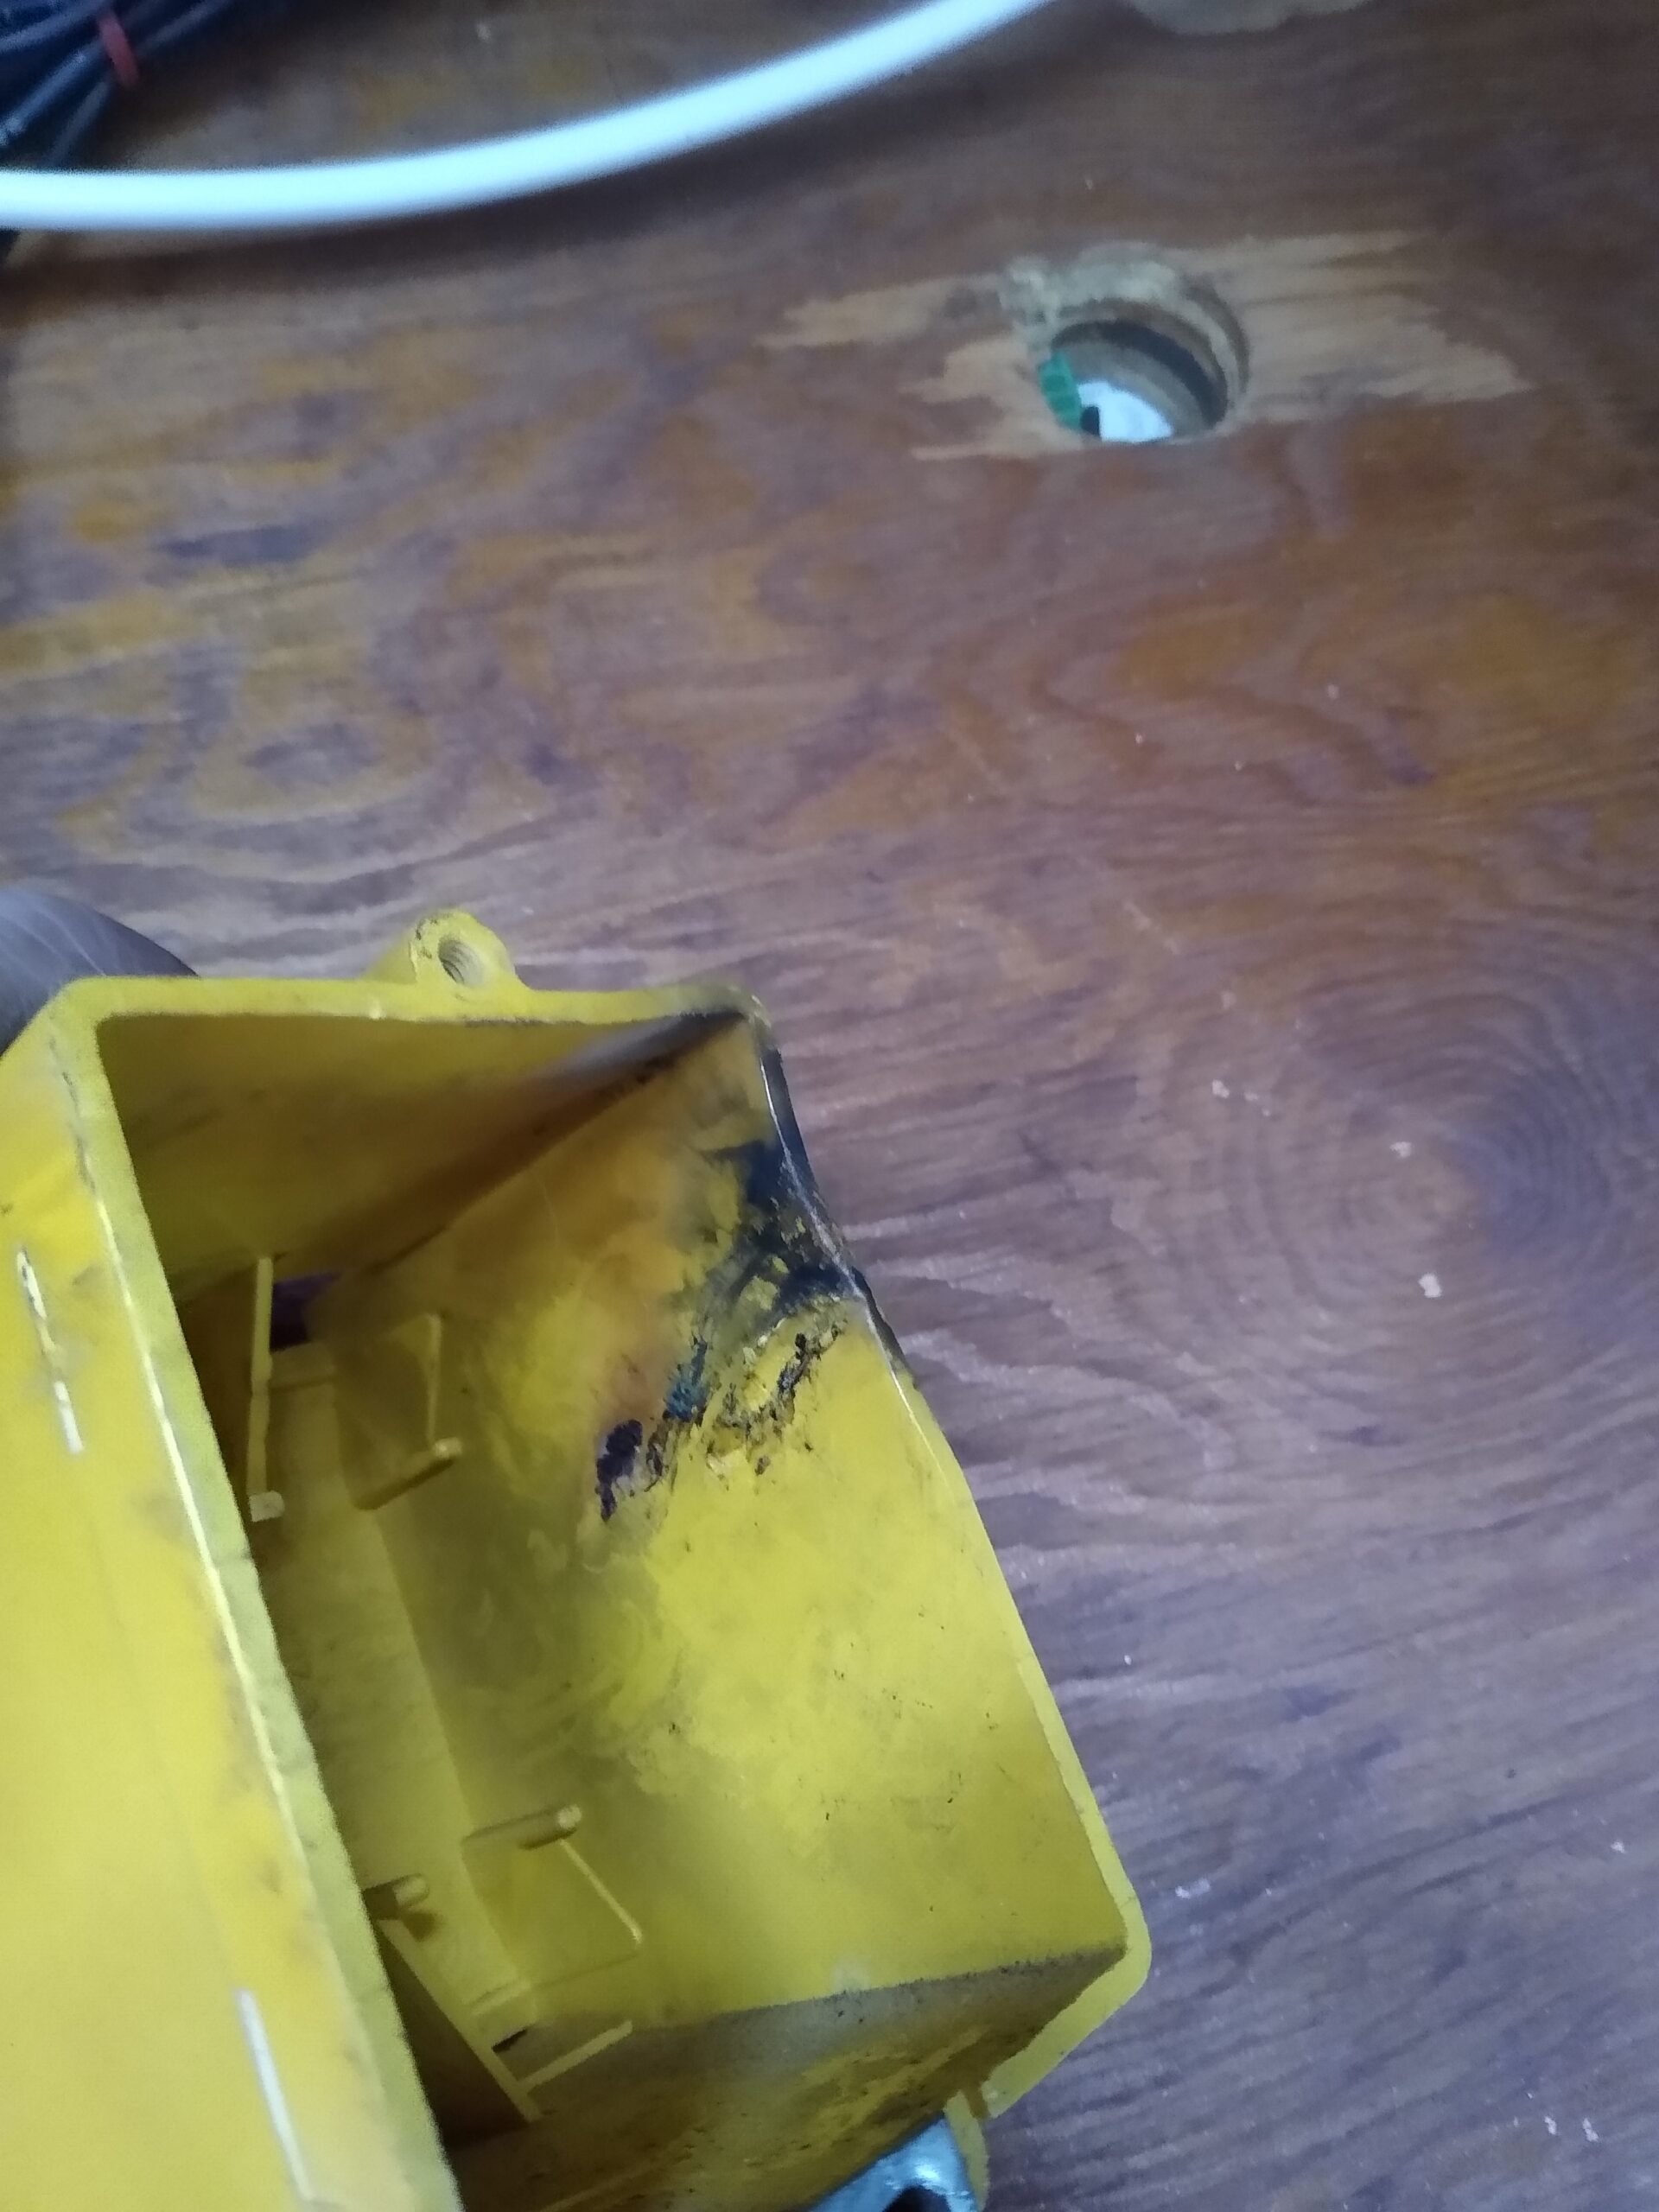
Yes, the wire had at one point got so hot that it had melted and scorched the case! Yikesaroonie! This was probably due to high resistance caused by a weak connection, corrosion and a high loading of the circuit. Seeing that reaffirmed that I was doing the right thing!
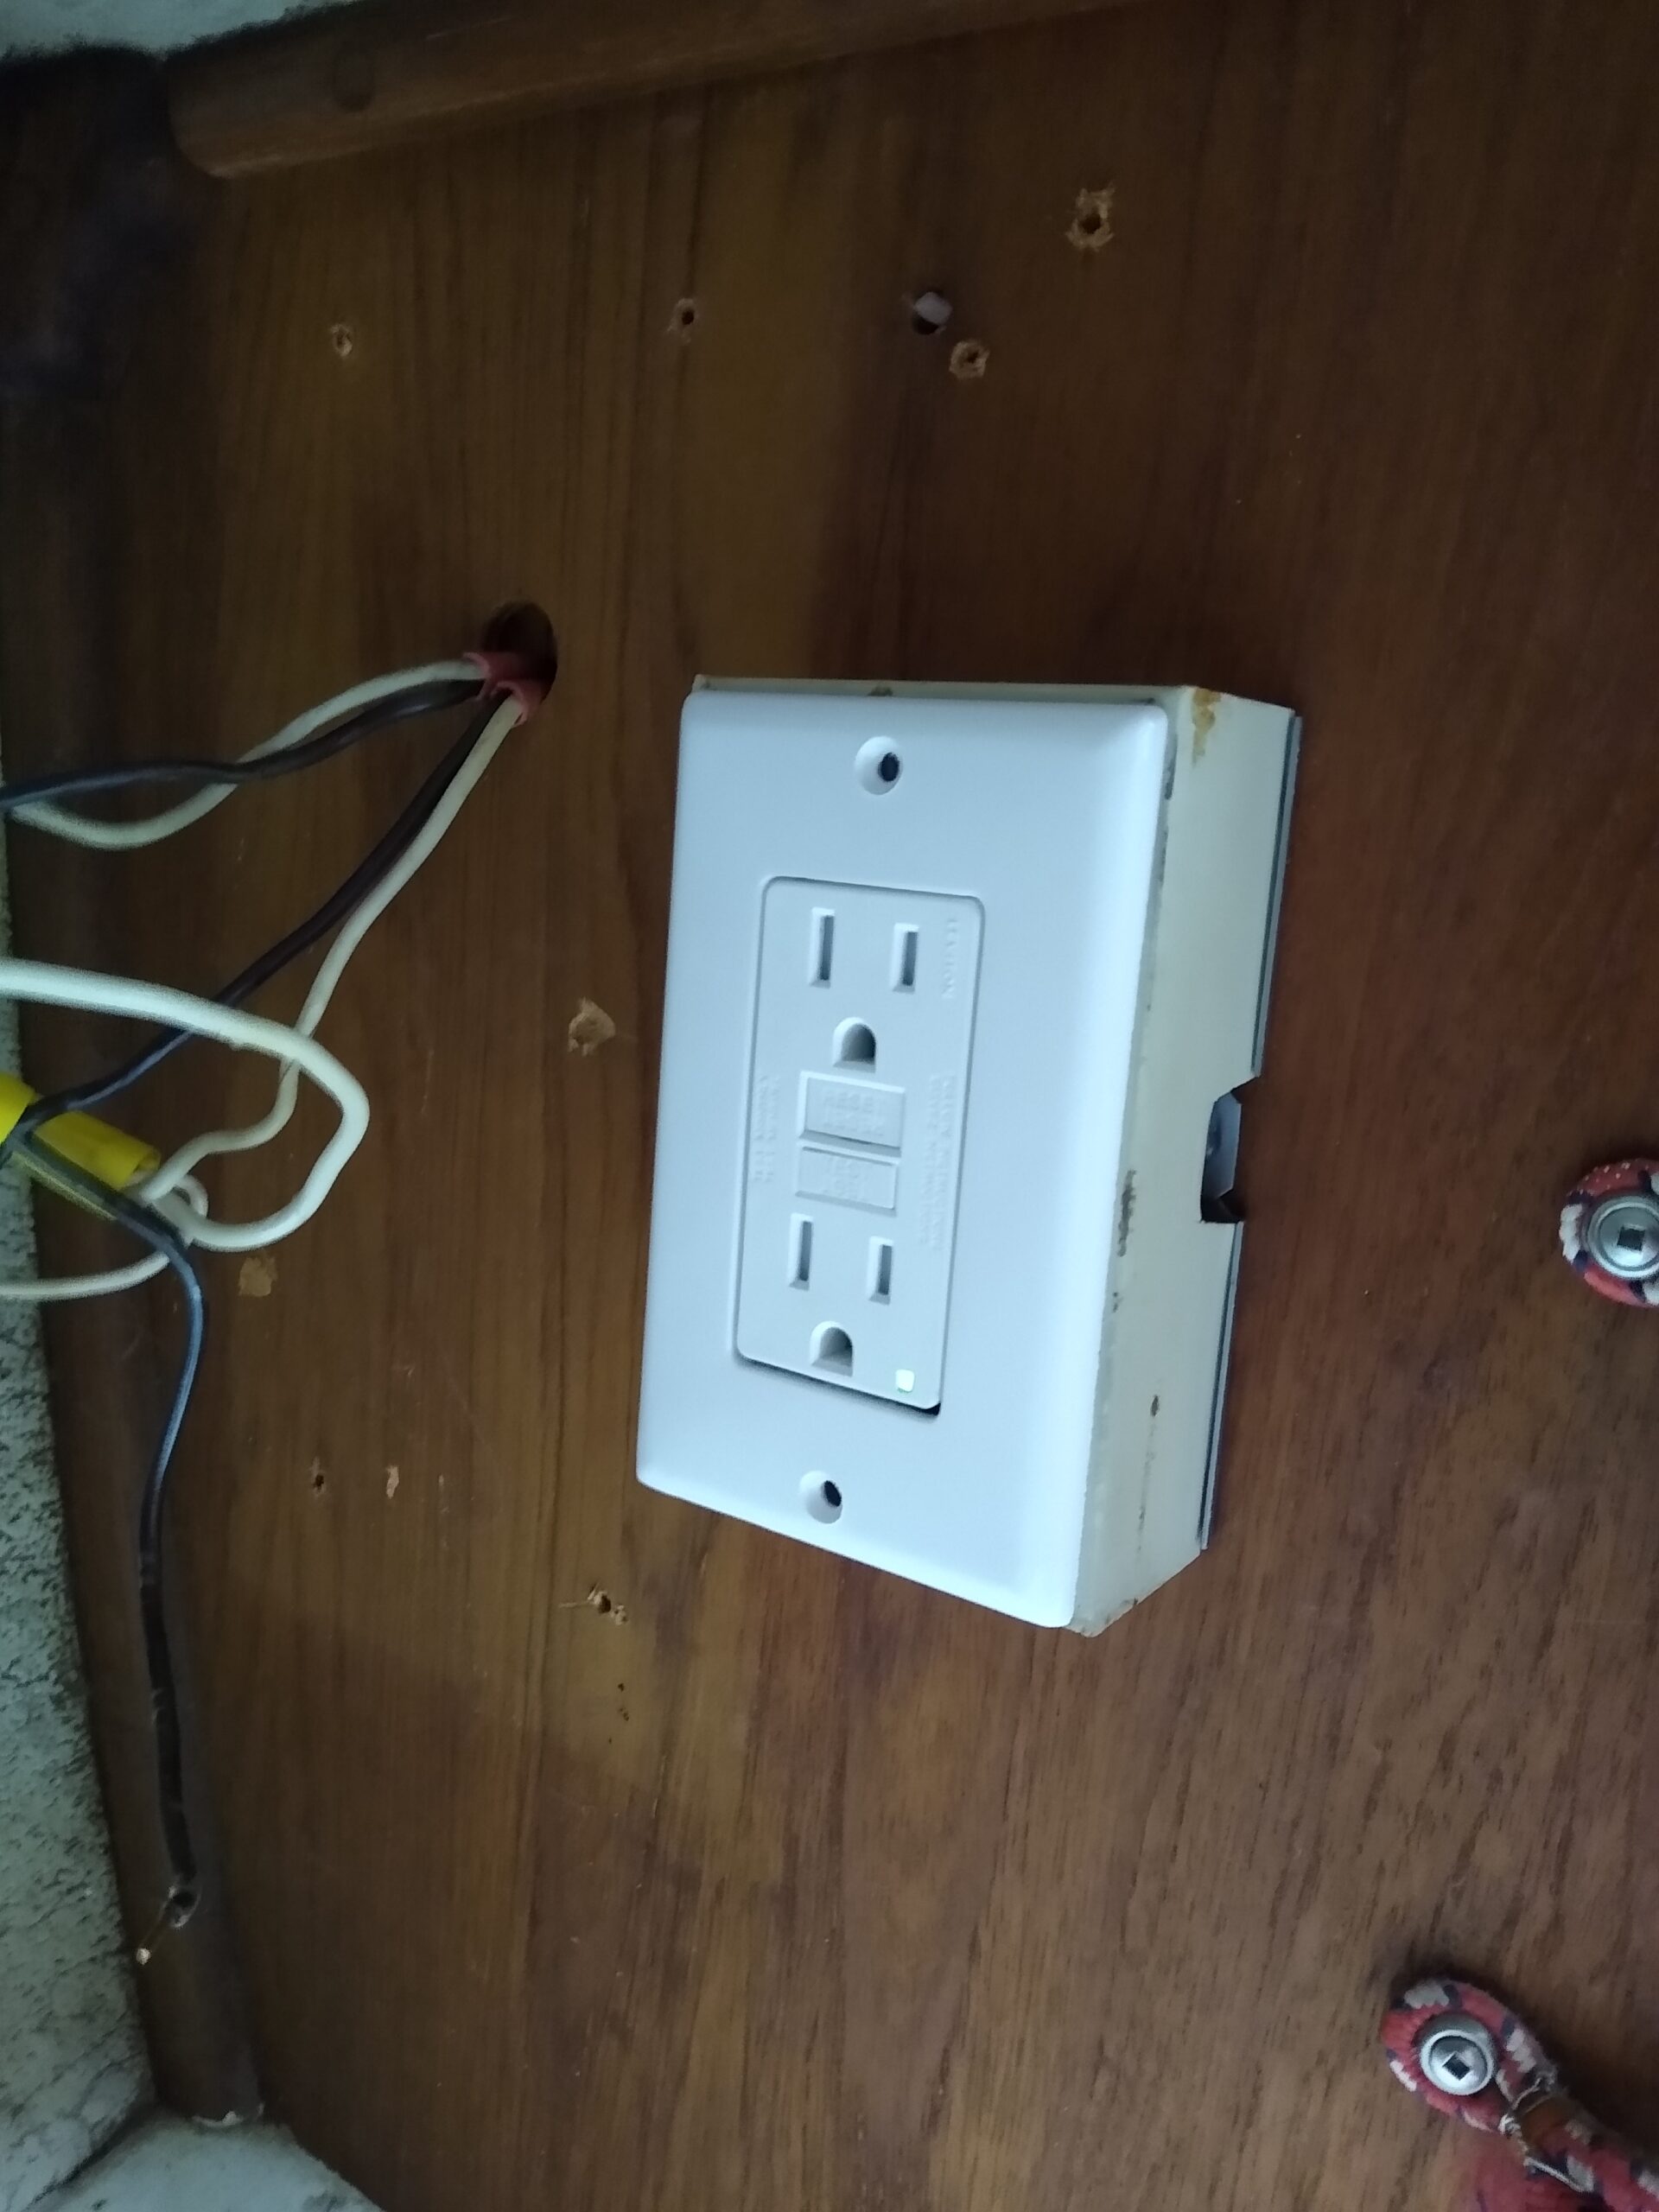
After that it was a quick trip to the shops to pick up a spool of 14/3 wire and some heat shrink connectors and it was time to do the whole thing in reverse, this time running wire back to where the outlets were. It turns out that the outlet in the V Berth area wasn’t even hooked up yet, so I had to do that run too – and then try to remember how all the furniture went back together (note for next time, take more pictures)
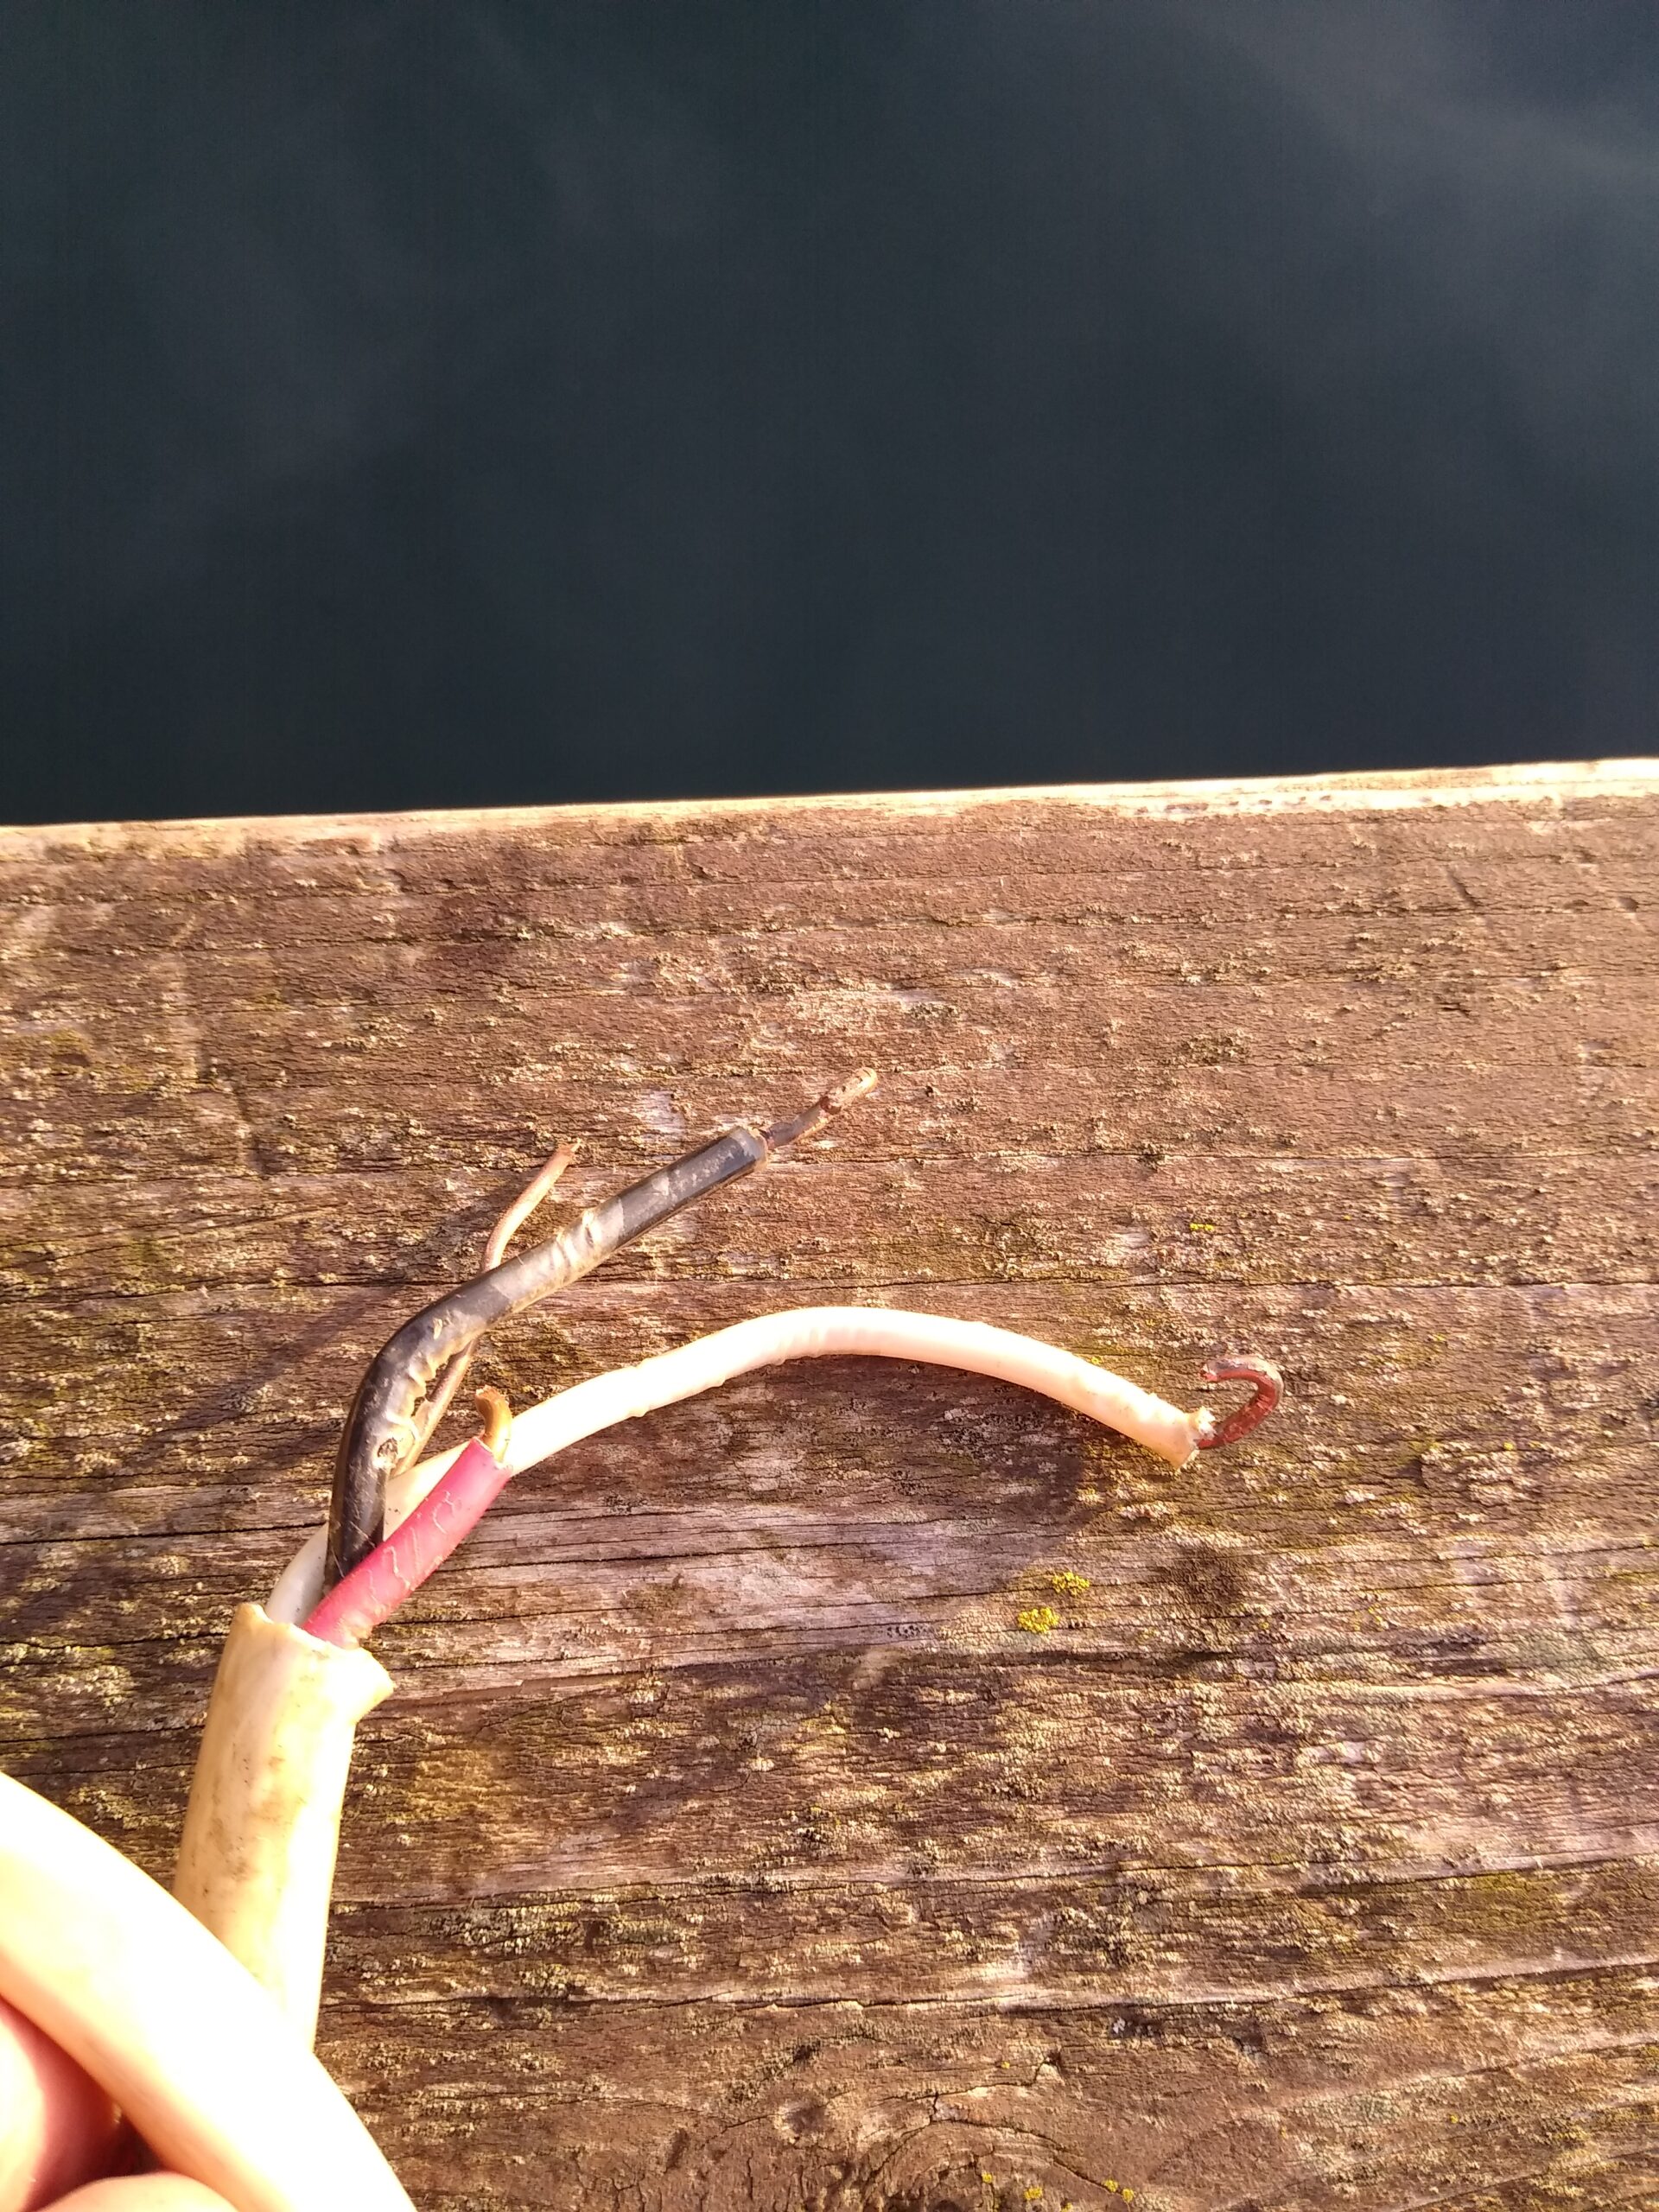
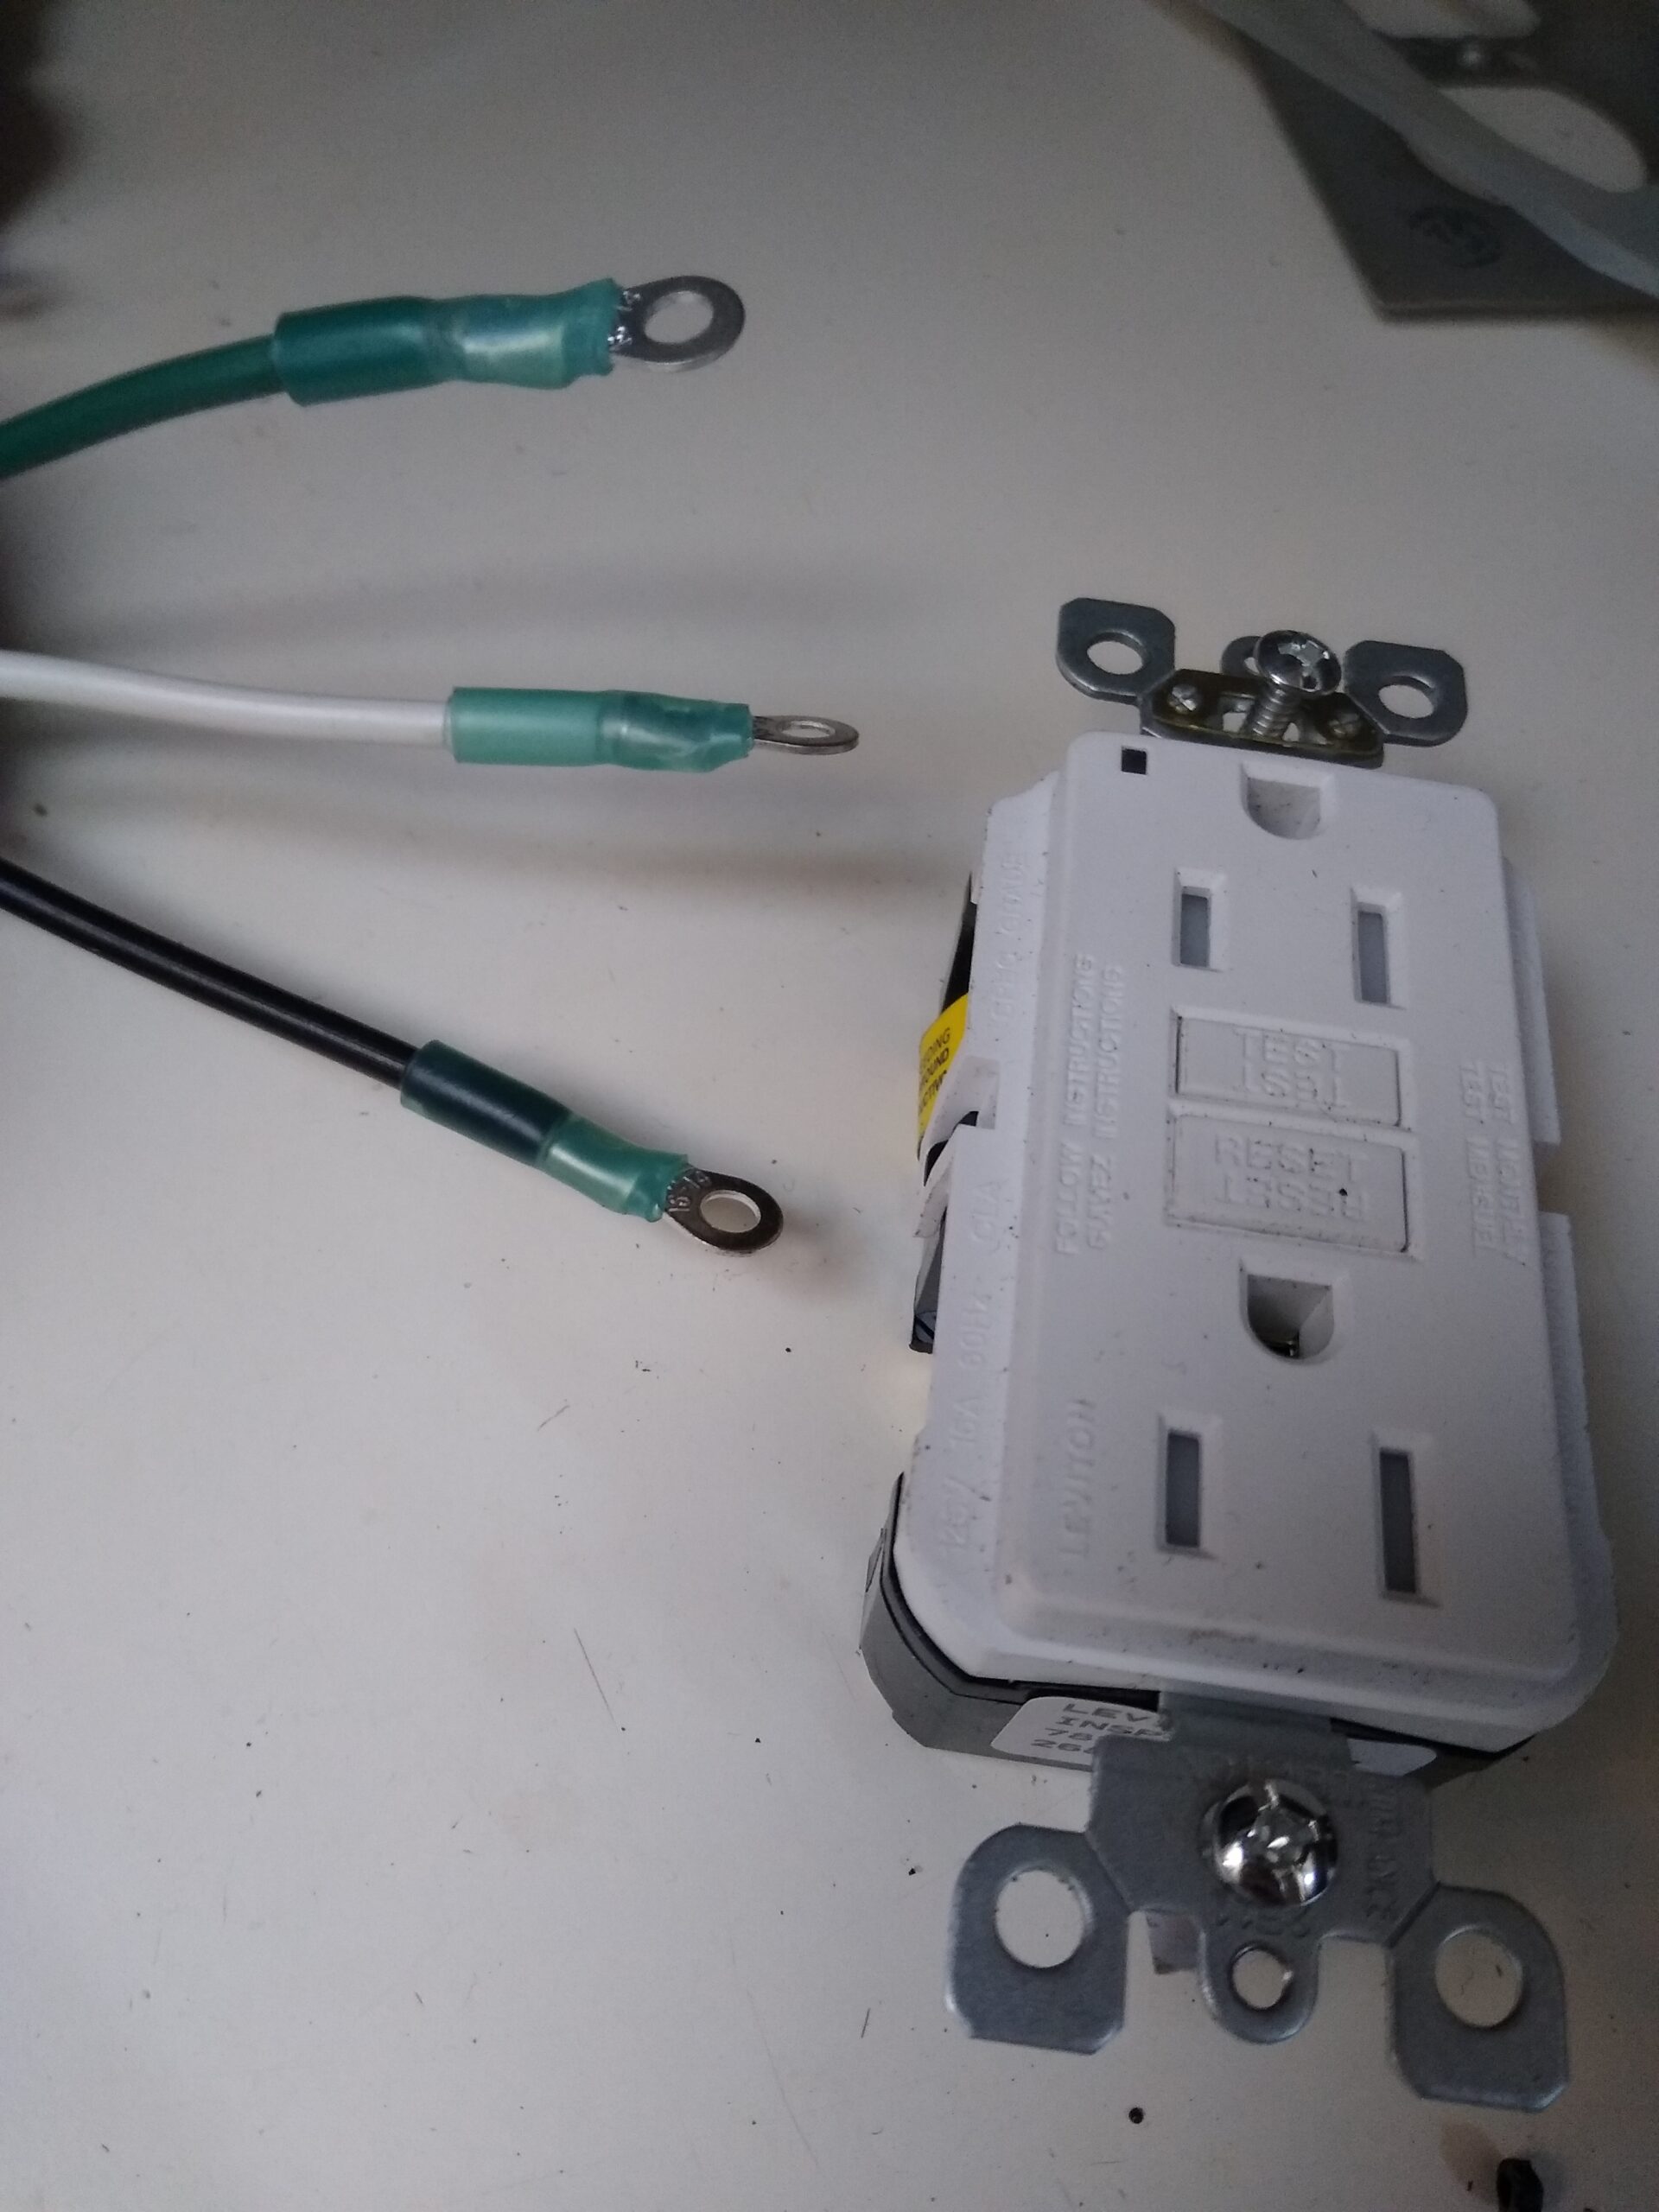
Eventually, over a few days I got all the new wire runs in and it was time to hook up and install the GCFIs. This was pretty easy compared to everything else and just involved crimping a bunch in uncomfortable positions.
Here is a picture of the new GFCI outlet and a freshly crimped/heat shrunk set of connectors.
Finally that was all done and I just had to connect them all at the AC panel (which will be the next post).
And no one but you will really appreciate how much went in to changing the outlets. Thanks for giving me a bit of an idea what I’m about to get myself into!
Honestly, I was looking back at my old entries and it was still not as much a struggle as changing gudges! That took me several days just to do one outlet!