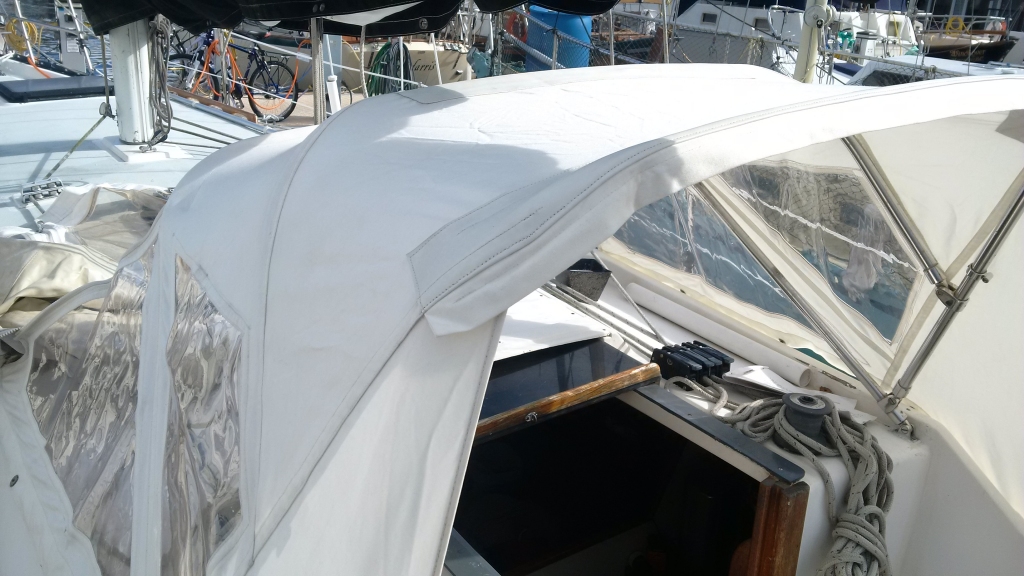
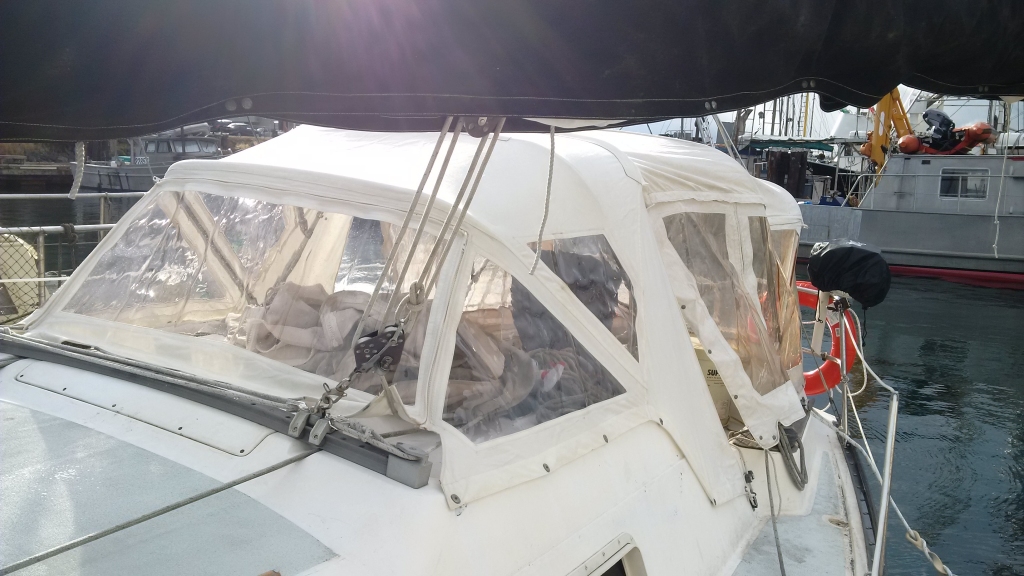
One of the things the boat came with was a dodger frame (that had pulled loose), and rear frame, and a big bag of what can only be described as ‘mystery canvas’.
With Winter coming, a project that rapidly increasing in importance was reinstalling the dodger.
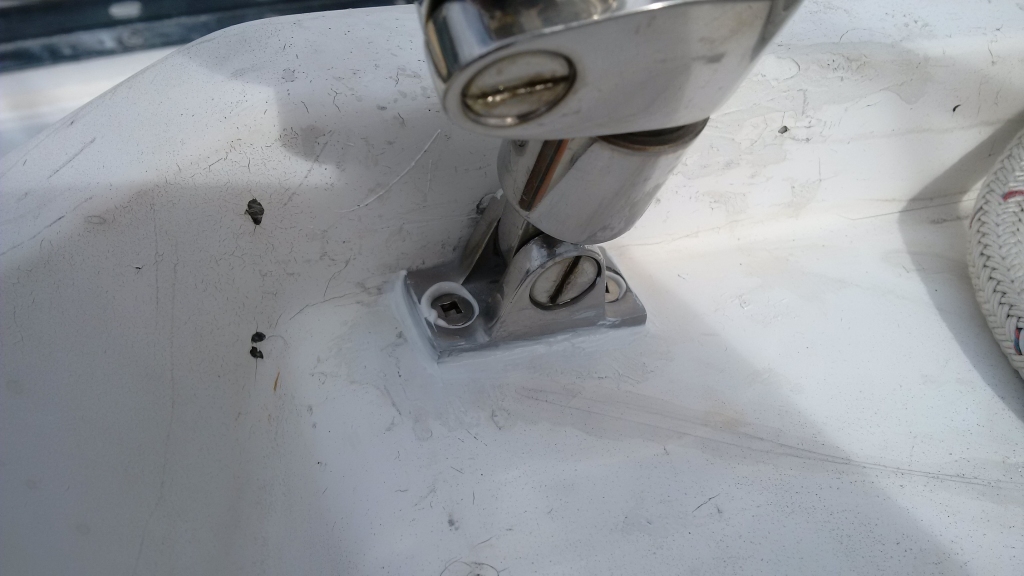
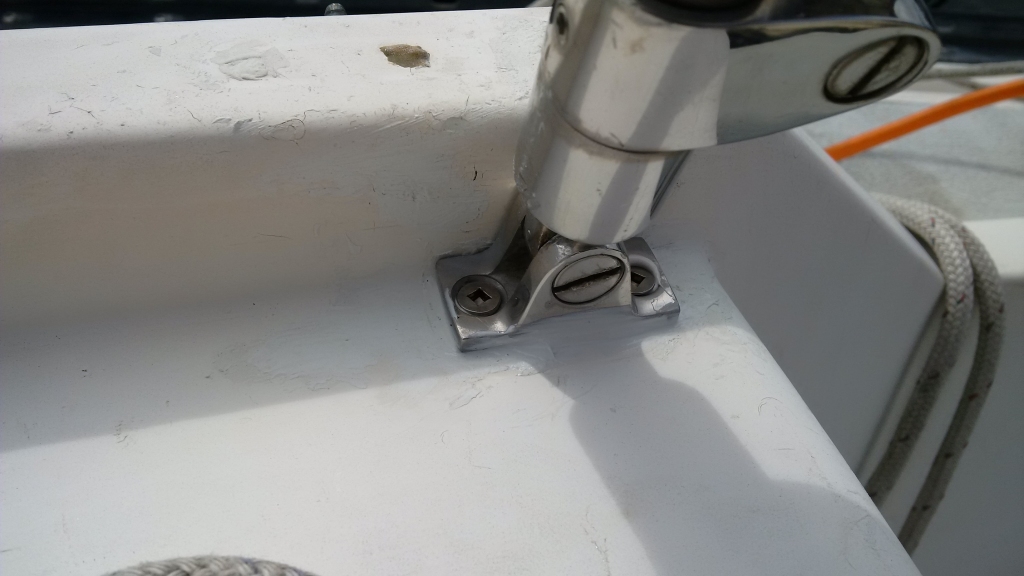
First up was installing the frame. This involved drilling pilot holes, slapping 3M 4200 on stuff and then drilling in some screws.
Unfortunately I got too enthusiastic with the impact driver and one of the screw heads twisted right off – uh oh. I ended up having to drill it out and put in a bigger screw.
Finally I ended up with this.
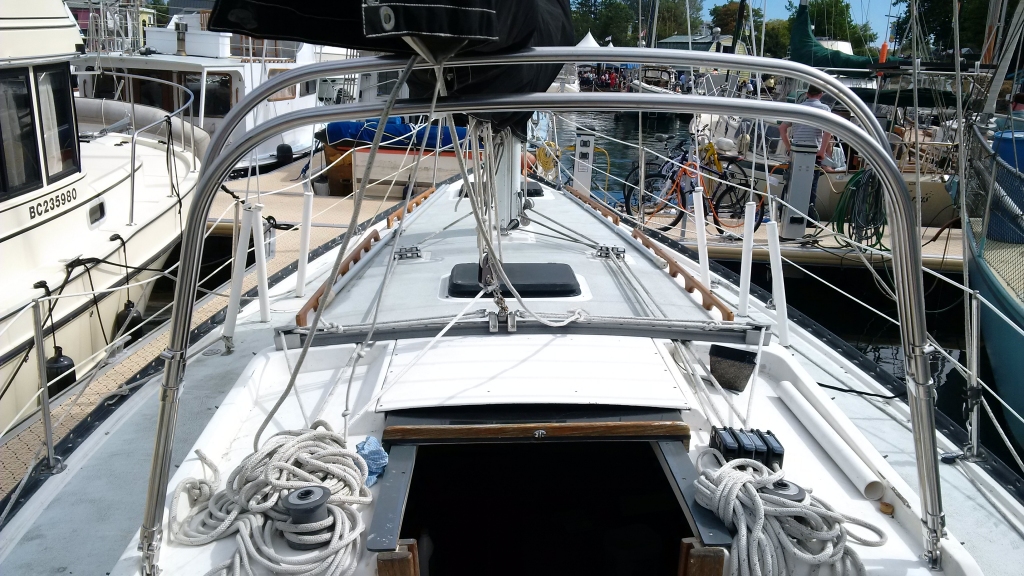
This is what the dodger frame looked like
I left it overnight to cure and set.
The next day it was POURING with rain, ugh. I waited for a break in the rain and tried to figure out the mystery canvus as quickly as possible, a lot harder task than you’d think.
Eventually, I figured out what was the dodger proper and put it up
Next was the tricky bit – I still had a ton of canvas left, so I guess maybe there was a bimini as well? I figured out how the roof went on next and attached it.
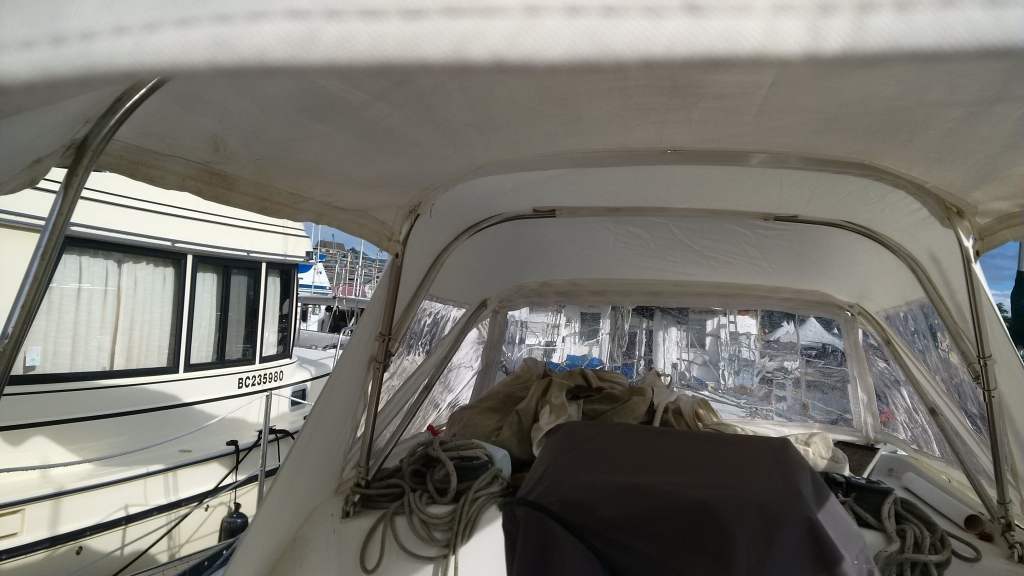
Once that was on, the sides were easy enough to figure out.
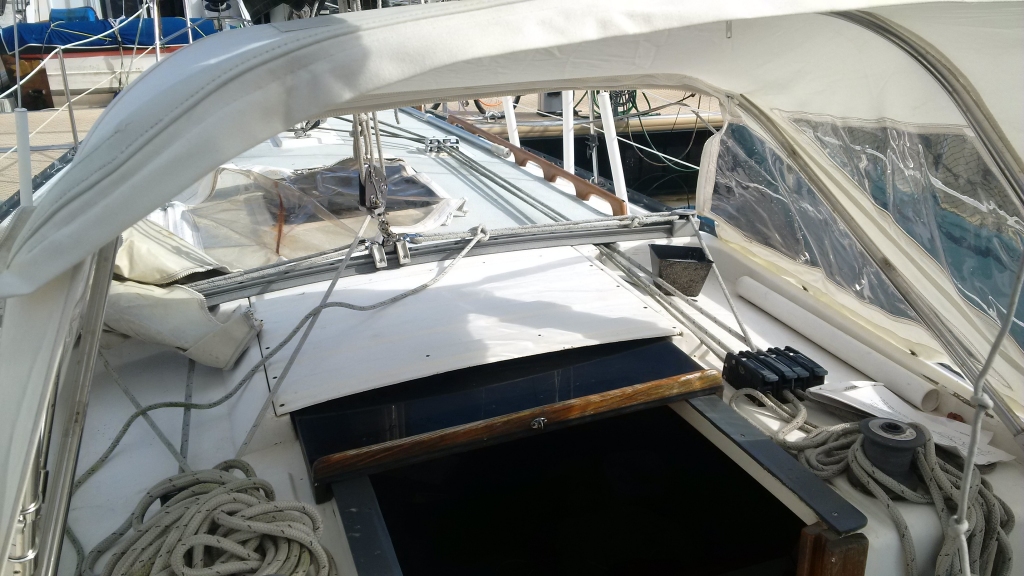
So I now have a completely enclosed cockpit!
I have a bunch of stuff to figure out first still, there doesn’t seem to be anywhere for the main sheet to go (you can see in the picture I had to loosen it and pull the traveller all the way over to one side, which I’m worried will let the boom swing too much), the front of the windshield seems to hook into something that doesn’t exist anymore, the sides don’t fasten in and just flap and the back doesn’t button down correctly. But it’s a lot better than an open cockpit in the winter!
