After getting the antenna all set up, now it was time to install everything and plug it all in.
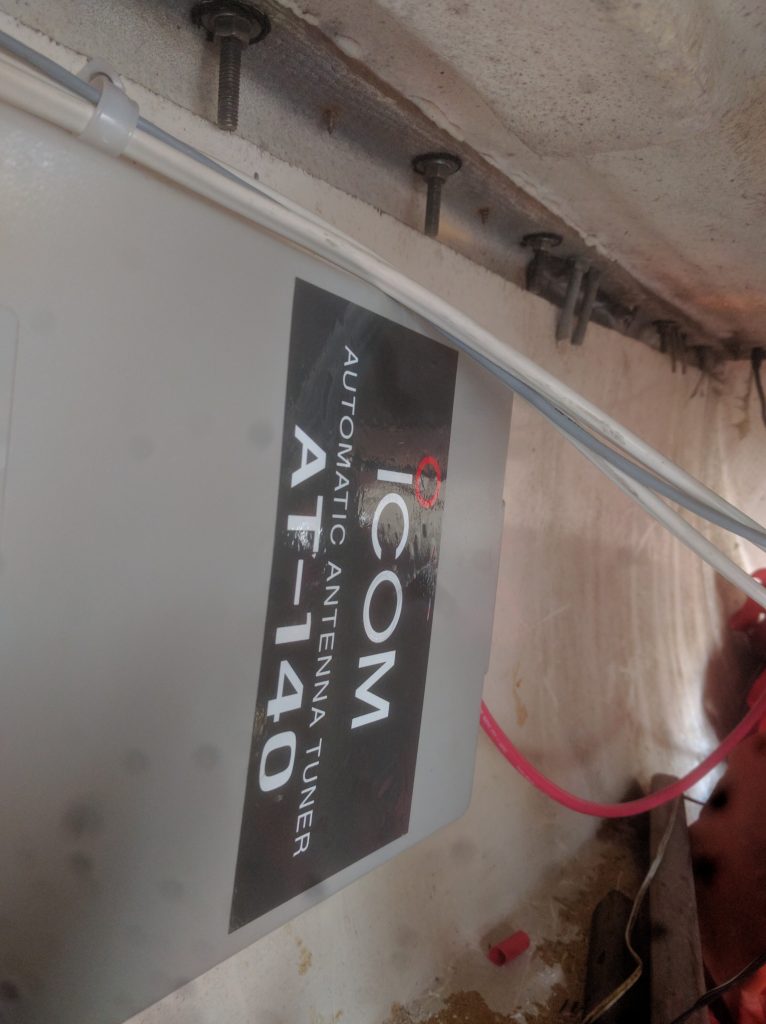
First, I attached the tuner under the cockpit and plugged the antenna in
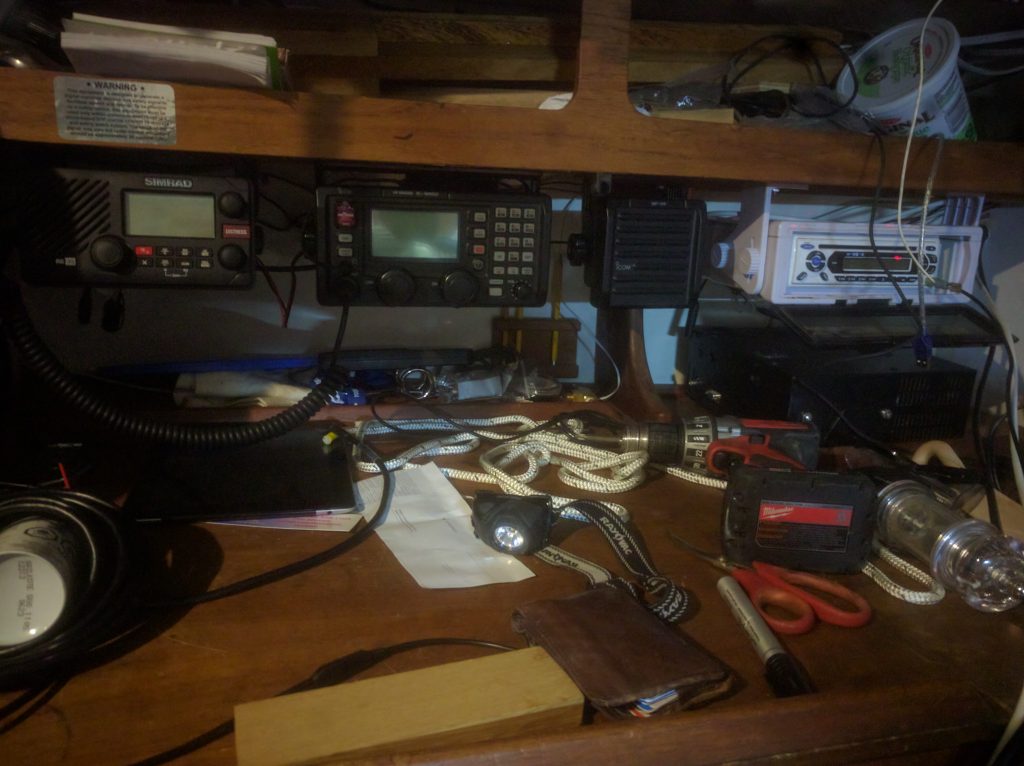
Next, I had to find room for the speaker and front unit. I ended up sticking them on the nav desk next to the VHF and stereo
Wow, that’s a terrible photo. TOO LATE NOW!
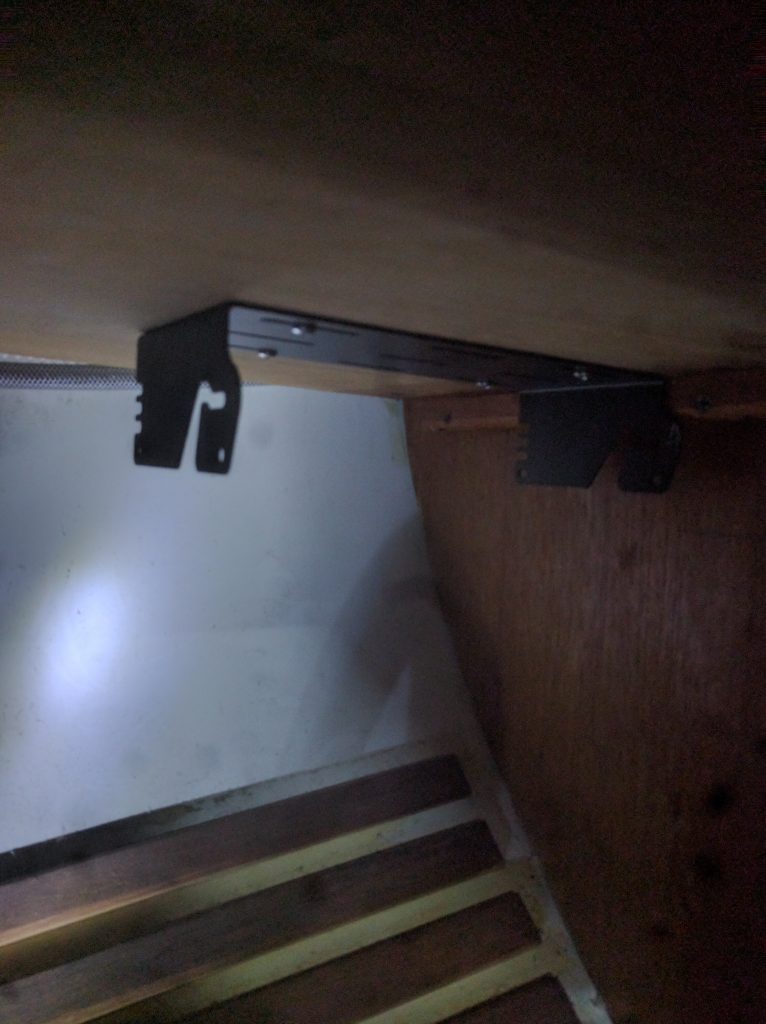
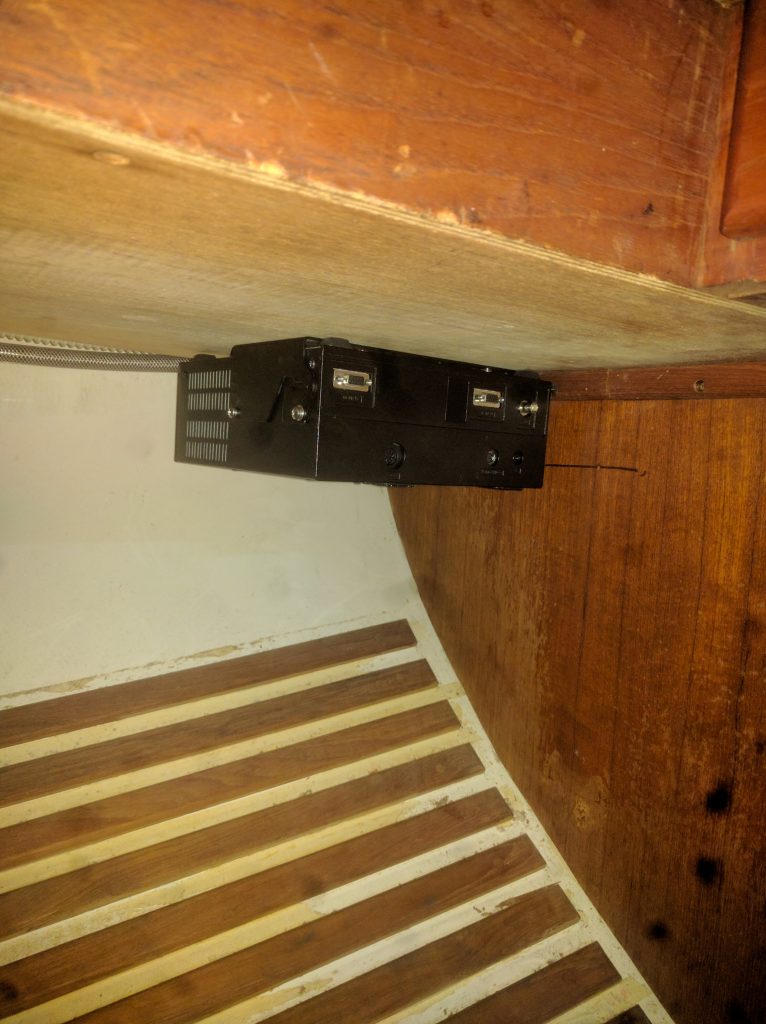
Next was installing the actual 10lb unit. I decided to bolt it to the underside of the nav table
This involved cramping myself in horribly uncomfortable positions while repeatedly dropping a 10lb box on my head as I tried to bolt it in place. Luckily My New Fad is doing yoga every most some days (hello ladies) so that helped. Still, ouch.
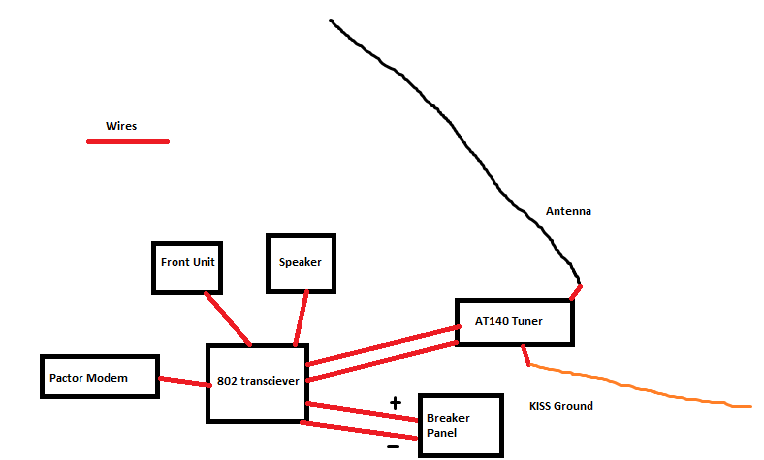
Once that was done I ran wires as neatly as possible everywhere (there are a lot of wires) and plugged in the ground plane into the tuner.
This is what it looks like
Lot more complicated than the ‘plug VHF into antenna, power, PARTY’ of my other radio
Couple of notes:
- The manual says to use the grounding cable to connect the grounds of the tuner and the transceiver. Don’t do this, apparently.
- I got a pactor modem as well which I hooked up but have not used. Future blog post incoming. HANG ON TO UR BUTTS
- For power I temp hooked it up to a breaker on the main panel and move the thing that was there to share another thing. I am getting a separate panel to move this too – apparently you are supposed to wire direct to batteries to reduce RFI but we will see how it goes.
