After a few weeks off over the christmas holiday period, it was time to get back on the ol’ windvane horse and once again cover the inside of my cabin with tiny razor sharp pieces of metal.
First up:
Piece 2
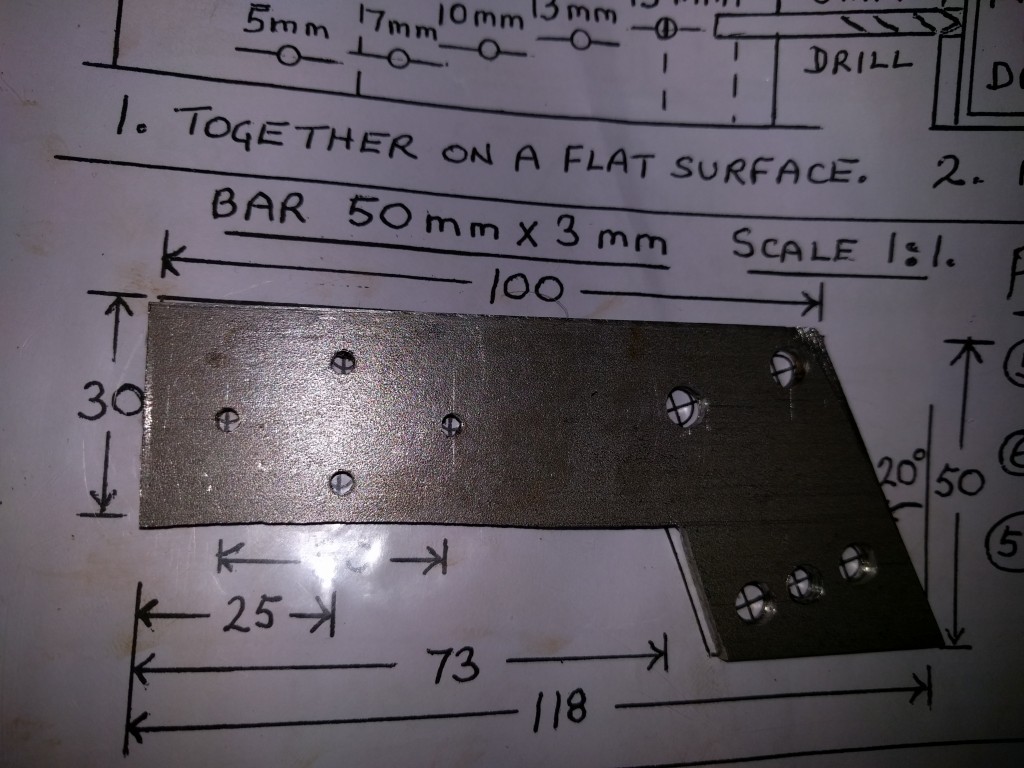
This piece was described as ‘tricky’ in the plans, and with good reason. It was a piece cut out of a bar, with a couple of diagonals meaning keeping to a straight line was a lot harder. It also had a cut that didn’t go all the way through.
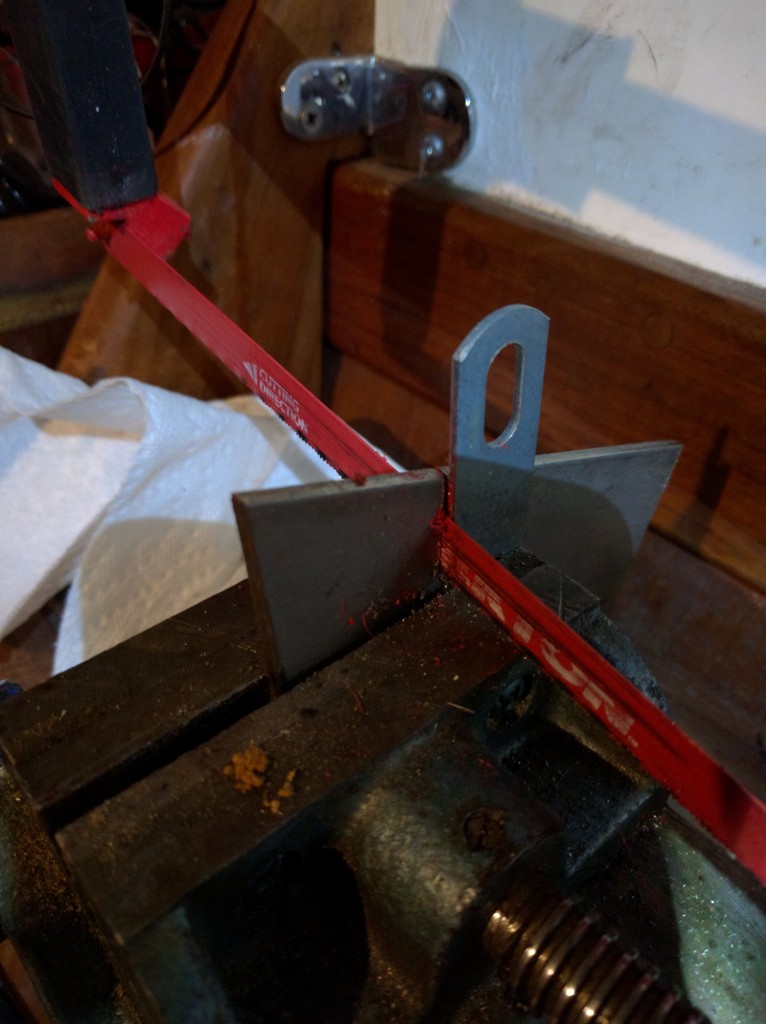
I decided to orientate the bar vertically with a guide next to it and cut down
leading to
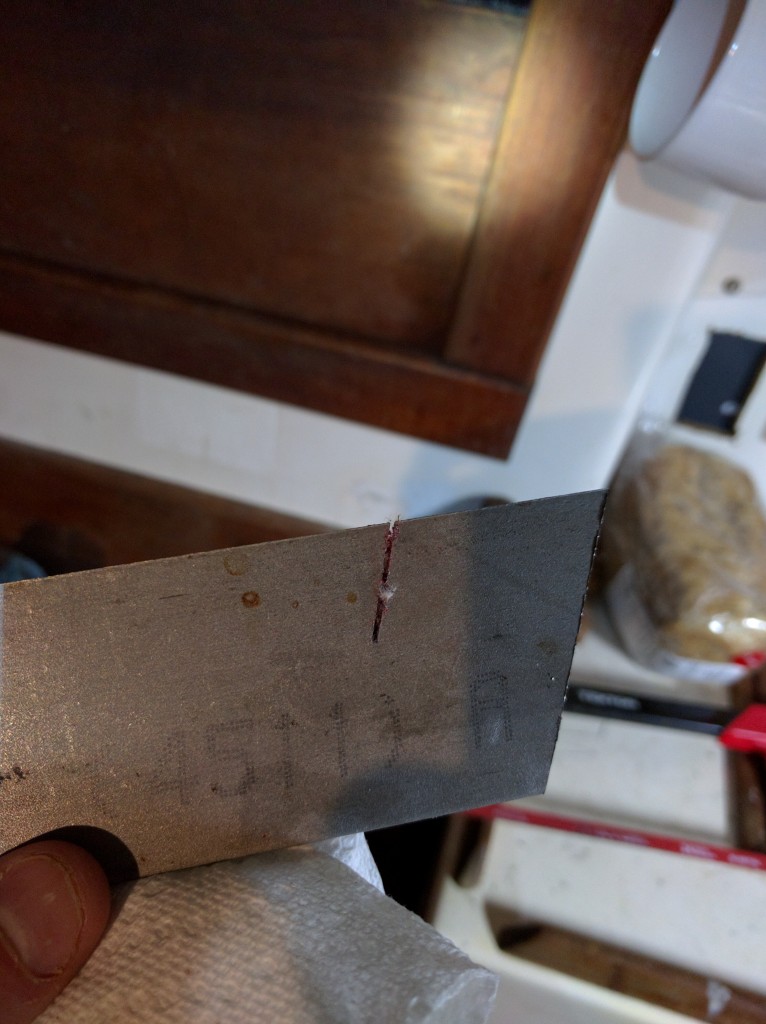
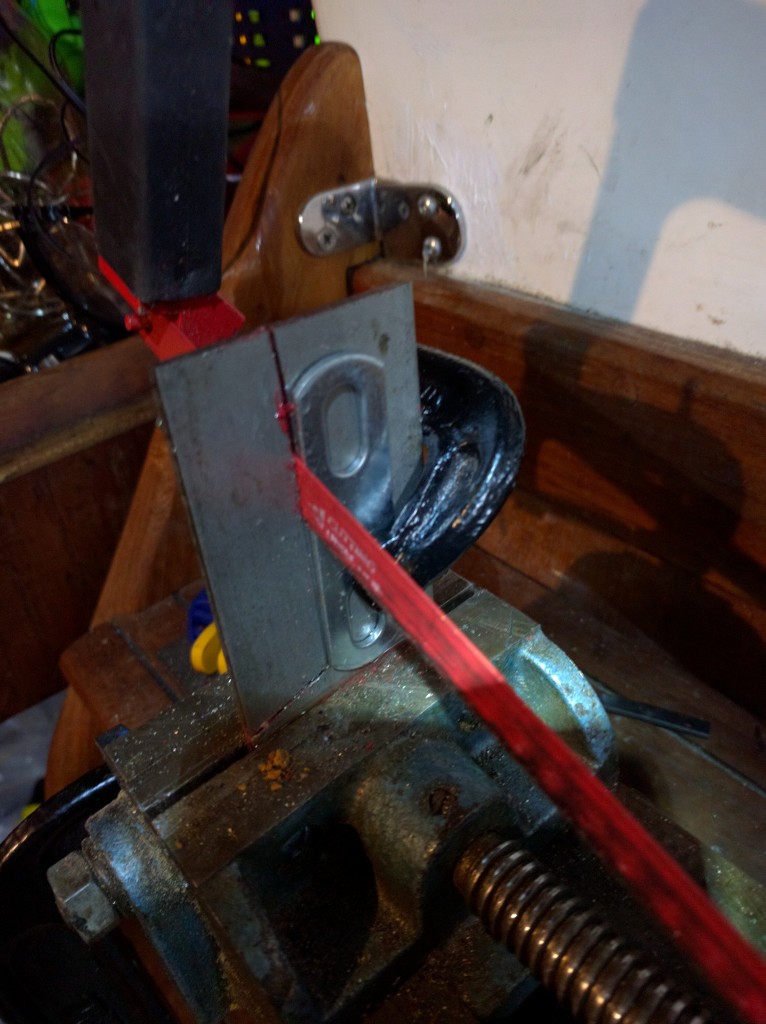
I then had to cut the other way, like
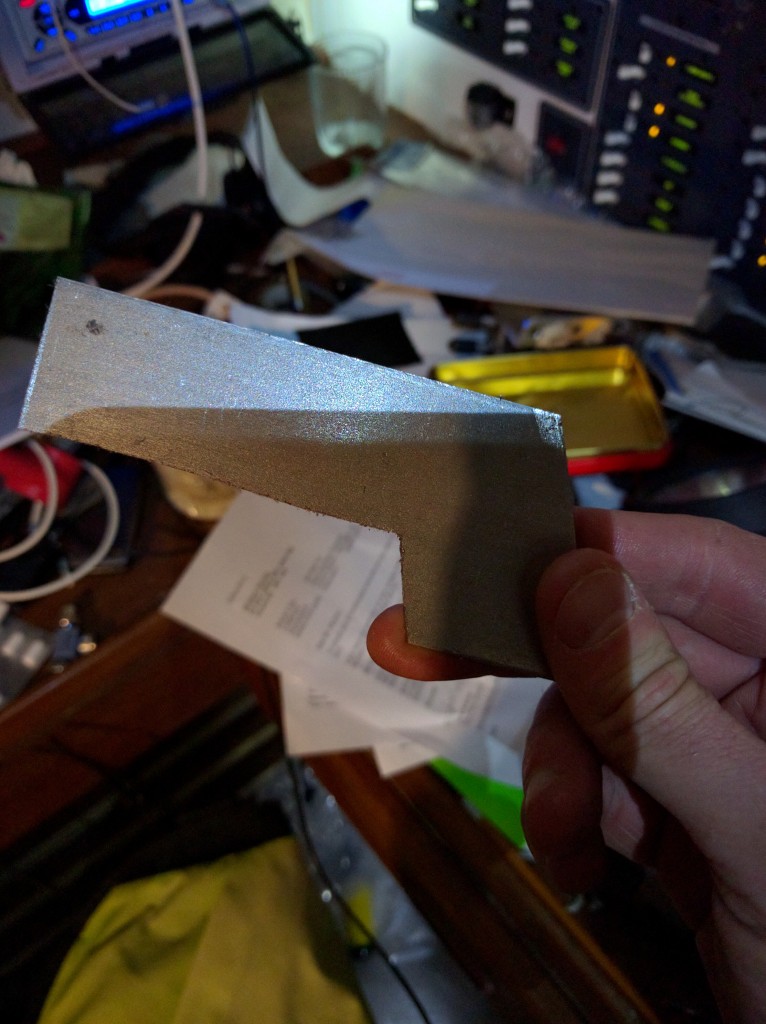
Ending up with
Then it was time to drill the holes.
A problem I ran into was that… well ok. Not really a problem I ran into, more that I buggered it up a bit. The plan uses a protractor to make sure you have the right angle – I didn’t use that and instead just tried to measure the top and bottom and cut from there. With predictable results – it was wrong. Also, the bottom cut is a bit wonky. Sigh. Use a protractor kids!
This meant I had to work out where the holes were and use the same reference point as on the plans. As both the left side and the top were untouched by my meddling, I used those to measure the holes. I think it will still work out just fine, there is only a mm or two difference in the piece size and the holes are all accurate
Testing the holes to make sure they are in the correct location
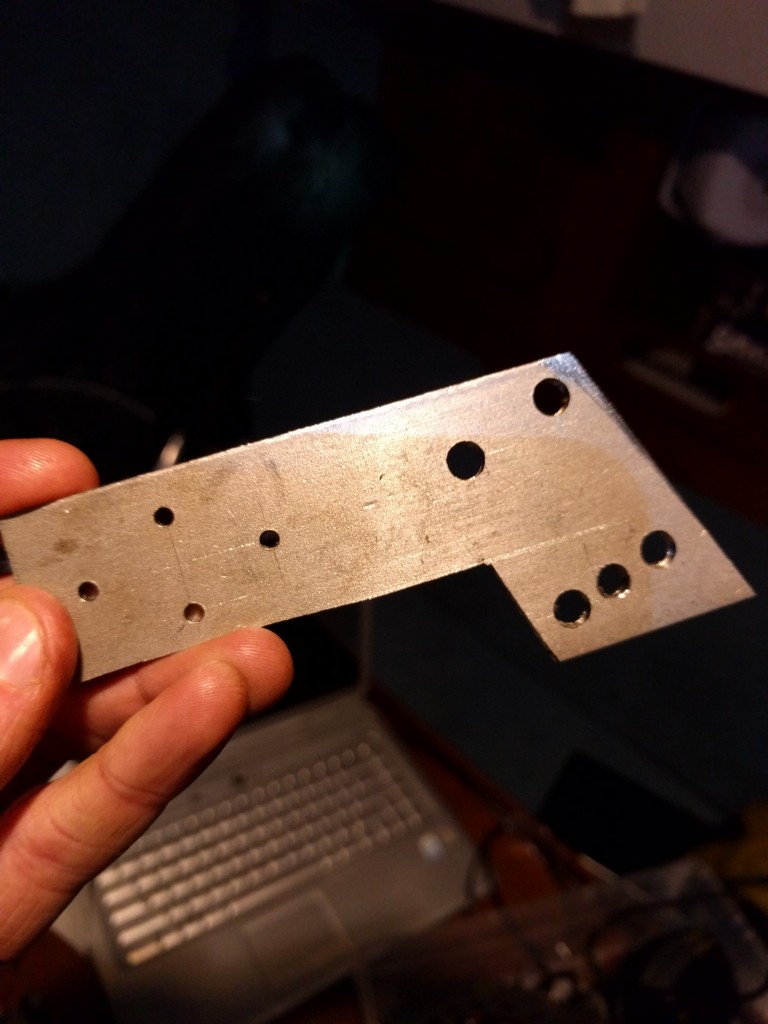
The final product
Piece 15
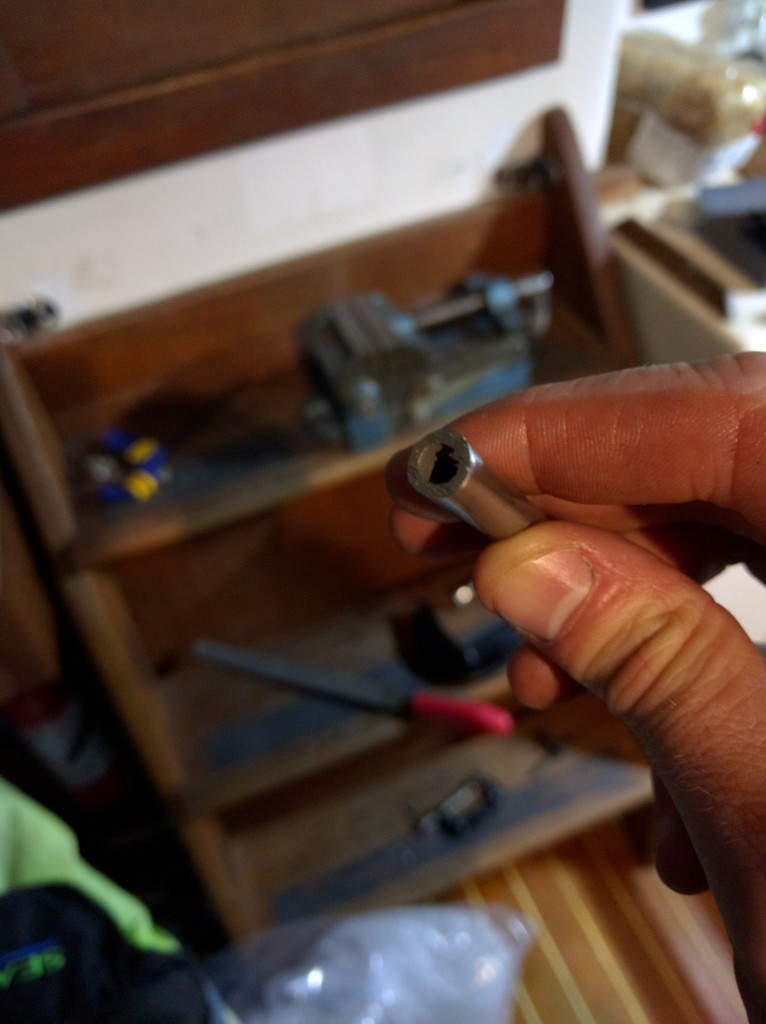
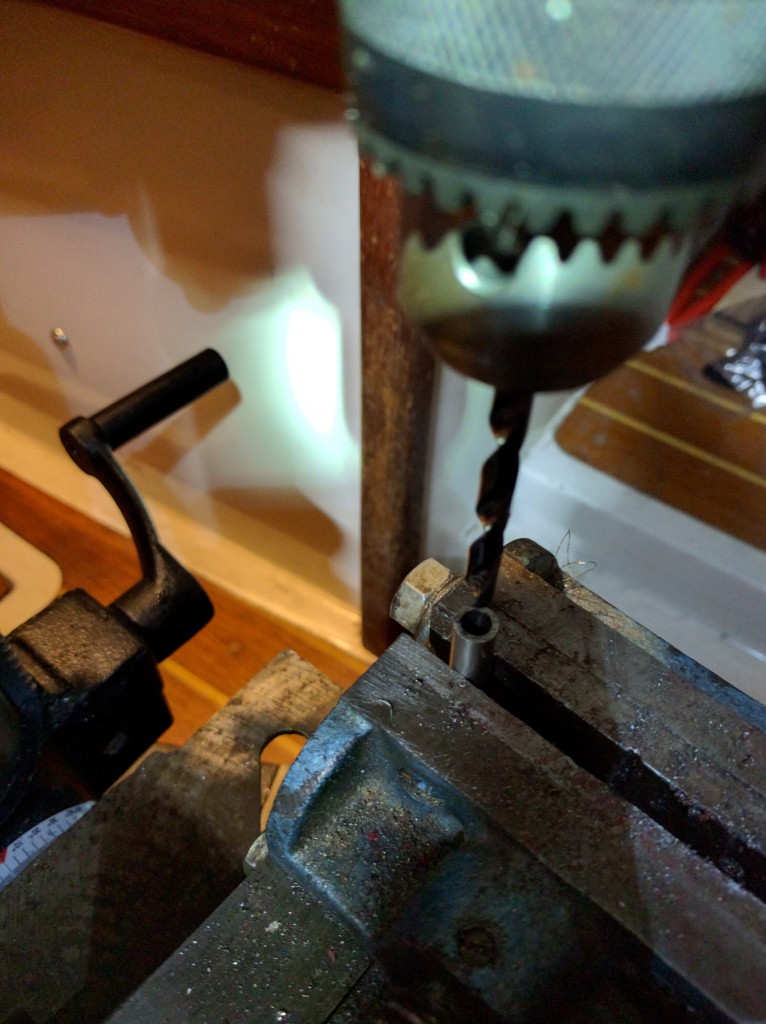
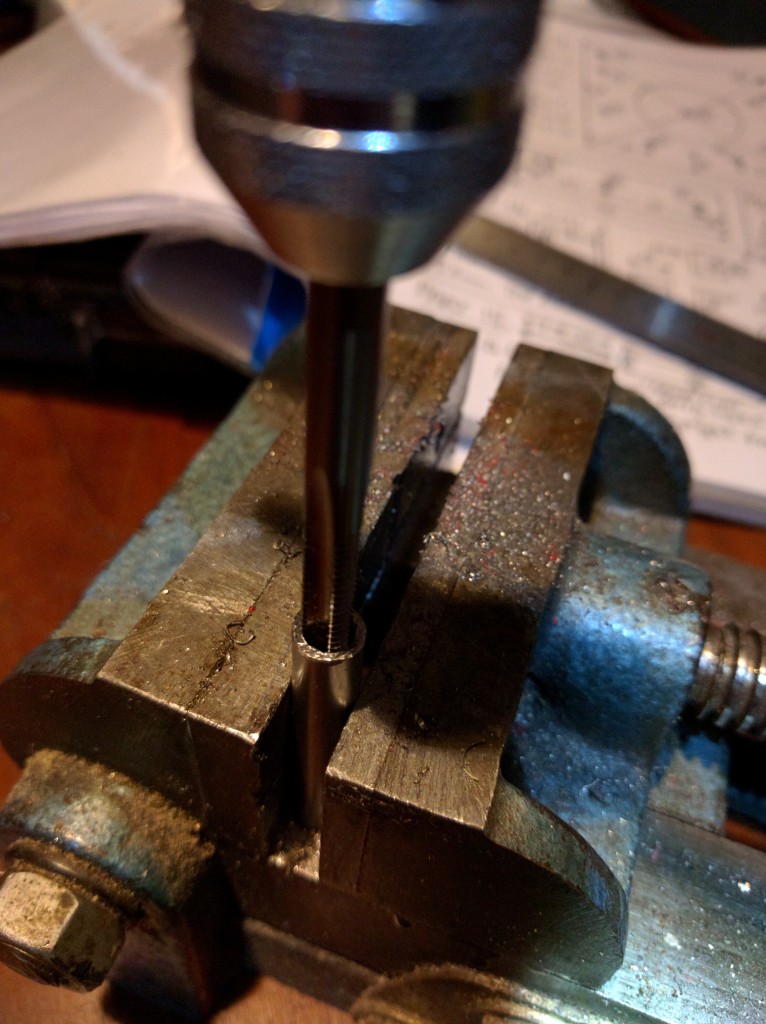
This piece is a bit different from the bog standard ‘drill hole in bar, cut bar, look impressed with self’ routine of most of the other parts. It consists of a small tube with a hole in it. I need to drill out the centre of the tube a bit larger so that I can fit a tap in and thread the inside
The tube
Drilling a hole down centre
Once that was done I had to tap dat ass the hole
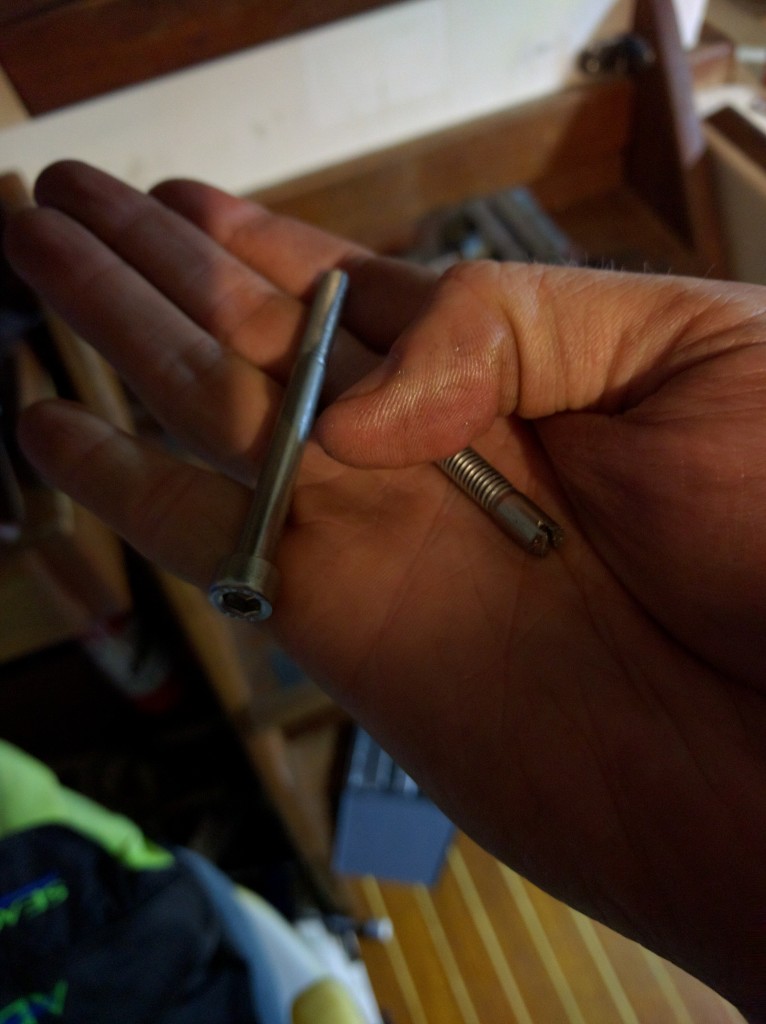
Next step was to cut down the screws that would go in there to form the ‘axle’. Before on left, after on right. I had to also cut a slot in the top of the cut down screw to allow me to tighten them.
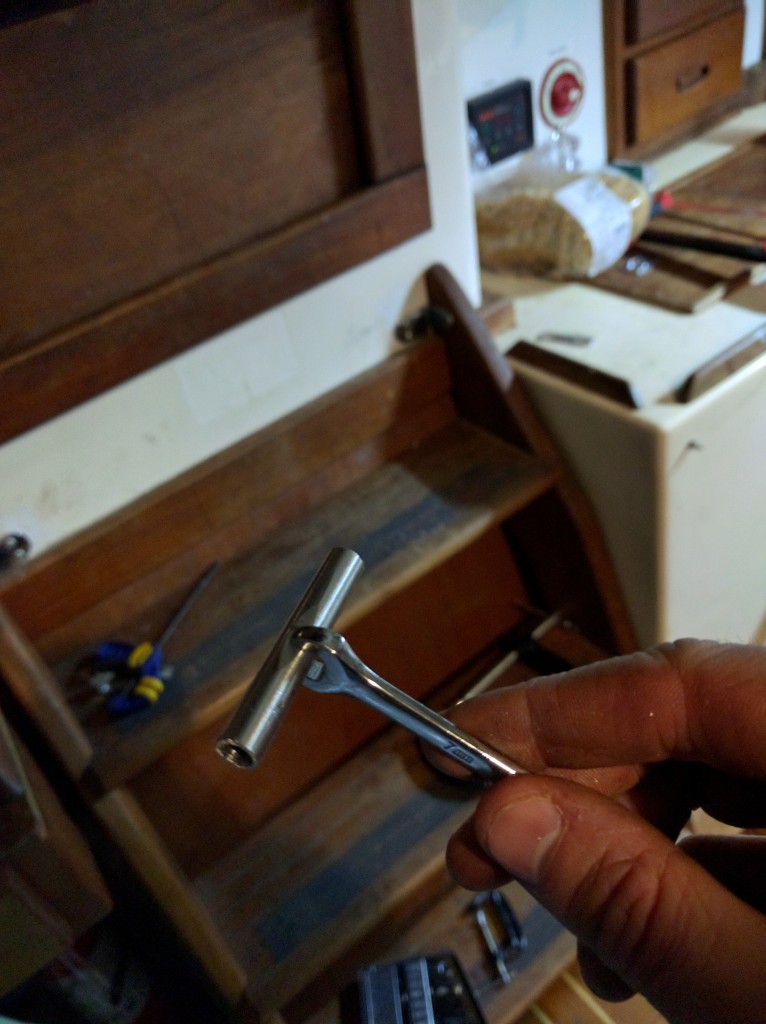
I also sanded down a portion on both sides of the tube so I can grip it with a wrench
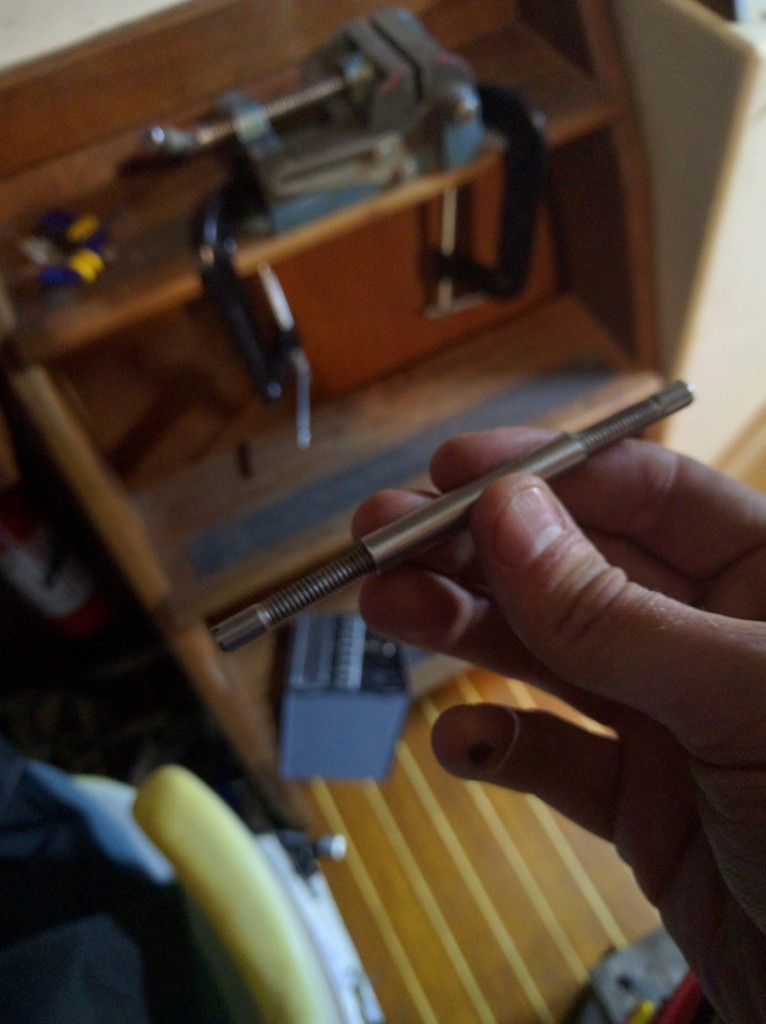
The finished part (screws not screwed in the whole way)
Do you or do you not hear the ‘MacGuyver’ theme playing in your head as you work on this thing?
More like the looney tunes theme
I remember seeing a drawing of the assembled product but i don’t remember thinking it looked crazy. I guess I didn’t look closely enough. Looking at the parts one-by-one I am expecting Tim Burton to pop in to help with final installation. I have faith this could work even though I still have no idea how or why its so complicated. Can’t wait to see this thing!
Yeah I can’t wait to start bolting pieces together! Someone else who built one and took it on the train with him said he had people asking him if it was a modern art scupture!