This is a continuation of this post here from way back in February!
I ended up not installing the wifi antenna on the mast, because I accidentally bought a 5′ one. Oops.
Anyway, I looked into buying a pre-made wifi solution and then I realised – this is basically my job, so I should probably just design one and stop being a lazy slob.
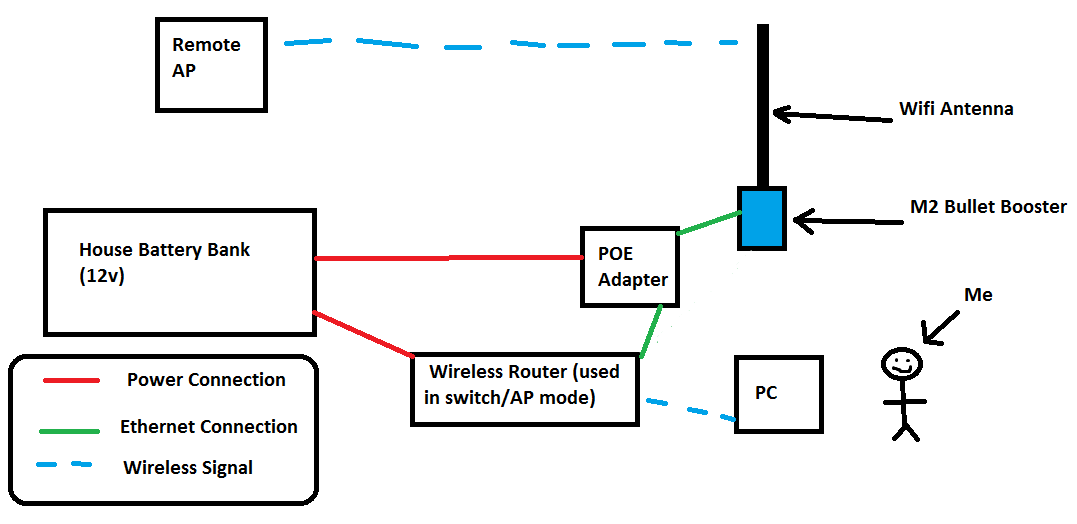
So, this is what the system looks like
First thing to do was connect the bullet to the antenna, and mount the whole shebang on the pulpit rail. I then ran an ethernet cable from there, through a cable clam and into the cabin.
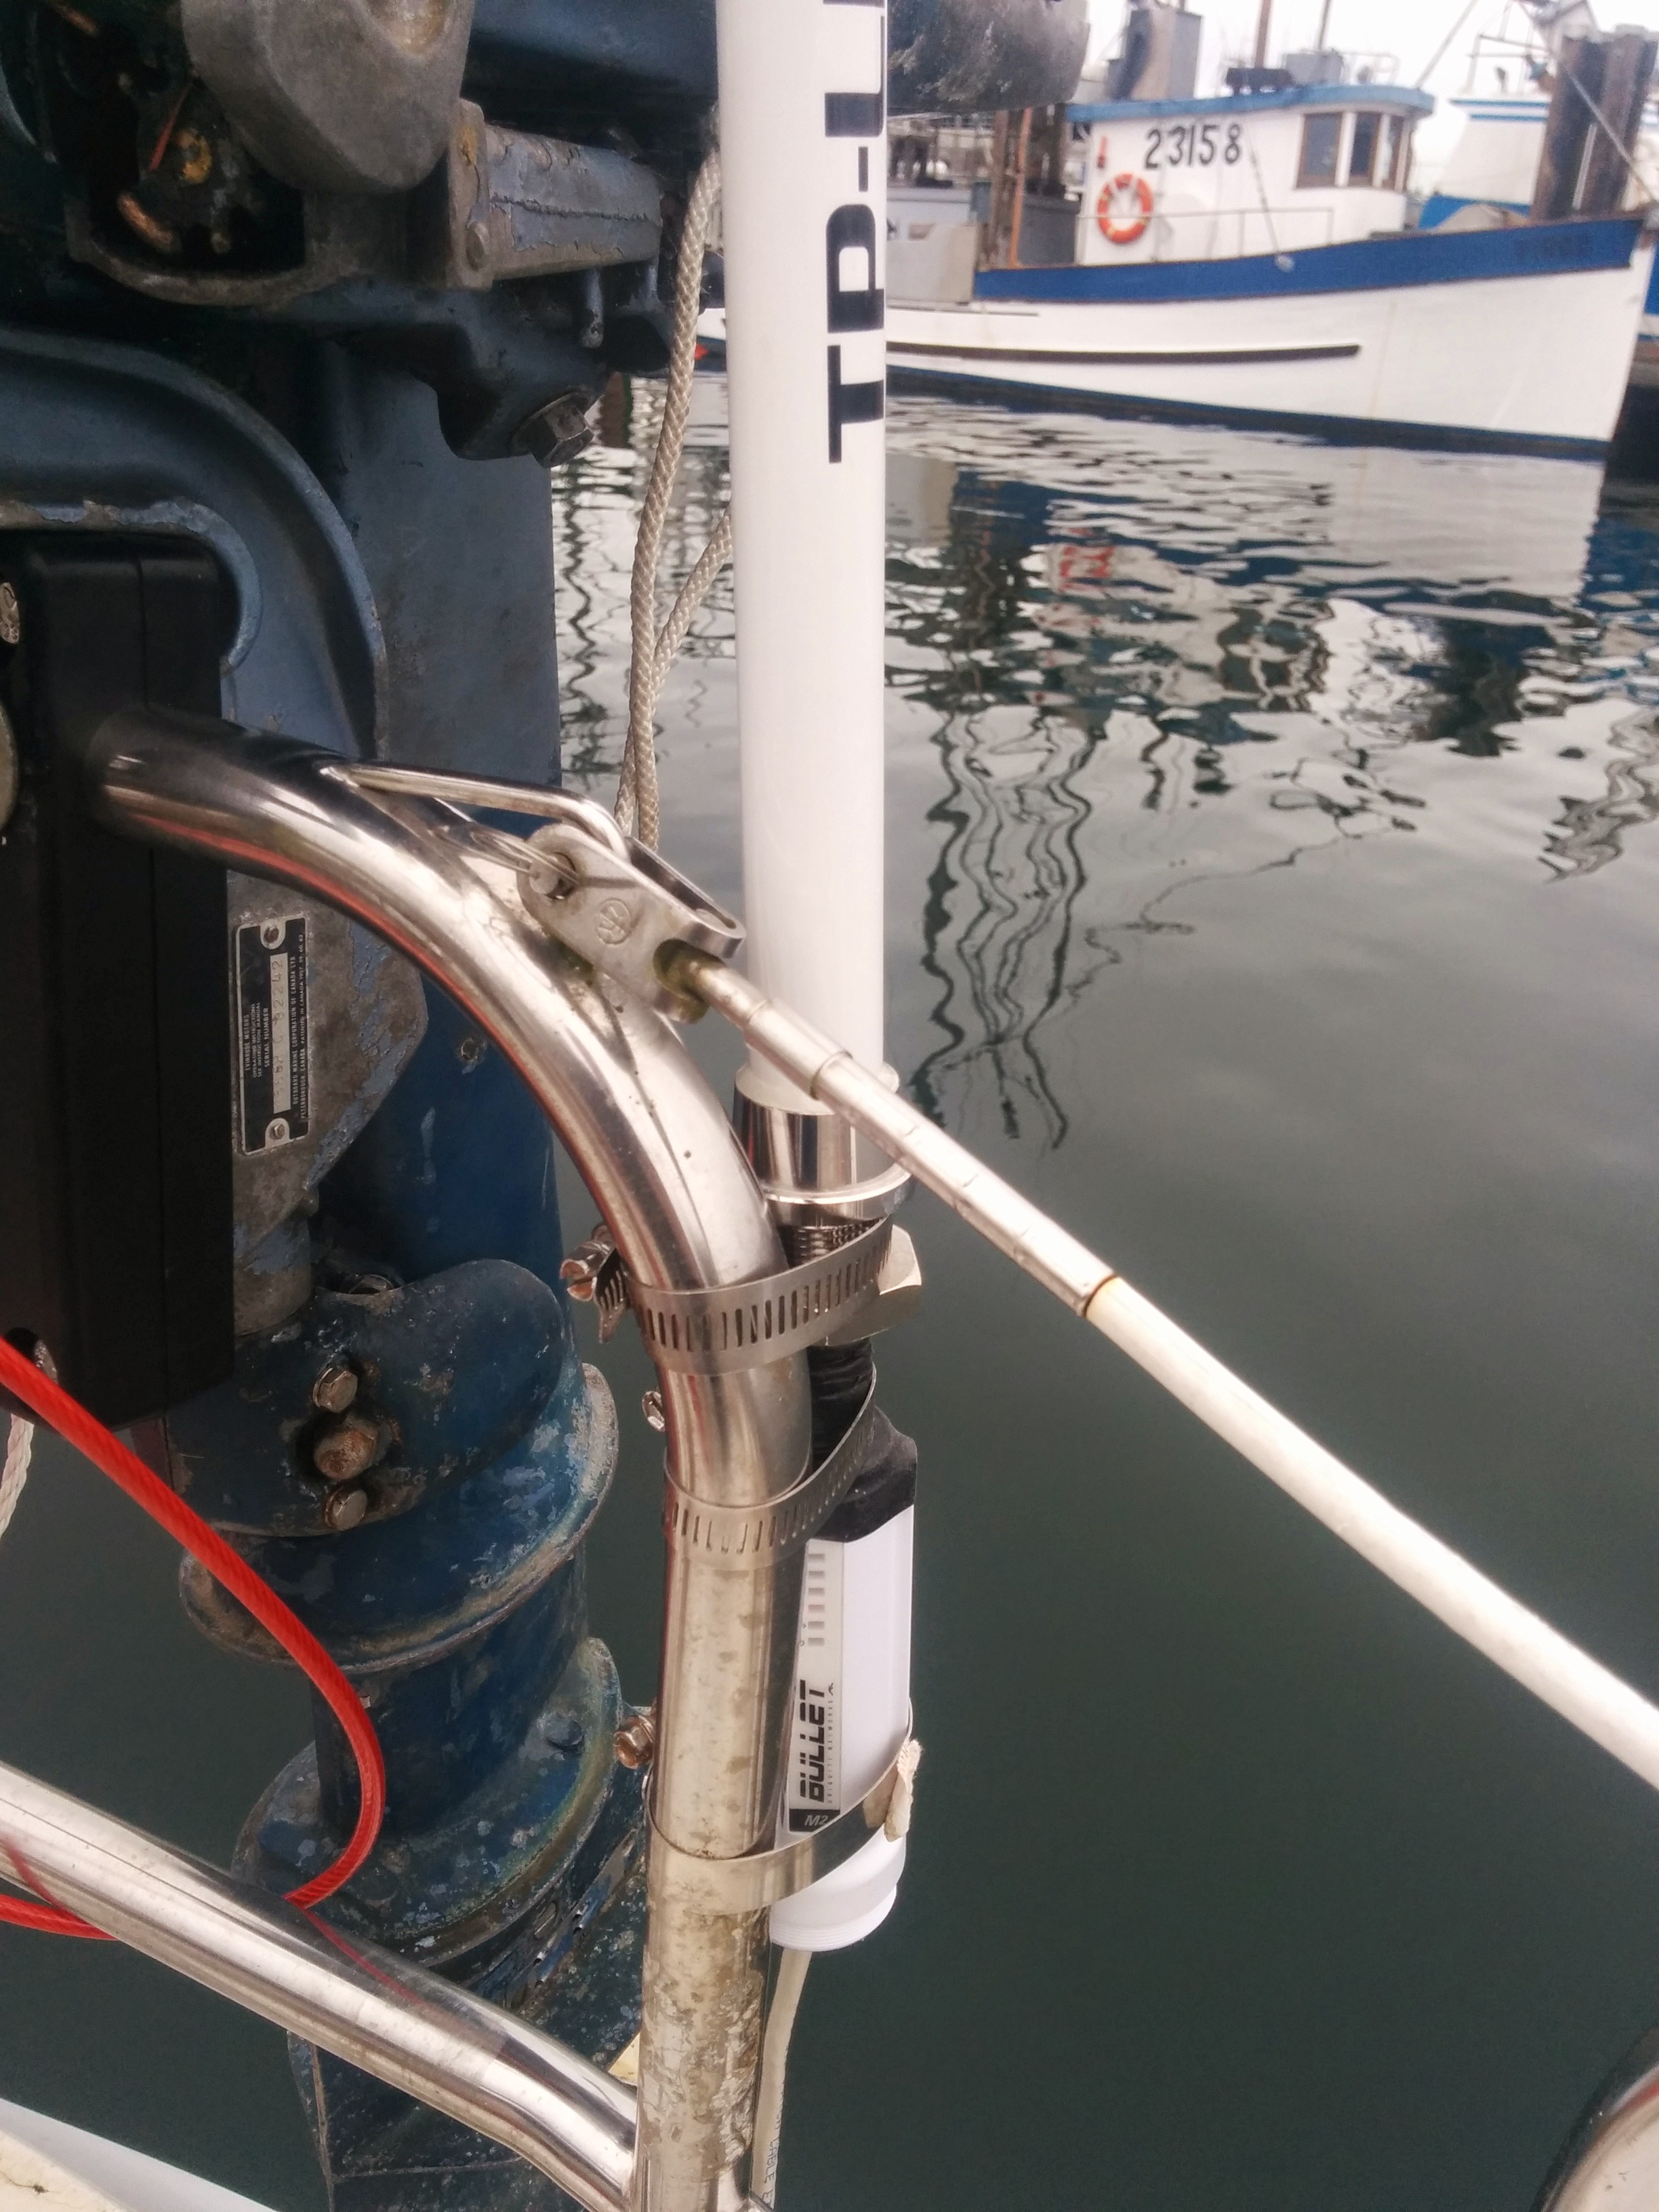
Not shown – silicon tape wound around the connection to make it waterproof.
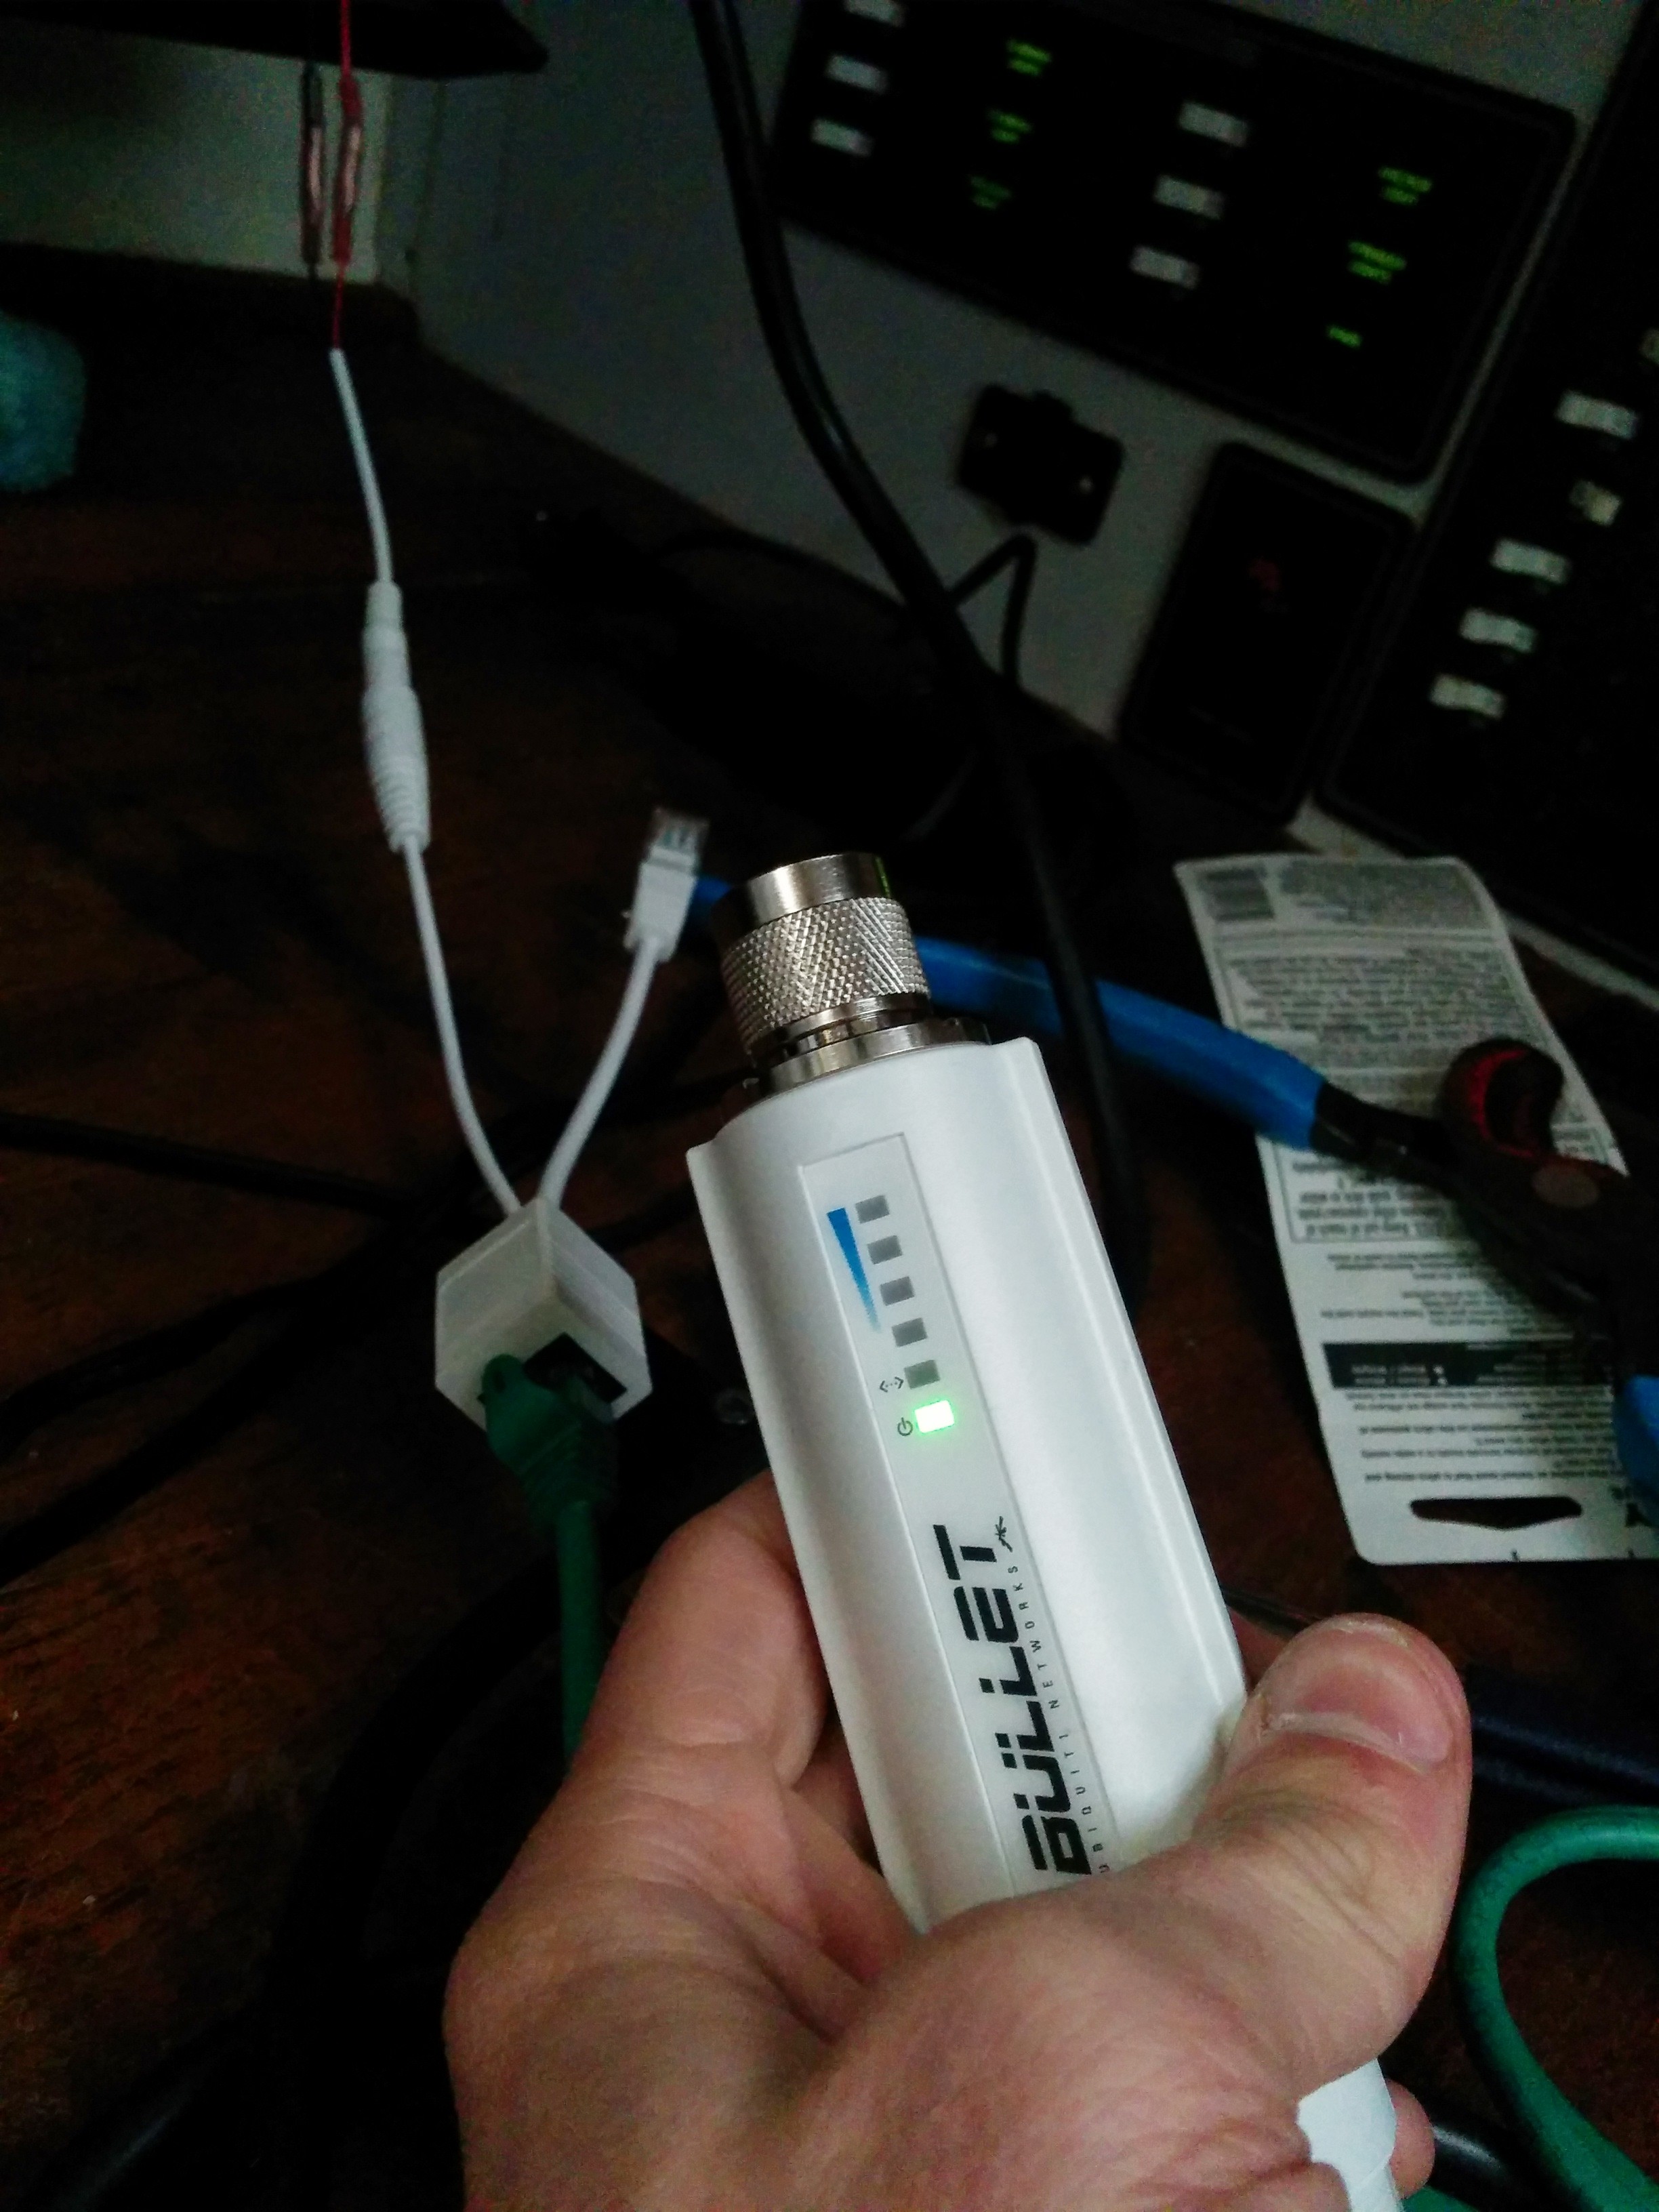
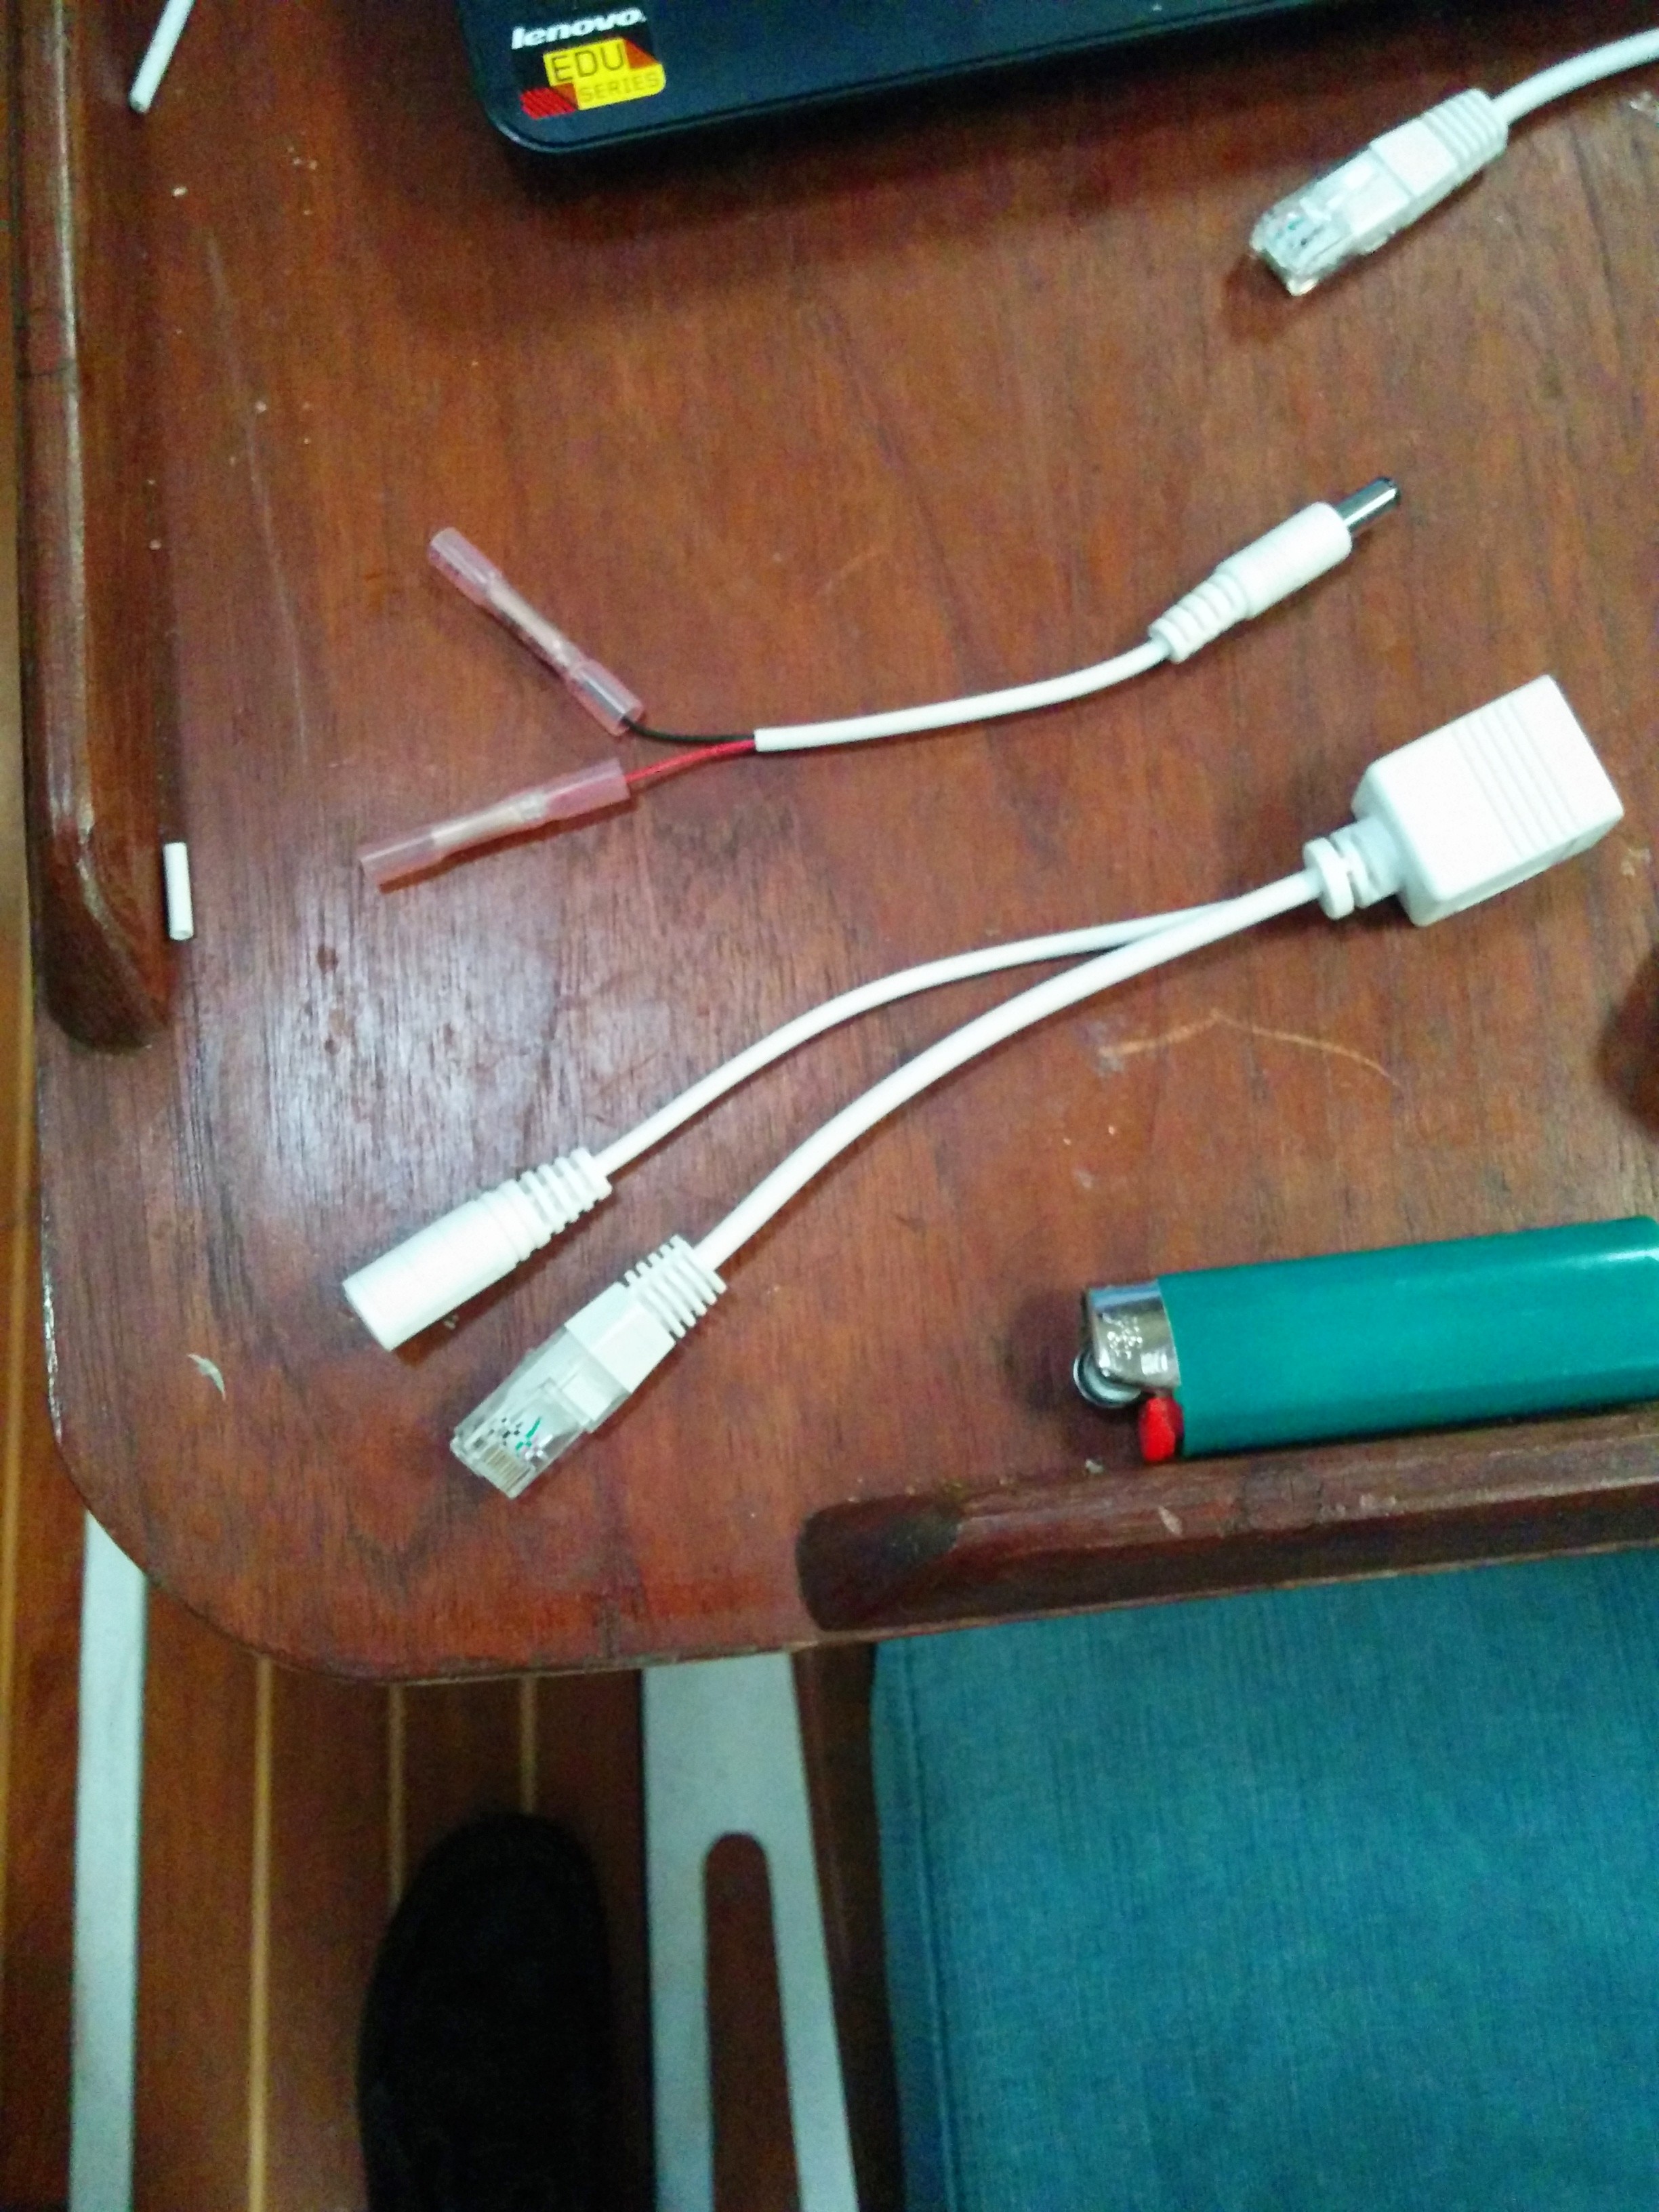
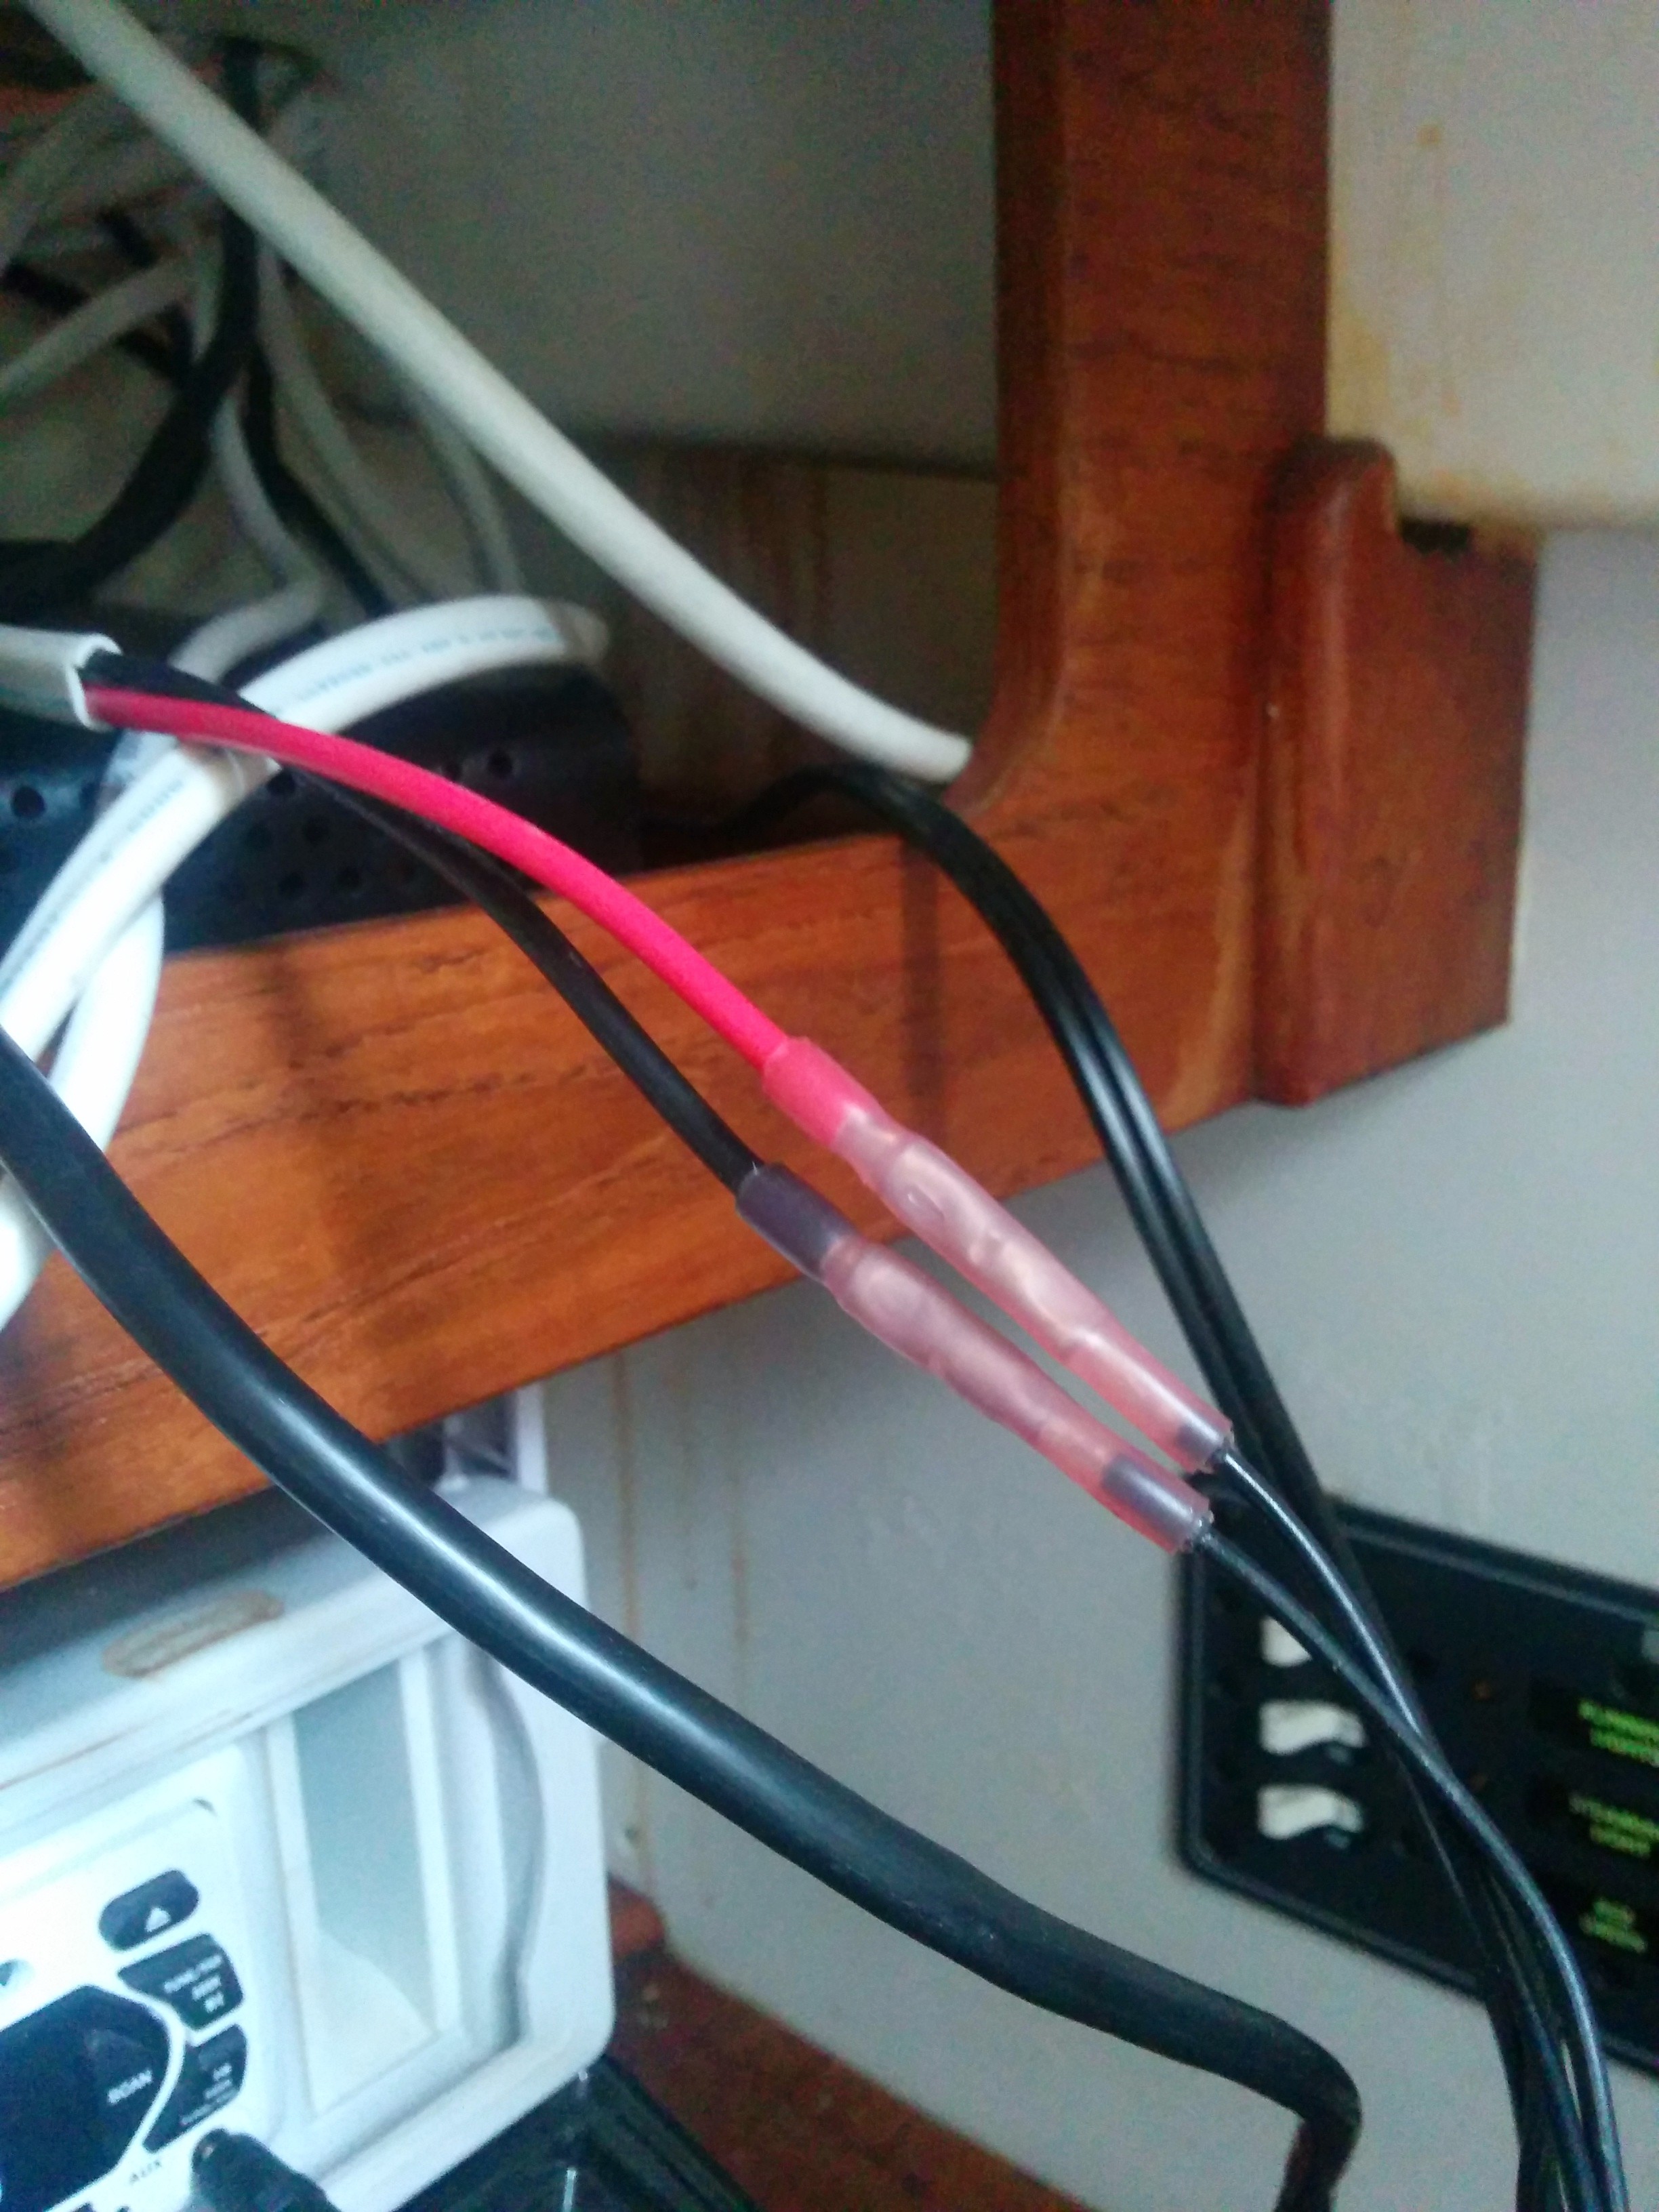
Next, I bought a cheap POE adaptor. I had to adapt it to connect to my breaker panel, so I cut into the wires and used heat shrink connectors to attach marine wire that ran to the breaker.
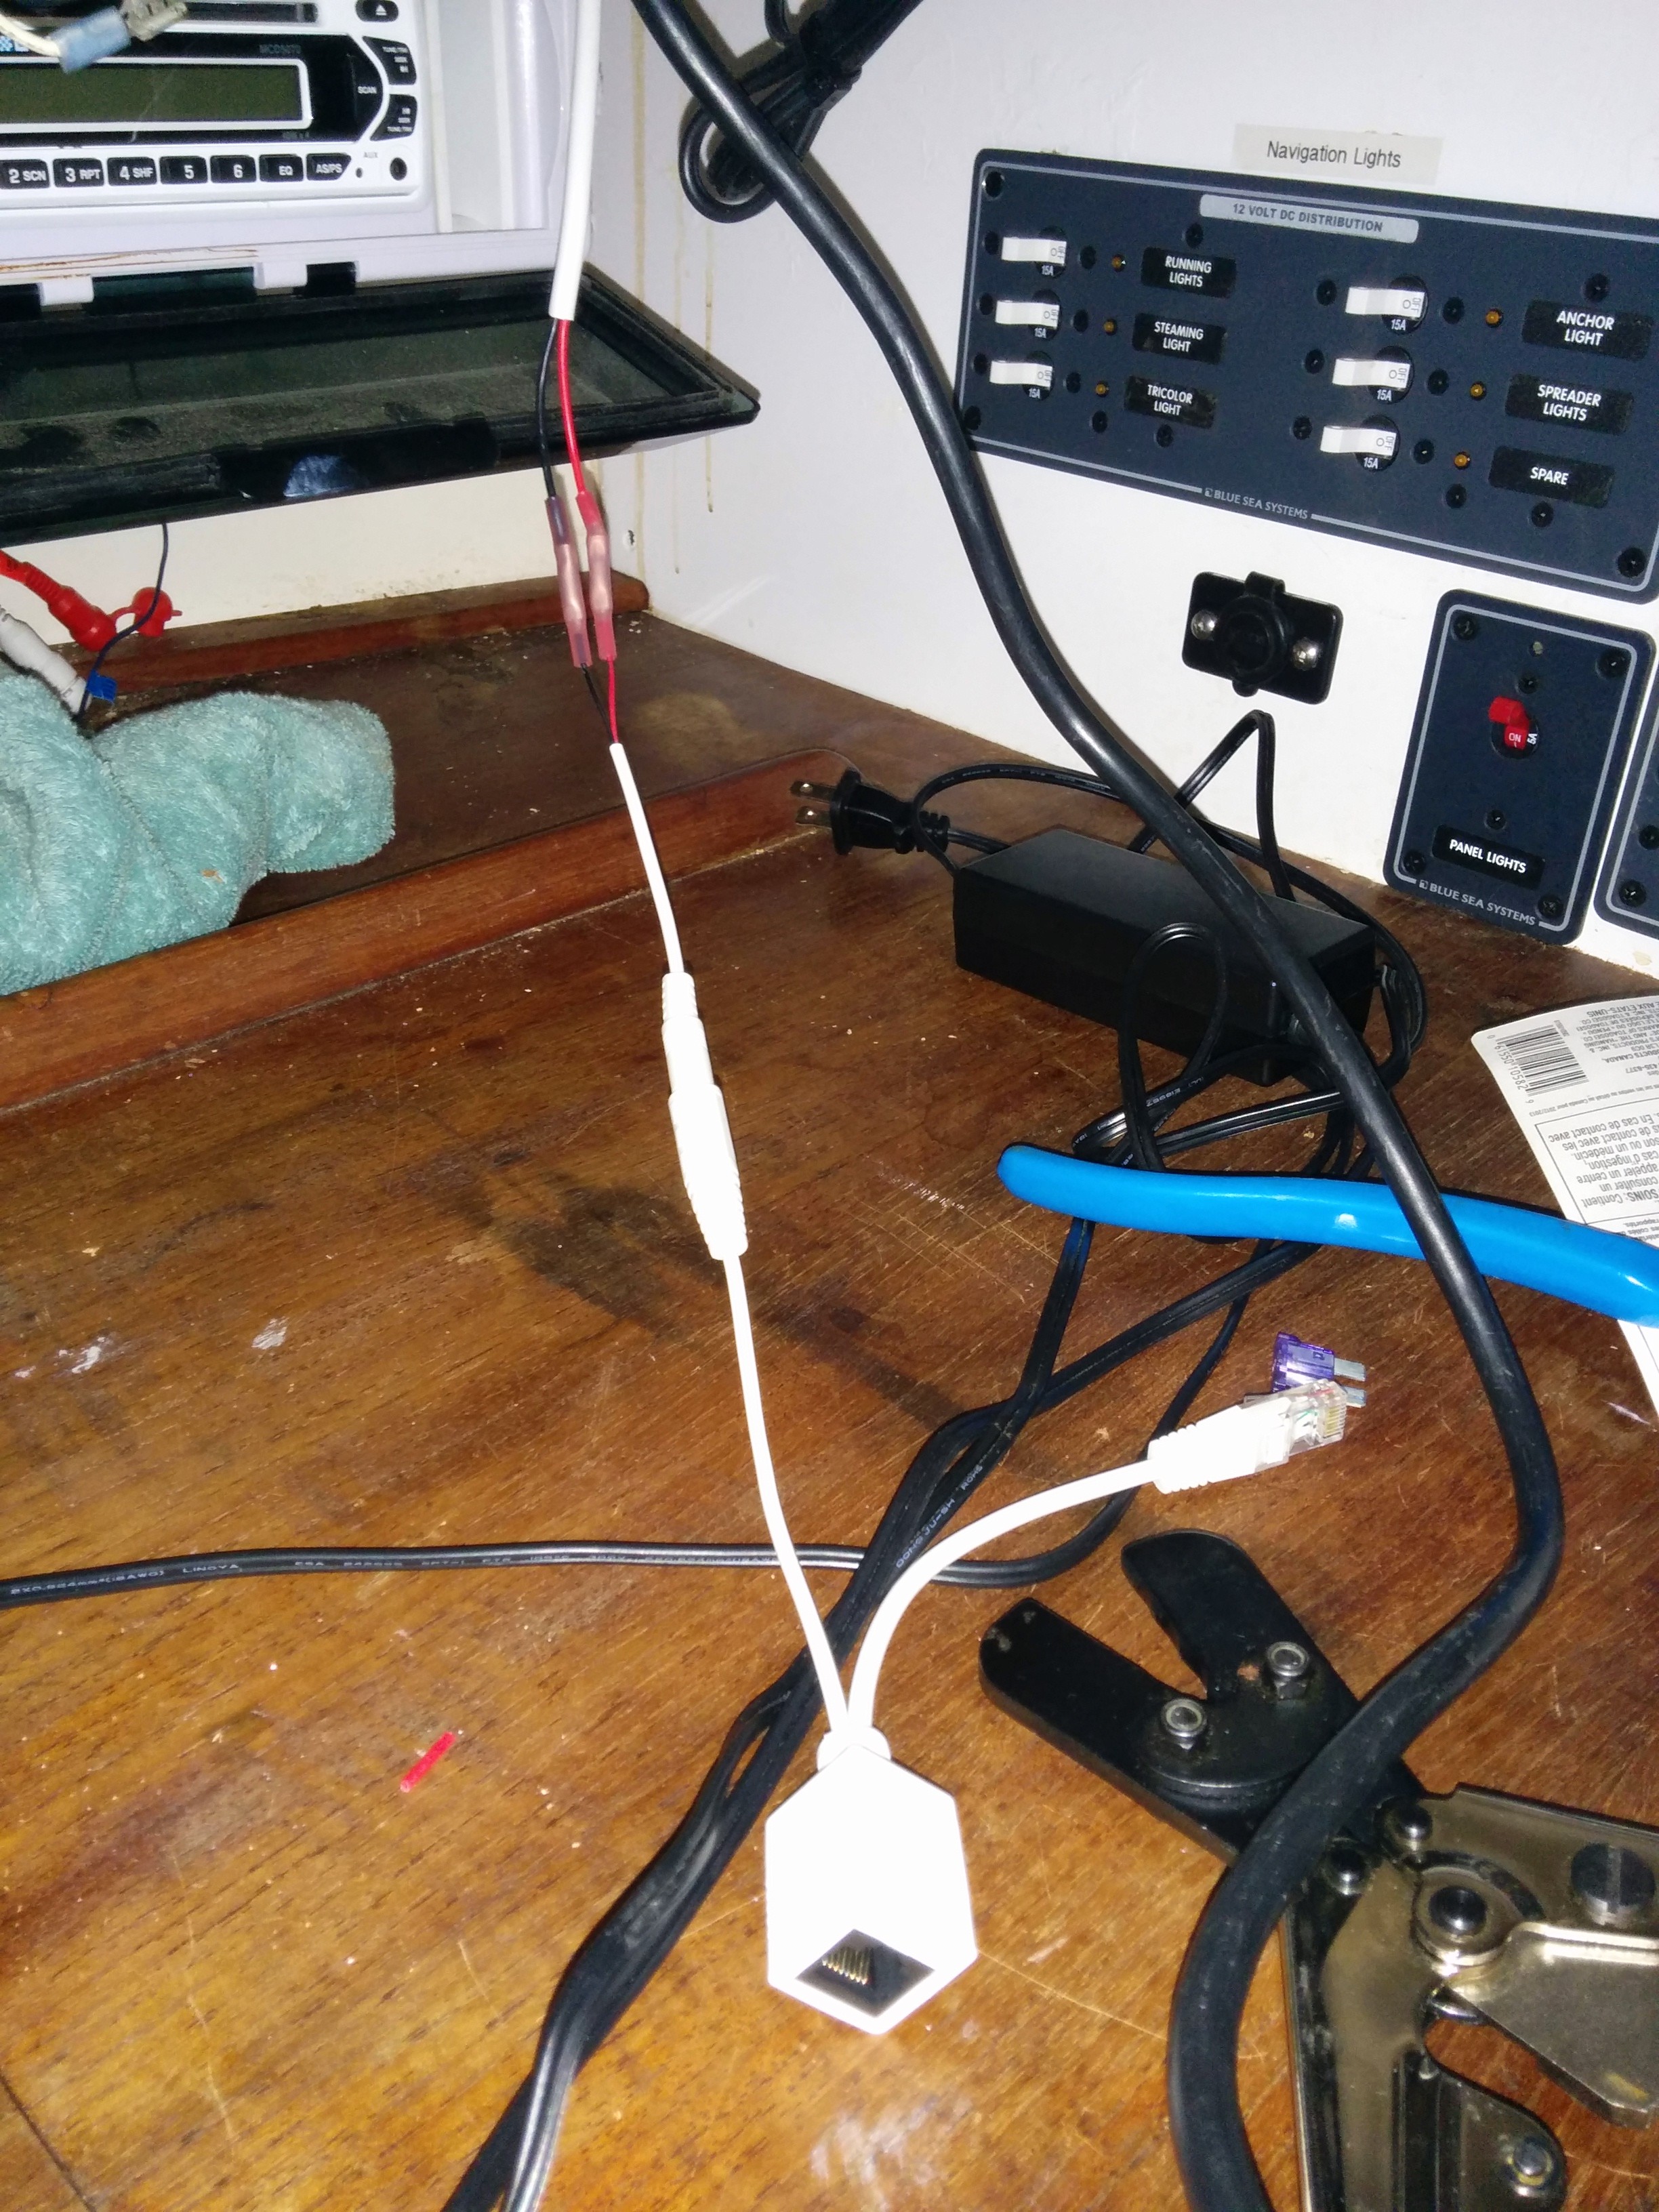
Now when I flip the breaker marked ‘wifi’, power will be injected into the ethernet cable, powering the bullet. Simple, right?
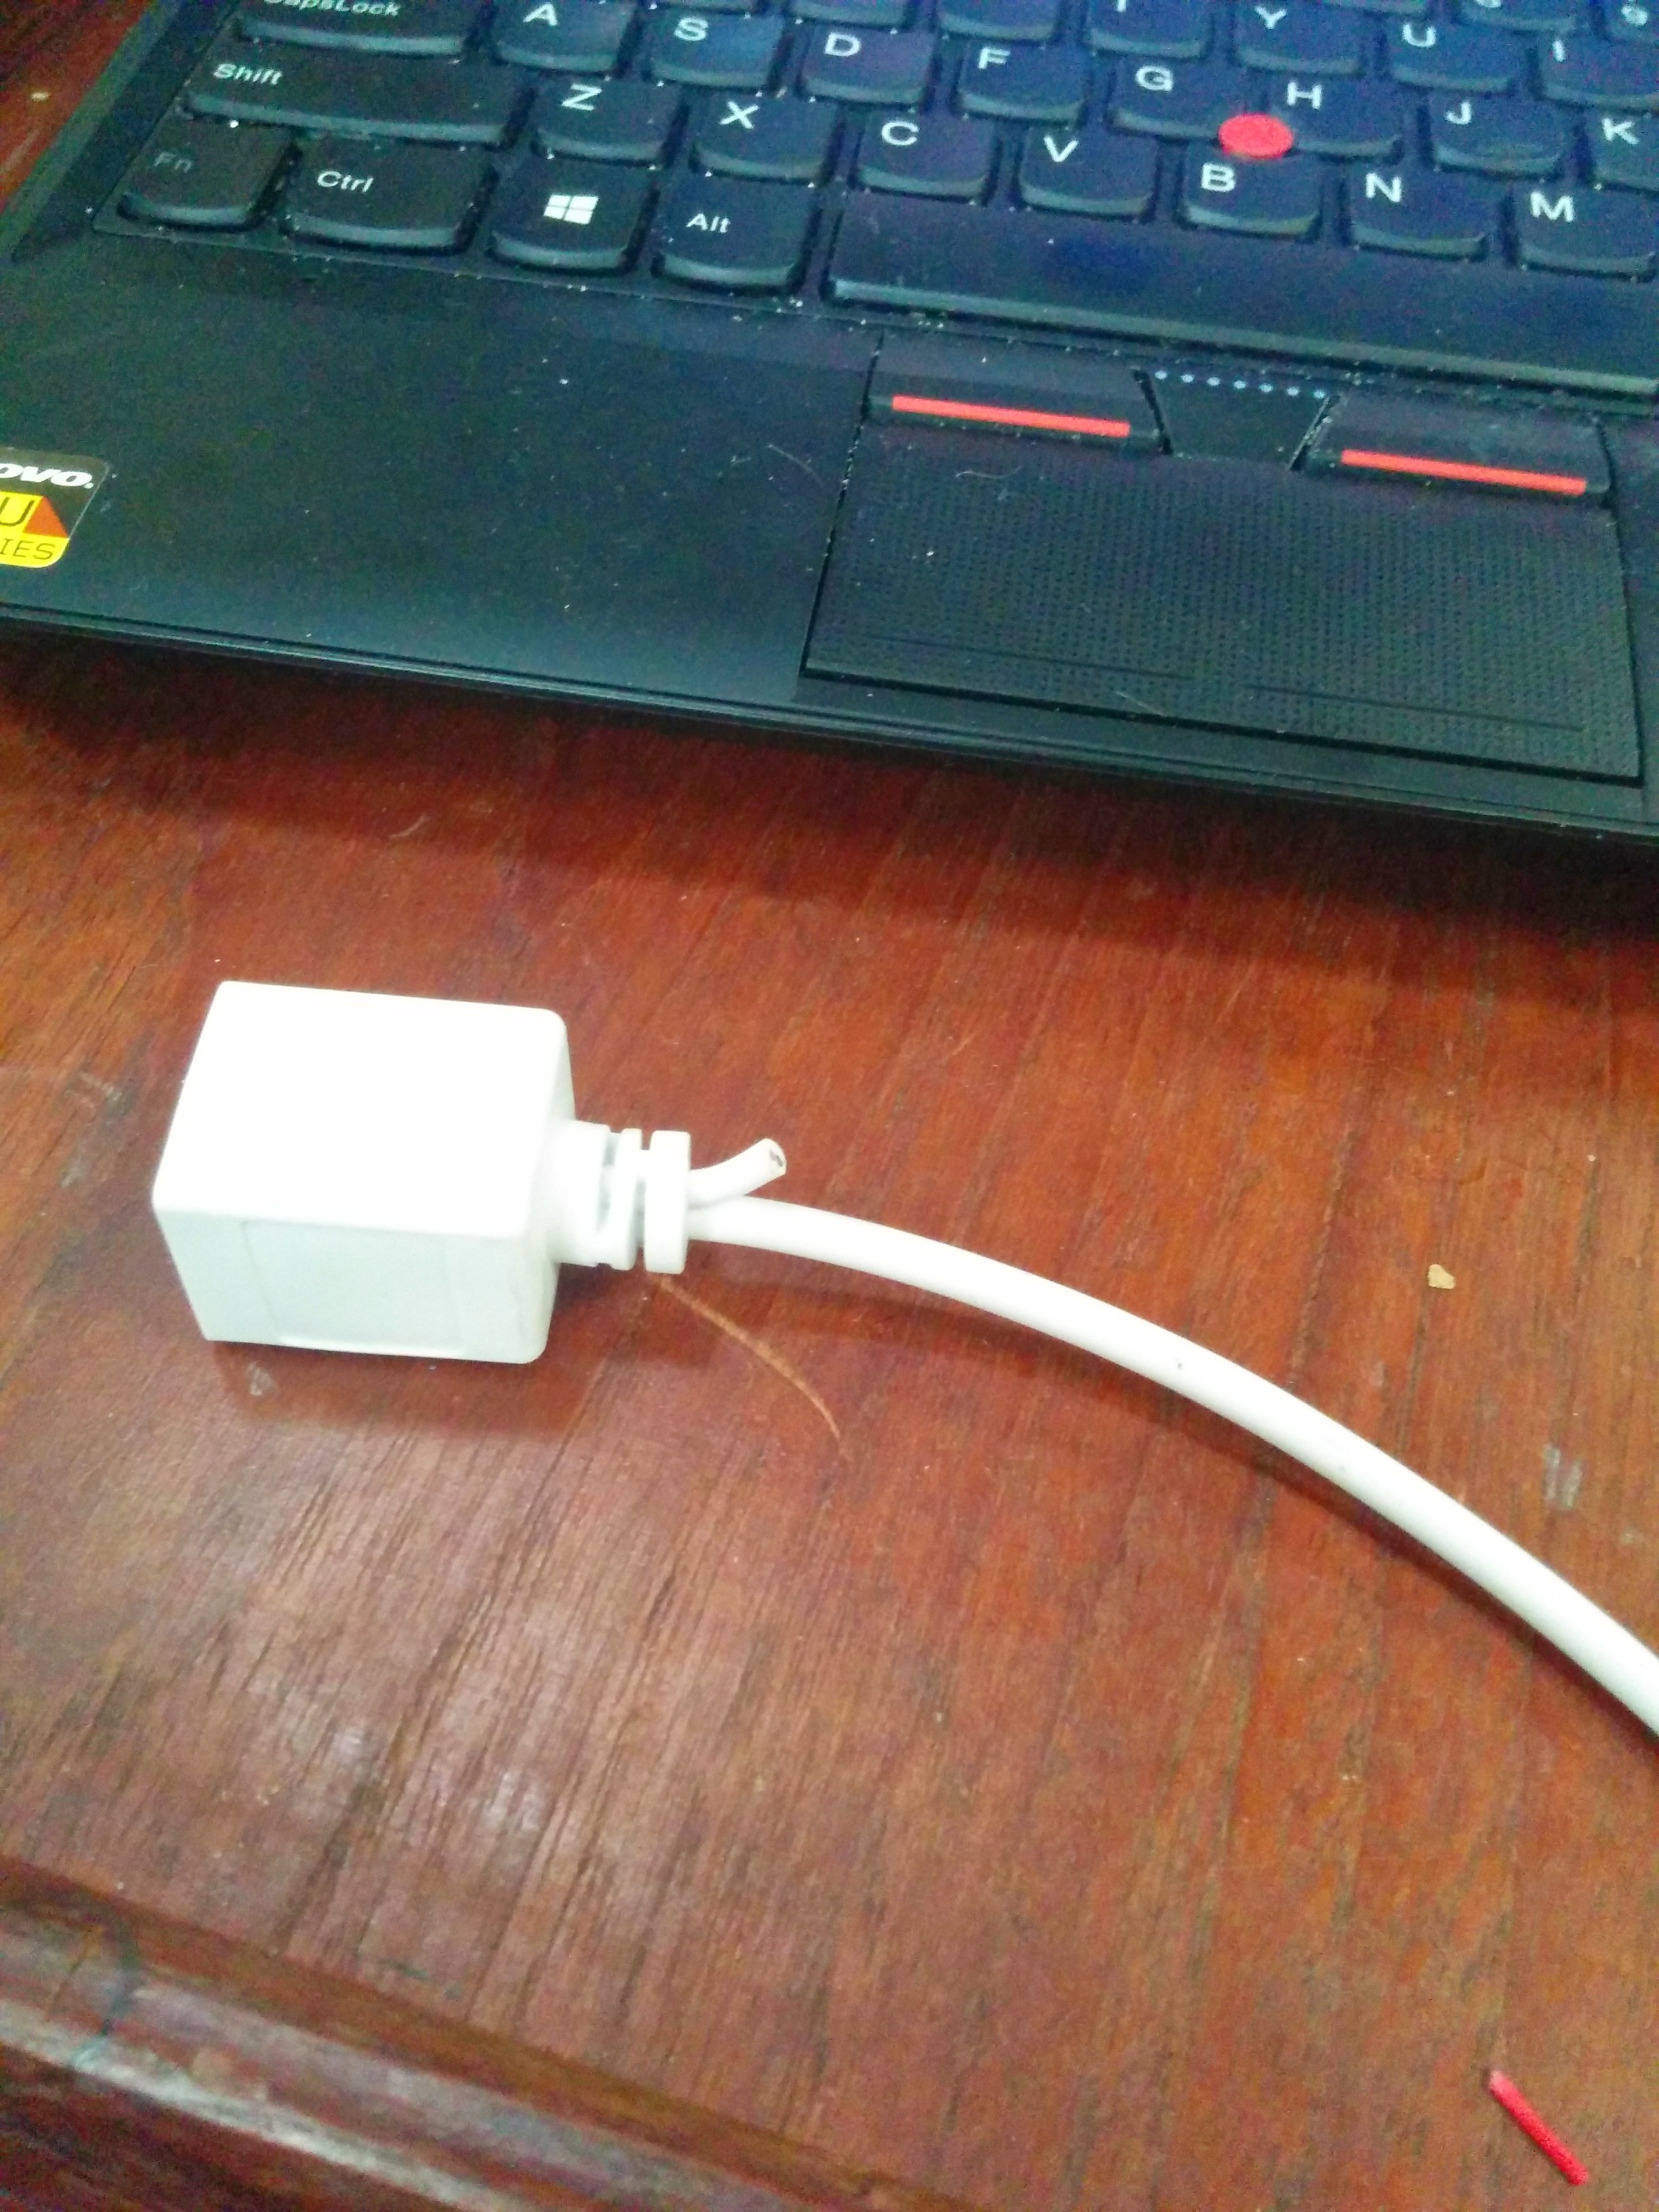
Next step was to put it into a wireless switch, so that I could use more than one device on the internet at a time. I had an old wireless router, sadly it ran on AC power – no good when I am sailing, since I have no inverter. However, a close inspection of the unit itself revealed that the large brick plug thing was actually a converter, and the unit itself ran natively on 12 volts! This appears to be the case with a lot of electronics. I snipped off the plug/converter, and wired it direct into my power supply, to the same breaker the POE adapter was on.
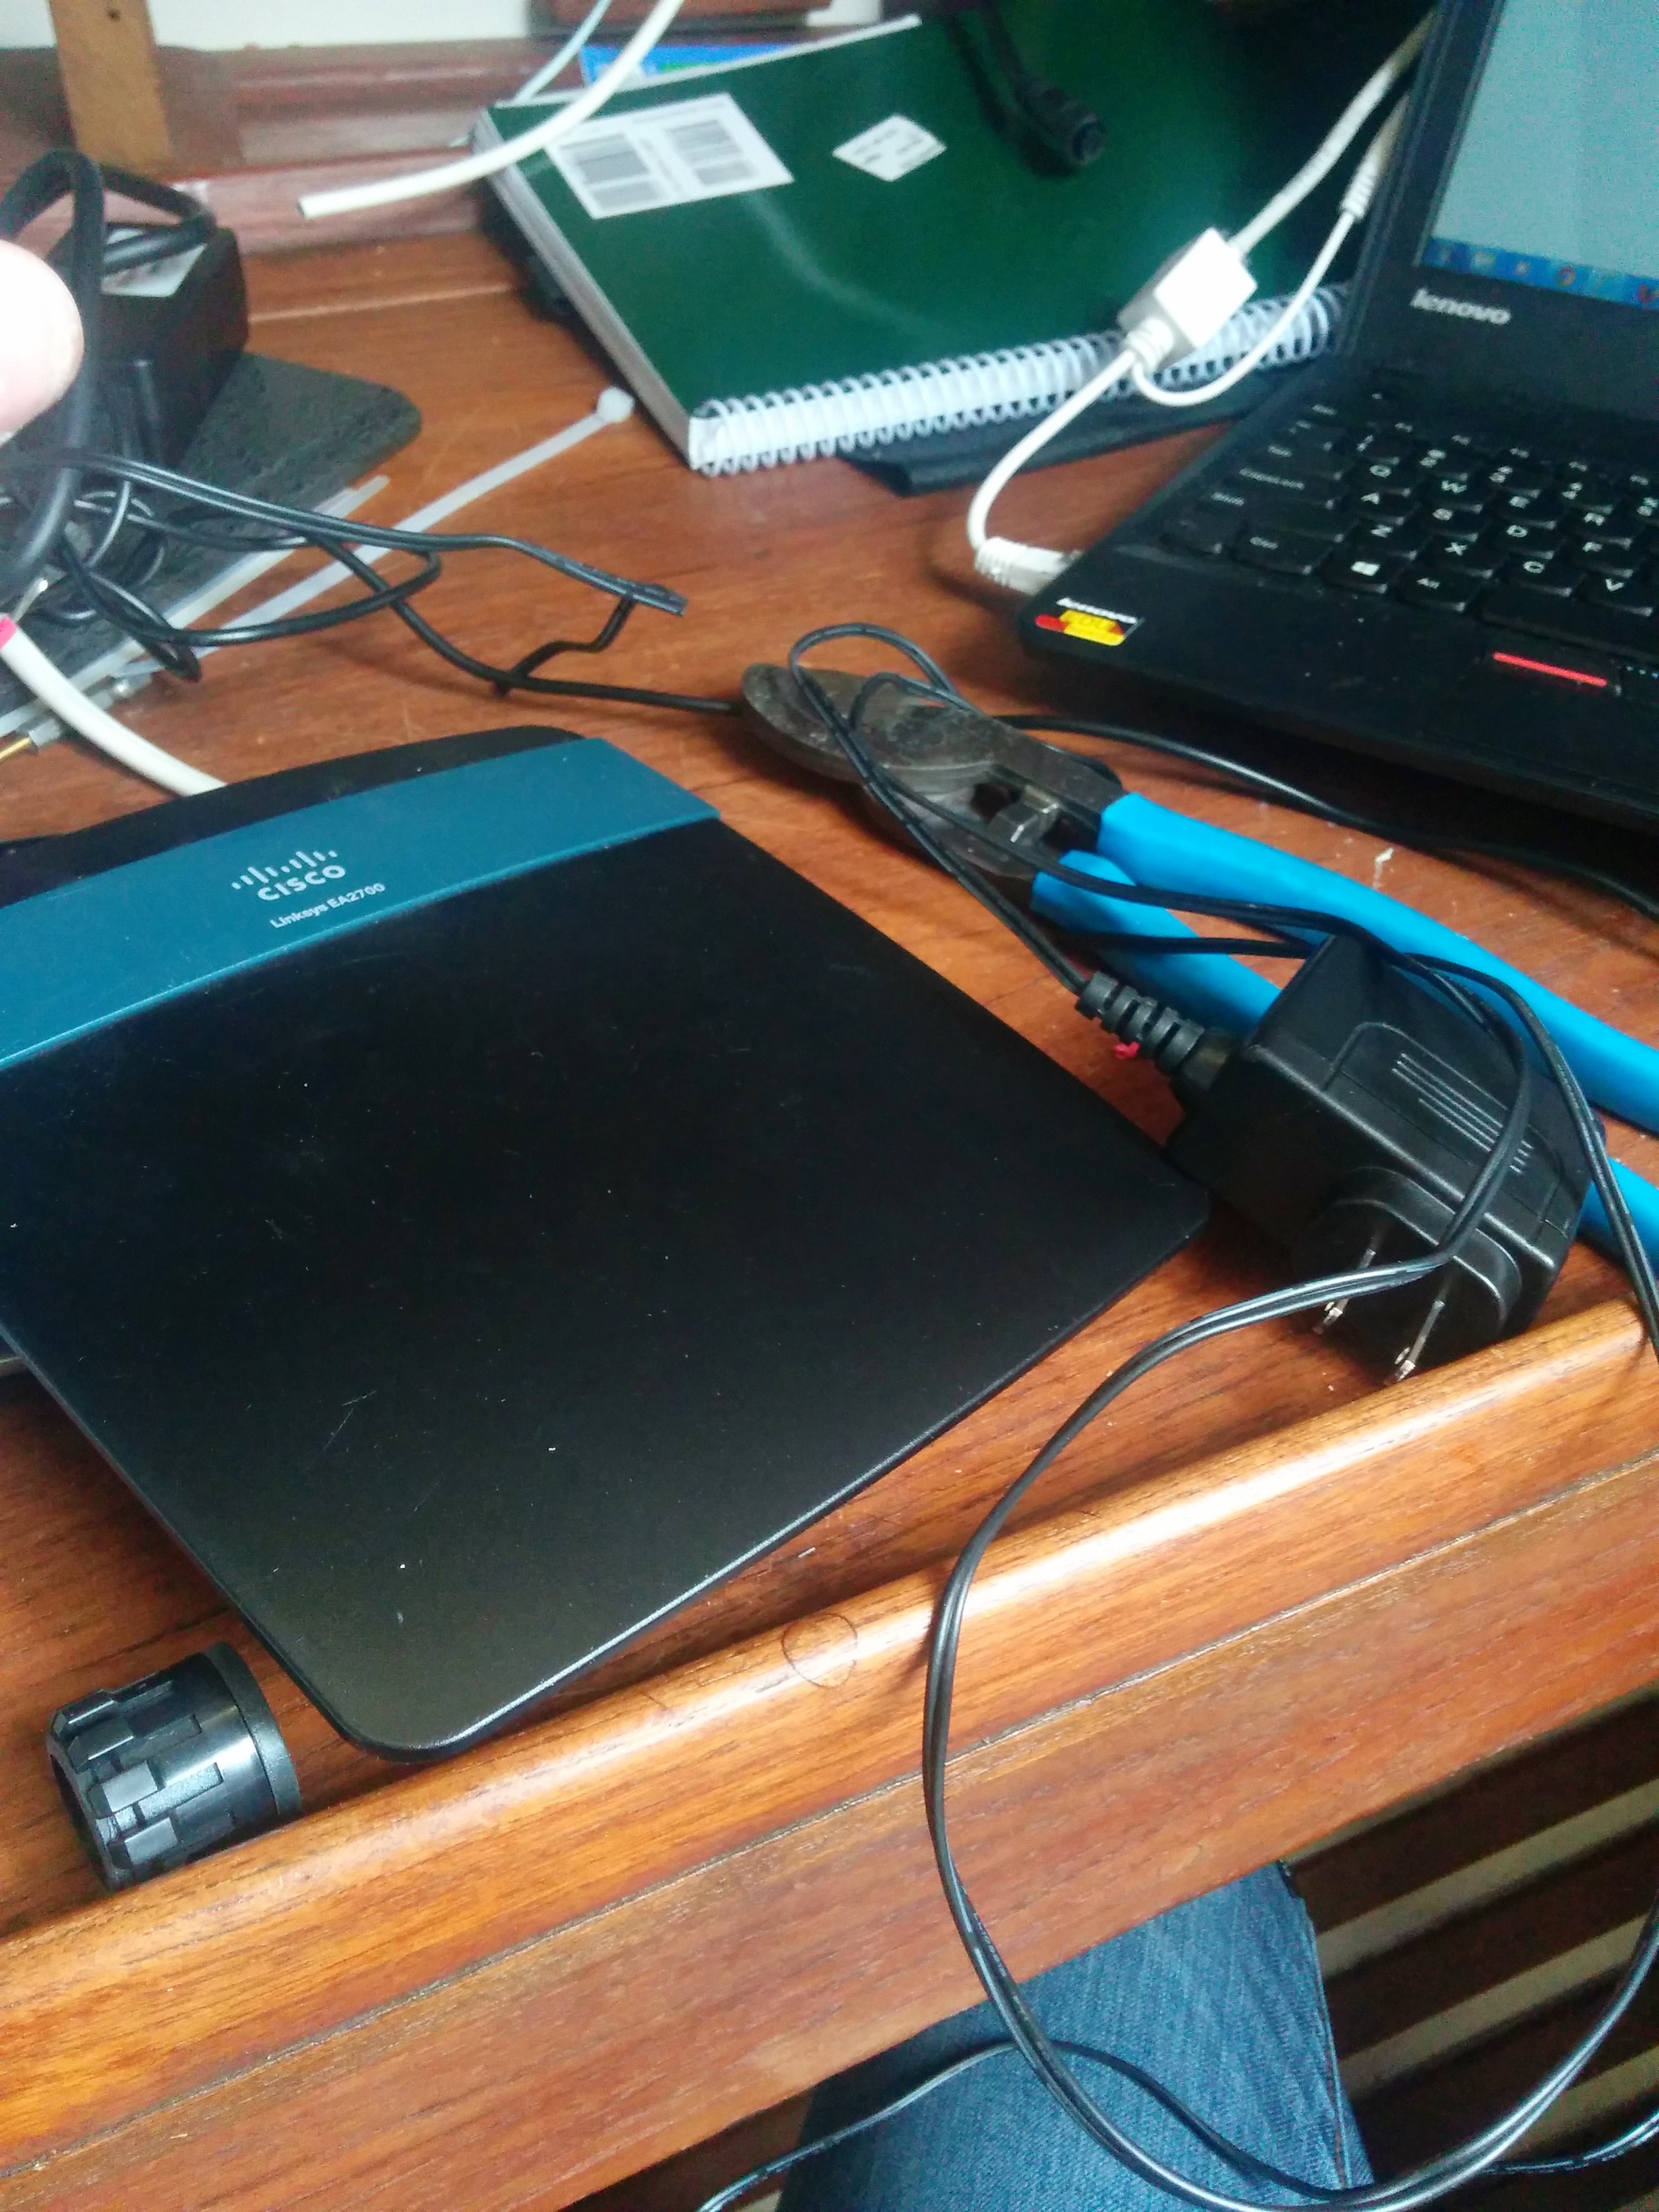
Now, when I flipped the breaker switch marked ‘wifi’, both my wireless router (used in AP mode) and the bullet would power on! Note the router is not used for anything other than switching and wireless, the bullet handles all DHCP requests and routing.
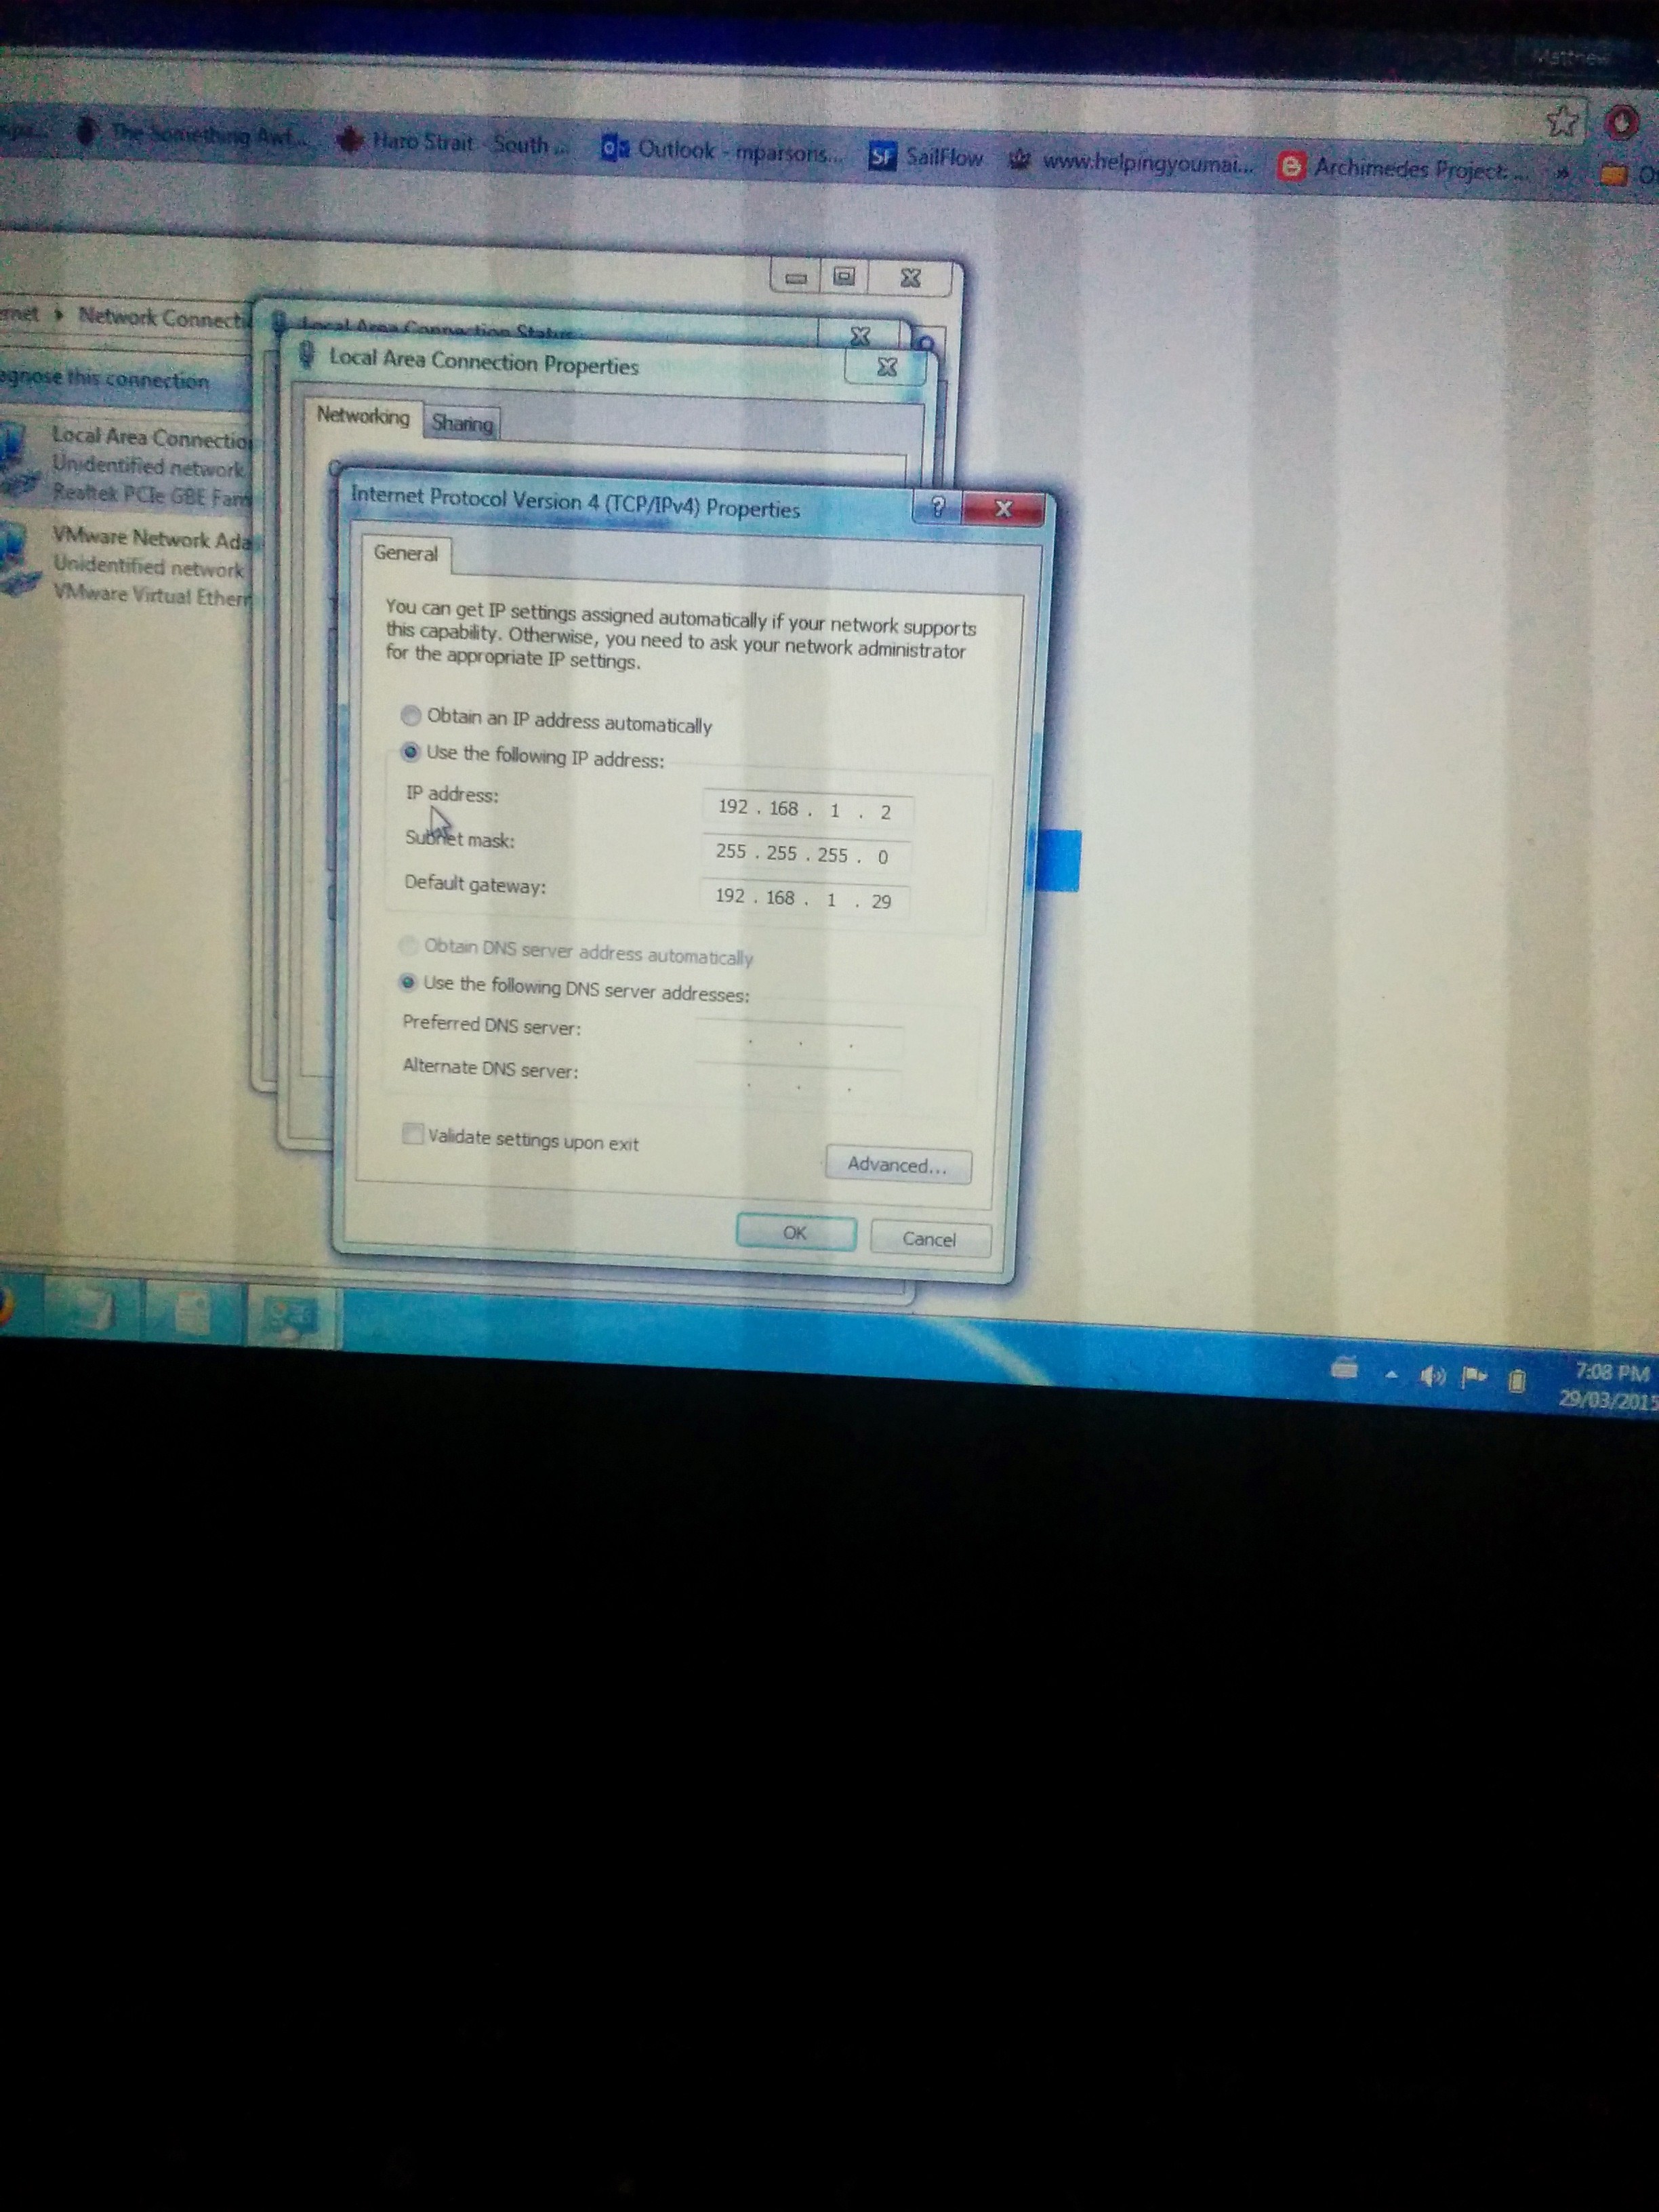
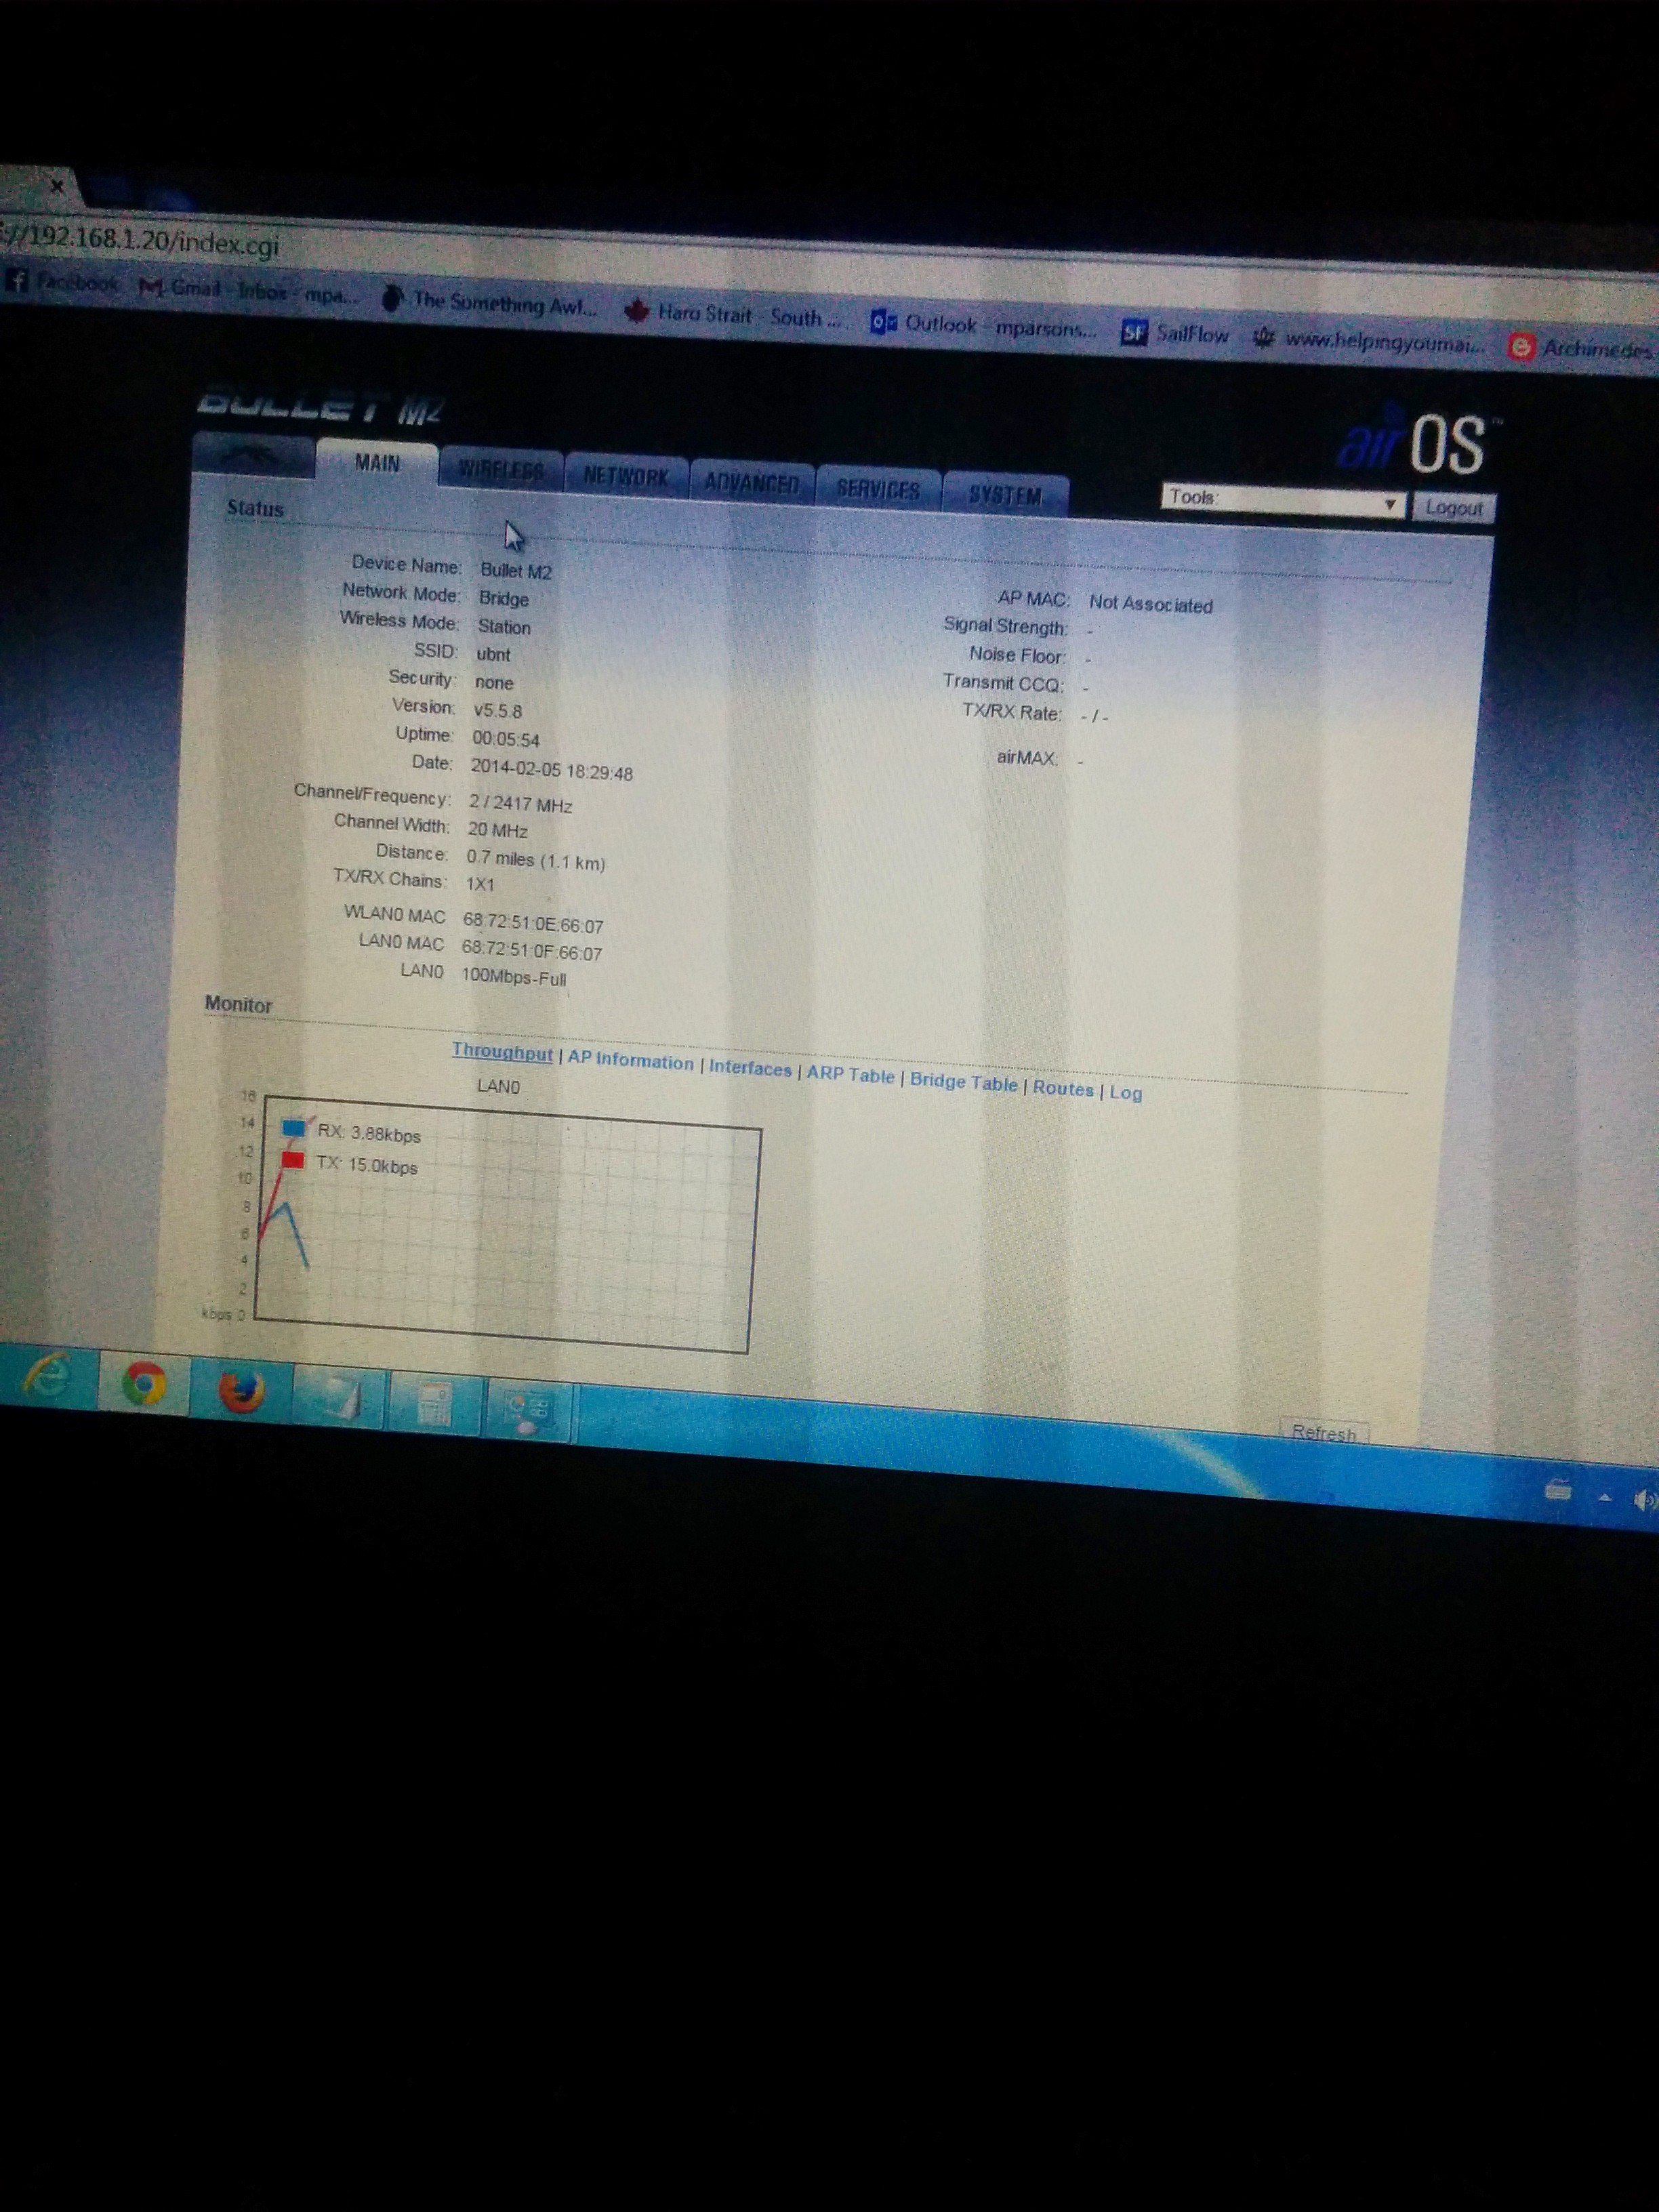
Last thing was to configure the bullet, which is basically forcing my IP temporarily to the same subnet, and then setting up the DHCP options etc, much like initial setup on a router. I can then put my IP address back to automatic.
These are a selection of the networks I was able to pickup.
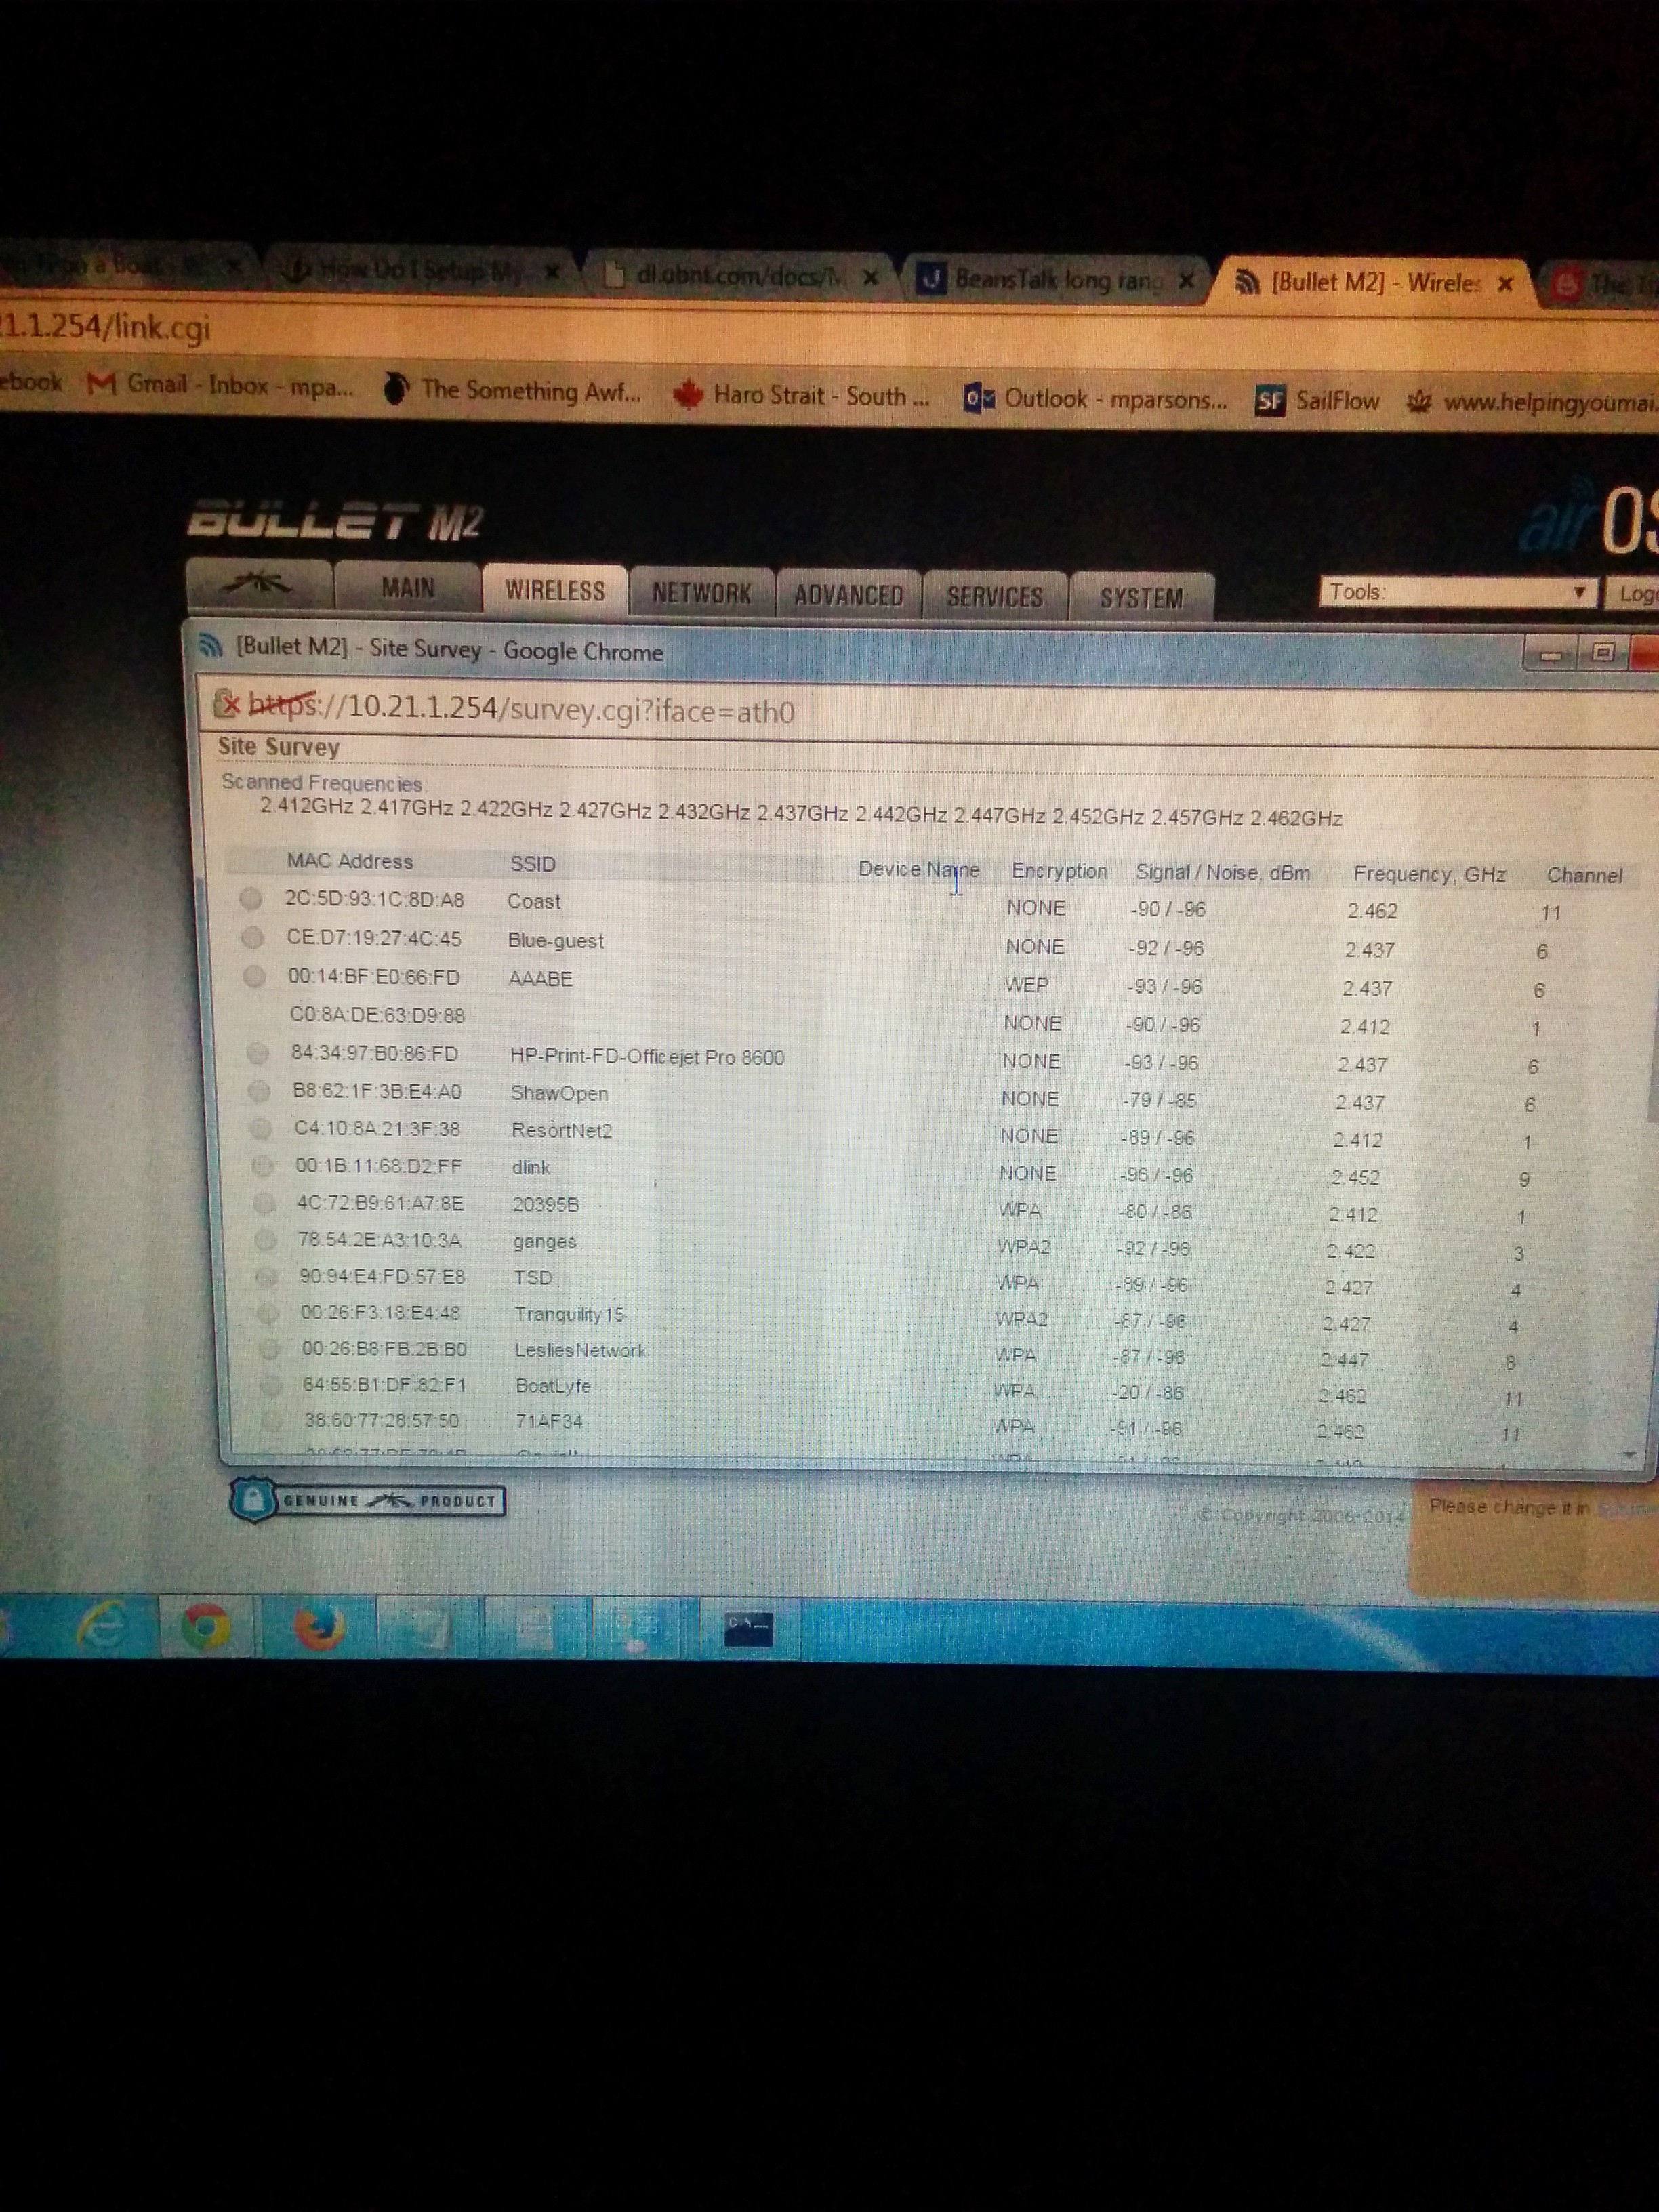
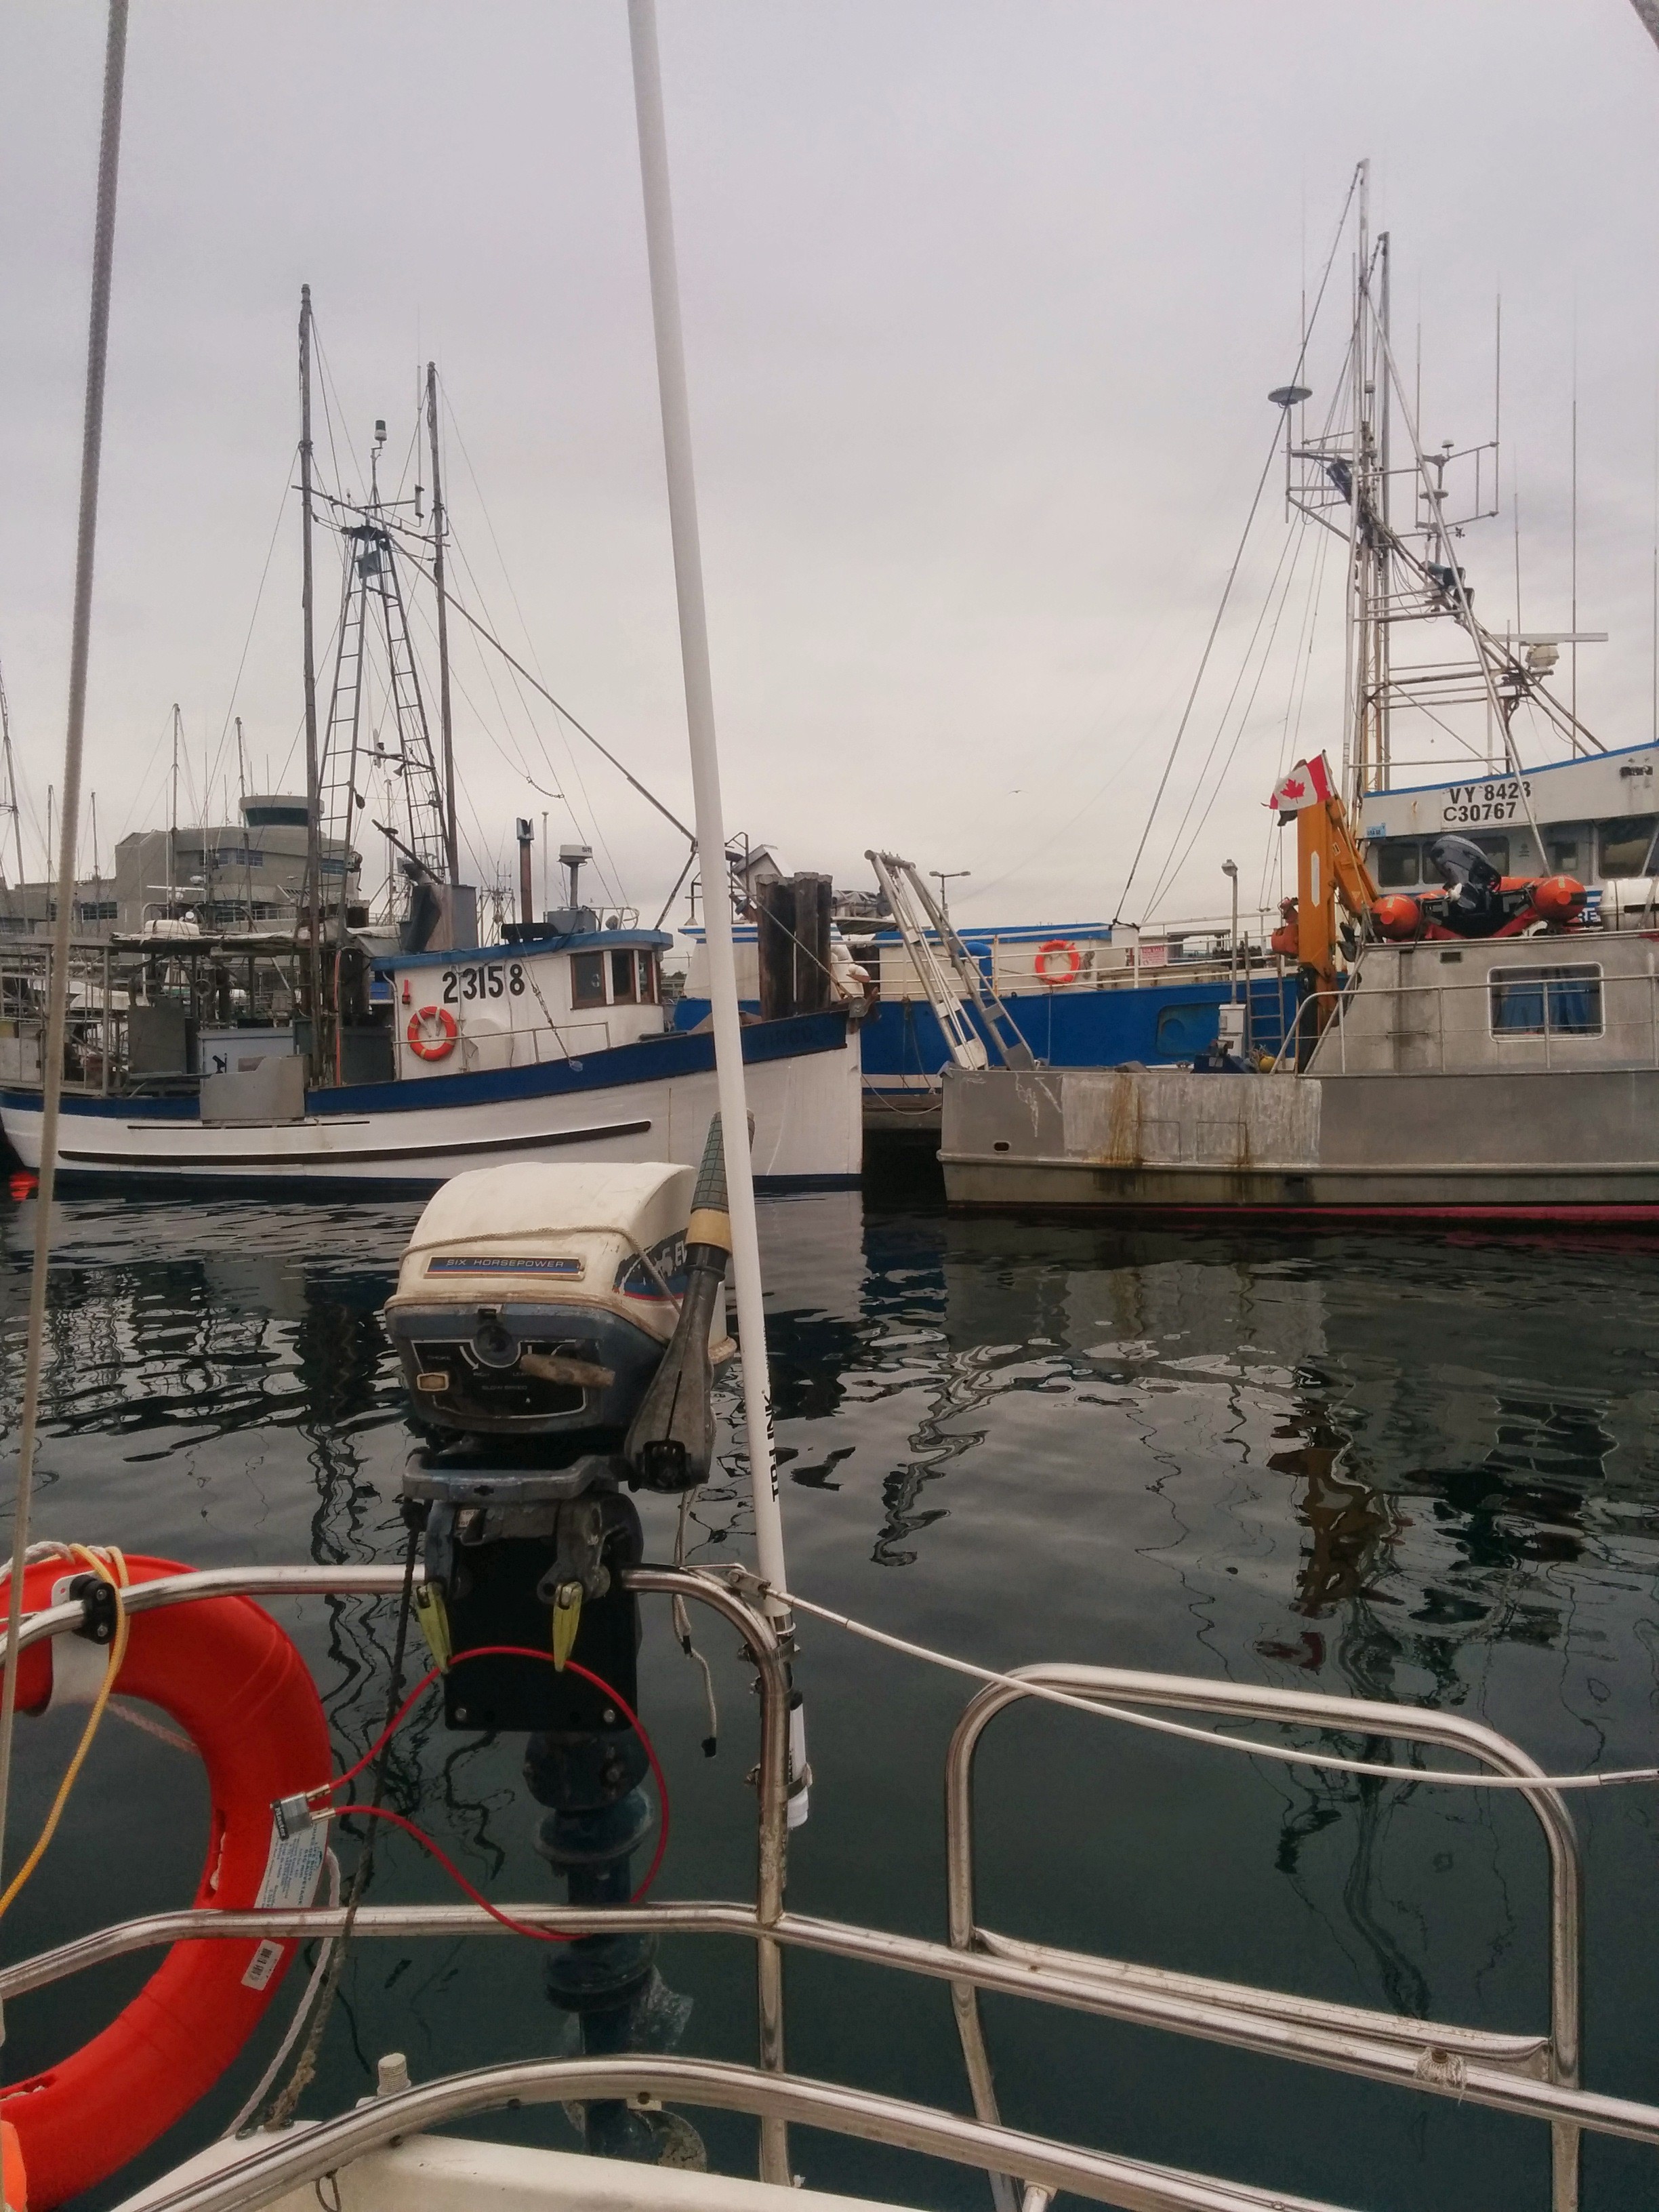
With this install I can pickup internet now while away from the dock. This will be extremely useful for uploading sunset pictures to instagram checking the weather while at anchor.
Any idea of total cost? I’ve looked at prepackaged solutions and they are ridiculous. How many clients can the Bullet manage?
I’m in canada, so it may vary if you are elsewhere.
Bullet was around 100 bucks, the POE adaptor was around 5 bucks, antenna was 50. The router and ethernet cable I had lying around, but you can pick them up really cheap from second hand stores. As for client numbers, I am not sure. You’d have to run it into a switch, but it has a fully featured DHCP server on it so you don’t need to do additional routing on it.
So how about an update on how useful this has been? Canada? US? Mexico?
The bullet eventually broke and I ended up getting a nanostation. it doesn’t need an antenna and is directional so you need to point it at where you are trying to connect to
Didn’t finish, oops. Basically I used it all the time coming down the coast of the US – even in marinas the signal is often super weak and a booster is very handy. I’d really recommend having one