Following on from the very high level design in part one, the next stage was to mount the 8 cells securely in a safe location. This actually took a while to puzzle out and as you will find out, I’m not totally stoked on the final choices I made. So I’ll probably have to redo it all soon. ANYWAY…
LiFePo4 cells don’t give off dangerous gases when charged unlike Lead Acid, so I could put them inside. I decided to tuck them away under the nav desk, as it was a dry, safe spot and very close to the electrical panel AND the alternator, meaning less voltage drop and I could use slightly smaller cables.
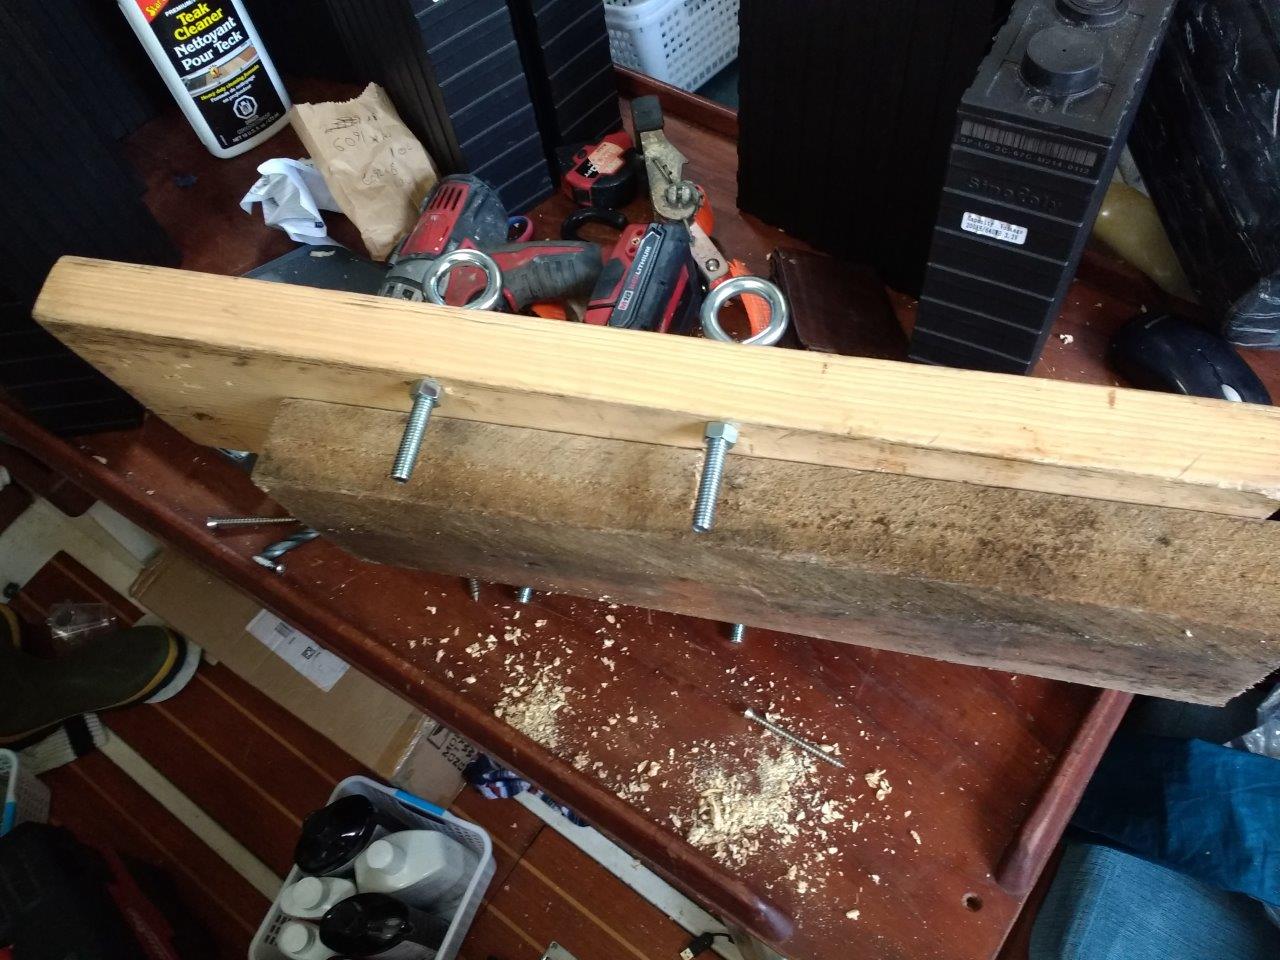
First, I had to create a ledge for them to sit on. I did this with some scrap wood I ‘liberated’ from work, and then put some padeyes through.
I then test the connection.
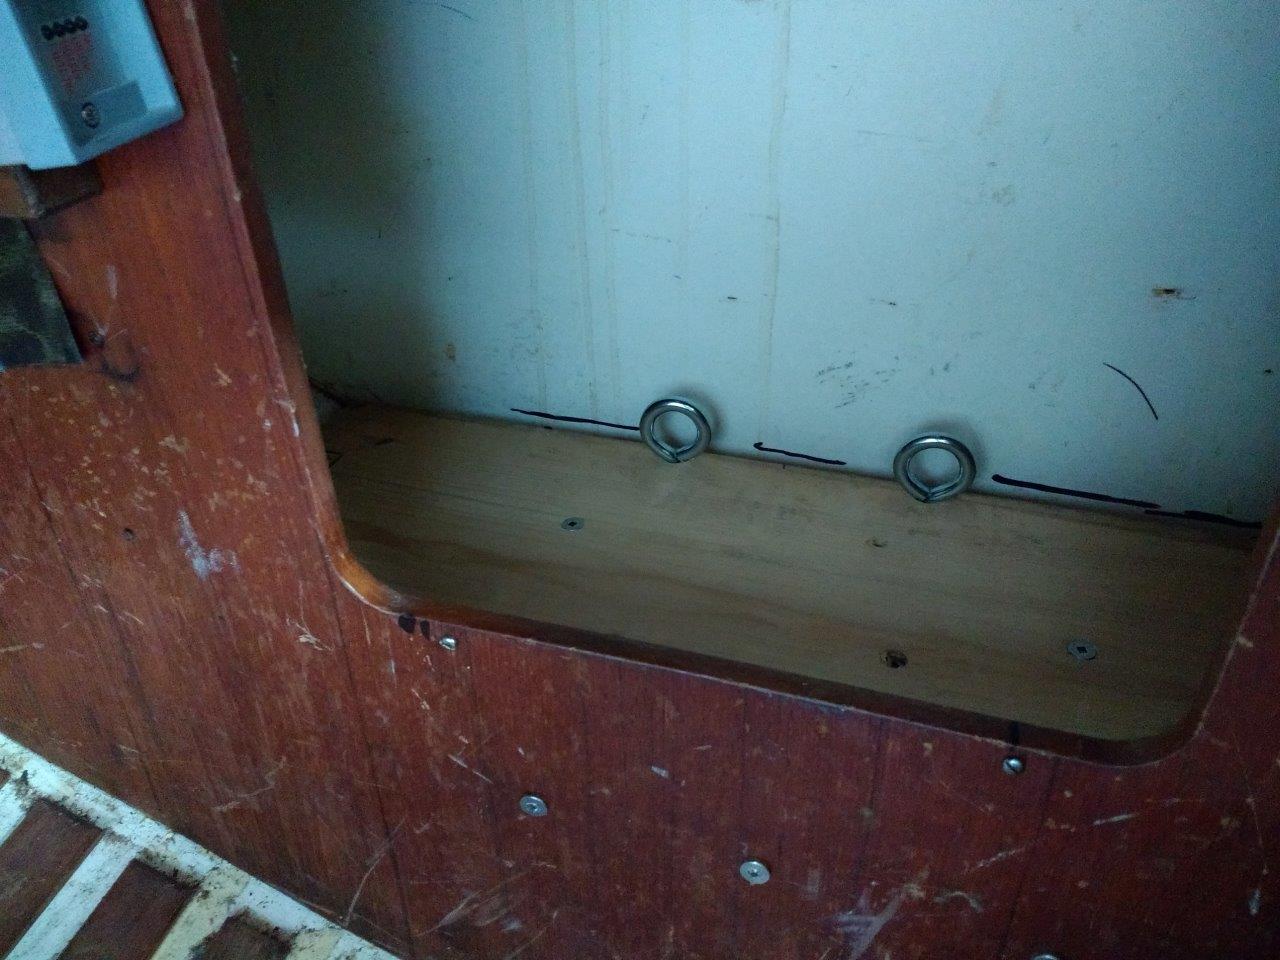
This was then mounted inside the space under the nav table and then once I had the position correct, mounted in position with a lot of big screws.
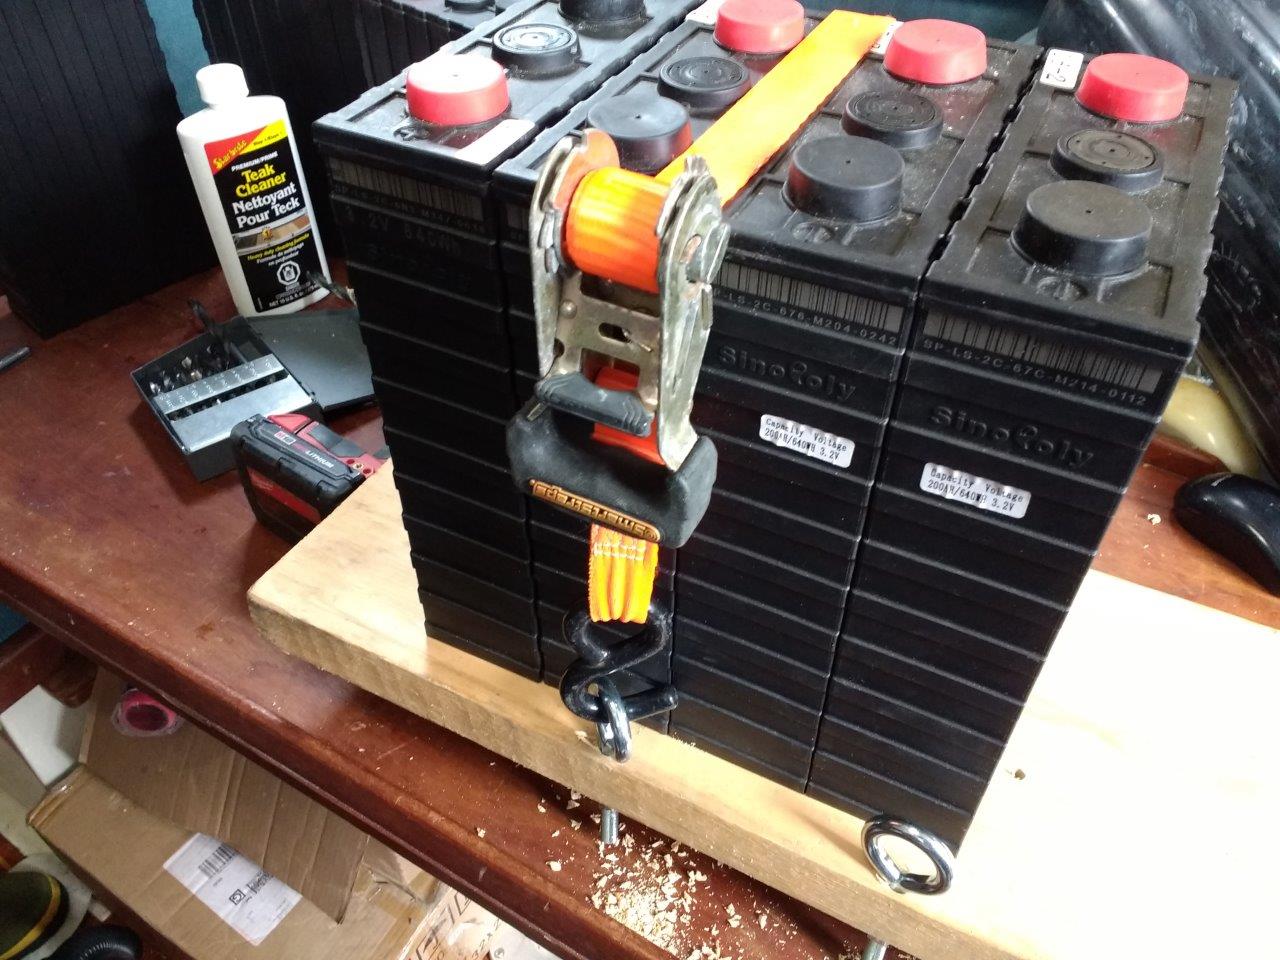
The cells need to be held together with compression, so to do this I sunk two additional padeyes into the end of the space, and used a metal plate at either end and a ratchet strap to squeeze them together while simultaneously holding them secure. They then could be strapped down from the top as well.
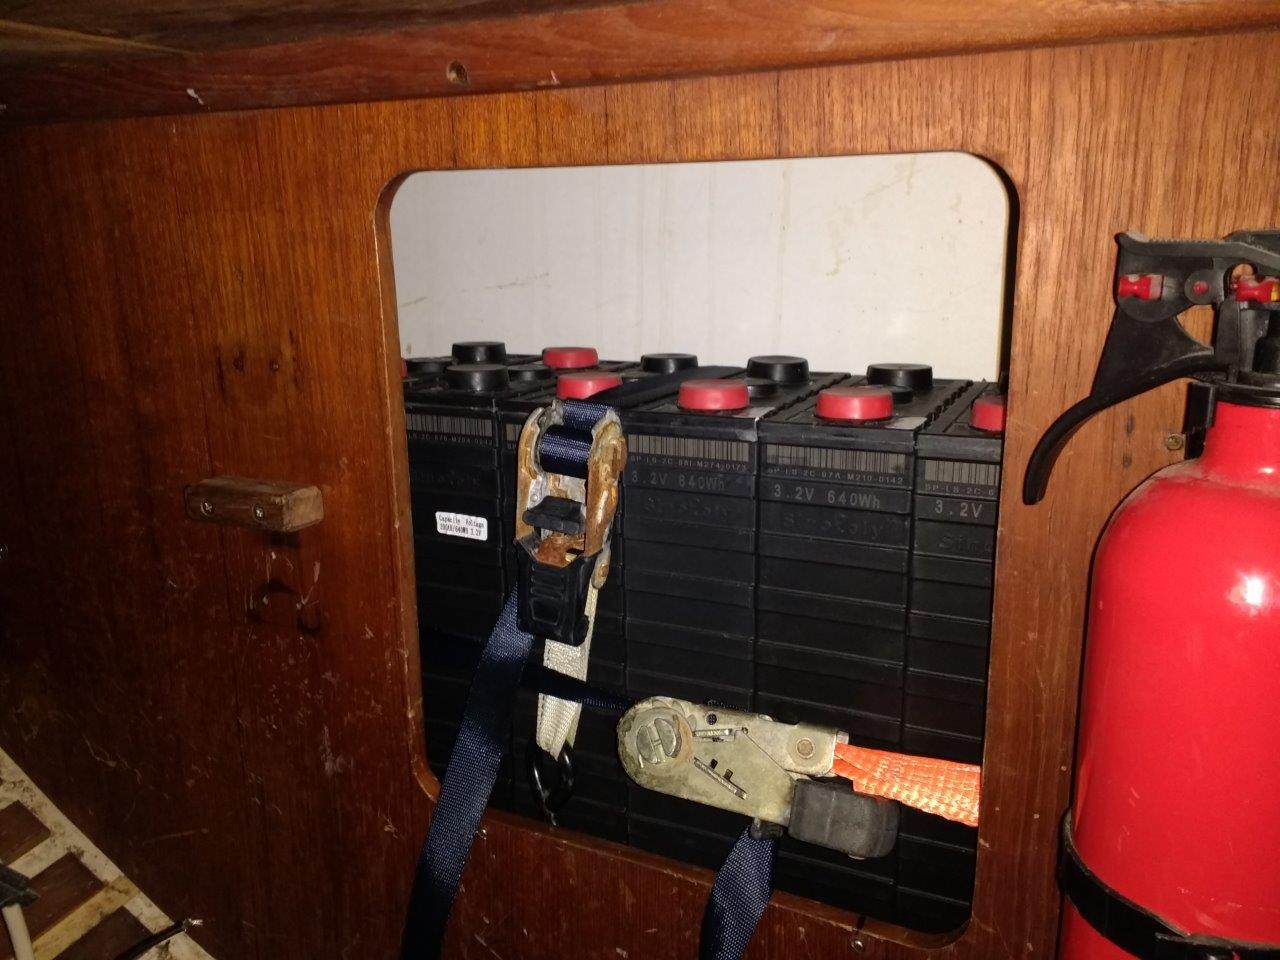
This seems to hold everything very securely, but looks really kinda…. shit.
So I may have to change that. I am thinking using threaded rod threaded through oversize metal end plates and the end bulkhead to form a compression case..
For now though, they are out from under the salon table where they have been for 3+ months which is a huge relief. Now I just need to find a spot to put all the painting stuff that was there originally… sigh
I would surly love to see the up front and Life Cycle costs. I’m an EE by training and understand the pro/con but for someone wanting to leave the cubical life, spending freedom chips that big….well let’s say it’s not the route I went. 🙂 I tried to follow the Go Small, Go Now, The simpler the better theme.
Hi Edward,
The cells worked out to around 3x the equivilent cost in lead acid batteries. However
– They weigh a 1/3 of the weight and about 1/2 the size
– I can have them inside
– They are way more efficient to charge, meaning my solar is more effective
– I can run an electric kettle and my hot water tank off them if it’s a clear day. Meaning I use way less propane (important as I have a tiny 6lb tank)
– Doesn’t throw acid everywhere in a knockdown
Basically, I felt the enhancements were worth the extra money and planned around the upgrade when I set my departure date. Something to be said for ‘go now’, but sailing off into winter gales and freezing temps isn’t really my cup of tea so I always planned to leave Spring of 2018. 🙂
Matt:
Sure would appreciate details on your project. Specs on the cells, where your purchased them, total capacity of the system, component costs, any other details that might be beneficial to build a similar system, and mistakes to try to avoid.
Many thanks in advance
Hi Hu, I’m actually going to break out each component of the system separately and do a separate post on it. I just haven’t finished installing yet and am now away for two weeks! If you check out of the links in the first post though, other people have a wealth of information there