Sorry this third update took a while, I was travelling for work a lot and then got some kind of hellish food poisoning/stomach flu thing which took me completely down for a while. But now I’m back and BETTER THAN EVER with a heavy cold, but lets get on with some hot hot LiFePo4 action!
Removing the old batteries
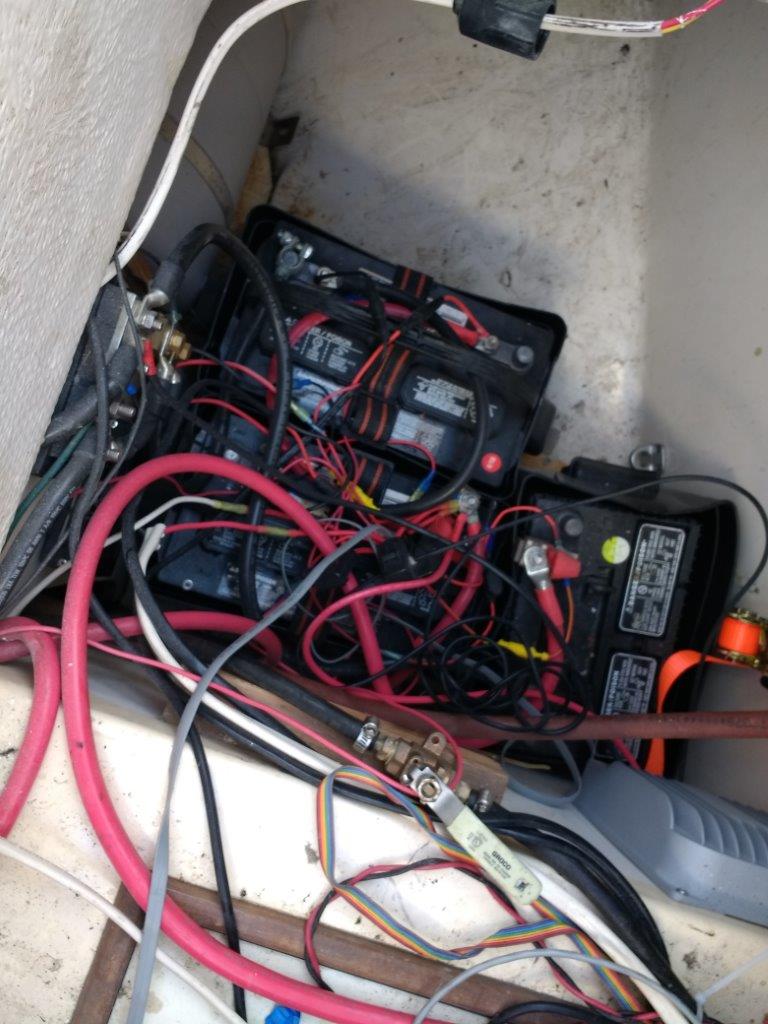
So in the last post, I’d figured out how to mount the cells. The next step was to pull out all the old lead acid batteries and the associated wiring. This was a bit of a bigger job than it may otherwise have been as I wasn’t just doing a straight swap of batteries in the same location but was moving the bank to take advantage of the properties of LiFePO4 over lead acid (no explosive gases given off, no acid thrown around in a knockdown)
This meant not only did I have to remove the old batteries, but also all the cabling associated with it, along with the negative shunt (for current measuring), the fuses, echo charger, old AC charger etc etc. Bascially meaning an afternoon spent hanging upside down in the port lazarette pulling wires out
Starting to pull all the wiring out
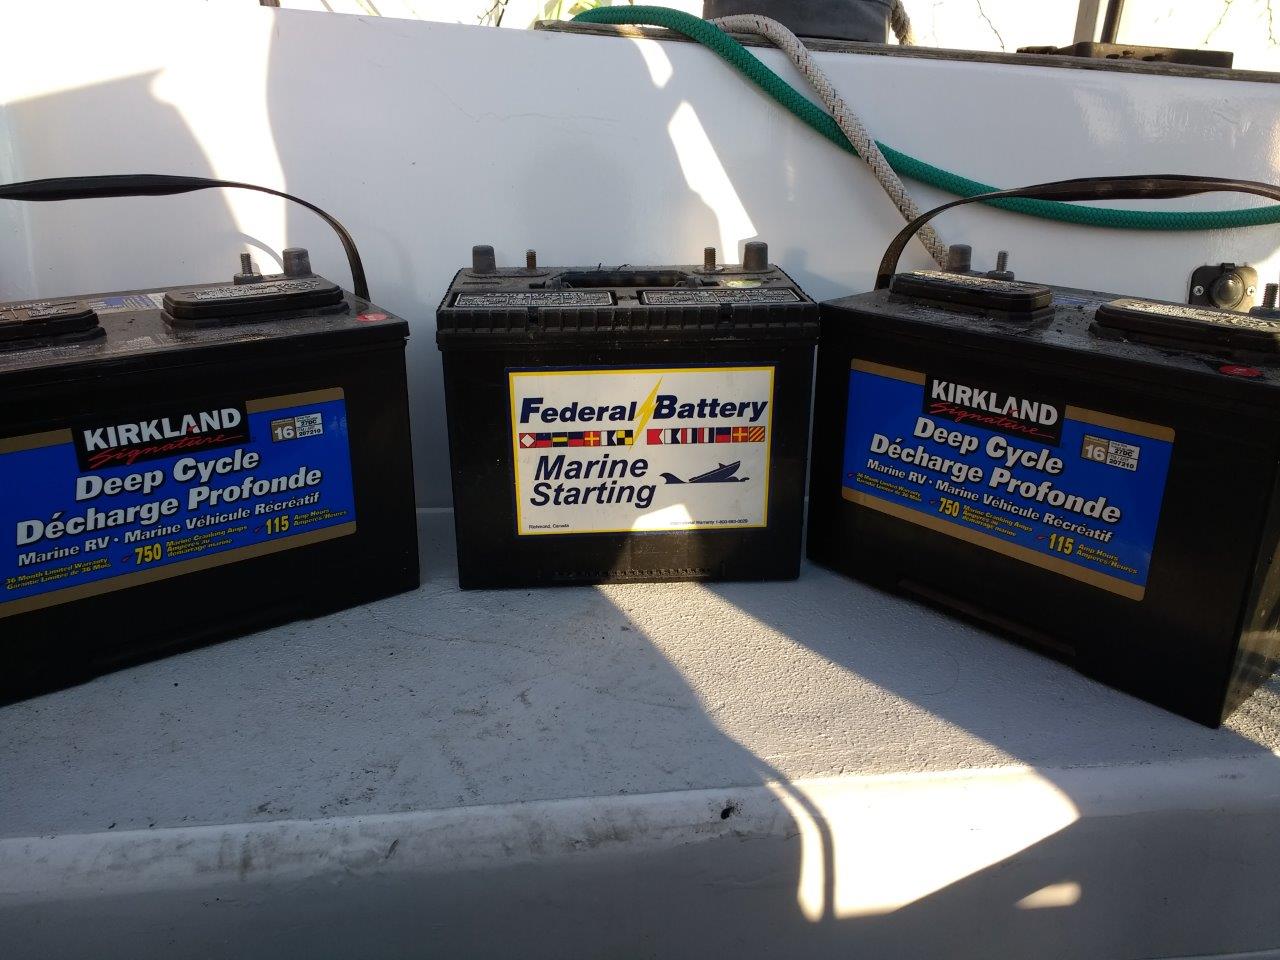
After I disconnected all the wiring from the batteries, next I had to pull out the batteries themselves. After some huffing and puffing I finally had the year old 2x 110AH house and smaller starting battery out
And the compartment sans batteries
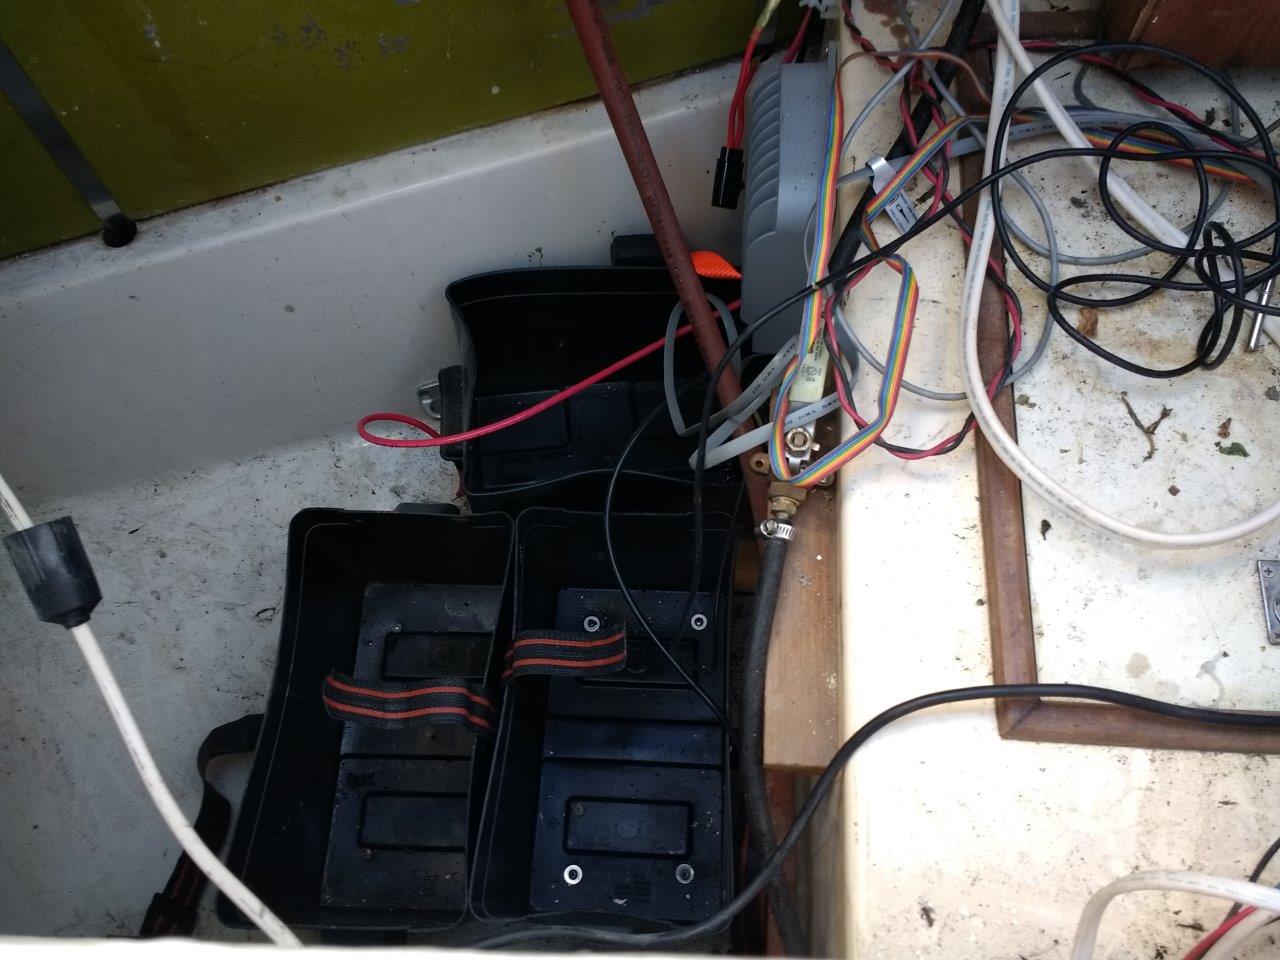
Whew! In addition, since I had to move most of the negative stuff to the other side of the engine (as I was moving the shunt) there was a LOT of rewiring around the engine compartment.
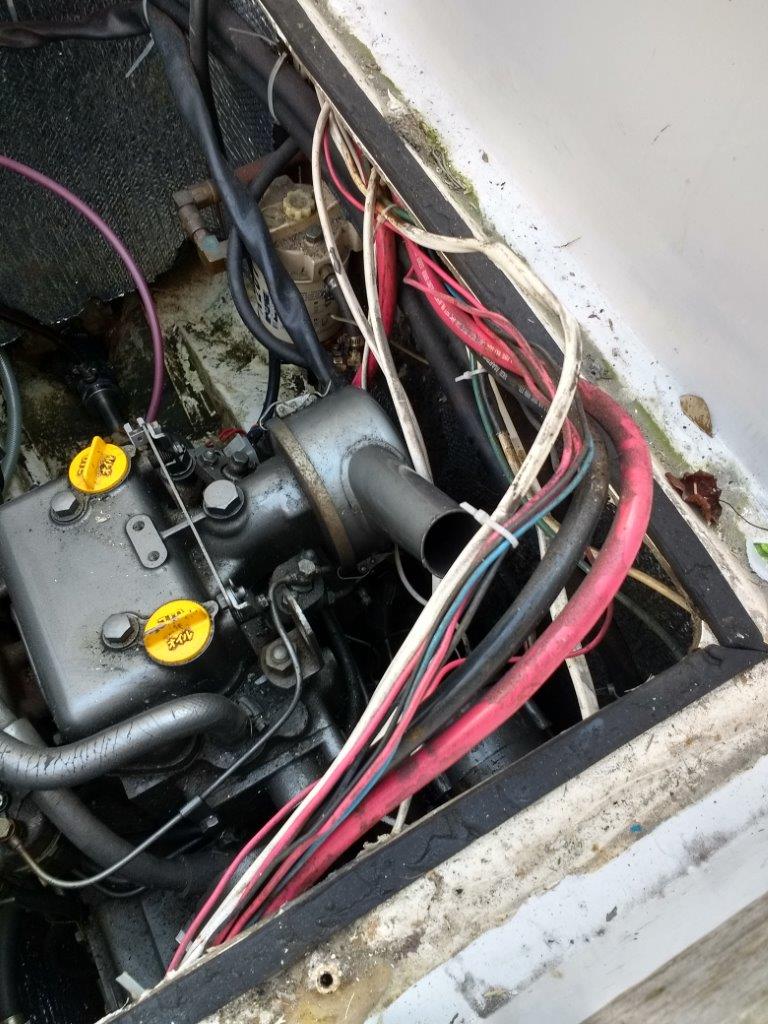
2014 me seemed to love zip ties, so I had to cut off a million to remove all the wires, and then rerun the couple that were staying there. I got there eventually however!
With the batteries out, and stored on my floor (I was giving them away to my old neighbour, Billy who needed a set) I spent the rest of the day starting to install components into the new space. IE the negative bus bar, the shunt and the ground to the engine.

I then drilled a hold and pulled the load cable for the DC distribution panel through, so I could do the next step.
Installing the charger
This was the next step I did. Why? Because the new AC charger I just got (a ProNauticP 1240P 40 amp charger) also has a power supply mode! Meaning I can run slightly important things like ‘lights’ and ‘the fridge/freezer with my icecream in’ for a while while I dick around getting the rest of the system installed. As most of the boat is setup as DC, not having DC power would be a massive pain in the arse, especially at this time of year where we have a whole EIGHT HOURS of daylight. Yech.
This was painfully made clear to me as I ran out of daylight around three hours before I finished this, meaning I had to blunder around in the dark and finish all the rest of the cabling lying on my back with a torch between my teeth… until it died, then it was switched for my front bike light. Sailing – I’m in it for the glamour.
In addition to the power supply mode, the main reason for the new charger (which was replacing my old ProSport 12 Amp charger) was because it’s pretty much fully customisable. This is ESSENTIAL for LifePO4 batteries as
- If they get overcharged, they die. Simple as that. Unlike lead acid which can take overcharging fairly well, LifePO4 cells just die.
- They have different voltage settings to lead acid (which like to be charged to around 14.x), with LifePO4 you really want to stop charging at 13.8
- And when I say stop charging, I MEAN stop charging. Unlike lead acid which like to be kept floating (a small trickle current), LifePO4s like to be at a state of partial discharge. Which means no float.
- Various chargers have ‘lifepo4’ settings but they are all junk, either because the voltages are set too high (14.6 in some cases) or because float is still enabled.
All these reasons mean a fully customisable charger is needed to be able to change these settings. An extra bonus is the power supply mode – as I think when at the dock for a while (like I am until I leave in May) I will just discharge the batteries to ~50% charge and then turn them off completely, and just use the power supply mode. Possibly. It’s an option anyway, I’ll have a think and see.
Simple cheap chargers, even ‘smart’ ones just won’t cut it. Part of that ‘system’ approach I was talking about earlier.
Anyway, while in the dark I finally managed to get the charger installed in it’s location.
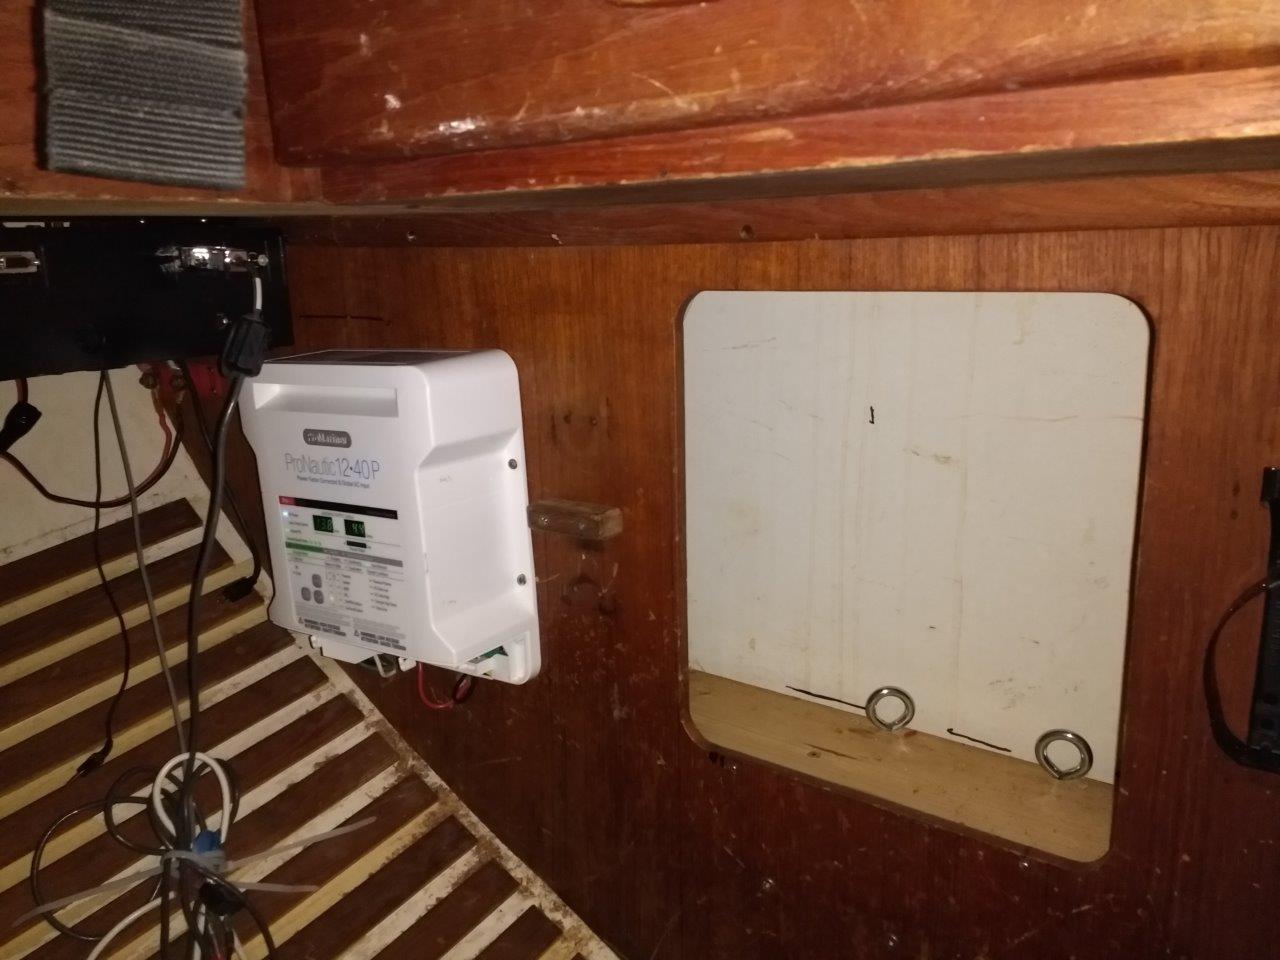
Then it was a matter of running the positive to the same busbar the DC panel load was run to (this will eventually be the load busbar and the charger positive will be moved the charge busbar but for now this will do until everything else is installed), the negative to the negative bus and then the AC power from the old charger to the new.
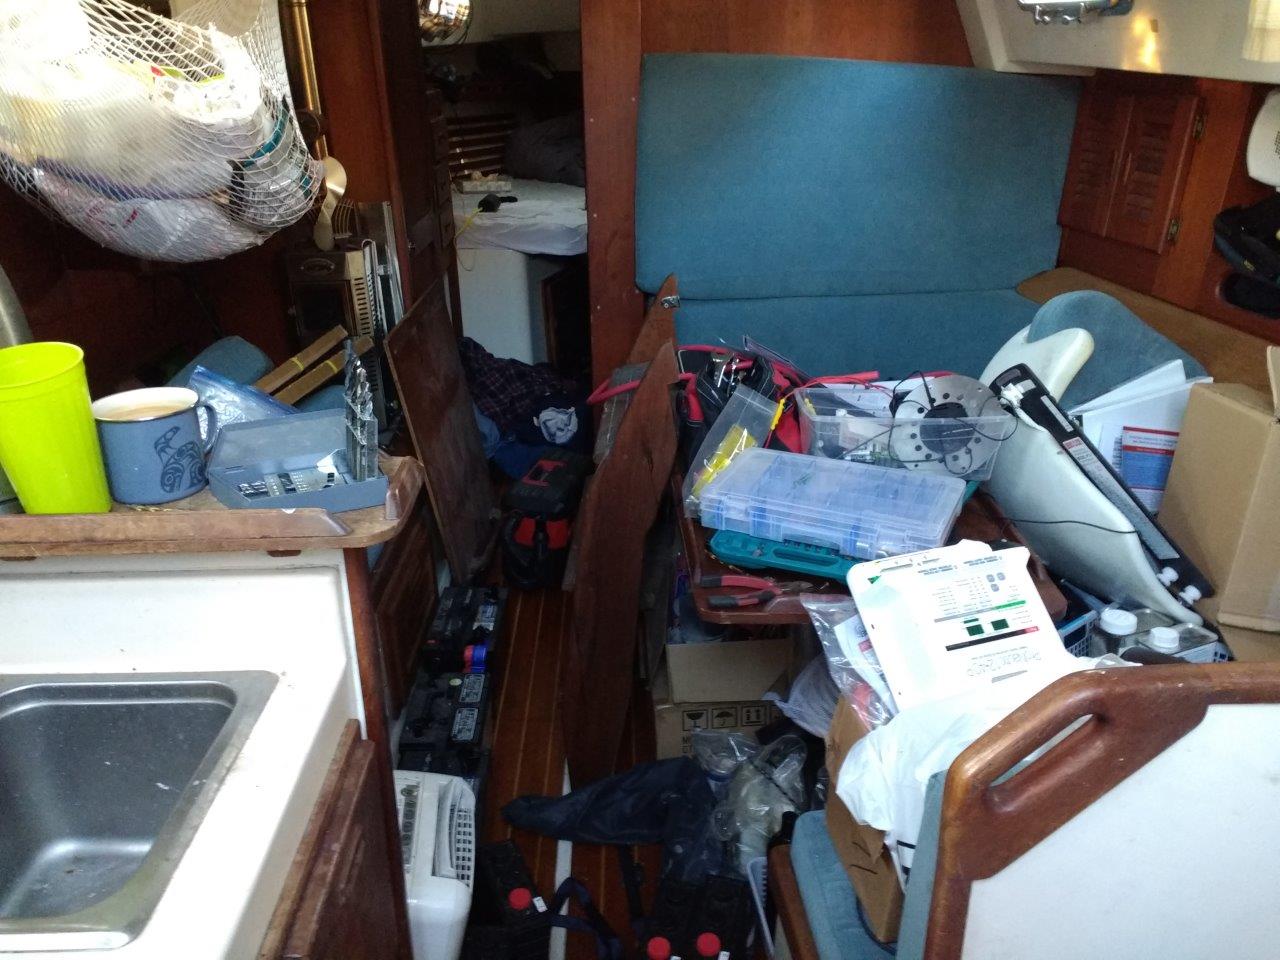
And yay! I had DC power again. I immediately celebrated by turning off all the lights and going to bed. Side note: this is why living on your boat while doing a major project sucks. This is what the inside looked like in the middle of the install! STUFF EVERYWHEREEEEE
And finally…
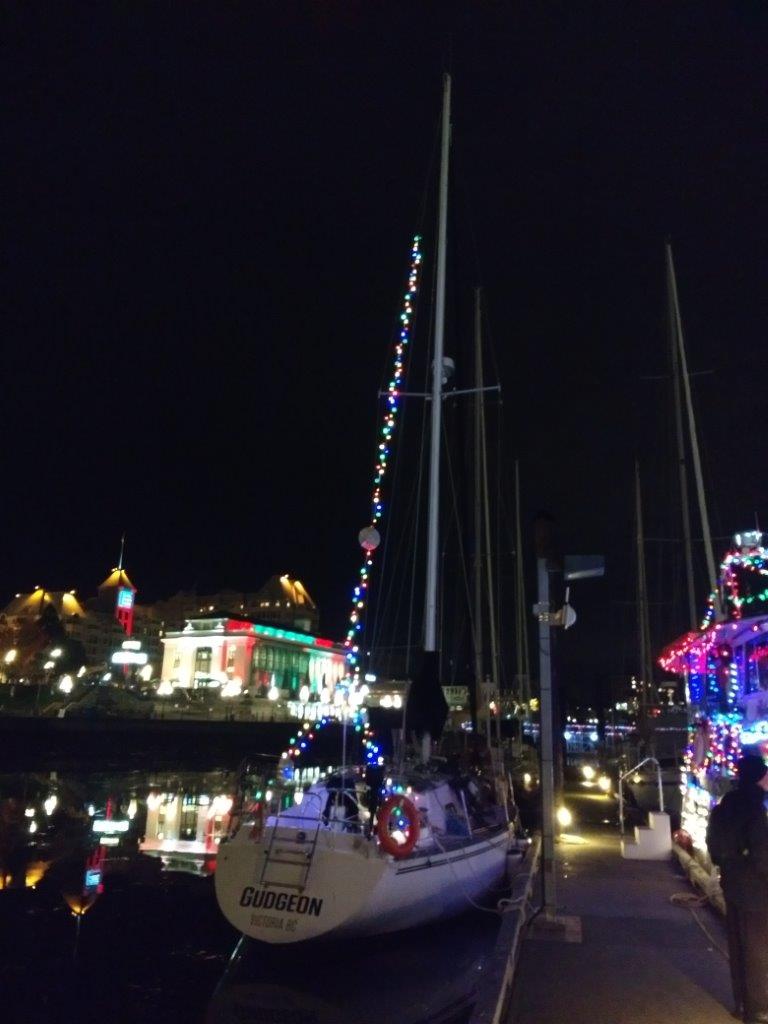
A belated Merry Christmas everyone! For once I actually put up the few lights that were given to us by the marina, but I ran out halfway up the backstay. Ah well, it’s the thought that counts 😉
I am also experimenting with affiliate links – if you end up clicking on the links of stuff I’ve used and buying it, apparently I get some money or something. It sounds like magic and is way less intrusive than adverts, so let me know if it’s annoying or w/e
re support: have you thought about using Patreon? I’d sign up 🙂
Thanks Bruce, that’s super kind! I’ll probably put up one when I’m about to leave – right now I feel I don’t really have that many interesting things to talk about and my update schedule is spotty.
I also have to do my research on the various options
Hi Matt,
I am a fellow Hunter 36 owner. Mine is an ‘81 built in ‘80, hull #78. Purchased by md in 2015, I am a the 2nd owner.
I came across your site a few times in internet searches related to H36-1’s but only read what was pertinent to my search – until recently when I started reading from the beginning (I am in New York so it’s v cold outside and thus I have more time to do so). I think I have now read all and much of it is, as a fellow H36-1 owner, very interesting to me. I have numerous questions that I won’t go into here. I did however, want to take this opportunity to wish you a very healthy, happy and exciting 2018 since this is the year you plan to embark on your circumnavigation. I wish you fair winds and lots of good luck in what should be a wonderful, exciting and – as I have read – well prepared for expedition.
I hope we can be in touch and exchange experiences regarding our boats etc.
Best regards,
Tim.
Hey Tim! Thanks for the good wishes and same to you – wishing you the very best in the new year. Feel free to shoot me an email with any questions!
Matt
What’s your May plan anyway? Going north first?
Nice to see a plan coming together.
Nevermind…I asked that already didn’t I… 😉
Haha ya did – and answer is still to go North first – (although a friend of mine is doing the PacCup and then heading to New Zealand via the south pacific and keeps trying to get me to do that)
It just seems a shame to leave without spending a good chunk of time exploring Northern BC though.