Woa, whats this? Some more windvane stuff?
Despite the lack of updates on it, I’ve been plugging away here and there, but hadn’t really done enough to warrant a full blog post. UNTIL NOW
As said in my last post, I got the Iroko wood planks, and last weekend my friend Phil (same phil of the race to alaska challenge) took me to the yacht club of which he is a member, and let me use their table and rip saw! And when I say let me use, I mean he did almost all the cutting because I am a giant pansy and it looked really scary!
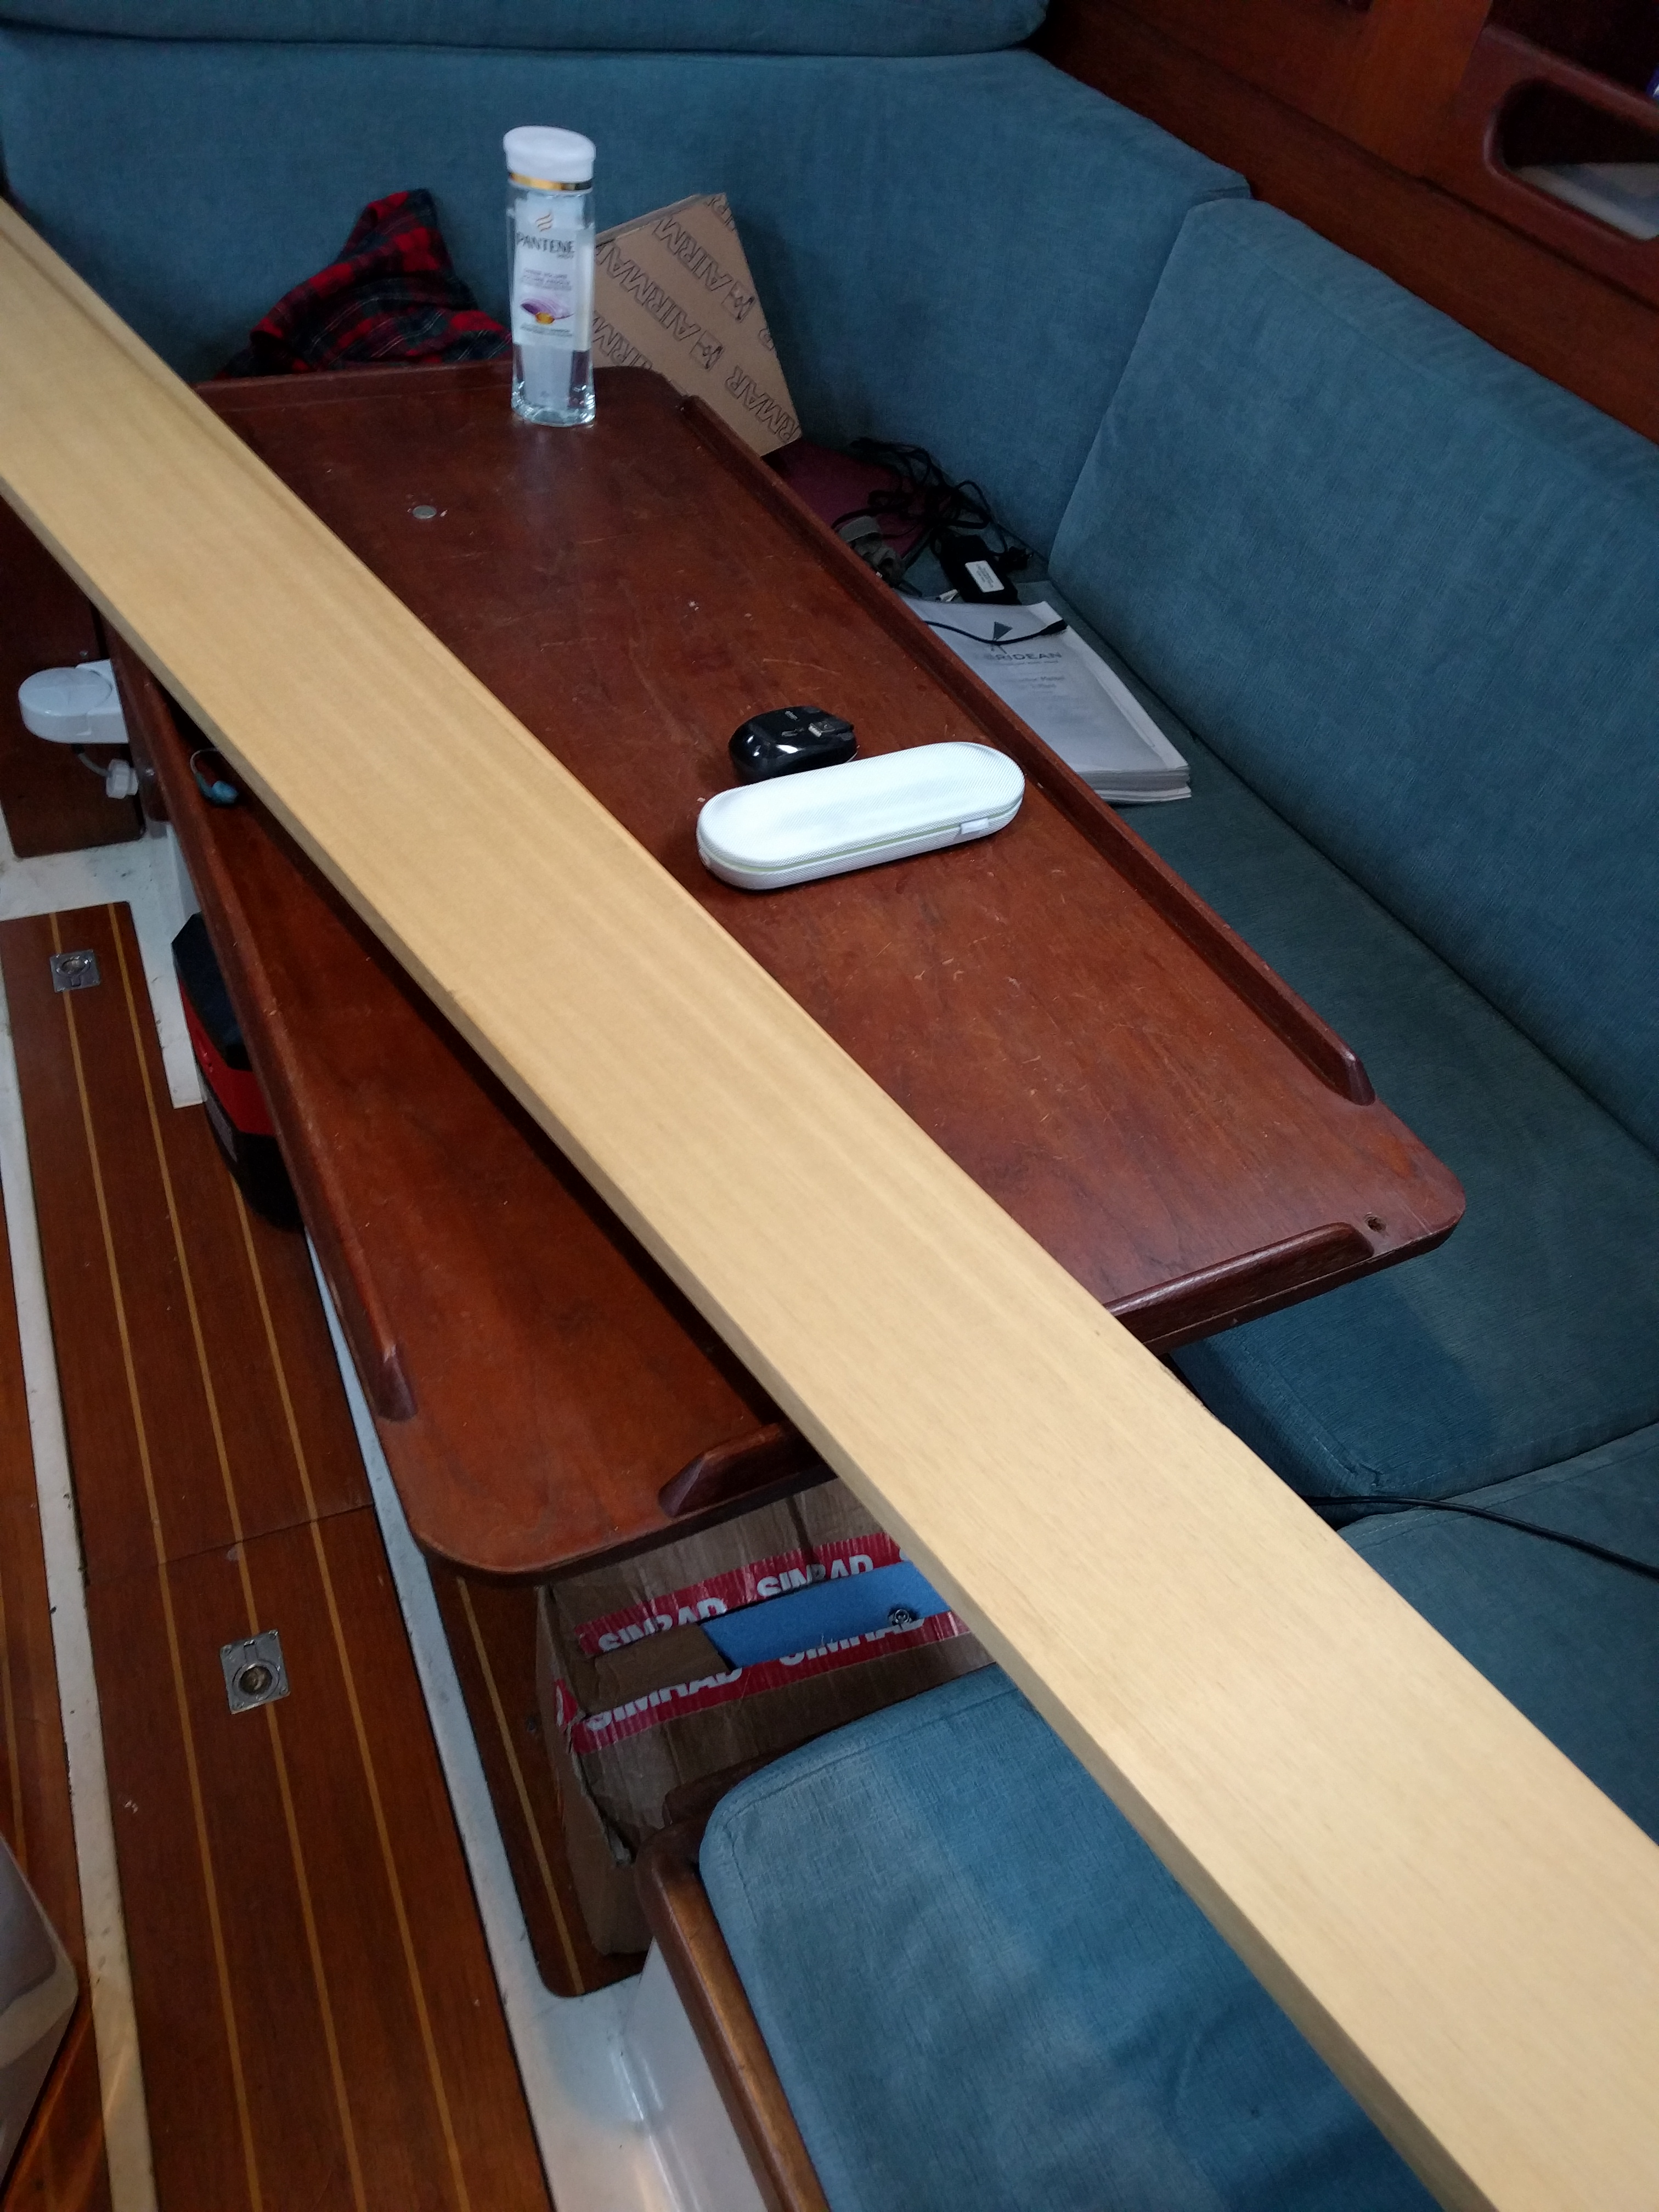
Starting with this
Phil did a bunch o’ cutting like this

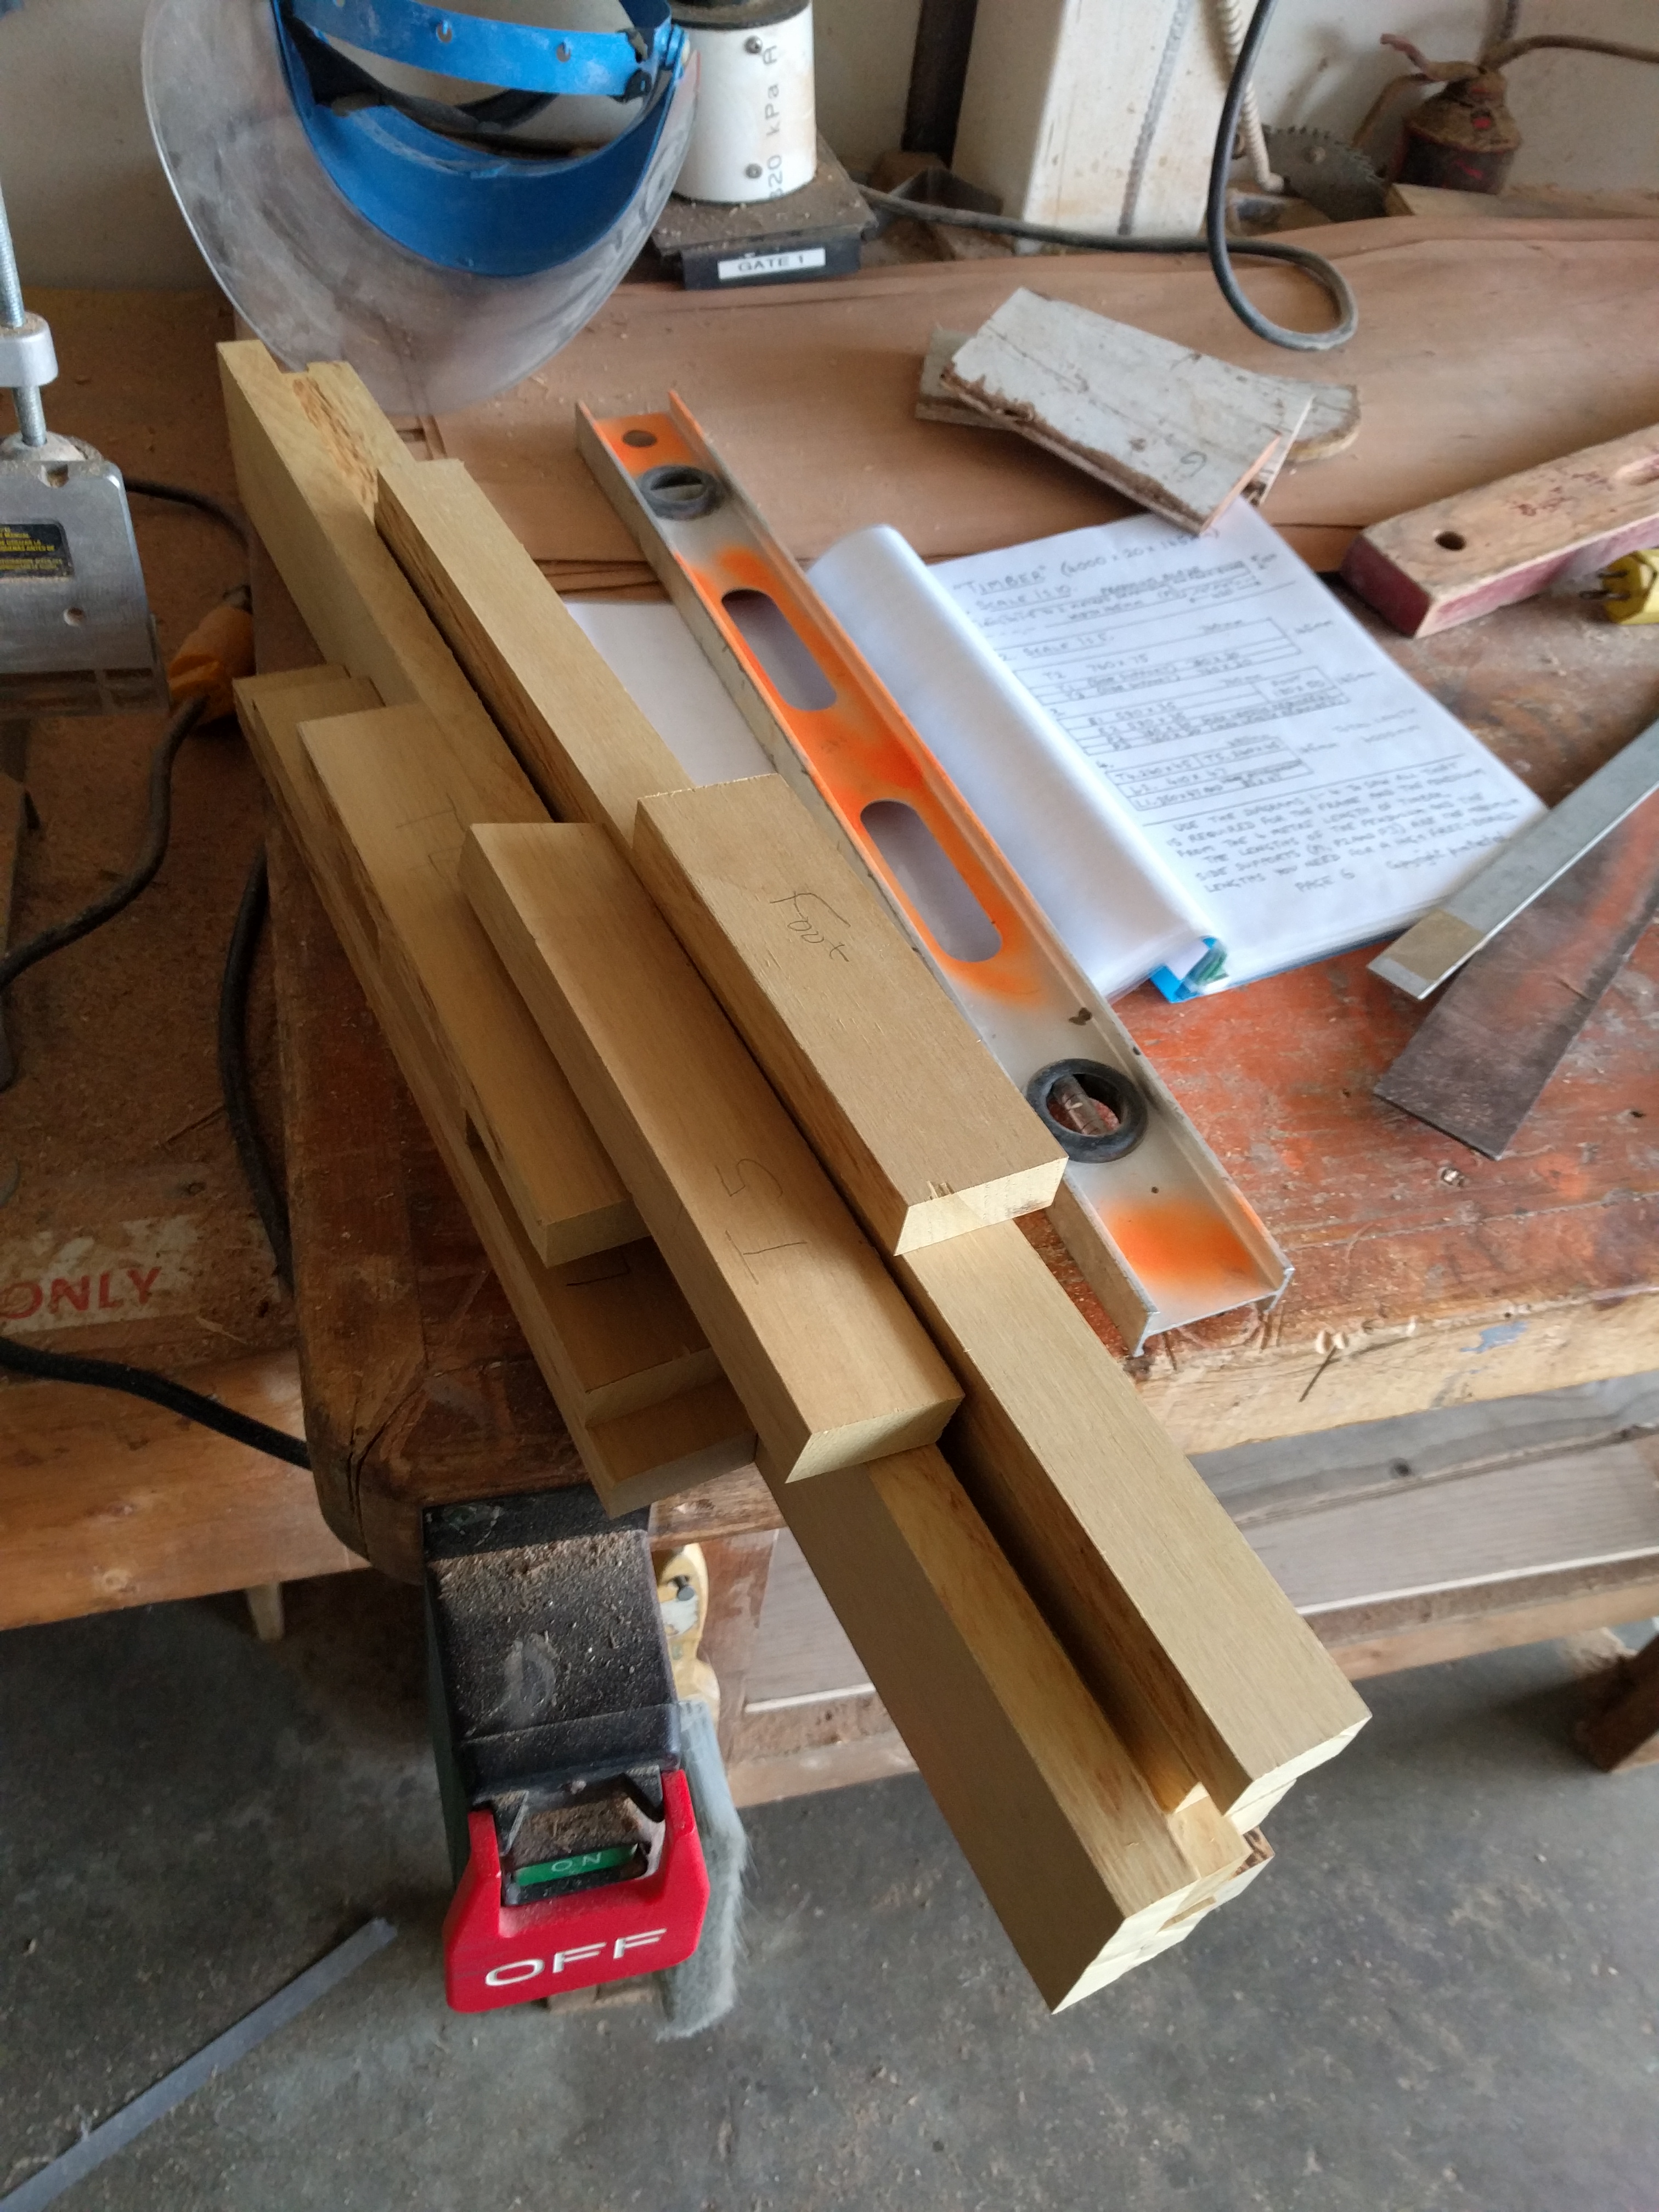
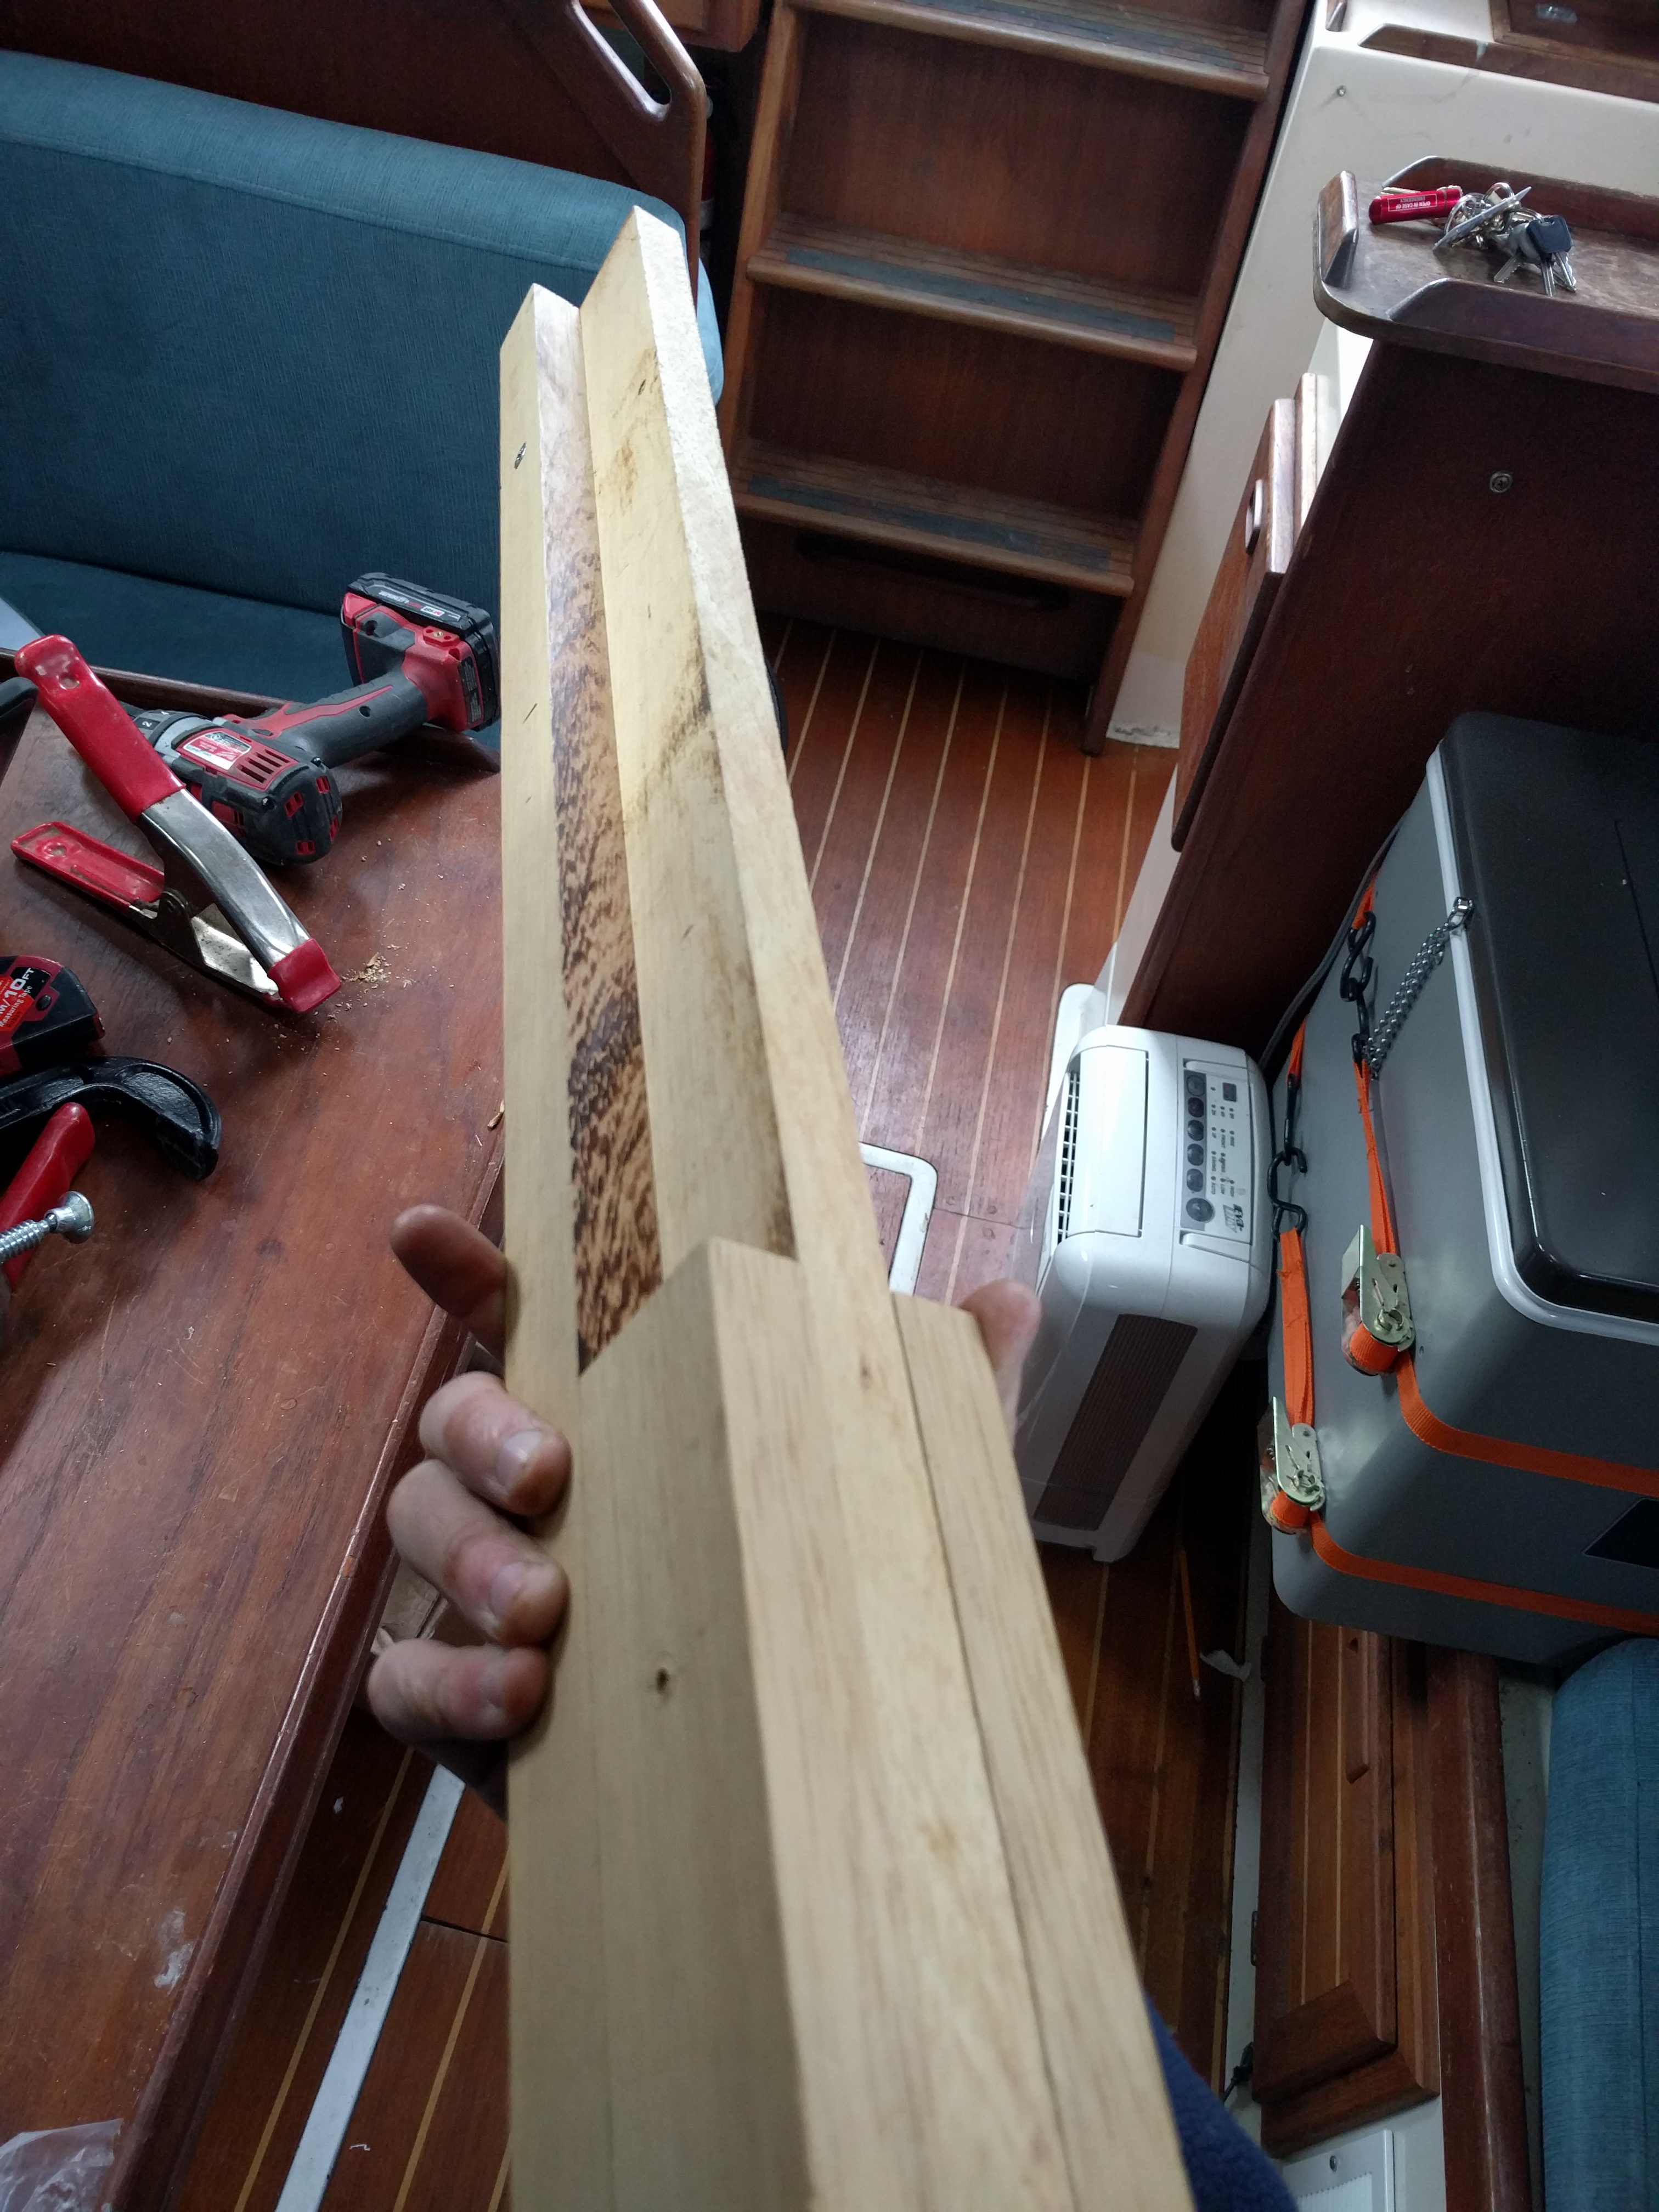
And I ended up with this
First thing was to assemble the trunk, this is the main part of the windvane.
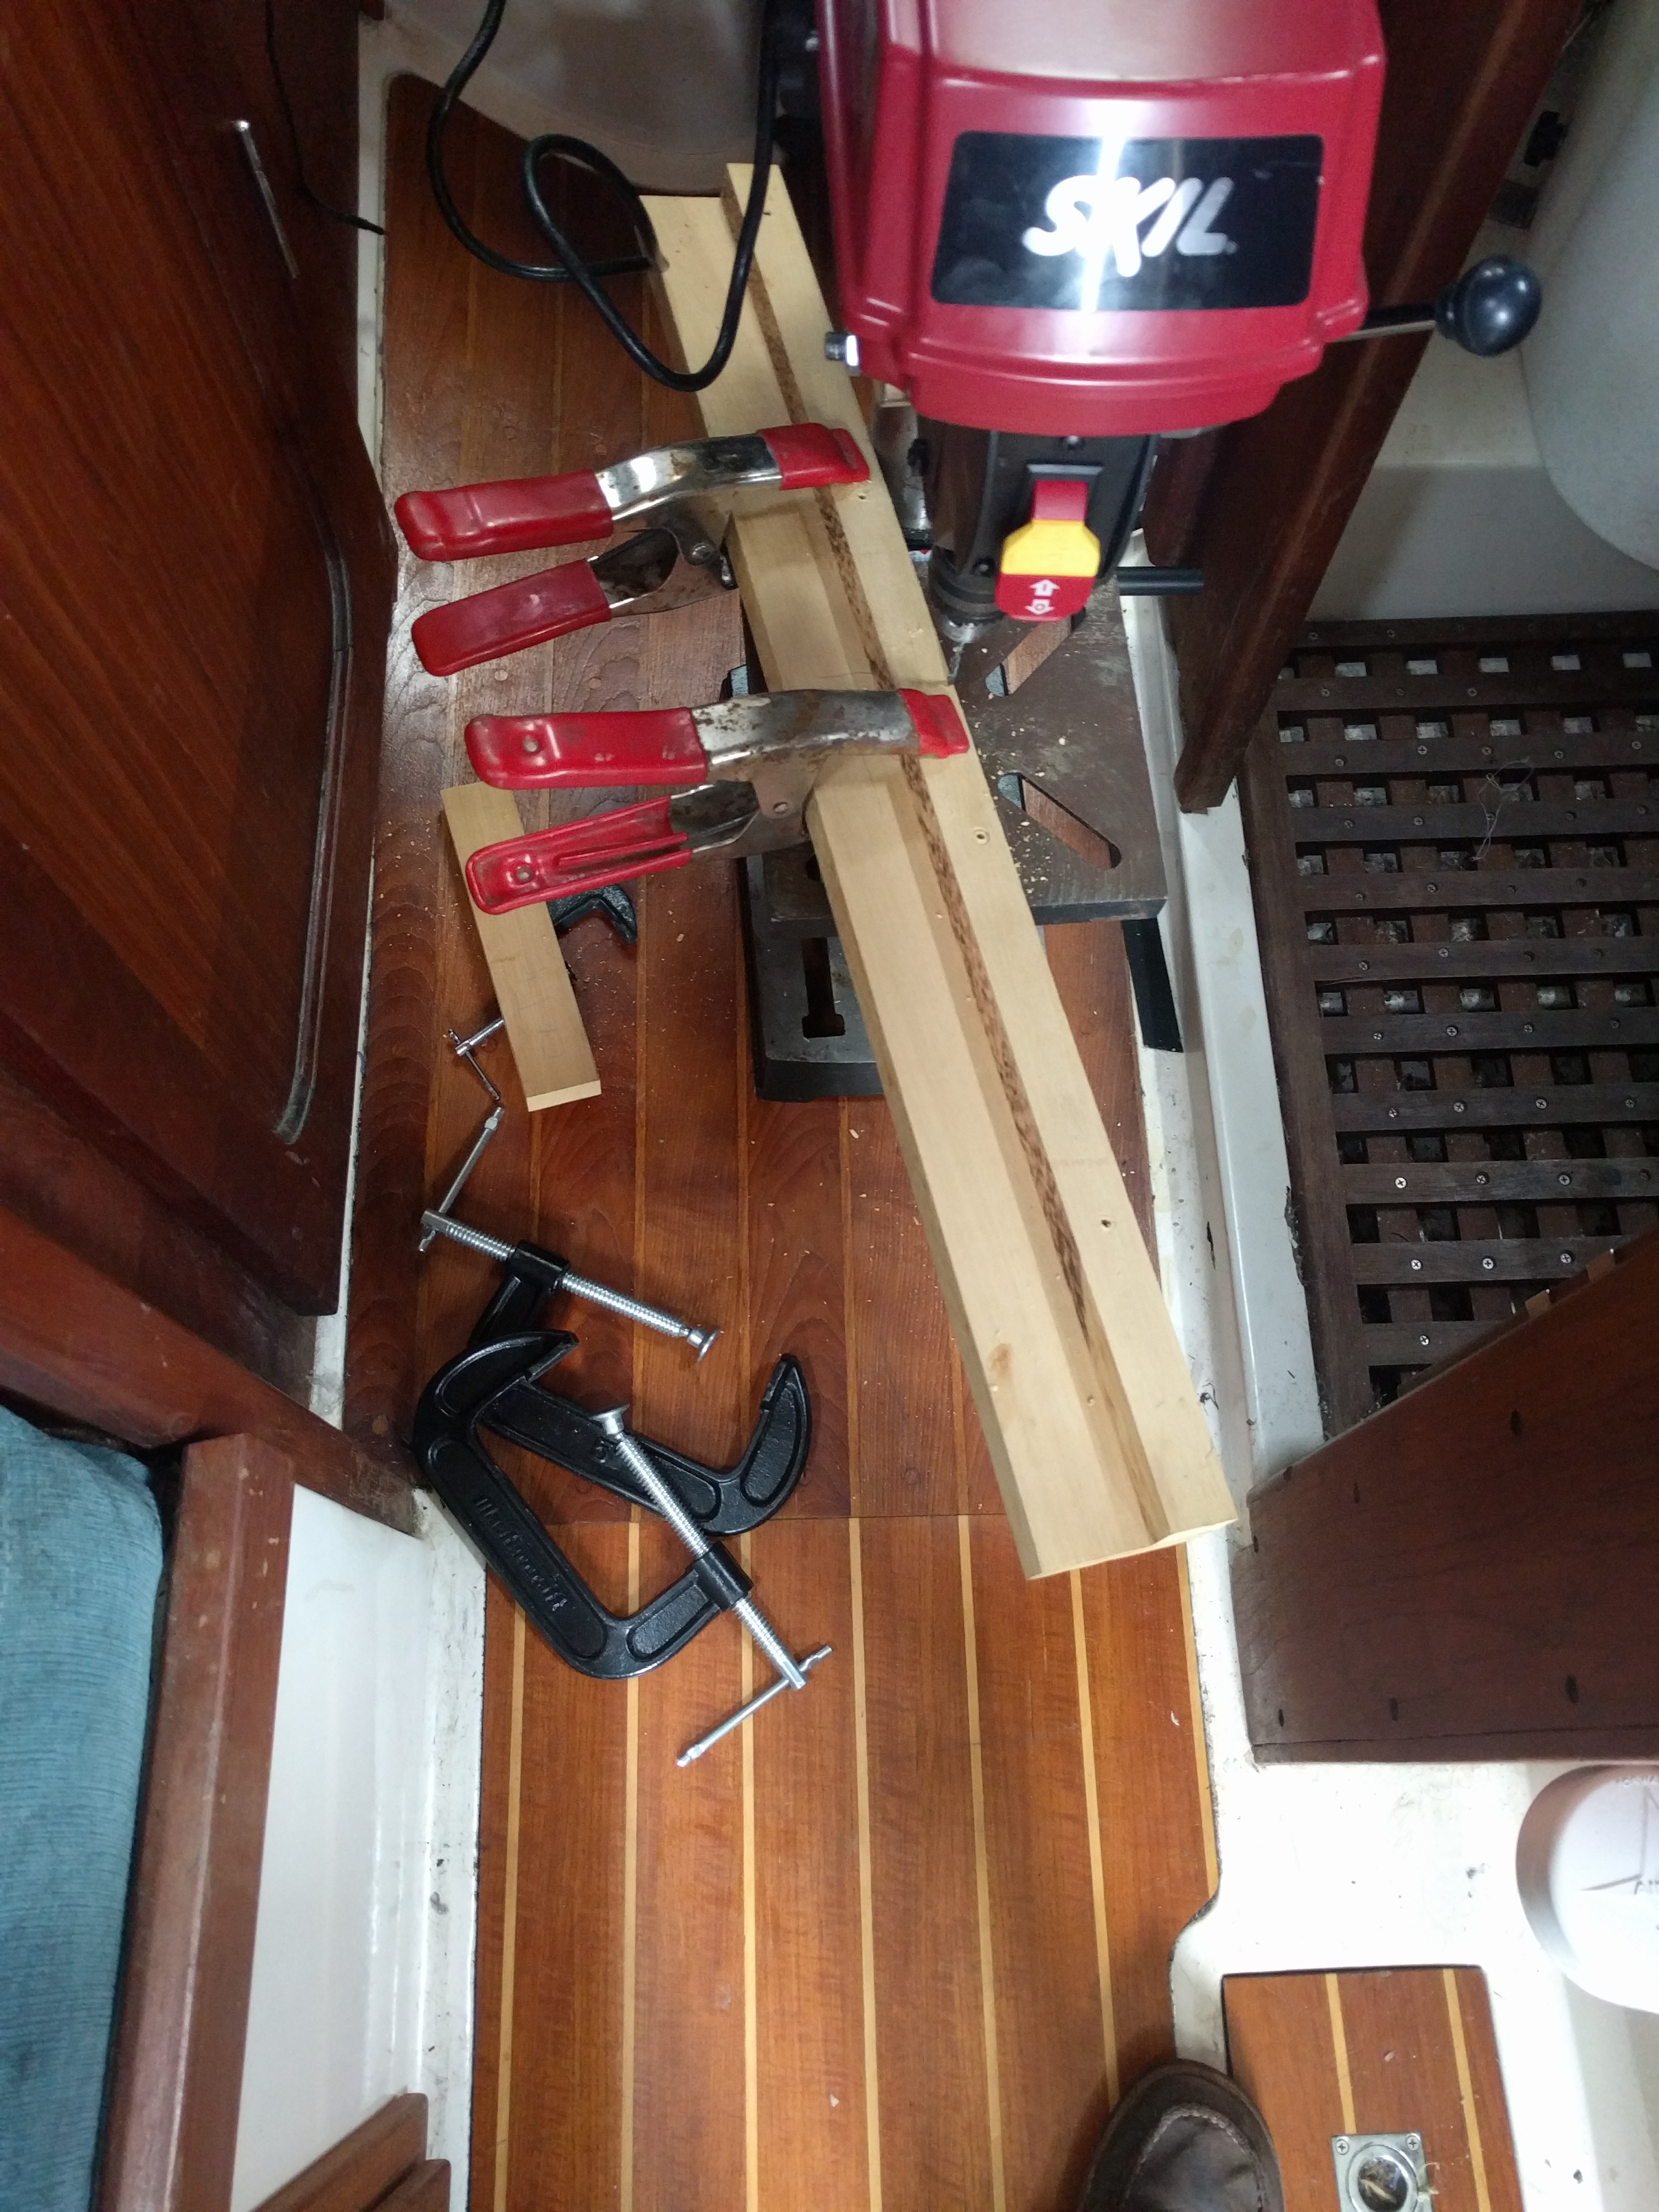
I dry fit everything to figure out how it went together, and then clamped it together and drilled the pilot holes for the wood screws
And then screwed them together as a test fit.
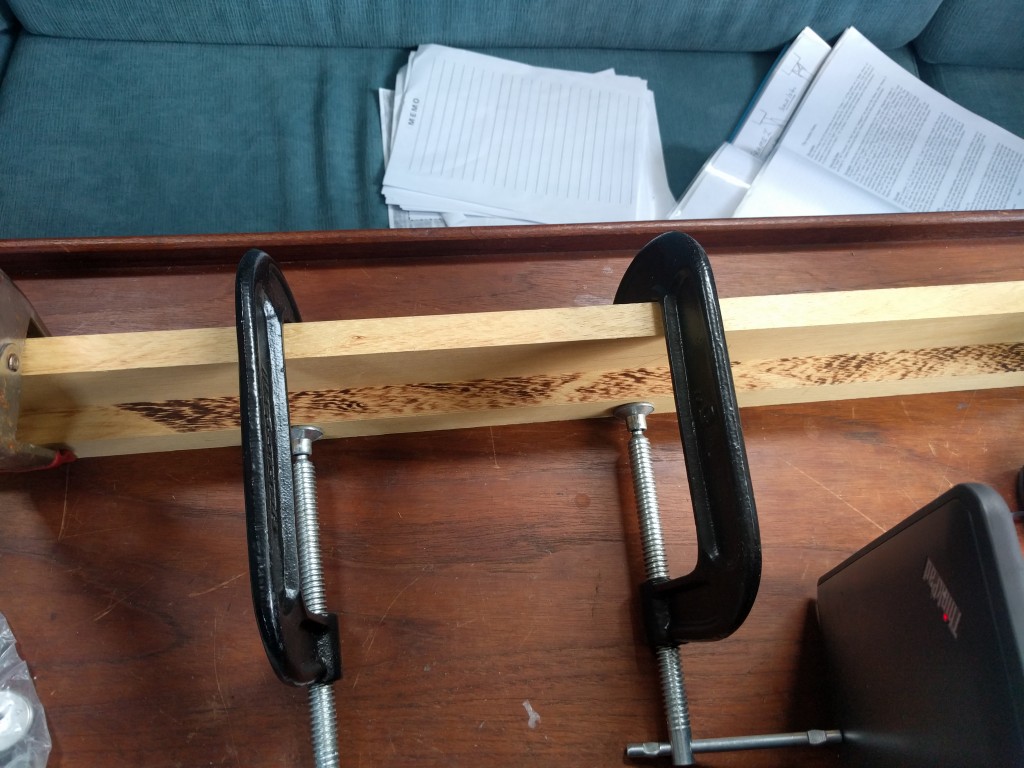
Next step was to clean and epoxy + screw them together. Here it is drying in the background. I also had to glue the two pieces of the extension together, which is the thing drying in the foreground.
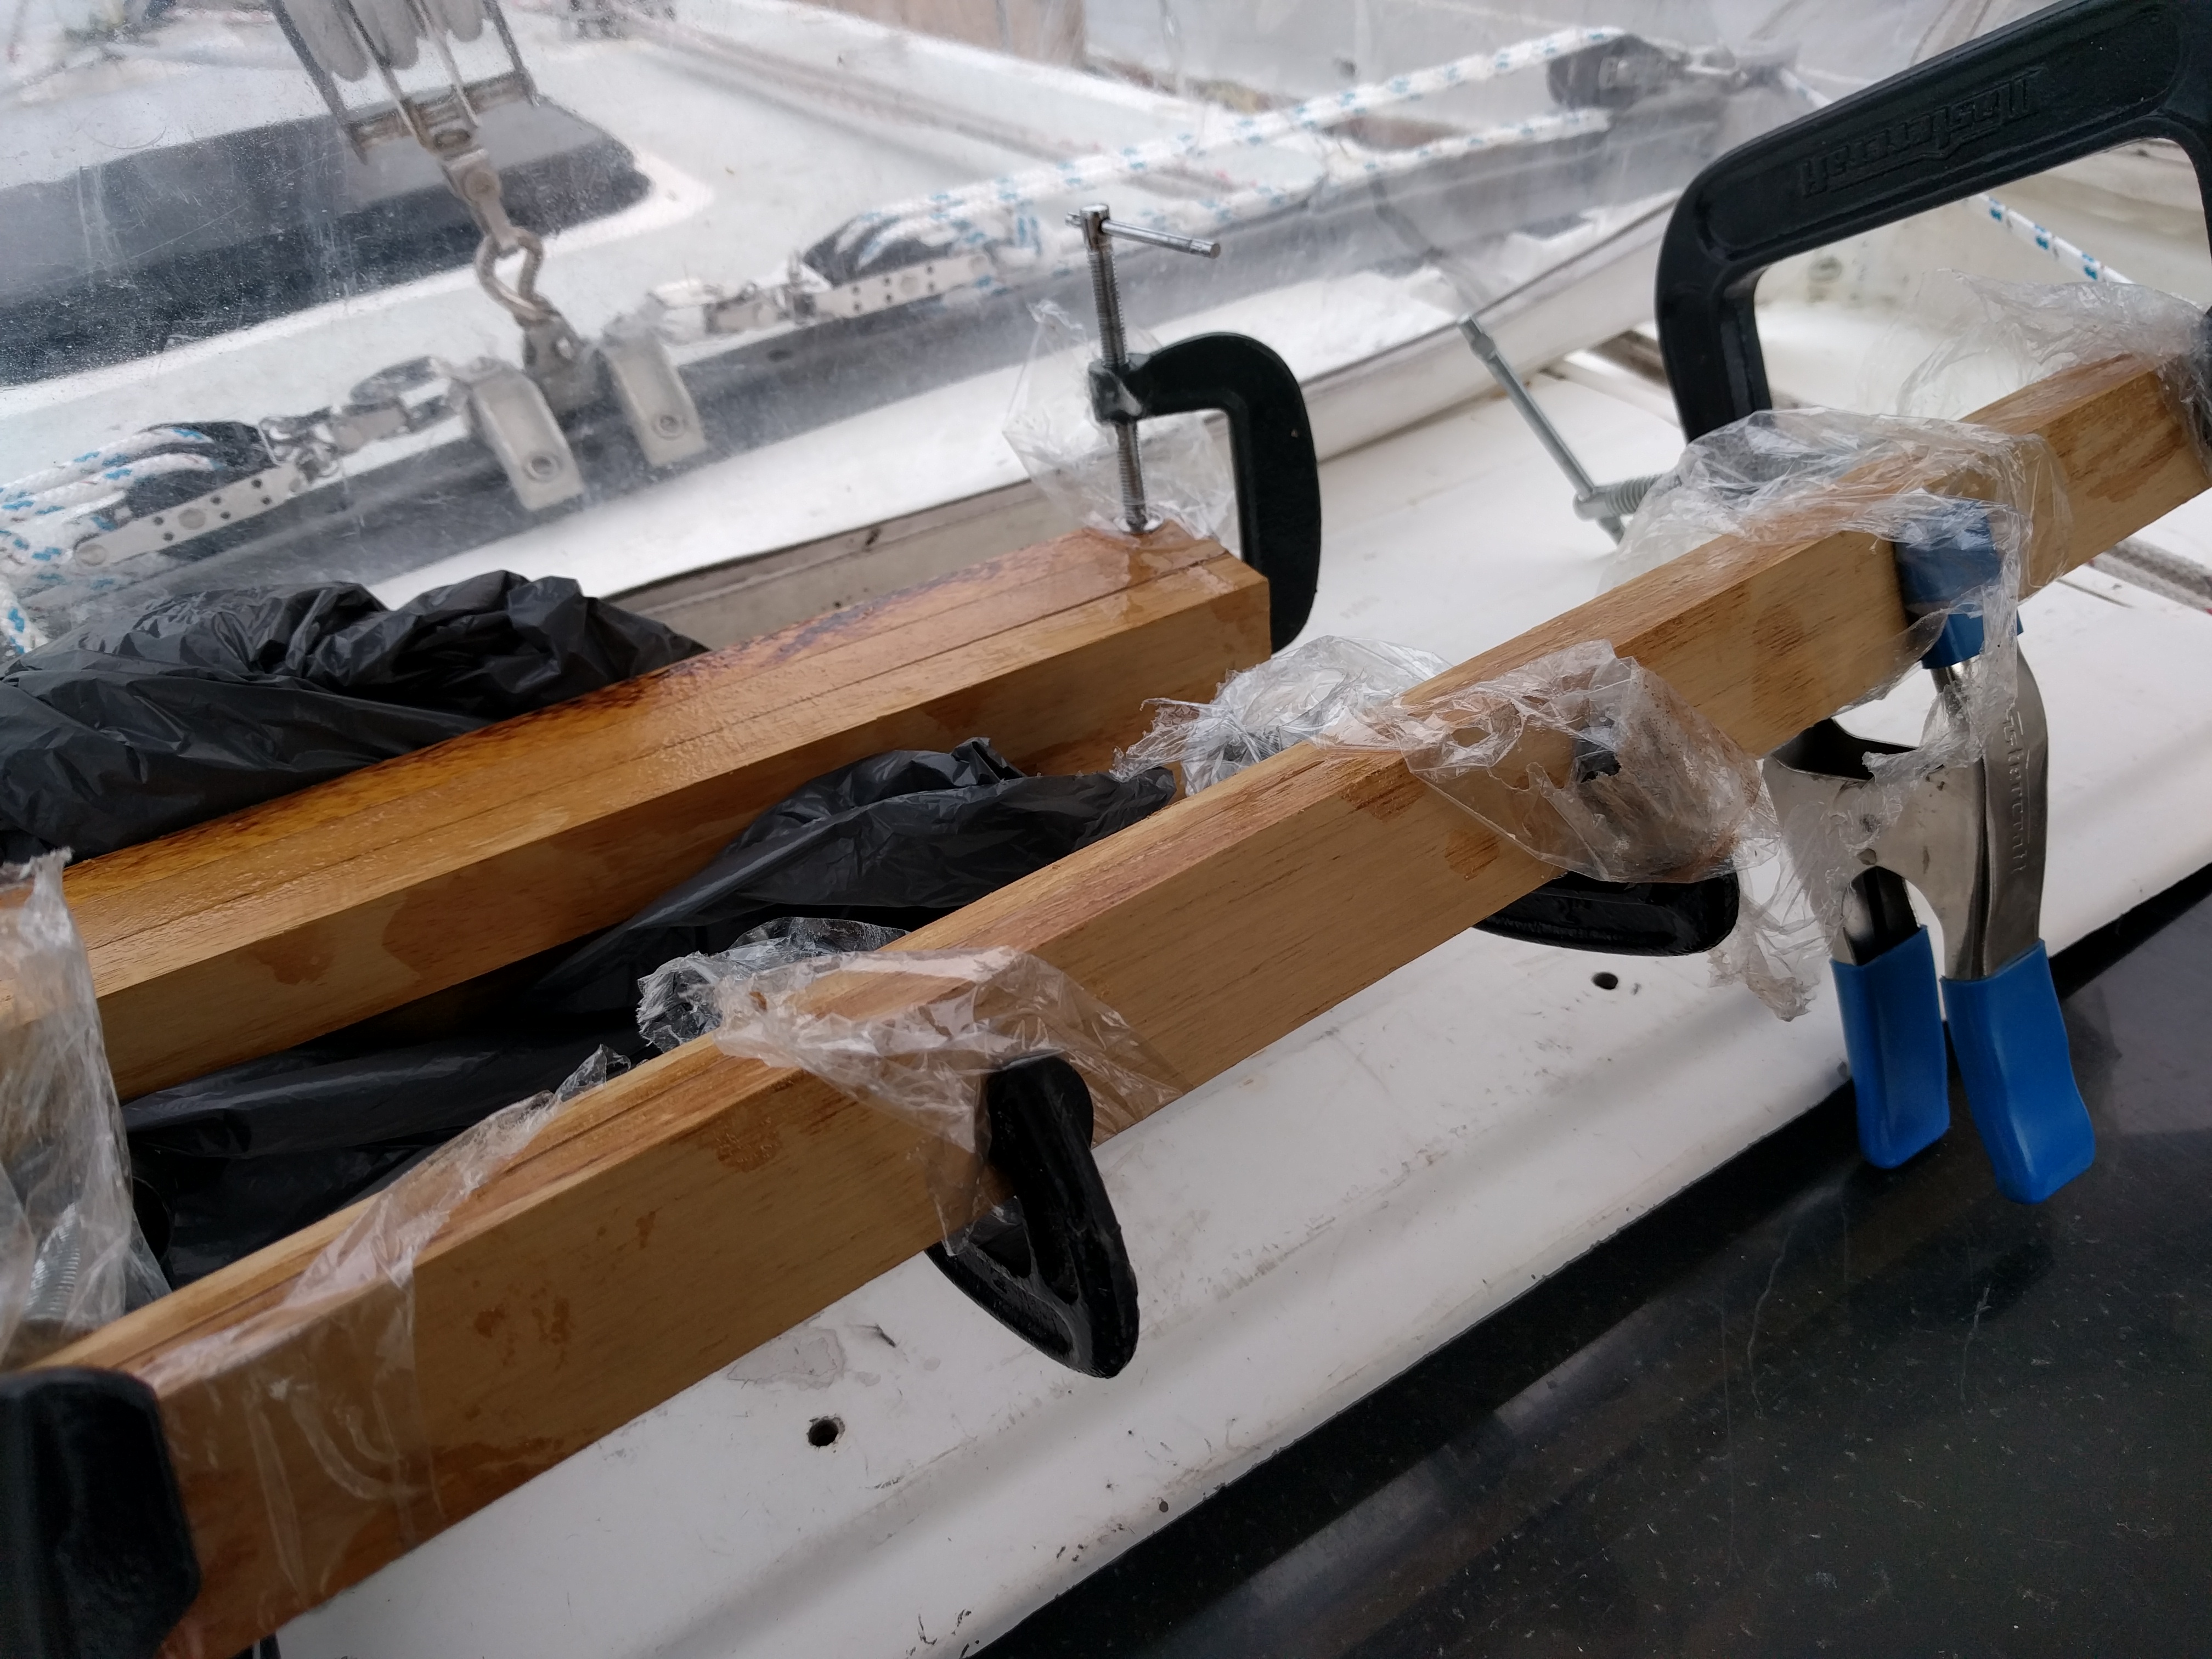
Not many pictures of the expoxy process as I was too busy coating myself and almost everything else with a thin layer of the stuff. Sigh.
Final result
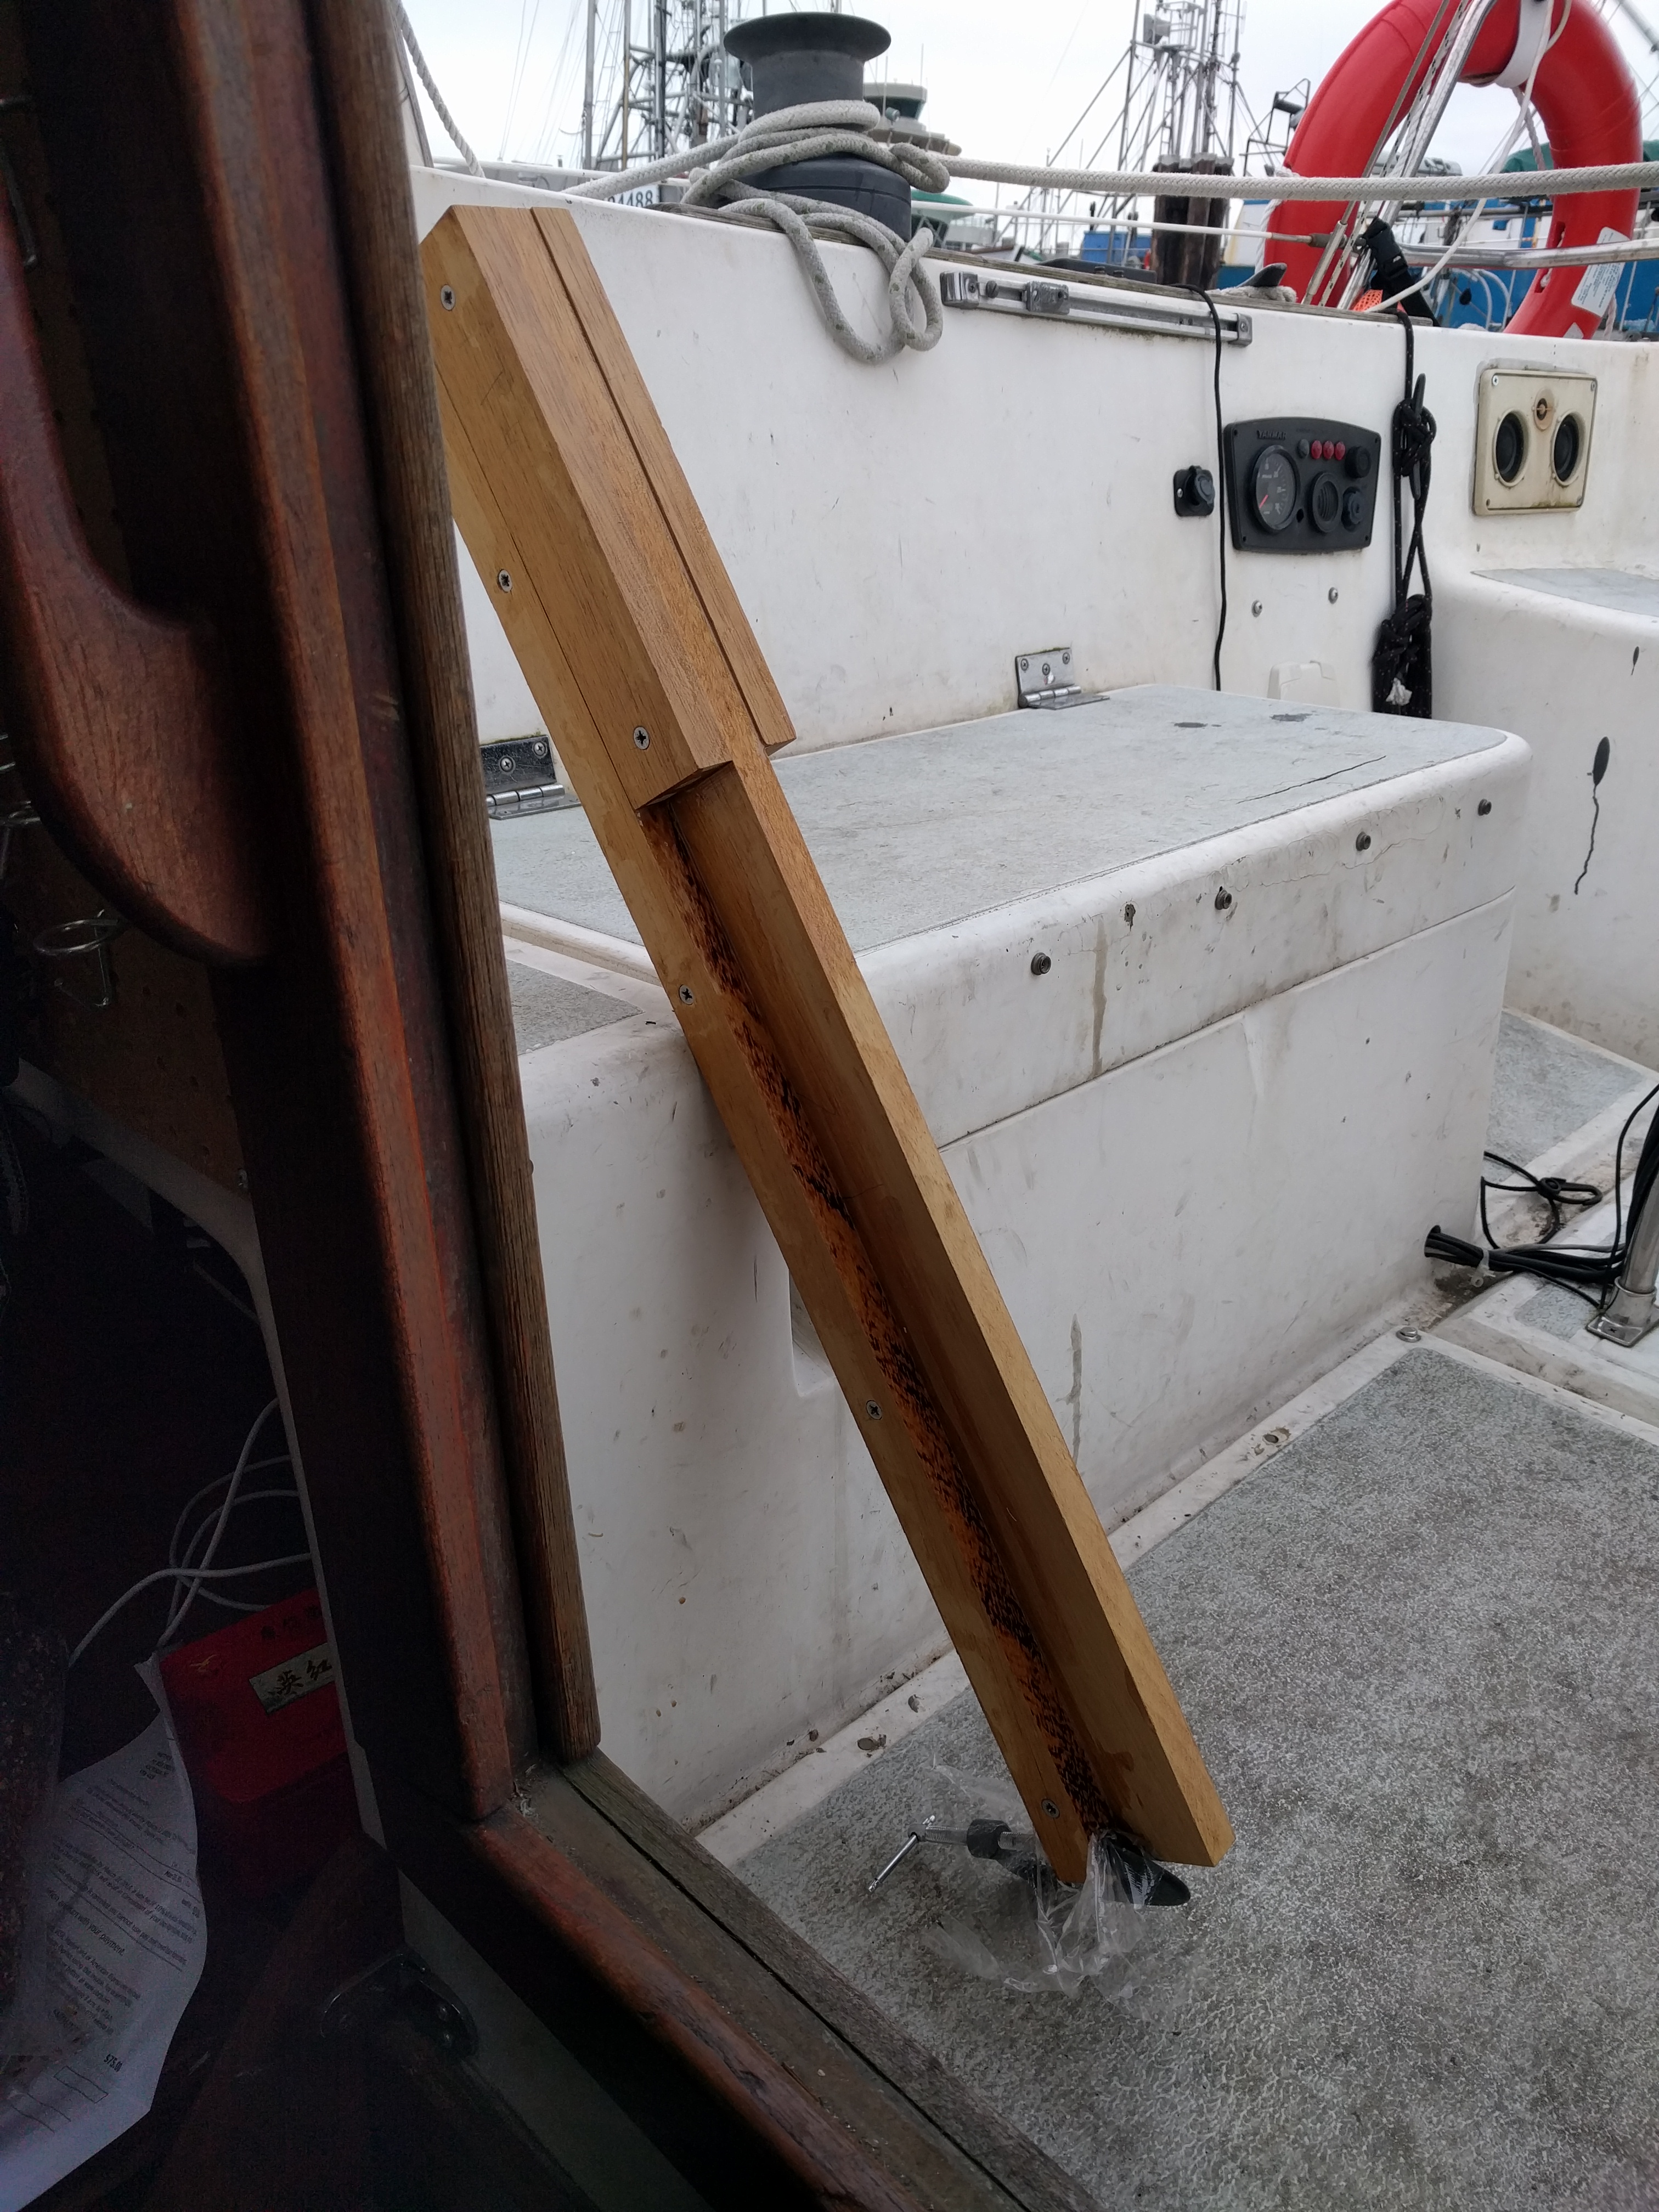

And here is the extension
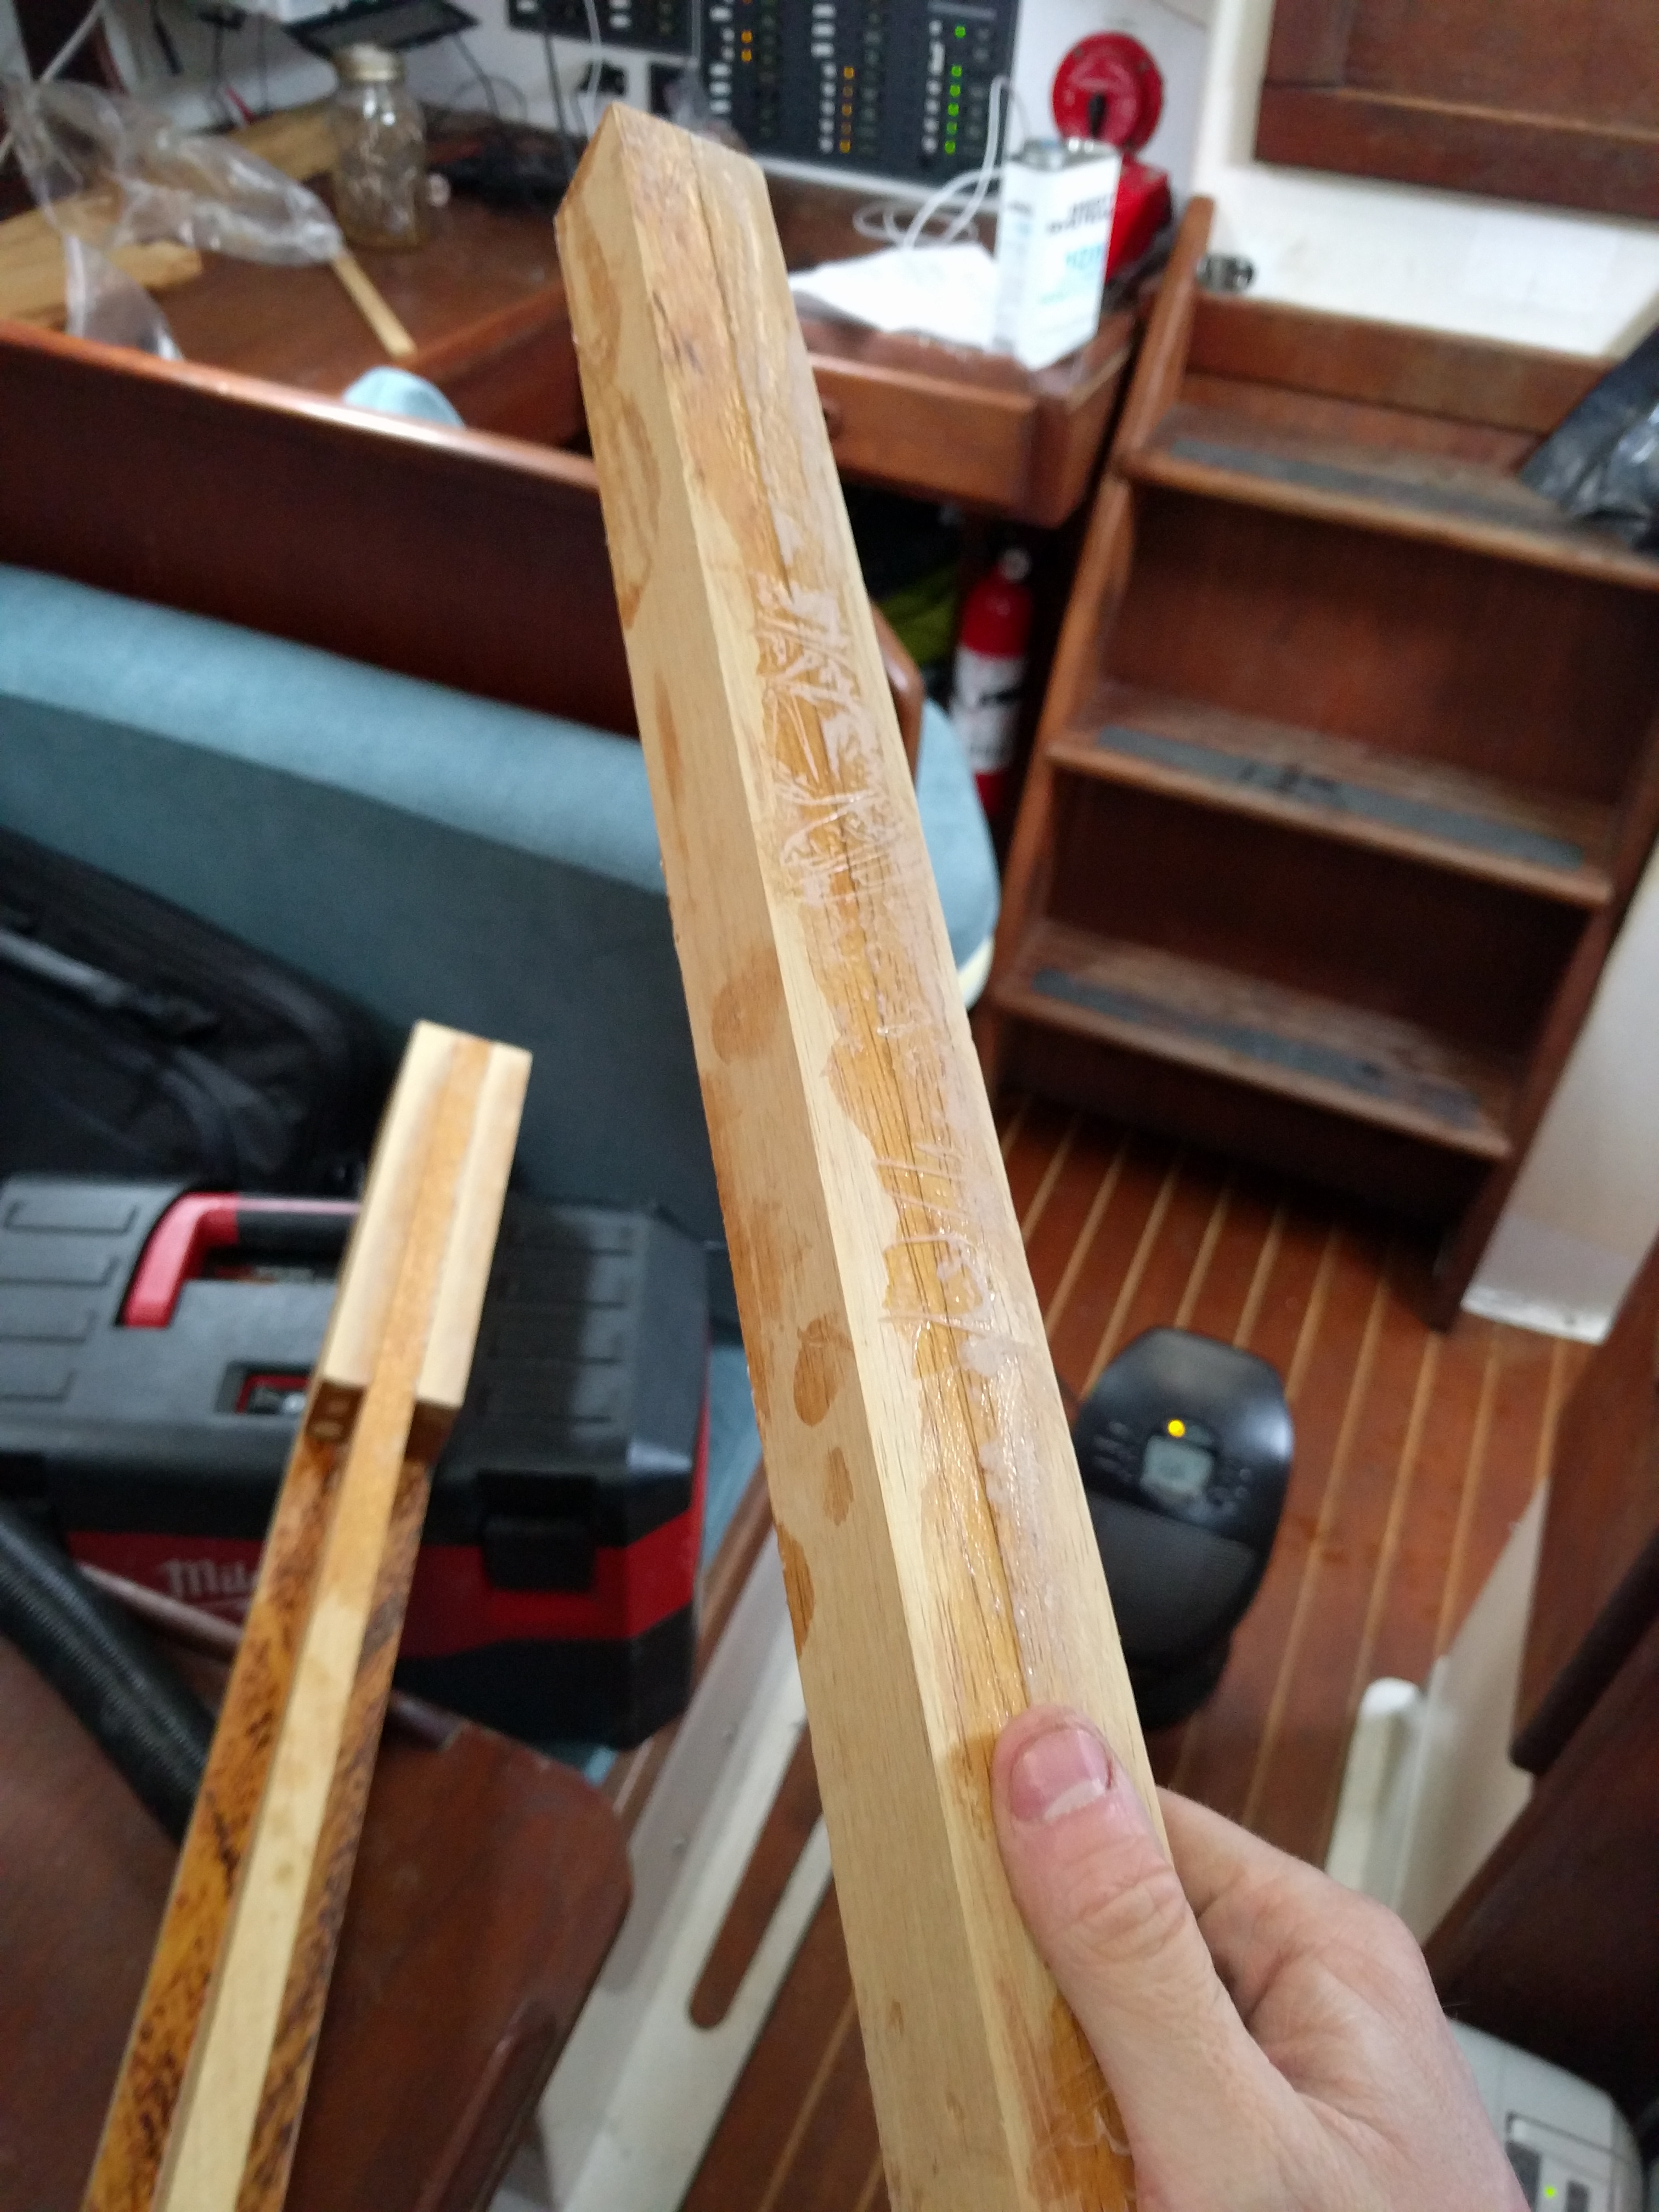
One stupid thing I did was use clingfilm (or sarin wrap for the north americans) as a protective barrier, thinking I could just pull it off after the epoxy dried. Instead, it kind of melted on. Not a huge problem, it just looks ugly!
Finally, I can start to see the shape of this thing!